When capturing cinematic aerial footage, three establishing shots stand out. The majestic reveal shot starts close and gradually pulls back, disclosing stunning landscapes. It's perfect for showcasing natural wonders and cityscapes. Dynamic altitude change involves smooth elevation adjustments, gradually disclosing hidden elements and evoking emotions like awe and anticipation. The sweeping panoramic flyby captures wide landscape views with steady altitude and consistent speed, allowing viewers to absorb the entire scene. Each technique requires careful planning, smooth motion, and consideration of lighting. By mastering these shots, you'll elevate your aerial cinematography to new heights.
Key Takeaways
- Majestic Reveal Shot gradually pulls back from a close-up to unveil stunning landscapes or cityscapes.
- Dynamic Altitude Change uses smooth elevation adjustments to reveal hidden elements of a scene.
- Sweeping Panoramic Flyby captures wide landscape views with steady altitude and consistent speed.
- Smooth, steady motion and slower movements enhance dramatic effect and build tension in aerial shots.
- Careful planning of flight paths, camera angles, and lighting conditions is crucial for high-quality cinematic footage.
The Majestic Reveal Shot
One of the most iconic aerial shots in cinema is the majestic disclosure. This powerful technique uses aerial footage to gradually disclose a stunning landscape or location, creating a sense of awe and anticipation in your audience.
You'll typically start with a close-up view of a small detail, then slowly pull back or rise up to expose the full grandeur of the scene.
To execute this shot effectively, you'll need to carefully plan your flight path and camera movements. Start low and close to your subject, ensuring your drone's camera is angled appropriately.
As you ascend or pull back, maintain a smooth, steady motion to heighten the dramatic effect. Consider the speed of your disclosure; a slower movement often builds more tension and impact.
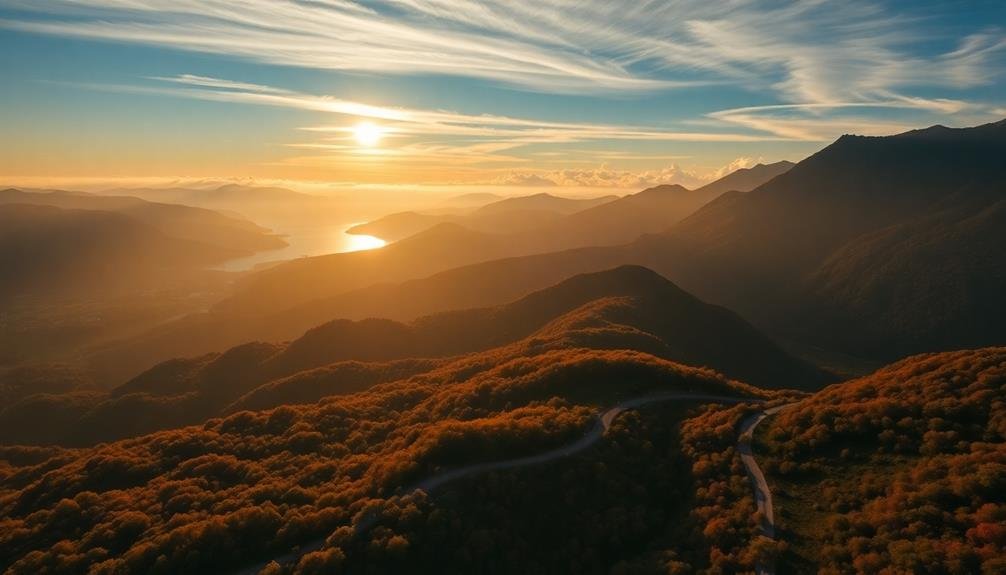
The majestic disclosure works particularly well for showcasing natural wonders, sprawling cityscapes, or impressive architectural features. It's an excellent way to establish location and set the tone for your film.
Remember to factor in lighting conditions, as the right golden hour glow can elevate your disclosure from impressive to truly breathtaking.
Dynamic Altitude Change

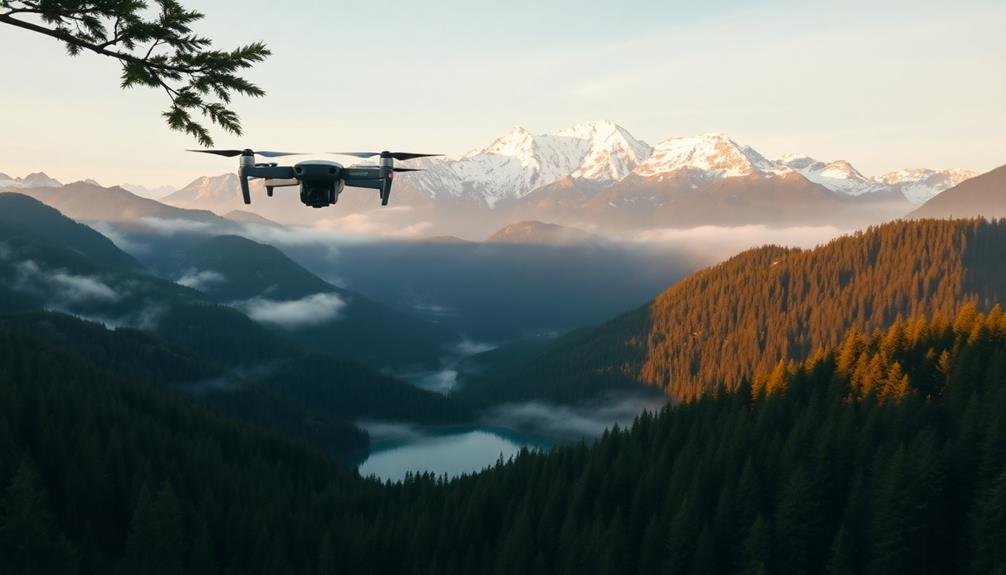
As you progress in your aerial cinematography skills, mastering dynamic altitude changes will take your footage to new heights. This technique involves smoothly adjusting your drone's elevation during a shot, creating a sense of movement and disclosing the landscape in an enchanting way.
By gradually ascending or descending, you can reveal hidden elements of the scene, adding depth and intrigue to your establishing shots.
To execute a dynamic altitude change, start with a clear flight plan. Decide on your starting and ending points, considering the scene's composition and focal points.
Practice smooth throttle control to maintain a consistent speed throughout the elevation change. You can combine this technique with lateral movements for even more complex and engaging shots.
Dynamic altitude changes can evoke powerful emotions in your audience:
- Awe: Revealing vast landscapes as you ascend
- Anticipation: Slowly descending to uncover a hidden subject
- Excitement: Rapidly climbing to showcase a city's skyline
- Intimacy: Gently lowering to eye level with your subject
Remember to adhere to local drone regulations and always prioritize safety.
With practice, you'll perfect this technique and create truly cinematic aerial establishing shots that engage your viewers.
Sweeping Panoramic Flyby

The sweeping panoramic flyby is a cornerstone technique in aerial cinematography. This shot involves flying your drone horizontally across a landscape, capturing a wide, sweeping view of the scene. It's particularly effective for showcasing expansive vistas, city skylines, or natural wonders.
To execute a perfect sweeping panoramic flyby, you'll need to maintain a steady altitude and consistent speed. Start by positioning your drone at one end of your chosen scene. Set your camera to a wide-angle lens setting and make sure it's level with the horizon.
As you begin your flight, move the drone smoothly and slowly across the landscape. Focus on creating a fluid motion that allows viewers to absorb the entire scene. You can enhance the shot by incorporating subtle yaw movements, gradually turning the camera as you fly. This adds depth and dimension to your footage.
Remember to take into account the direction of light and time of day when planning your flyby. Golden hour can add warmth and dramatic shadows to your shot, while midday light offers clarity and sharpness.
Experiment with different speeds and altitudes to find the perfect balance for your specific scene and storytelling needs.
Frequently Asked Questions
What Drone Regulations Should I Be Aware of for Aerial Filming?
You'll need to register your drone, obtain proper licensing, and follow airspace restrictions. Be aware of no-fly zones, altitude limits, and privacy laws. Always maintain visual line of sight and respect others' safety and property.
How Do Weather Conditions Affect Aerial Shots and Drone Performance?
Weather greatly impacts your aerial shots and drone performance. Wind can destabilize your drone, affecting footage quality. Rain and fog limit visibility. Cold temperatures reduce battery life. Always check forecasts and consider conditions before flying.
What Are the Best Camera Settings for Capturing Aerial Footage?
For aerial footage, you'll want to use a fast shutter speed (1/500 or higher), a low ISO (100-400), and a narrow aperture (f/5.6-f/8). Don't forget to shoot in RAW for better post-processing flexibility.
How Can I Maintain Smooth Flight Paths for Cinematic Aerial Shots?
You'll achieve smooth flight paths by using gentle joystick movements, practicing slow and steady maneuvers, and utilizing your drone's intelligent flight modes. Plan your shots beforehand, and always maintain visual line of sight for better control.
What Post-Processing Techniques Enhance the Quality of Aerial Footage?
You'll enhance your aerial footage with color grading, stabilization, and noise reduction. Don't forget to adjust exposure and contrast. Try adding subtle motion effects or changes. Finally, consider using LUTs for a cinematic look.
In Summary
You've now got three powerful aerial shots in your filmmaking arsenal. Whether you're revealing a breathtaking landscape, adding depth with altitude changes, or sweeping viewers off their feet with a panoramic flyby, these techniques will elevate your cinematic footage. Don't be afraid to experiment and combine these shots for maximum impact. With practice, you'll master these aerial maneuvers and create stunning visuals that captivate your audience. Get out there and start flying!
As educators and advocates for responsible drone use, we’re committed to sharing our knowledge and expertise with aspiring aerial photographers.


Leave a Reply