When using Warp Stabilizer for smooth footage, start with a smoothness setting of 50% and adjust as needed. Choose the appropriate method (Position, Position/Scale/Rotation, or Perspective) based on your footage's complexity. Experiment with framing options to balance stabilization and composition. For best results, analyze your footage carefully, considering camera movements, subject motion, and lighting conditions. Don't forget to preview your changes to avoid unwanted distortions. Advanced techniques like multi-pass stabilization and masking can further enhance your results. By fine-tuning these settings, you'll transform shaky shots into cinematic masterpieces. Dive deeper to reveal the full potential of Warp Stabilizer and elevate your video production skills.
Key Takeaways
- Start with a smoothness setting of 50% and gradually increase for desired stabilization, typically staying within the 50-80% range.
- Choose the simplest stabilization method (Position, Position/Scale/Rotation, or Perspective) that effectively stabilizes your footage.
- Experiment with framing options to balance stabilization and composition, considering cropping and edge synthesis effects.
- Apply multi-pass stabilization techniques for complex footage, adjusting settings incrementally between passes.
- Use masking to isolate stable areas in scenes with multiple moving elements, enhancing overall stabilization results.
Understanding Warp Stabilizer
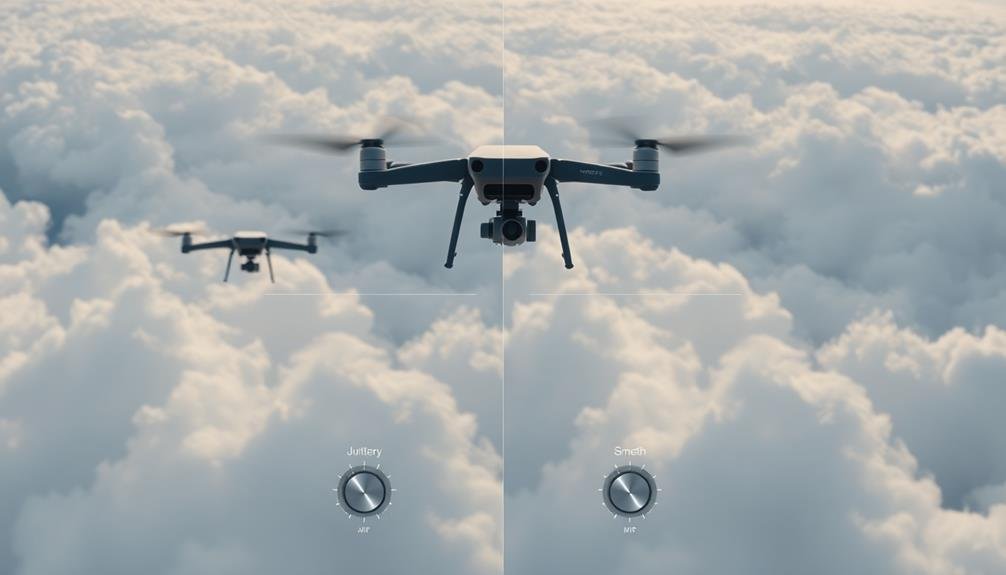
Three key components make up the Warp Stabilizer effect in Adobe Premiere Pro and After Effects: motion analysis, stabilization, and framing.
When you apply Warp Stabilizer to your footage, it first analyzes the motion in your clip, tracking various points throughout each frame. This analysis forms the foundation for the stabilization process.
Once the analysis is complete, Warp Stabilizer applies stabilization algorithms to counteract unwanted camera movement. It can smooth out shaky handheld footage, reduce jitter, and even eliminate more pronounced camera movements. The effect achieves this by manipulating the position, rotation, and scale of each frame.
Framing is the final step in the Warp Stabilizer process. It determines how the stabilized footage is presented within the frame. You can choose from various framing options, such as stabilize only, stabilize and crop, or stabilize and auto-scale.
Each option affects how much of the original frame is visible and how the stabilized footage fits within your composition.
Understanding these components will help you make informed decisions when adjusting Warp Stabilizer settings to achieve ideal results for your specific footage.
Analyzing Your Footage
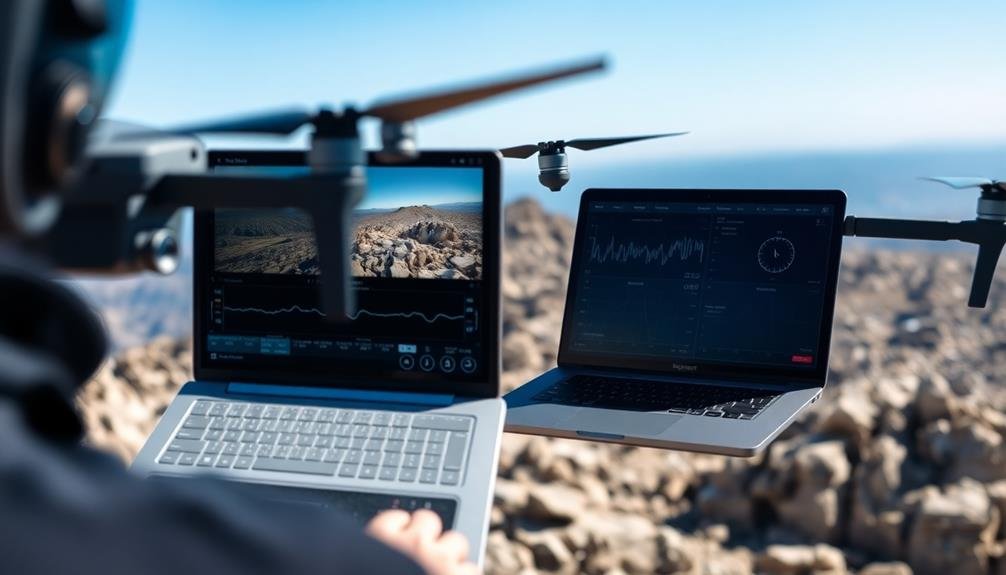
Before adjusting Warp Stabilizer settings, you'll need to carefully analyze your footage. Look for specific issues that might affect stabilization, such as rapid camera movements, parallax effects, or rolling shutter artifacts. Pay attention to the overall motion in your shot and identify any problematic areas.
Assess the following aspects of your footage:
| Aspect | What to Look For |
|---|---|
| Camera Movement | Pan, tilt, zoom, rotation |
| Subject Motion | Fast-moving objects, erratic movement |
| Lighting | Flicker, sudden changes in exposure |
| Frame Rate | Smooth or choppy motion |
| Resolution | Sufficient detail for tracking |
Consider the intended use of your footage. If it's for a high-energy action sequence, you might want to retain some camera shake. For a smooth, cinematic look, you'll aim for more stabilization.
Examine the edges of your frame. Warp Stabilizer may crop or distort these areas, so verify important elements aren't too close to the borders. If possible, shoot with a wider angle than needed to give yourself more room for stabilization.
Smoothness Percentage
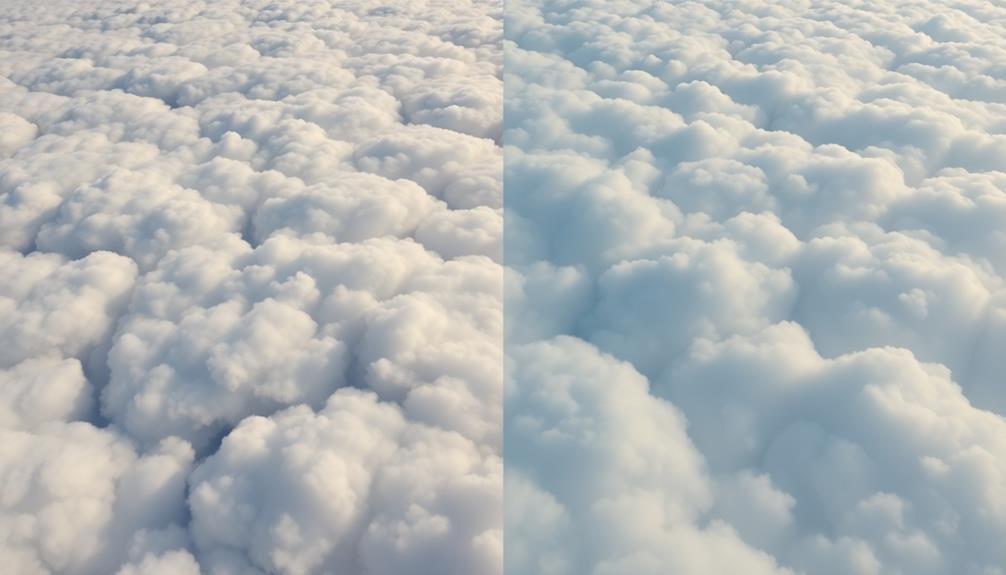
You'll find that the Smoothness Percentage in Warp Stabilizer is an essential setting for controlling motion stabilization.
It typically works best between 50-150%, with higher values producing smoother results but potentially introducing more artifacts.
Adjust this setting carefully to balance smooth motion against maintaining the original feel of your footage.
Understanding Smoothness Percentage
The smoothness percentage slider is an essential control in Warp Stabilizer that determines how much motion correction is applied to your footage. It ranges from 0% to 100%, with higher values resulting in smoother video but potentially introducing more distortion or cropping.
At 0%, no smoothing is applied, leaving your footage untouched. As you increase the percentage, Warp Stabilizer works harder to eliminate camera shake and unwanted motion. At 100%, the software attempts to remove all movement, which can create a locked-down shot effect.
You'll need to find the right balance for your specific footage. Start with a lower value, around 50%, and adjust from there. For handheld shots with slight movement, 50-70% often works well. If you're dealing with extreme camera shake, you might need to push it higher.
Keep in mind that higher smoothness values can lead to artifacts or warping, especially in footage with complex motion or parallax effects. Always preview your results and be prepared to adjust other settings, like the method or framing, to achieve the best outcome for your project.
Ideal Settings Range
While there's no one-size-fits-all setting for smoothness percentage, most professional editors find that a range of 50-80% works best for typical footage. This range strikes a balance between stabilizing shaky footage and maintaining natural movement.
Start by setting the smoothness to 50% and gradually increase it until you achieve the desired result.
For handheld shots with minimal movement, you can often get away with higher percentages, up to 80%. However, for footage with more dynamic motion or fast-paced action, you'll want to stay closer to the lower end of the range to avoid introducing artifacts or unnatural warping.
Keep in mind that higher smoothness percentages may require more cropping of your footage. If you're working with 4K footage and delivering in 1080p, you'll have more leeway to use higher settings without compromising image quality.
Always preview your results at full resolution to verify you're not sacrificing too much of your frame or introducing unwanted distortions.
Impact on Motion
Smoothness percentage directly affects how Warp Stabilizer handles motion in your footage. As you increase this setting, you'll notice a more pronounced stabilization effect, reducing camera shake and unwanted movement.
However, be cautious with higher percentages, as they can lead to unnatural-looking motion or introduce artifacts.
At lower smoothness settings (10-50%), you'll maintain more of the original camera movement while still reducing minor shakes. This range is ideal for footage where you want to preserve some intentional camera motion, such as gentle pans or tilts.
As you move into the medium range (50-80%), you'll see a significant reduction in camera shake, making it suitable for handheld shots that need stabilization without completely eliminating all motion.
Higher settings (80-100%) will create an almost locked-down look, which can be great for static shots but may cause issues with moving subjects or dynamic scenes.
You'll need to find the sweet spot that balances stability with natural-looking motion. Remember, the best smoothness percentage varies depending on your footage and desired outcome, so don't hesitate to experiment with different values.
Method Settings
Diving into the heart of Warp Stabilizer, you'll find the Method Settings. These essential options determine how the stabilizer analyzes and corrects your footage.
The primary methods are Position, Position/Scale/Rotation, and Perspective.
Position is the simplest, adjusting only the horizontal and vertical movement of your shot. It's ideal for static scenes with minimal camera movement.
Position/Scale/Rotation offers more thorough stabilization, addressing not just position but also scale changes and rotational movement. This method works well for handheld shots with moderate motion.
Perspective is the most complex and powerful method. It can correct for all types of camera movement, including perspective shifts. Use this for footage with significant motion or complex camera moves. However, be cautious, as it may introduce unwanted distortions in some cases.
When selecting a method, start with the simplest option that adequately stabilizes your footage. If Position doesn't suffice, move up to Position/Scale/Rotation.
Only use Perspective when the other methods fall short. Remember, the goal is to achieve smooth, natural-looking results without over-processing your footage.
Framing Options

Several framing options in Warp Stabilizer help you manage how your stabilized footage is presented.
The "Stabilize Only" option keeps the original frame size and movement, allowing you to apply stabilization without changing the overall composition. This is useful when you want to maintain the original framing while reducing shake.
"Stabilize, Crop, Auto-scale" automatically crops and scales the footage to remove black edges caused by stabilization. It's a good all-around option that balances stabilization with maintaining your original framing.
"Stabilize, Crop" is similar but doesn't scale the footage, which can result in more cropping but preserves the original scale.
For maximum stabilization, "Stabilize, Synthesize Edges" uses content-aware fill to recreate areas beyond the frame's edges. This option provides the smoothest result but may introduce artifacts in complex scenes.
"Stabilize, Crop, Auto-scale, Synthesize Edges" combines cropping, scaling, and edge synthesis for a balance between smoothness and maintaining original framing.
Choose your framing option based on your footage's content and your desired result. Experiment with different settings to find the best balance between stability and visual quality for your specific project.
Advanced Stabilization Techniques
To further refine your stabilization results, you'll want to explore advanced techniques like multi-pass stabilization workflows.
This approach involves applying the Warp Stabilizer effect multiple times, each with different settings, to achieve smoother results.
You can also improve your stabilization by masking unstable elements, which allows you to isolate and stabilize specific areas of your footage while leaving others untouched.
Multi-Pass Stabilization Workflow
Advanced stabilization techniques often require a multi-pass approach for ideal results. When applying Warp Stabilizer to your footage, you'll want to start with a basic stabilization pass using default settings.
After analyzing the results, you can fine-tune the settings for a second pass. Begin by adjusting the smoothness parameter, gradually increasing it until you achieve the desired level of stability without introducing artifacts.
Next, experiment with the method setting, switching between position, position/scale/rotation, and perspective to find the best option for your footage. If you notice excessive warping, try enabling the "Detailed Analysis" option for more precise motion tracking.
For particularly challenging shots, consider using a third pass focused on reducing rolling shutter artifacts. Adjust the "Rolling Shutter Ripple" setting to minimize any wobble or jello effects.
Don't forget to toggle between different framing options like "Stabilize Only" and "Stabilize, Crop, Auto-scale" to find the best balance between stability and frame size.
Masking Unstable Elements
Masking unstable elements stands out as a powerful technique for advanced Warp Stabilizer users. When you're dealing with footage that contains both stable and unstable areas, masking allows you to isolate problematic regions. This approach prevents the stabilizer from tracking erratic movements that could adversely affect the overall result.
To implement masking effectively, you'll need to create a mask around the unstable elements in your footage. Use the pen tool to draw precise masks, or opt for the brush tool for more organic shapes. Remember to feather the mask edges slightly to guarantee a seamless blend.
Here's a quick guide to masking unstable elements:
| Step | Action | Purpose |
|---|---|---|
| 1 | Identify unstable areas | Locate elements causing instability |
| 2 | Create mask | Isolate problematic regions |
| 3 | Adjust mask properties | Fine-tune feathering and opacity |
After applying the mask, you'll notice the Warp Stabilizer focuses on the unmasked areas, resulting in smoother motion. Don't forget to keyframe your masks if the unstable elements move throughout the clip. This technique can greatly improve your stabilization results, especially in complex scenes with multiple moving objects.
Dealing With Rolling Shutter
In spite of the Warp Stabilizer's effectiveness, it can struggle with footage affected by rolling shutter. This distortion, common in CMOS sensors, can cause vertical lines to appear slanted or wobbling in your video. To combat this issue, you'll need to adjust your Warp Stabilizer settings carefully.
First, try reducing the smoothness percentage. A lower value often helps minimize the rolling shutter effect. Next, switch the method from "Position, Scale, Rotation" to "Perspective" or "Subspace Warp." These options can better compensate for the skew caused by rolling shutter.
If you're still seeing issues, experiment with the "Detailed Analysis" option. This setting allows the Warp Stabilizer to track more points in your footage, potentially improving results with rolling shutter artifacts.
Additionally, consider using the "Enhanced Reduction" setting under the "Rolling Shutter Ripple" section.
For severe cases, you might need to use a dedicated rolling shutter repair effect before applying Warp Stabilizer. This two-step process can yield better results, as you're addressing the root cause of the distortion before stabilizing the footage.
Optimizing Render Time
While addressing rolling shutter issues is important, you'll also want to contemplate the time it takes to render your stabilized footage. Optimizing render time can significantly streamline your workflow, especially when dealing with large projects or tight deadlines.
To speed up the rendering process, start by reducing the Warp Stabilizer's analysis complexity. Lowering the "Detailed Analysis" setting can drastically cut down processing time without severely impacting the final result.
Additionally, consider using the "Position, Scale, Rotation" method instead of "Subspace Warp" for simpler stabilization tasks.
You can also optimize render time by limiting the stabilizer's range of motion. Adjust the "Smoothness" and "Crop Less <-> Smooth More" sliders to find a balance between stability and processing speed. Lower values generally result in faster renders.
Pre-rendering complex effects and using proxies for high-resolution footage can further reduce the strain on your system.
Lastly, ensure your computer meets the recommended specifications for your editing software, and close unnecessary background applications to allocate more resources to the rendering process.
Frequently Asked Questions
Can Warp Stabilizer Be Used on Time-Lapse Footage Effectively?
Yes, you can effectively use Warp Stabilizer on time-lapse footage. It'll smooth out camera shake and jitters, creating more fluid motion. However, you'll need to adjust settings carefully to avoid distortion and maintain the time-lapse effect.
How Does Warp Stabilizer Affect Audio Syncing in Video Clips?
When you use warp stabilizer, it can affect audio syncing in your clips. You'll notice that as the video frame moves, audio might fall out of sync. It's best to separate audio before stabilizing.
Is There a Way to Apply Warp Stabilizer to Multiple Clips Simultaneously?
Yes, you can apply Warp Stabilizer to multiple clips at once. Select the clips you want to stabilize in your timeline, then right-click and choose "Apply Effect" > "Distort" > "Warp Stabilizer VFX" from the menu.
Can Warp Stabilizer Fix Extreme Camera Shake From Action Cameras?
You can use Warp Stabilizer to reduce extreme camera shake from action cameras, but it has limitations. For severe shake, you'll likely need additional stabilization techniques or software. Don't expect miracles, but it can help improve footage.
Does Using Warp Stabilizer Impact the Overall Video File Size?
Warp stabilizer can slightly increase your video file size. You'll notice a small bump due to added keyframes and effects data. However, the impact is usually minimal and won't greatly affect your overall file size.
In Summary
You've now mastered the art of Warp Stabilizer settings. With your newfound knowledge, you'll be able to transform shaky footage into smooth, professional-looking video. Remember to analyze your clips carefully, adjust settings based on the specific needs of each shot, and don't be afraid to experiment. By fine-tuning smoothness, method, framing, and advanced techniques, you'll achieve ideal results. Keep practicing, and you'll soon be creating silky-smooth footage with ease.

As educators and advocates for responsible drone use, we’re committed to sharing our knowledge and expertise with aspiring aerial photographers.
Leave a Reply