Transform your sky photography with these seven light leak techniques: prism refraction, lens flare overlay, graduated filters, Gaussian blur streaks, bokeh textures, color splash, and radial gradients. You'll add depth, color, and ethereal effects to your images. Use a prism to manipulate light, overlay lens flares in editing software, or apply graduated filters for enhanced sunsets. Create dreamy streaks with Gaussian blur, simulate bokeh for a soft glow, splash vibrant colors, or craft celestial-like rays with radial gradients. Each method offers unique ways to elevate your sky shots. Mastering these techniques will open up a world of creative possibilities.
Key Takeaways
- Utilize a prism for refraction, creating ethereal and colorful effects in sky photos, especially during golden hour.
- Apply colored gels near the lens edge to introduce complementary or contrasting hues to the natural sky colors.
- Employ long exposure movement with gels to create dynamic streaks and color patterns in the sky.
- Use graduated filters to enhance sunset and sunrise colors, creating natural-looking gradients between sky and foreground.
- Experiment with lens flare overlays to add complex light leak effects while maintaining a natural appearance in sky photographs.
Prism Refraction Method
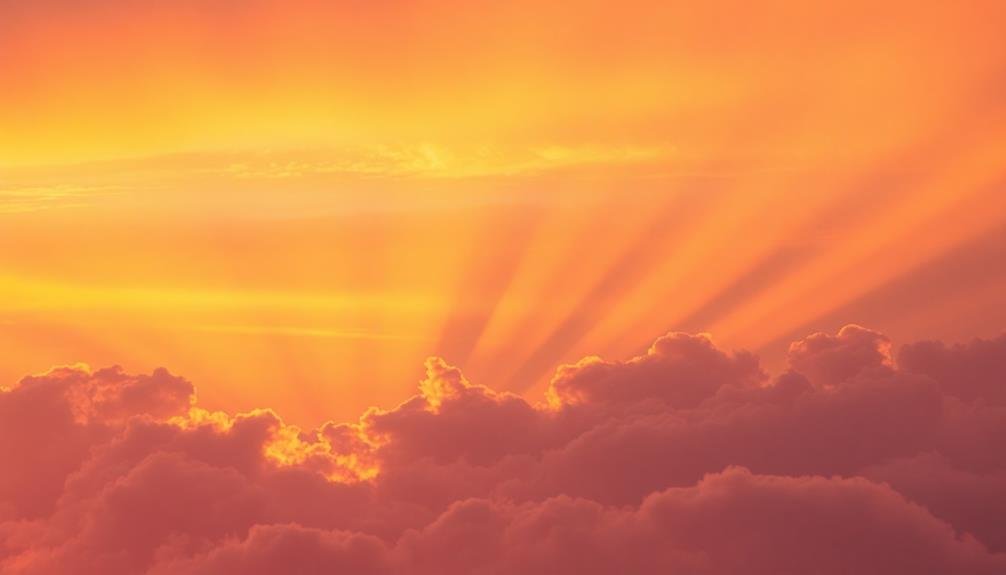
Photography's creative potential expands with the prism refraction method for light leaks. This technique allows you to add ethereal, colorful effects to your sky photos by manipulating light through a simple prism.
To start, you'll need a camera, a small glass prism, and a bright light source like the sun.
Hold the prism in front of your lens, angling it to catch and refract light. As you move the prism, you'll see rainbow-like streaks and flares appear in your viewfinder. Experiment with different positions to achieve varying effects. The closer you hold the prism to your lens, the more pronounced the light leak will be.
For best results, shoot during golden hour when the sun is low on the horizon. This soft, warm light creates stunning refractions. You can also try this technique on overcast days for subtle, dreamy effects.
Don't be afraid to combine the prism method with other techniques like long exposures or multiple exposures for even more creative possibilities.
Remember to adjust your camera settings to account for the extra light entering your lens. You might need to decrease your exposure or use a narrower aperture to prevent overexposure.
Lens Flare Overlay Technique
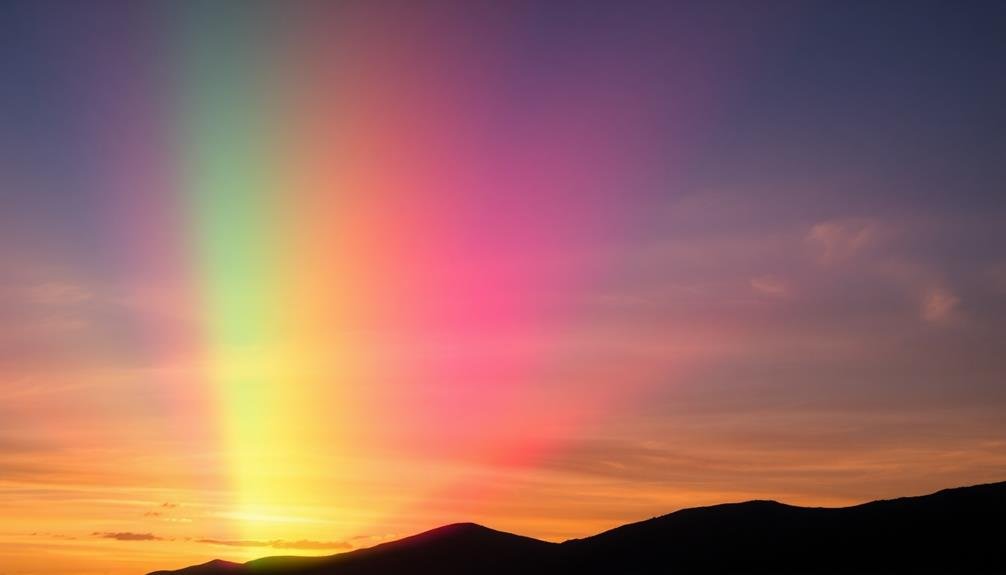
Another popular method for creating light leaks is the lens flare overlay technique. This approach involves capturing or creating lens flares separately and then blending them with your sky photographs in post-processing.
To begin, you'll need to shoot or source lens flare images. You can capture these by pointing your camera directly at the sun or a bright light source, deliberately allowing light to hit your lens at various angles. Alternatively, you can create digital lens flares using photo editing software.
Once you have your flare images, open your sky photograph in your preferred editing program. Add the lens flare as a new layer on top of your sky image. Experiment with different blending modes like Screen, Overlay, or Add to achieve the desired effect.
Adjust the opacity and position of the flare layer to integrate it seamlessly with your sky. You can further enhance the effect by using adjustment layers to modify the color and intensity of the flare.
Don't hesitate to combine multiple flare overlays for a more complex and unique light leak effect. Remember to maintain a natural look by considering the position of light sources in your original image.
Graduated Filter Light Leaks
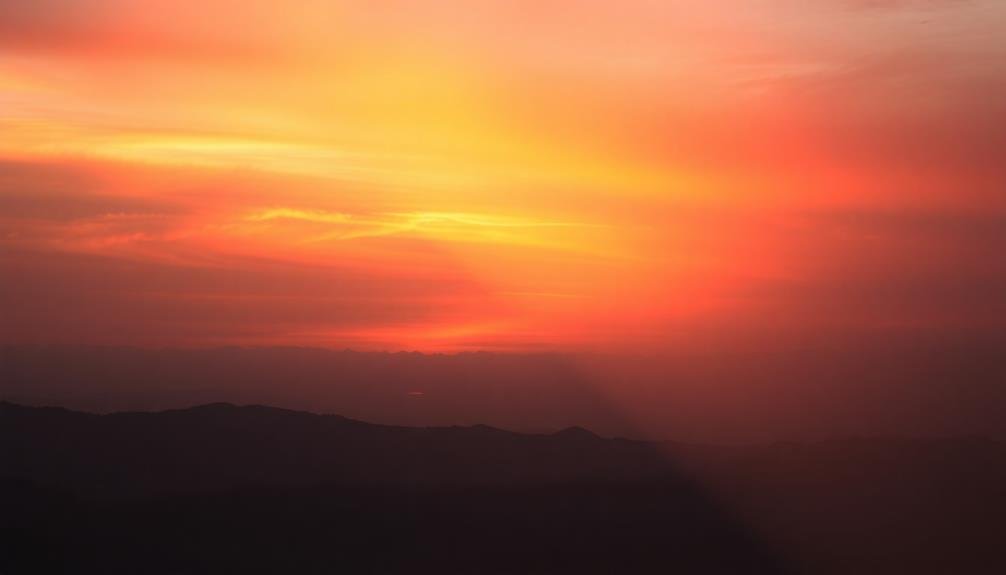
To create natural-looking gradients in your sky photography, try using graduated filter light leaks.
You'll find these filters particularly effective for enhancing sunset and sunrise colors, adding warmth and depth to your images.
Creating Natural-Looking Gradients
For a seamless change between sky and foreground, graduated filter light leaks offer a natural-looking solution. In order to create these gradients, you'll need to master the art of blending light and color.
Start by selecting a filter that complements your sky's hues. Warm tones work well for sunsets, while cooler shades enhance blue skies.
Position the filter at the horizon line, ensuring it covers the sky portion of your image. Gradually move it up or down to adjust the transition's intensity. For a subtle effect, use a soft-edge filter that creates a smooth blend. If you're after a more dramatic look, opt for a hard-edge filter with a defined transition.
Experiment with different strengths of filters to achieve the desired effect. A 0.3 or 0.6 neutral density gradient often produces the most natural results.
Don't forget to take into account the time of day and lighting conditions when choosing your filter strength.
To further enhance the natural appearance, try stacking multiple filters or combining them with other techniques like lens flares or prism effects.
Enhancing Sunset/Sunrise Colors
When it comes to enhancing sunset and sunrise colors with graduated filter light leaks, you'll want to focus on warm, vibrant hues. Start by selecting a graduated filter with orange, pink, or red tones that complement the natural sky colors. Position the filter at the top of your frame, gradually fading towards the center.
Experiment with different strengths of light leaks to find the right balance. Subtle effects can add warmth without overpowering the scene, while more intense leaks create a dramatic, ethereal atmosphere. Adjust the opacity of the filter to fine-tune the intensity.
Consider using multiple graduated filters to create layered effects. Combine warm tones at the top with cooler hues at the bottom to mimic the natural color shift of a sunset or sunrise. This technique can add depth and dimension to your sky photography.
Don't forget to pay attention to the horizon line. Align the merging point of your graduated filter with the horizon to guarantee a seamless blend between the enhanced colors and the rest of the scene.
If you're shooting with a digital camera, you can apply these techniques in post-processing using gradient tools and adjustment layers.
Gaussian Blur Streak Effect
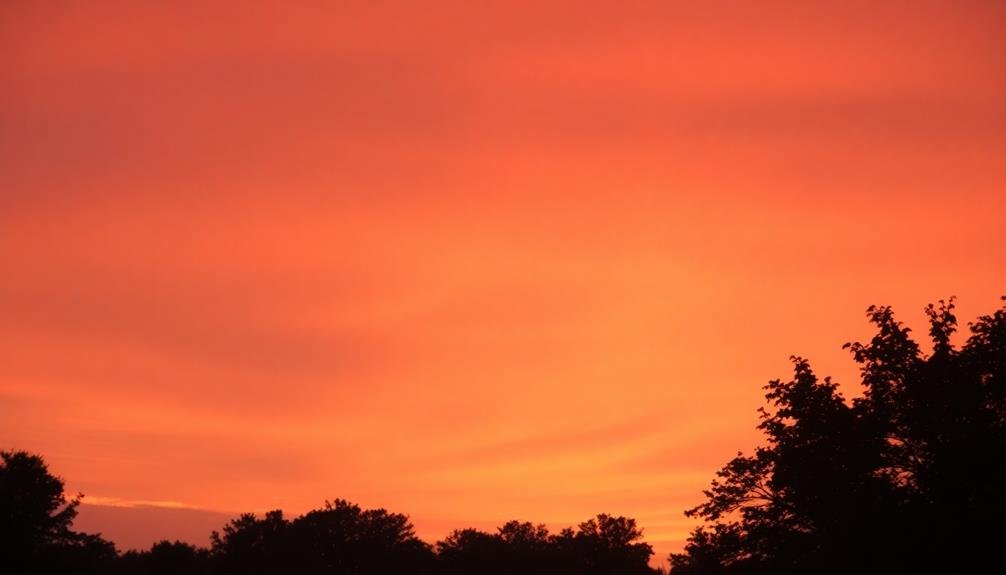
One of the most enchanting light leak effects you can create in sky photography is the Gaussian blur streak. This technique adds a dreamy, ethereal quality to your images by introducing soft, elongated streaks of light across the sky.
To achieve this effect, you'll need to use photo editing software that offers Gaussian blur and masking capabilities. Start by duplicating your sky layer and applying a strong Gaussian blur to the duplicate.
Next, create a mask on this blurred layer and use a soft brush to reveal streaks of the blurred sky. Experiment with different brush sizes and opacities to create varied effects. You can also adjust the angle of your streaks to complement the composition of your image.
For added realism, consider the direction of light in your original photo. Align your streaks with the natural light source to maintain a cohesive look.
Don't be afraid to layer multiple streaks with different colors and intensities. This can create depth and dimension in your sky, enhancing the overall impact of your photograph. Remember to blend the edges of your streaks carefully to avoid harsh shifts between the original and blurred areas.
Bokeh Texture Light Leaks

Bokeh, the aesthetic quality of out-of-focus blur in photography, can be creatively applied to light leak effects in sky photography. To create bokeh texture light leaks, you'll need to experiment with shapes and patterns that mimic the circular or hexagonal blur often seen in out-of-focus highlights.
Start by creating a new layer in your editing software and use a soft, round brush to paint circular shapes in various sizes. Adjust the brush's opacity and flow to achieve a natural, gradient-like effect. You can also use custom brushes or shapes to create more intricate bokeh patterns, such as stars or hearts.
Next, apply a Gaussian blur to soften the edges of your bokeh shapes. Experiment with different blur amounts to find the right balance between definition and softness. To add depth and dimension, try using multiple layers of bokeh with varying opacities and blending modes.
For a more realistic effect, consider adding a subtle color gradient to your bokeh light leaks. Use warm tones like orange or yellow to simulate sunlight, or cool blues for a moonlit atmosphere.
Don't forget to adjust the overall opacity of your bokeh layer to blend seamlessly with your sky photograph.
Color Splash Leak Technique
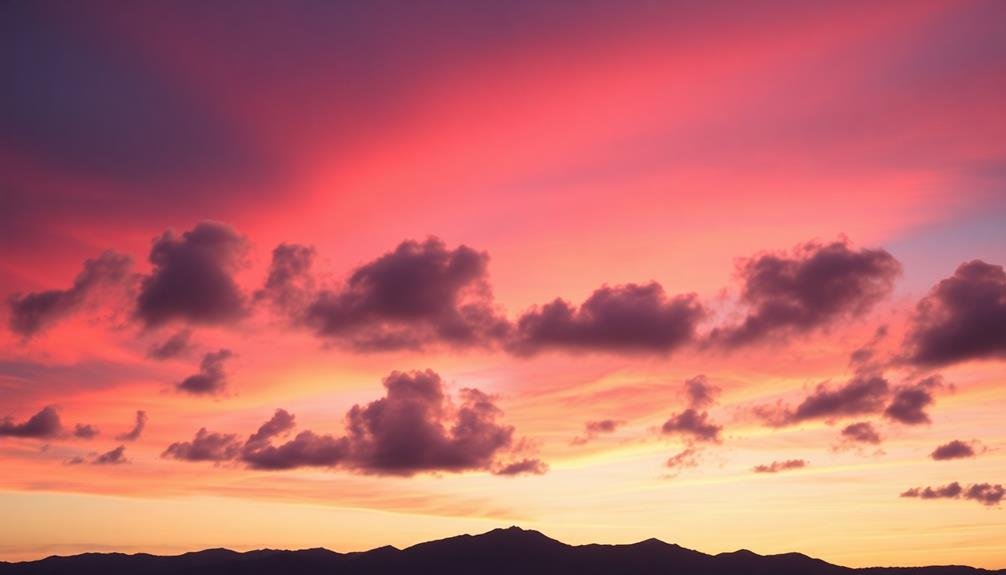
Release vibrant energy in your sky photographs with the Color Splash Leak Technique. This method involves introducing bursts of color into your images, creating a dynamic and eye-catching effect.
To achieve this, you'll need colored gels or translucent materials and a light source. Start by selecting a gel color that complements or contrasts with your sky's natural hues. Position the gel near the edge of your lens, allowing light to pass through it and onto your camera's sensor. You can use a flashlight or even the sun as your light source.
Experiment with different angles and distances to control the intensity and spread of the color splash. For more precise control, try using multiple gels of varying colors. Layer them or place them at different points around your lens to create a multi-colored splash effect.
You can also move the gels during a long exposure to create streaks or patterns of color across your sky image. Remember to balance the color splash with your composition. Use it to enhance the mood or draw attention to specific areas of your sky photograph.
With practice, you'll master this technique to add a unique, artistic flair to your sky photography.
Radial Gradient Light Streaks
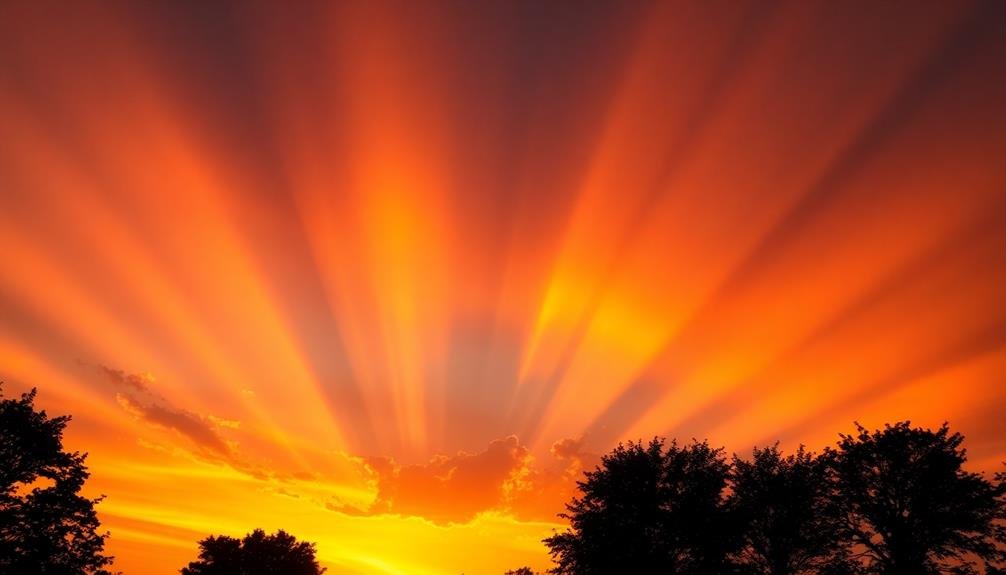
Radial gradient light streaks offer a fascinating way to enhance your sky photographs with dynamic, celestial-like effects. This technique simulates the appearance of light rays emanating from a central point, creating a sense of movement and depth in your images.
To achieve this effect, you'll need photo editing software with gradient tools. Start by selecting a radial gradient and positioning its center where you want the light source to appear. Choose a warm color like yellow or orange for a natural sunburst effect, or experiment with cooler tones for a more ethereal look.
Adjust the gradient's opacity and feathering to blend seamlessly with your sky. Create multiple radial gradients with varying lengths and angles to add complexity to your light streaks. Layer these gradients, adjusting their blend modes to achieve the desired interaction with your sky's colors.
Consider using the screen or overlay blend mode for a more subtle effect, or lighten for bolder streaks. Don't overdo it – aim for a balance between the original sky and your added light streaks. Subtle adjustments often yield the most realistic and appealing results.
Practice with different sky photos to master this technique and develop your unique style.
Frequently Asked Questions
What Camera Settings Are Best for Capturing Light Leaks in Sky Photography?
To capture light leaks in sky photography, you'll want to use a wide aperture (f/1.8-f/4), slow shutter speed (1/60-1/15), and higher ISO (400-1600). Experiment with manual mode and adjust settings based on lighting conditions.
Can Light Leak Effects Be Achieved Without Specialized Equipment or Post-Processing?
Yes, you can create light leak effects without special gear or editing. Try these techniques: use a clear plastic bag over your lens, shoot through prisms or crystals, or partially cover your lens with your hand while shooting.
How Do Weather Conditions Affect Natural Light Leaks in Outdoor Photography?
Weather plays a big role in natural light leaks. You'll notice more pronounced effects on overcast days with diffused light. Bright, sunny conditions can create harsher leaks, while fog or mist can soften and scatter the light beautifully.
Are There Any Risks to Camera Sensors When Intentionally Creating Light Leaks?
You should be cautious when intentionally creating light leaks. There's a risk of damaging your camera's sensor if you're not careful. Excessive light exposure can cause overheating or permanent damage. It's best to use controlled methods or post-processing techniques.
What's the Difference Between Intentional Light Leaks and Unwanted Lens Flares?
You'll find that intentional light leaks are deliberate effects you create, often by letting light enter the camera body. Unwanted lens flares, however, occur when light directly hits your lens, causing unintended artifacts in your image.
In Summary
You've now got seven powerful light leak techniques to elevate your sky photography. Don't be afraid to experiment and combine these methods for unique results. Remember, there's no right or wrong way to use light leaks—it's all about creating the mood and atmosphere you're after. With practice, you'll develop your own signature style. So grab your camera, head outside, and let your creativity shine through the sky!

As educators and advocates for responsible drone use, we’re committed to sharing our knowledge and expertise with aspiring aerial photographers.


Leave a Reply