To capture perfect aerial surveys, you'll need to master key camera settings. Start with a fast shutter speed (1/1000th or higher) to minimize blur. Set your aperture between f/8 and f/11 for ideal depth of field. Keep ISO low to reduce noise, and use manual focus or hyperfocal distance for consistent sharpness. Adjust white balance for accurate colors, and employ exposure compensation in tricky lighting. Choose matrix or center-weighted metering for balanced exposures. Configure interval shooting to guarantee proper overlap, and fine-tune your gimbal for stability. These settings form the foundation for high-quality aerial mapping, but there's always more to explore in the world of aerial photography.
Key Takeaways
- Set shutter speed to at least 1/1000th of a second to minimize motion blur from aircraft movement.
- Use aperture settings between f/8 and f/11 for optimal depth of field and image sharpness.
- Start with the lowest ISO setting (100 or 200) and increase gradually while monitoring image quality.
- Choose manual focus or autofocus based on lighting conditions and subject distance for consistent sharpness.
- Select RAW format for maximum data capture and post-processing flexibility in varying lighting conditions.
Shutter Speed for Sharp Images
When capturing aerial images, setting the right shutter speed is essential for sharp results. You'll need to balance exposure and motion blur to achieve crisp, detailed photos. For aerial mapping, faster shutter speeds are generally preferred to minimize blur caused by aircraft movement and vibration.
Start with a shutter speed of at least 1/1000th of a second as a baseline. This speed will help freeze motion and reduce the impact of camera shake. If you're flying at higher altitudes or in calmer conditions, you might get away with slightly slower speeds like 1/800th or 1/640th.
However, if you're operating in low-light conditions or using a higher f-stop for greater depth of field, you may need to adjust. In these cases, consider increasing your ISO to maintain a fast shutter speed without underexposing your images.
Remember that different aircraft and flight speeds may require adjustments. Test various shutter speeds during your initial flights to find the best setting for your specific setup.
Always review your images for sharpness and adjust accordingly. With practice, you'll develop a keen sense for the right shutter speed in various conditions, ensuring consistently sharp aerial mapping results.
Aperture Settings for Depth
Shutter speed isn't the only significant setting for aerial mapping cameras. Aperture also plays a vital role in achieving ideal depth of field for your aerial surveys. When capturing large areas from above, you'll want to guarantee that everything in your frame is sharp and in focus.
For aerial mapping, you'll typically want to use a smaller aperture (higher f-number) to maximize depth of field. An f-stop between f/8 and f/11 is often perfect, balancing depth of field with image quality. These settings help keep both nearby and distant objects in focus, which is necessary for creating accurate maps and 3D models.
However, don't automatically default to the smallest aperture your lens offers. Extremely small apertures (f/16 and beyond) can introduce diffraction, slightly reducing overall image sharpness. They also require slower shutter speeds or higher ISO settings to maintain proper exposure, potentially compromising image quality or introducing motion blur.
Consider your flying altitude and the terrain you're mapping when selecting your aperture. If you're flying at a higher altitude or over relatively flat landscapes, you might be able to use a slightly wider aperture (f/5.6 – f/8) without sacrificing essential depth of field.
ISO Sensitivity and Noise Control
After setting your aperture, it's crucial to take into account ISO sensitivity for your aerial mapping camera. ISO determines how sensitive your camera's sensor is to light, affecting both image brightness and noise levels.
For aerial mapping, you'll want to strike a balance between capturing enough light and minimizing digital noise that can compromise image quality.
Start with the lowest ISO setting possible for your lighting conditions, typically ISO 100 or 200. If you need to increase it, do so gradually while monitoring image quality. Higher ISOs introduce more noise, which can interfere with precise measurements and details in your aerial surveys.
To optimize ISO settings for aerial mapping:
- Use auto-ISO with upper limit set to prevent excessive noise
- Adjust shutter speed and aperture before increasing ISO
- Consider the time of day and weather conditions
- Test different ISO settings in various lighting scenarios
- Use noise reduction software in post-processing if necessary
Focus Mode Selection
When selecting your focus mode for aerial mapping, you'll need to choose between manual and autofocus.
Manual focus allows precise control, especially when using the hyperfocal distance technique to maximize depth of field.
However, autofocus can be faster and more convenient for rapidly changing scenes, so consider your specific mapping requirements and flying conditions when making your decision.
Manual vs. Autofocus
The choice between manual and autofocus can greatly impact the quality of your aerial mapping images. When deciding which to use, reflect on the specific requirements of your project and the environmental conditions you'll be working in.
Manual focus gives you complete control over the sharpness of your images. It's ideal for situations where you need consistent focus across multiple shots or when working in challenging lighting conditions. However, it requires more skill and can be time-consuming to adjust for each shot.
Autofocus, on the other hand, offers speed and convenience. It's particularly useful when you're dealing with varying distances or fast-moving subjects. Modern autofocus systems are highly accurate, but they can sometimes struggle in low-contrast scenes or when there's interference from objects in the foreground.
Here are key factors to reflect on when choosing between manual and autofocus:
- Lighting conditions
- Subject distance and movement
- Required depth of field
- Time constraints
- Your level of experience
Ultimately, the best choice depends on your specific needs and the nature of your aerial mapping project. You might even find that a combination of both methods works best for achieving ideal results in different scenarios.
Hyperfocal Distance Technique
One powerful technique for achieving ideal focus in aerial mapping is the hyperfocal distance method. This approach allows you to maximize your camera's depth of field, ensuring that everything from a certain distance to infinity remains sharp in your images.
To use this technique, you'll need to calculate the hyperfocal distance for your specific camera and lens combination. Start by determining your camera's sensor size, focal length, and aperture setting. Then, use a hyperfocal distance calculator or app to find the best focus distance.
Once you've got this number, set your lens to manual focus and adjust it to the calculated distance. This way, you'll capture crisp details from about half the hyperfocal distance to infinity.
For aerial mapping, you'll typically want to use a smaller aperture (higher f-number) to increase depth of field. However, be mindful of diffraction, which can occur at very small apertures and reduce overall image sharpness.
Experiment with different settings to find the sweet spot for your equipment and flying altitude. Remember, the hyperfocal distance technique works best when your camera remains at a consistent height above the ground.
White Balance Adjustments

When adjusting white balance for aerial mapping, you'll need to decide between auto and manual settings.
To guarantee accurate color reproduction, it's essential to calibrate your camera for the specific lighting conditions you'll encounter during your flight.
Consider the color temperature of the ambient light, as this will greatly impact the overall tone and accuracy of your aerial imagery.
Auto vs. Manual Settings
Photographers face an essential decision when it comes to white balance settings for aerial mapping: auto or manual? Auto white balance can be convenient, adjusting to changing light conditions without your intervention. However, it may not always produce consistent results across an entire survey.
Manual white balance gives you more control, ensuring uniformity throughout your mapping project.
Consider these factors when choosing between auto and manual white balance:
- Lighting conditions: Consistent or variable
- Survey duration: Short flights vs. lengthy missions
- Terrain diversity: Uniform landscapes or varied surfaces
- Post-processing requirements: Minimal editing or extensive color correction
- Equipment capabilities: Camera features and limitations
If you're dealing with stable lighting and want consistent results, manual white balance is often the better choice. Set it once at the beginning of your flight using a gray card or known neutral reference.
For changing conditions or when speed is vital, auto white balance can be a lifesaver. However, be prepared for potential variations in your images.
Ultimately, your decision should be based on your specific project needs and the level of control you require over your aerial mapping results.
Calibrating for Lighting Conditions
Calibrating for lighting conditions is a key step in achieving accurate and consistent aerial mapping results. You'll need to adjust your camera's white balance to guarantee colors appear natural and true-to-life in your aerial images.
Start by evaluating the current lighting conditions before takeoff. Is it sunny, overcast, or somewhere in between?
For sunny conditions, use the "daylight" or "sunny" white balance preset. If it's overcast, switch to the "cloudy" setting. These presets are designed to compensate for the color temperature of different light sources.
However, don't rely solely on presets. Take test shots and review them on a calibrated monitor to fine-tune your settings.
You can also use a custom white balance setting by photographing a gray card or white balance target in the same lighting conditions as your survey area. This method provides the most accurate results, especially in mixed lighting situations.
Remember that lighting conditions can change rapidly during your flight. Be prepared to adjust your white balance settings mid-survey if necessary.
Some advanced drones allow you to change camera settings remotely, making it easier to adapt to changing conditions without landing.
Color Temperature Considerations
Color temperature plays an essential role in aerial mapping photography. When you're capturing images from above, you'll need to take into account the various light sources affecting your shots. The sun's position, atmospheric conditions, and even reflections from the ground can all impact the color temperature of your images.
To guarantee accurate color representation in your aerial surveys, you'll want to adjust your camera's white balance settings. Here are key considerations:
- Time of day: Early morning and late afternoon light tends to be warmer
- Weather conditions: Cloudy days produce cooler light
- Altitude: Higher altitudes can result in bluer light
- Terrain: Different surfaces reflect light differently
- Seasonal changes: Foliage and snow can affect color temperature
You can use your camera's auto white balance setting, but for more precise results, think about using a custom white balance. This involves photographing a neutral gray card or target before your flight and using it as a reference.
Alternatively, you can shoot in RAW format, which allows for more flexibility in post-processing.
Image Format: RAW Vs JPEG
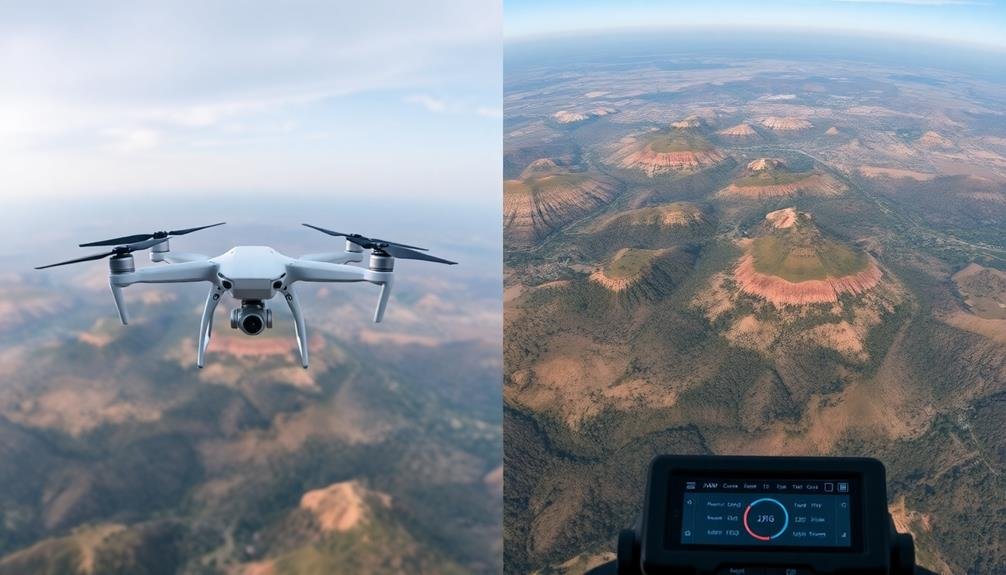
When selecting camera settings for aerial mapping, one of the most essential decisions you'll face is choosing between RAW and JPEG image formats.
RAW files offer superior flexibility and quality, capturing all data from the camera's sensor without compression. This allows for extensive post-processing adjustments, including exposure, white balance, and color correction. However, RAW files are larger, requiring more storage space and processing power.
JPEG files, on the other hand, are compressed and processed in-camera, resulting in smaller file sizes and faster processing times. They're ideal for projects with tight deadlines or limited storage capacity. However, JPEGs offer less flexibility in post-processing and may lose some image quality due to compression.
For aerial mapping, RAW is often preferred due to its ability to preserve detail and allow for precise adjustments. This is particularly important when dealing with varying lighting conditions or when stitching multiple images together.
If you're working with high-end mapping software that can process RAW files efficiently, it's usually the better choice. However, if you're confident in your camera settings and have limited processing resources, JPEG can still produce satisfactory results for many mapping applications.
Exposure Compensation Techniques
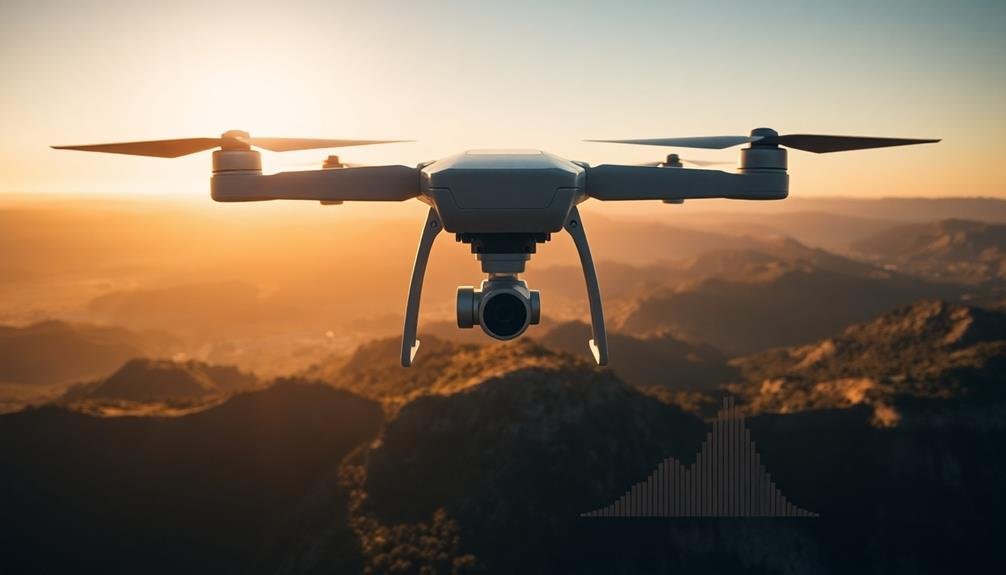
In light of the diverse lighting conditions encountered during aerial mapping, mastering exposure compensation techniques is vital.
You'll often face challenging scenarios where your camera's automatic settings may not capture the ideal exposure. By understanding and applying exposure compensation, you can guarantee your aerial images are properly exposed, maintaining detail in both highlights and shadows.
When adjusting exposure compensation, consider these key factors:
- Lighting conditions (bright sunlight, overcast skies, or shadows)
- Terrain reflectivity (water bodies, snow-covered areas, or dark forests)
- Time of day (early morning, midday, or late afternoon)
- Flight altitude and angle relative to the sun
- Camera sensor's dynamic range
Start by evaluating your camera's histogram to identify any exposure issues. If you notice clipped highlights or shadows, adjust your exposure compensation accordingly.
For bright scenes, you'll typically need to decrease exposure, while darker scenes may require an increase. It's essential to make small, incremental adjustments and review the results frequently.
Metering Mode for Accurate Exposure
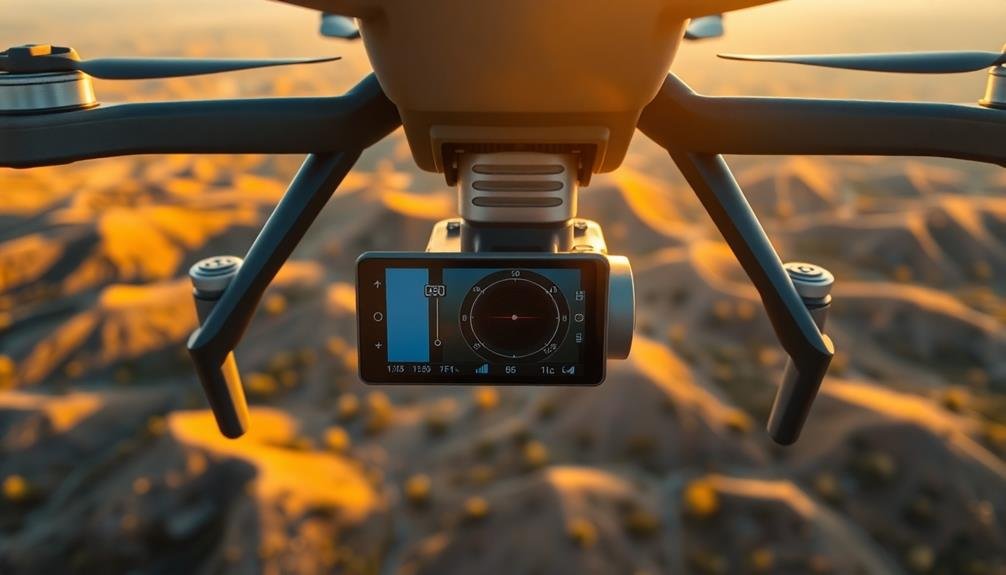
Closely related to exposure compensation is the choice of metering mode, which greatly impacts your aerial mapping results.
When shooting from above, you'll need to select a metering mode that guarantees accurate exposure across diverse landscapes.
For aerial mapping, matrix (or evaluative) metering is often your best choice. This mode analyzes the entire frame, considering factors like brightness, contrast, and color. It's particularly useful when you're capturing varied terrain with different light reflectance properties.
However, in some situations, you might opt for center-weighted metering. This mode prioritizes the central area of the frame, which can be beneficial when your main subject is consistently in the center of your shots.
Spot metering isn't typically recommended for aerial mapping, as it measures a small area and can lead to inconsistent exposures across a series of images. However, it can be useful in challenging lighting conditions or when you're focusing on specific features.
Interval Shooting Configuration
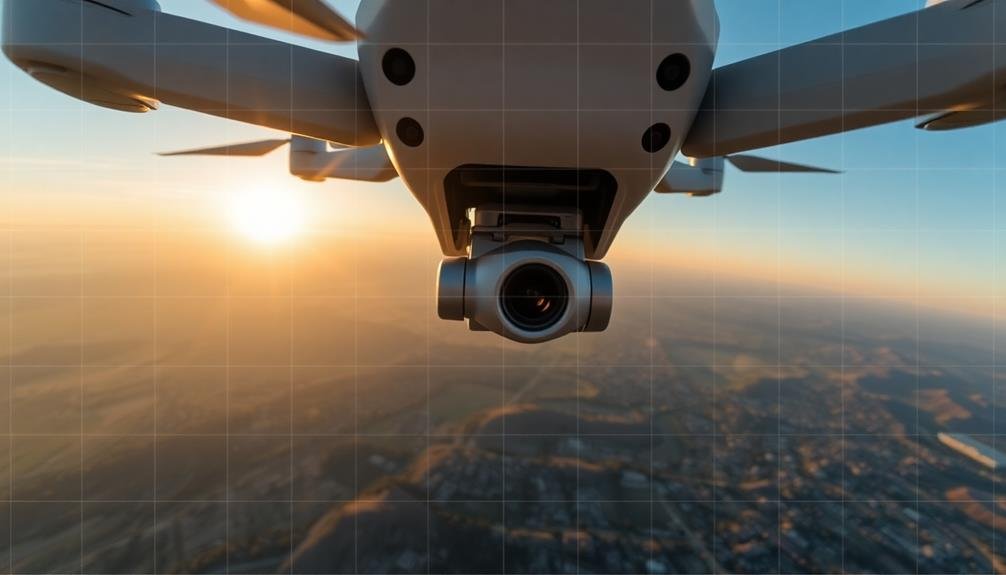
You'll need to carefully configure your camera's interval shooting settings for effective aerial mapping.
Set the best timing between shots to guarantee you're capturing enough images for complete coverage without overwhelming your storage capacity.
Strike a balance between shooting speed and area coverage by adjusting the interval based on your aircraft's velocity and altitude.
Optimal Timing Between Shots
When configuring interval shooting for aerial mapping, determining the ideal timing between shots is essential for capturing thorough imagery. You'll need to evaluate several factors to achieve optimal coverage without unnecessary overlap or gaps in your survey.
To calculate the best interval between shots, factor in:
- Your aircraft's speed
- The camera's field of view
- The desired overlap percentage
- The area's terrain variations
- The project's specific requirements
Start by estimating the ground distance your aircraft covers between shots. Divide this by your desired overlap percentage to determine the ideal interval. For example, if you're flying at 20 m/s and want 60% overlap, you might set a 2-second interval between shots.
Remember, it's better to err on the side of more frequent shots than risk gaps in your coverage. You can always discard redundant images later, but you can't recapture missing data without another flight.
Adjust your intervals based on the terrain you're mapping. Mountainous or hilly areas may require more frequent shots to maintain consistent overlap. In contrast, flat terrain allows for slightly longer intervals without compromising coverage quality.
Balancing Speed and Coverage
Striking the right balance between flight speed and area coverage is essential for efficient aerial mapping. You'll need to configure your camera's interval shooting settings to match your drone's speed and altitude. A faster flight speed requires shorter intervals between shots to maintain adequate overlap, while slower speeds allow for longer intervals.
To determine the ideal interval, consider your ground sampling distance (GSD) and desired image overlap. Calculate the distance your drone travels between shots based on its speed and the camera's field of view. Aim for 60-80% frontal overlap and 20-40% side overlap for most mapping projects.
Use this formula to calculate the interval time:
Interval (seconds) = (Image width x GSD) / (Speed x (1 – Overlap))
Adjust your drone's speed to accommodate the camera's maximum shooting rate if necessary. Remember that slower speeds increase flight time but provide better image quality and coverage.
Faster speeds cover more ground but may compromise image quality or require multiple flights. Always test your settings before starting a full mapping mission to guarantee you're capturing the data you need efficiently.
Gimbal Stabilization Settings
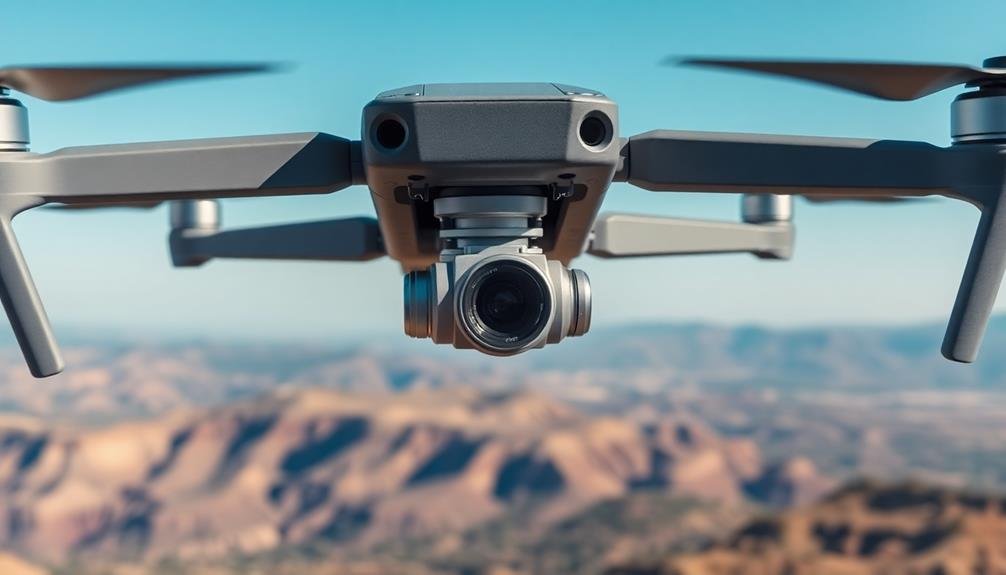
The gimbal stabilization settings play an essential role in capturing sharp, clear aerial images. When setting up your aerial mapping camera, you'll need to fine-tune these settings to guarantee ideal results.
Start by adjusting the gimbal's pitch and roll sensitivity to match your aircraft's movement patterns. This will help counteract any sudden jerks or vibrations during flight.
Next, consider the following key points for gimbal stabilization:
- Enable horizon leveling to maintain a consistent frame alignment
- Adjust damping settings to smooth out rapid movements
- Set the gimbal's follow mode to match your mapping flight pattern
- Configure the gimbal speed to complement your aircraft's velocity
- Use altitude-based adjustments for varying flight heights
Don't forget to test your gimbal settings before commencing your mapping mission.
You'll want to perform a series of test flights at different altitudes and speeds to confirm your stabilization is working effectively. If you notice any blurring or inconsistencies in your test images, fine-tune your settings accordingly.
Frequently Asked Questions
How Does Altitude Affect Camera Settings for Aerial Mapping?
As you increase altitude, you'll need to adjust your camera settings. Higher altitudes require wider apertures, faster shutter speeds, and higher ISO to compensate for reduced light and maintain image sharpness. Don't forget to recalibrate your focus.
What Camera Models Are Best Suited for Aerial Survey Photography?
You'll find Phase One and Hasselblad medium format cameras excel for aerial surveys. They offer high-resolution sensors, fast shutter speeds, and robust build quality. Don't overlook Sony's full-frame mirrorless options for their lightweight and versatile performance.
How Do Weather Conditions Impact Aerial Mapping Camera Settings?
Weather greatly affects your camera settings. You'll need to adjust shutter speed, aperture, and ISO for different conditions. Cloudy days require higher ISO, while bright sunlight needs lower ISO and faster shutter speeds to avoid overexposure.
Are There Specific Lens Recommendations for Different Types of Aerial Surveys?
Yes, you'll find specific lens recommendations for different aerial surveys. For wide-area mapping, use wide-angle lenses. Choose telephoto lenses for detailed inspections. Zoom lenses offer versatility. Consider your project's needs when selecting the appropriate lens.
What Software Is Commonly Used for Processing Aerial Survey Images?
You'll often use software like Pix4D, Agisoft Metashape, or DroneDeploy to process your aerial survey images. These tools help you stitch photos together, create 3D models, and generate detailed maps from your captured data.
In Summary
You've now got the essential camera settings for aerial mapping surveys. Remember, practice makes perfect. Don't be afraid to experiment with these settings in different conditions. You'll soon find the ideal combination for your specific needs. Keep learning, stay updated on new technologies, and always prioritize safety during your flights. With these tools in your arsenal, you're well-equipped to capture stunning, accurate aerial imagery for your mapping projects.

As educators and advocates for responsible drone use, we’re committed to sharing our knowledge and expertise with aspiring aerial photographers.


Leave a Reply