To plan an aerial mapping flight, you'll need to follow these seven essential steps: First, define your project requirements clearly. Next, assess the site conditions thoroughly. Then, choose ideal flight parameters for your mission. Carefully plan your flight path to guarantee efficient coverage. Select appropriate equipment that meets your project needs. Always check and comply with relevant regulations. Finally, prepare for contingencies to handle unexpected situations. By following these steps, you'll set yourself up for a successful and safe aerial mapping operation. Dive deeper into each step to master the art of flight planning for aerial surveys.
Key Takeaways
- Define project requirements, including purpose, coverage area, and desired output format.
- Assess site conditions, considering terrain, weather, obstacles, and local regulations.
- Choose optimal flight parameters, setting altitude, speed, and camera overlap for effective coverage.
- Plan an efficient flight path that accounts for terrain variations and environmental factors.
- Select appropriate equipment, including drone type and sensors, based on project needs and regulatory compliance.
Define Project Requirements
Before commencing on any aerial mapping mission, you must clearly define your project requirements. Start by identifying the specific purpose of your mapping project. Are you creating topographic maps, surveying land for development, or monitoring environmental changes?
Determine the exact area you need to cover and the level of detail required. This will influence your flight altitude and the type of sensors you'll use.
Consider the desired output format and resolution of your final product. Will you need high-resolution orthomosaics, 3D models, or digital elevation maps?
Factor in any time constraints or deadlines for project completion. Assess the terrain and potential obstacles in your mapping area, as these will affect your flight plan and safety considerations.
Evaluate the weather conditions you're likely to encounter and plan accordingly. Define your budget limitations, which may impact equipment choices and flight duration.
Finally, make sure you're aware of all relevant regulations and obtain necessary permits for your aerial mapping activities.
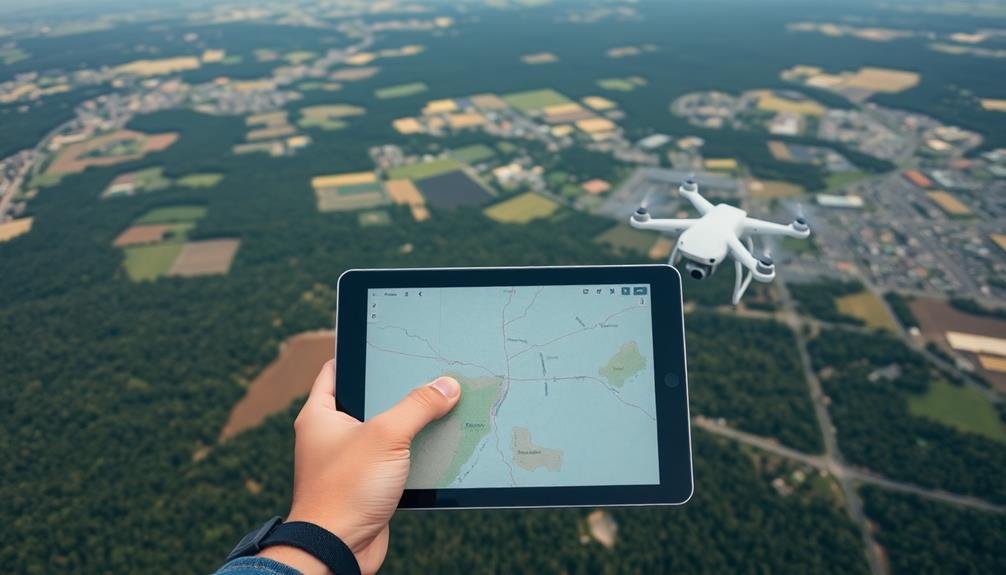
Assess Site Conditions
A thorough assessment of site conditions is essential for successful aerial mapping. You'll need to gather vital information about the area you're planning to survey. Start by examining topographical maps and satellite imagery to understand the terrain's features, including elevation changes, water bodies, and vegetation.
Check local weather patterns and forecasts for the planned flight dates. Wind speed, temperature, and precipitation can greatly impact your drone's performance and data quality.
You'll also need to identify potential obstacles like tall structures, power lines, or trees that could interfere with your flight path or obstruct your view.
Consider the time of day for your flight, as lighting conditions can affect image quality. Early morning or late afternoon often provide the best lighting for aerial photography.
Don't forget to research local regulations and airspace restrictions. You may need to obtain permits or clearances for certain areas.
Lastly, scout the site in person if possible. This allows you to identify suitable takeoff and landing zones, verify your planned flight paths, and spot any potential hazards not visible in maps or satellite imagery.
Choose Optimal Flight Parameters
When choosing ideal flight parameters, you'll need to set the altitude and speed for your aerial mapping mission.
You'll also configure the camera overlap to guarantee thorough coverage of the area.
These settings directly impact the quality and resolution of your mapping data, so it's vital to select them carefully based on your project requirements.
Altitude and Speed Settings
Setting up the ideal altitude and speed for your aerial mapping mission is crucial to achieving high-quality results. You'll need to balance several factors when determining these parameters.
For altitude, consider the required ground sampling distance (GSD) and the camera's specifications. Higher altitudes cover more area but reduce image resolution. Lower altitudes provide better detail but require more flight time and battery power.
Your flight speed affects image quality and coverage. Slower speeds allow for better image clarity and overlap but increase flight duration. Faster speeds cover more ground quickly but may compromise image quality due to motion blur. You'll want to find the sweet spot that maximizes efficiency without sacrificing data integrity.
Consider environmental factors like wind speed and direction when setting your altitude and speed. Strong winds may require adjustments to maintain stable flight and consistent image overlap. Always comply with local regulations regarding maximum flight altitudes and speeds.
Use flight planning software to calculate ideal settings based on your specific camera, drone model, and project requirements. Test different configurations in a small area before committing to full-scale mapping to confirm you're achieving the desired results.
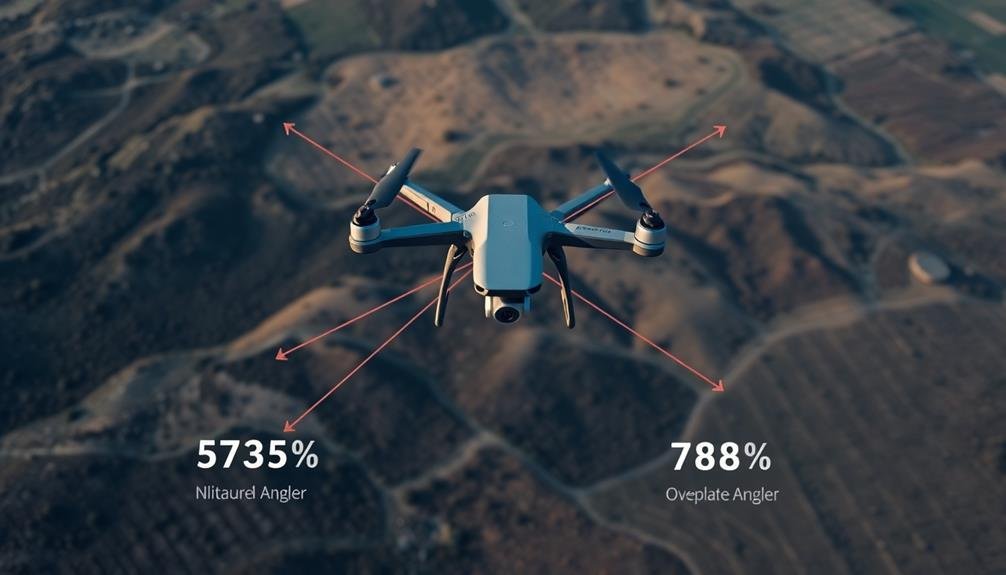
Camera Overlap Configuration
Properly configuring camera overlap is vital for successful aerial mapping. You'll need to set both forward overlap (between consecutive images in a flight line) and side overlap (between adjacent flight lines). Typically, aim for 70-80% forward overlap and 60-70% side overlap for most mapping projects.
To calculate the ideal overlap, consider your camera's field of view, flying altitude, and ground sampling distance (GSD). Higher overlap percentages result in more data redundancy, which can improve the quality of your final map but also increases processing time and storage requirements.
Adjust your overlap settings based on the terrain you're mapping. For areas with uniform features like fields or deserts, you can use lower overlap percentages. However, for complex urban environments or densely forested areas, increase the overlap to guarantee sufficient image matching points.
Remember that wind conditions can affect your drone's flight path, potentially reducing overlap. To compensate, slightly increase your overlap settings or use a flight planning app that adjusts for wind drift.
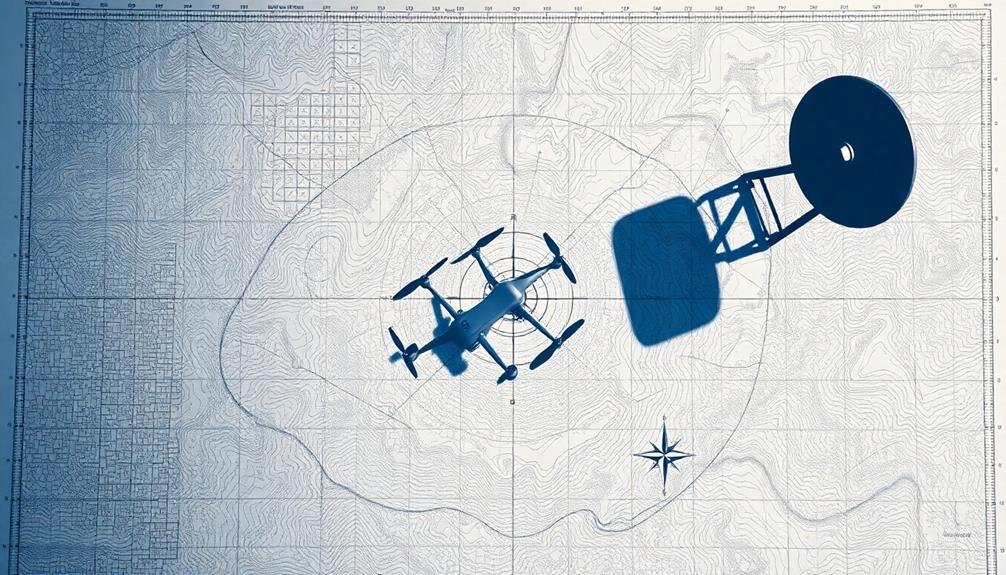
Plan Flight Path
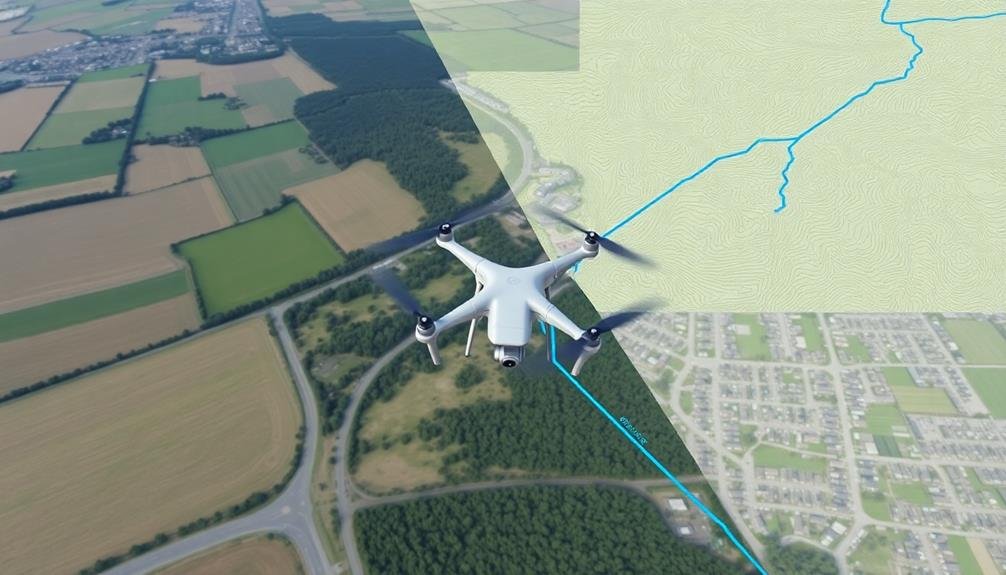
When planning your flight path for aerial mapping, you'll need to optimize flight patterns for efficient coverage.
You should design parallel flight lines that guarantee proper overlap between images while minimizing unnecessary duplication.
Don't forget to account for terrain variations, adjusting your flight altitude and path as needed to maintain consistent ground sampling distance across the entire survey area.
Optimize Flight Patterns
The key to successful aerial mapping lies in carefully planning your flight path. Once you've established your basic route, it's time to optimize your flight patterns for maximum efficiency and data quality.
Start by considering the shape of your survey area. For rectangular plots, parallel flight lines work best, while radial patterns suit circular areas better.
Adjust your flight altitude based on the required ground sampling distance and camera specifications. Remember, flying higher covers more area but reduces resolution. Overlap is essential for accurate data stitching, so aim for 60-80% front overlap and 20-40% side overlap between flight lines.
Factor in wind conditions when planning your flight direction. Flying perpendicular to strong winds can help maintain consistent ground speed and image quality.
Don't forget to account for terrain variations, adjusting your flight altitude as needed to maintain a consistent ground sampling distance.
Consider the sun's position to minimize shadows in your imagery. Plan flights during mid-day when possible, or adjust your flight direction to keep the sun at your back.
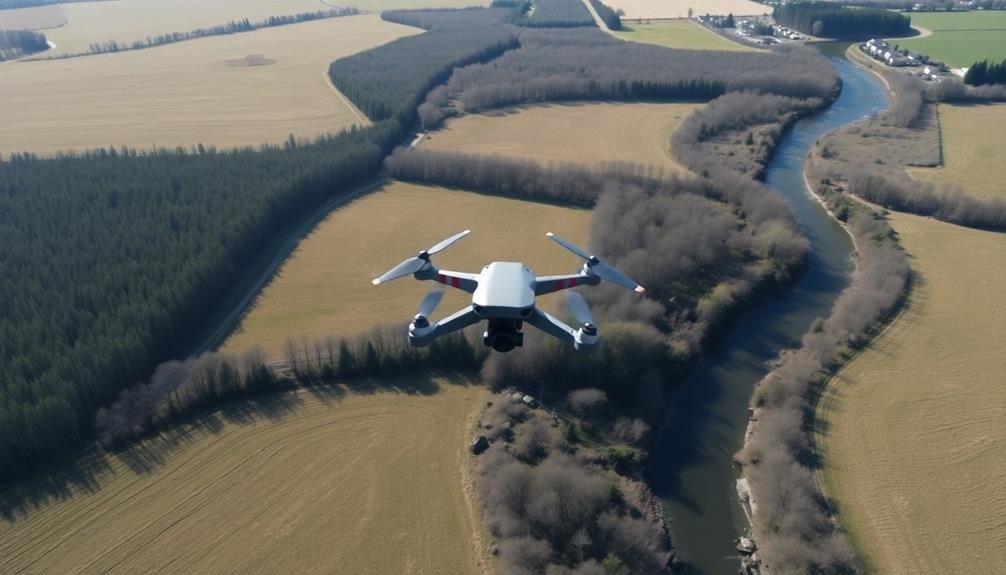
Consider Terrain Variations
How does terrain impact your aerial mapping mission? Terrain variations can considerably affect your flight plan, image quality, and data accuracy. You'll need to adjust your flight parameters based on the topography of your survey area.
Start by analyzing topographic maps and elevation data of your target region. Identify steep slopes, valleys, and peaks that might interfere with your drone's flight path or camera angles. You'll want to maintain a consistent ground sampling distance (GSD) across the entire area, which means adjusting your flight altitude in hilly terrain.
For areas with considerable elevation changes, consider flying multiple missions at different altitudes to guarantee complete coverage. In mountainous regions, you may need to plan separate flights for each slope face to capture ideal imagery.
Don't forget to account for obstacles like tall trees or structures that could obstruct your drone's path or affect image quality.
When planning your flight path, verify your drone can safely clear all terrain features while maintaining the desired overlap between images. You may need to increase your side and forward overlap percentages in areas with complex topography to assure sufficient data for accurate 3D reconstruction.
Select Appropriate Equipment

Selecting the right equipment is vital for successful aerial mapping. You'll need to choose gear that's suitable for your specific project requirements and environmental conditions. Take into account factors like flight duration, payload capacity, and the type of data you're collecting.
Don't forget to account for weather conditions and terrain challenges when making your equipment selections.
Here's a list of significant equipment to evaluate:
- Drone or UAV
- Camera or sensor system
- GPS and navigation tools
- Data storage and processing devices
Your choice of drone or UAV should align with your mapping needs. Fixed-wing aircraft are ideal for covering large areas, while multi-rotor drones offer greater maneuverability in tight spaces.
The camera or sensor system you select will depend on the type of data you're collecting, such as RGB imagery, thermal data, or LiDAR scans. Make certain your GPS and navigation tools are accurate and reliable to maintain precise flight paths and georeference your data.
Finally, invest in adequate data storage and processing devices to handle the large amounts of information you'll collect during your mapping missions.
Check Regulatory Compliance

Once you've assembled your equipment, it's time to confirm you're operating within the law. Start by checking your local aviation authority's regulations for unmanned aerial vehicles (UAVs). In the US, consult the Federal Aviation Administration (FAA) rules for commercial drone operations. Verify you have the necessary certifications, such as a Part 107 license for commercial flights.
Review airspace restrictions in your mapping area. Use official aeronautical charts or approved apps to identify controlled airspace, temporary flight restrictions, and no-fly zones. If you're operating in controlled airspace, obtain proper authorization through the FAA's LAANC system or by filing a manual request.
Check local and state laws regarding drone use, as some areas have additional restrictions. Be aware of privacy laws and avoid flying over private property without permission. Verify your drone is properly registered and marked with its registration number.
Familiarize yourself with operational limitations, such as maximum altitude, visual line-of-sight requirements, and restrictions on flying over people or moving vehicles.
Don't forget to check weather conditions and confirm they meet regulatory requirements for safe flight operations.
Prepare for Contingencies
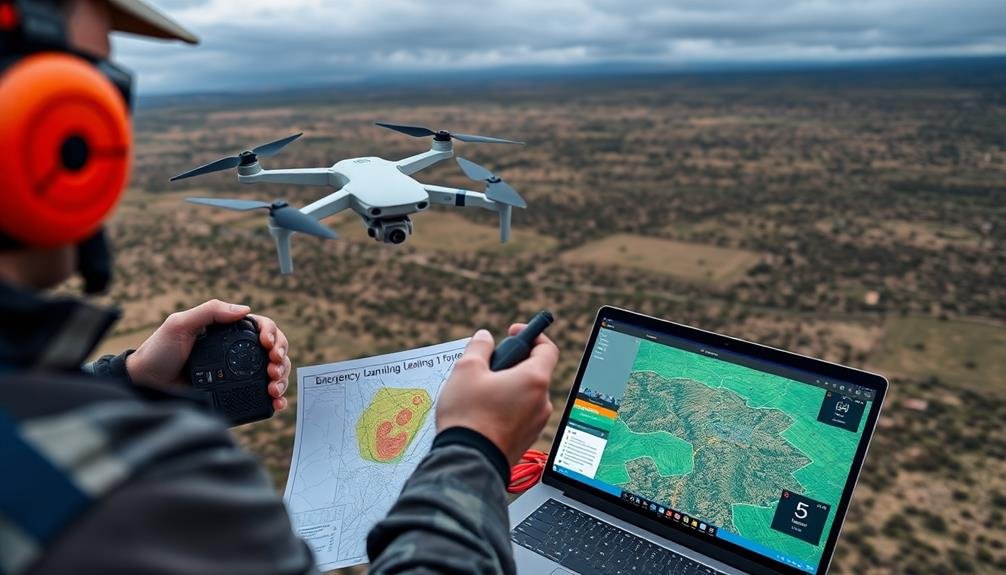
Every successful aerial mapping mission requires thorough contingency planning. You'll need to anticipate potential issues and develop strategies to address them. Start by evaluating the risks specific to your project, such as equipment failure, adverse weather conditions, or unexpected obstacles in the flight path.
Create a detailed contingency plan that outlines steps to take in various scenarios. This should include emergency landing procedures, communication protocols, and backup equipment lists. Don't forget to brief your team on these plans before the flight.
Here are four key contingencies to prepare for:
- Battery failure: Carry spare batteries and plan for safe landing zones.
- Loss of GPS signal: Set up visual markers and practice manual flight control.
- Sudden weather changes: Monitor forecasts and establish weather thresholds for aborting the mission.
- Airspace intrusions: Know the proper procedures for yielding to manned aircraft.
Always have a designated observer to monitor the drone and surrounding airspace. They can alert you to potential hazards and help implement contingency plans if needed.
Frequently Asked Questions
How Does Weather Affect Image Quality in Aerial Mapping?
Weather greatly impacts your aerial mapping image quality. You'll find clouds can obscure views, wind can cause blur, and rain can distort images. Sunlight affects shadows and reflections, while fog reduces visibility. Always check conditions before flying.
What Software Is Best for Processing Aerial Mapping Data?
You'll find Pix4D, Agisoft Metashape, and DroneDeploy are top choices for processing aerial mapping data. They offer user-friendly interfaces, powerful photogrammetry tools, and robust features for creating high-quality orthomosaics, 3D models, and digital elevation maps.
How Often Should Drone Equipment Be Calibrated for Mapping Missions?
You should calibrate your drone equipment before every mapping mission. It's essential to guarantee accuracy. However, if you're flying frequently, weekly calibrations may suffice. Always follow manufacturer guidelines and adjust based on your specific usage patterns.
Can Aerial Mapping Be Conducted at Night or in Low-Light Conditions?
Yes, you can conduct aerial mapping at night or in low-light conditions. You'll need specialized equipment like thermal cameras or LiDAR sensors. It's essential to guarantee you're following local regulations and safety protocols for nighttime drone operations.
What Are the Common Challenges in Georeferencing Aerial Mapping Images?
You'll face challenges like GPS inaccuracies, camera distortions, and terrain variations when georeferencing aerial images. You're also likely to encounter issues with image overlap, control point accuracy, and software limitations during the process.
In Summary
You've now got the essential steps for planning your aerial mapping flight. By following these guidelines, you'll guarantee a safe, efficient, and successful mission. Remember, thorough planning is key to capturing high-quality data. Don't skip any steps, and always prioritize safety. As you gain experience, you'll refine your process, but these fundamentals will remain vital. Stay up-to-date with regulations and technology, and you'll be well-equipped for any aerial mapping project.
As educators and advocates for responsible drone use, we’re committed to sharing our knowledge and expertise with aspiring aerial photographers.


Leave a Reply