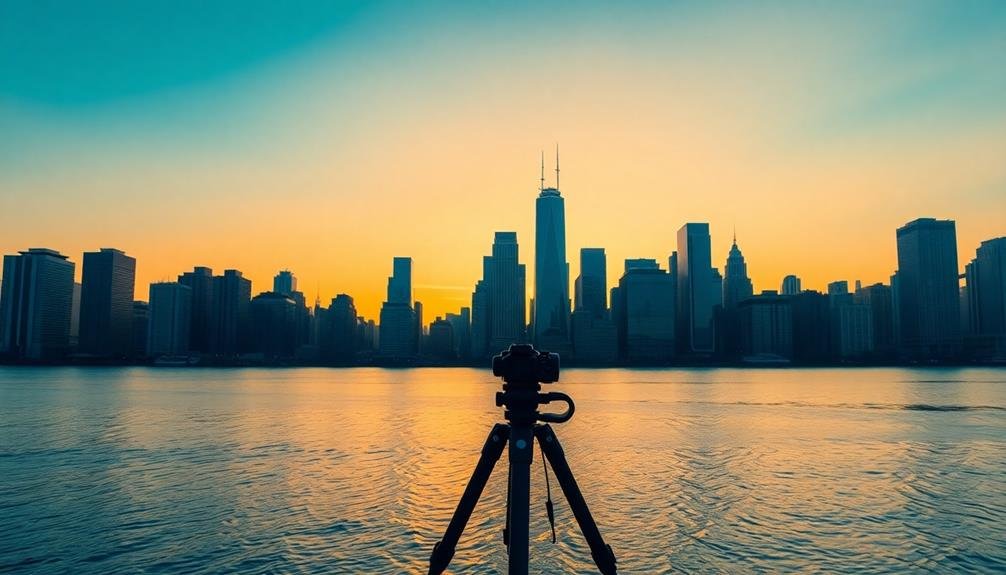
For stunning skyline panoramas, timing is essential. Shoot during golden hour or blue hour for ideal lighting. Scout perfect vantage points in advance, considering elevated positions for unobstructed views. Use manual camera settings to maintain consistent exposure and focus across frames. Overlap your shots by 30-40% to guarantee seamless stitching later. Keep the horizon level throughout your series for a professional look. Experiment with composition, incorporating foreground elements or trying vertical panoramas. Finally, master post-processing techniques to stitch and fine-tune your images. With these tips, you'll be well on your way to capturing breathtaking cityscapes that will leave viewers in awe.
Key Takeaways
- Shoot during golden hour or blue hour for optimal lighting conditions and dramatic sky colors.
- Use manual camera settings to maintain consistent exposure and focus across all frames.
- Overlap images by 30-40% when panning to ensure seamless stitching in post-processing.
- Experiment with elevated vantage points like rooftops or hills for unobstructed skyline views.
- Apply proper horizon alignment techniques to enhance the professionalism and visual appeal of your panoramas.
Choose the Right Time
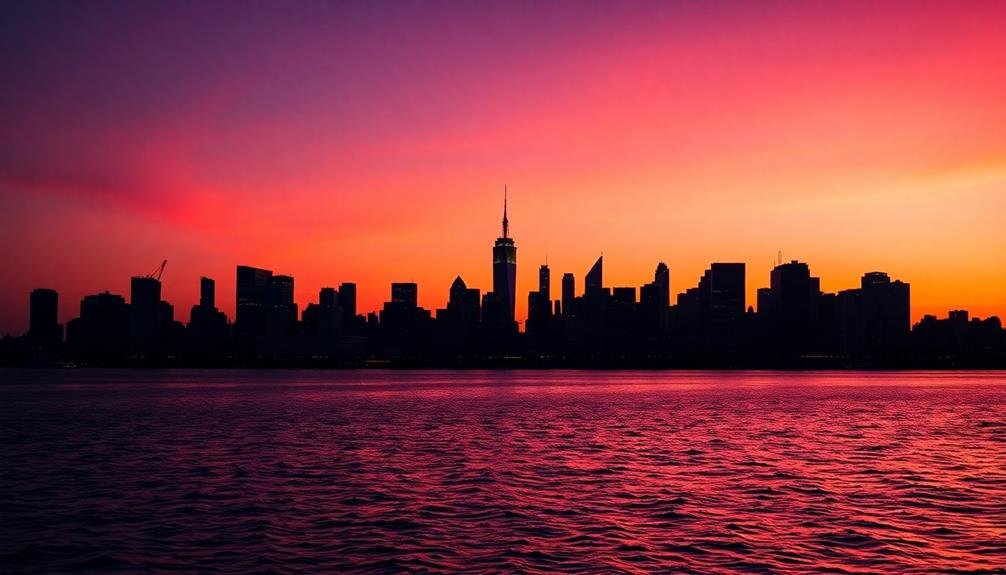
Timing is essential when it comes to panoramic photography. To capture stunning skyline shots, you'll want to take into account the golden hour, which occurs just after sunrise or before sunset. During this time, the soft, warm light creates a magical atmosphere, enhancing the colors and textures of your panorama.
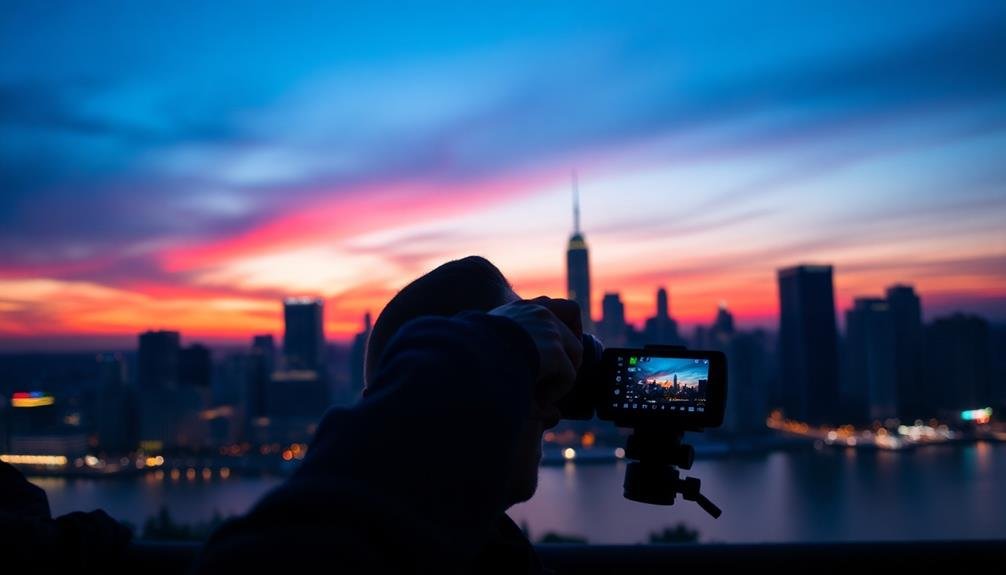
Don't overlook the blue hour, occurring before sunrise or after sunset, when the sky takes on a deep blue hue. This period can yield dramatic results, especially when city lights begin to twinkle against the darkening sky.
For cityscapes, try shooting during the shift from day to night. You'll capture a dynamic range of light, from illuminated buildings to the fading natural light.
Weather conditions also play a vital role. Partly cloudy days can add drama and interest to your panoramas, while clear skies work well for clean, crisp shots.
Take into account seasonal changes too. Autumn foliage or winter snow can transform a landscape, offering unique panoramic opportunities.
Lastly, be patient and prepared to revisit locations. Sometimes, the perfect conditions align unexpectedly, so always have your camera ready.
Scout Ideal Vantage Points

When scouting for panorama locations, you'll want to research the best skyline viewing spots in your area.
Check if these vantage points are easily accessible and safe for you and your equipment.
Don't forget to factor in how the time of day might affect your shots, as lighting can dramatically change the mood of your panoramas.
Research Skyline Viewing Locations
Scouting ideal vantage points is essential for capturing stunning skyline panoramas. To find the best locations, start by researching popular skyline viewing spots in your target city. Check online photography forums, social media platforms, and travel websites for recommendations from other photographers.
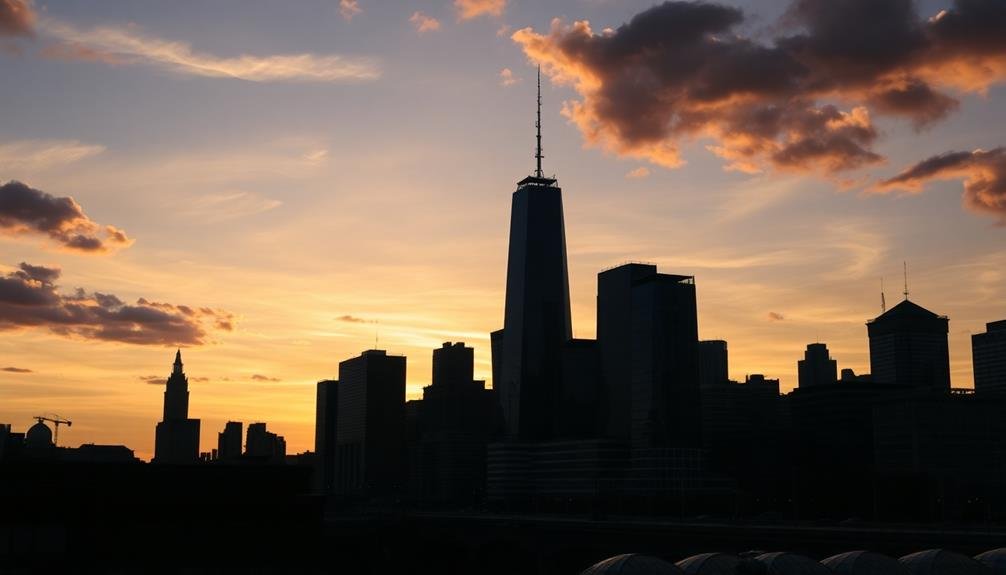
Don't limit yourself to well-known tourist spots; seek out hidden gems that offer unique perspectives. Consider elevated positions like rooftop bars, observation decks, or nearby hills that provide unobstructed views of the cityscape. Parks and waterfronts often offer excellent vantage points, especially for cities with rivers or harbors.
Use mapping tools like Google Earth to scout potential locations and visualize the skyline from different angles. Pay attention to the direction of the sun throughout the day. You'll want to choose locations that align with your desired lighting conditions, whether it's golden hour, blue hour, or nighttime cityscapes.
Research any access restrictions or permits required for your chosen spots. Some locations may have limited hours or require advance booking. By thoroughly researching skyline viewing locations, you'll be well-prepared to capture breathtaking panoramas that showcase the city's architectural beauty and unique character.
Evaluate Accessibility and Safety
Once you've identified potential vantage points, it's time to evaluate their accessibility and safety. Reflect on how you'll reach each location, whether by car, public transport, or on foot. Check if there are any restrictions or permits required for access, especially for rooftops or private property. Assess the terrain and potential hazards, such as steep cliffs or unstable surfaces, to guarantee you can set up your equipment safely.
Visit each spot during different times of day to gauge lighting conditions and crowd levels. Some locations may be perfect at sunrise but overcrowded at sunset. Look for stable ground to position your tripod and enough space to move around without obstructing others.
Don't forget to contemplate weather patterns and how they might affect your shoot.
When scouting locations, keep these emotional factors in mind:
- The thrill of discovering a hidden gem with an unobstructed view
- The satisfaction of finding a safe spot that allows for creative freedom
- The excitement of imagining the stunning panoramas you'll capture
Consider Time of Day
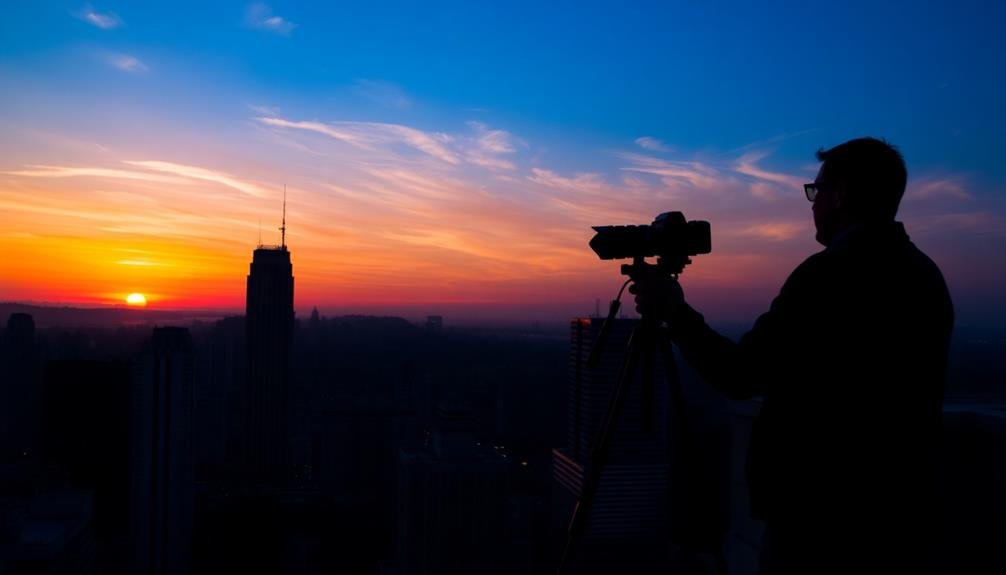
The time of day plays an essential role in capturing breathtaking panoramas. You'll want to contemplate the sun's position and how it affects your scene. Early morning and late afternoon offer the best lighting conditions, known as the "golden hours." During these times, the soft, warm light creates long shadows and enhances textures, adding depth to your panoramas.
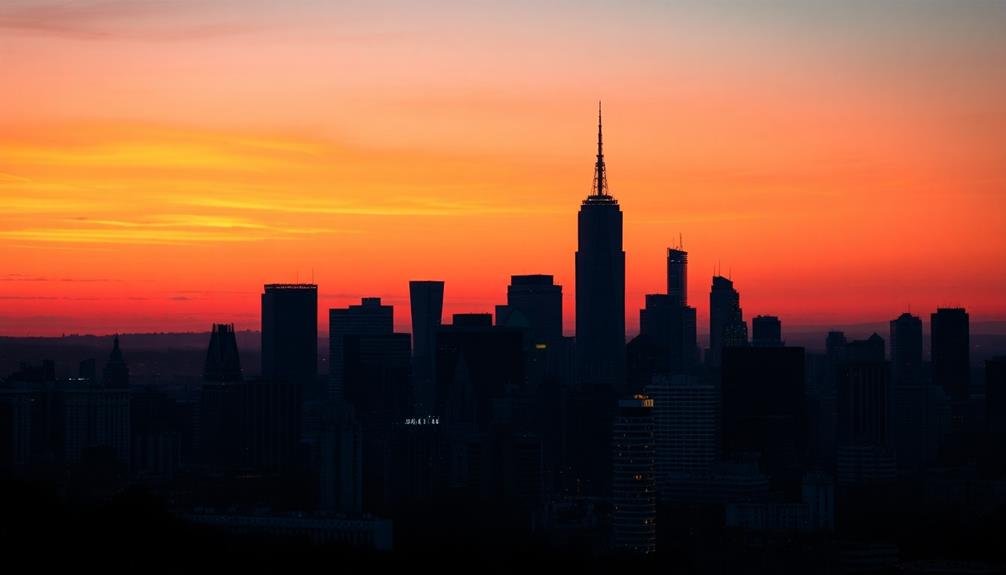
Sunrise and sunset can provide dramatic skies with vibrant colors, perfect for city skylines or landscape panoramas. However, you'll need to be prepared and arrive early to set up your equipment.
Mid-day light can be harsh and create unflattering shadows, but it's ideal for capturing clear, bright panoramas of expansive scenes.
Blue hour, the brief period just before sunrise or after sunset, offers a unique opportunity for cityscape panoramas. The sky takes on a deep blue hue, and city lights begin to twinkle, creating a magical atmosphere.
Night panoramas can be stunning, especially for cityscapes, but they require longer exposures and steady camera support. Ponder using bracketing techniques to capture a wider dynamic range in challenging lighting conditions.
Always check weather forecasts and plan your shoot accordingly to maximize your chances of capturing the perfect panorama.
Use Manual Camera Settings
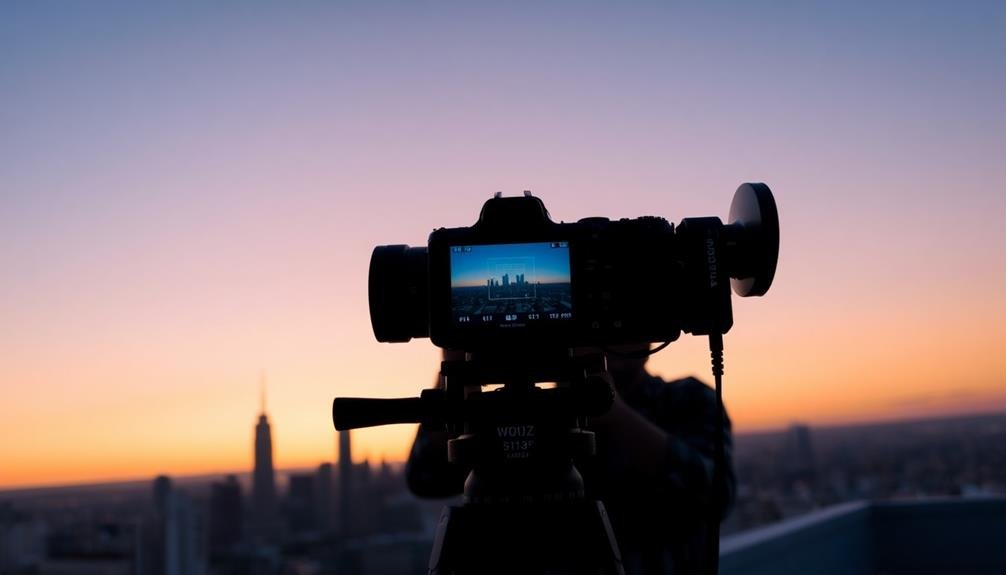
Mastery over your camera's manual settings is essential for creating stunning panoramas. When you're shooting a panorama, consistency is key. You'll want to maintain the same exposure, focus, and white balance across all the shots that'll make up your final image.
Start by switching your camera to manual mode. Set your aperture to f/8 or f/11 for a good depth of field, and adjust your shutter speed to achieve the correct exposure. Choose a fixed ISO that works well for the lighting conditions.
For focus, use manual focus and set it to the hyperfocal distance. This guarantees that everything from the foreground to the horizon is sharp. Lock your white balance to a specific setting rather than using auto. This prevents color shifts between frames.
Here are three reasons why using manual settings will elevate your panoramic photography:
- You'll capture the scene exactly as you envision it, not as the camera thinks it should be.
- Your images will blend seamlessly, creating a cohesive final panorama.
- You'll have greater control over the mood and atmosphere of your skyline shots.
Employ Proper Overlapping Technique
To create seamless panoramas, you'll need to master the art of overlapping your shots.
Aim to overlap each frame by 30-40% to guarantee you capture all the necessary details and provide enough information for stitching software.
As you pan across the scene, it's essential to maintain consistent exposure settings to avoid noticeable differences between frames.
Overlap by 30-40
When capturing panoramic shots, employing proper overlapping technique is vital for seamless results. To achieve this, you'll want to overlap your images by 30-40%. This generous overlap guarantees that you've got enough shared information between frames for your stitching software to work its magic.
It's a critical step that'll help you avoid gaps or misalignments in your final panorama. As you pan your camera, maintain a steady hand and consistent speed. This'll help keep your exposure and focus uniform across all images.
Remember, it's better to have too much overlap than not enough. You can always crop excess later, but you can't add what isn't there.
Here's why proper overlapping matters:
- It prevents frustrating gaps in your final image that can ruin an otherwise perfect shot.
- It gives you more flexibility in post-processing, allowing you to choose the best parts of each frame.
- It reduces the risk of parallax errors, especially when shooting scenes with nearby objects.
Maintain Consistent Exposure
Consistent exposure across all frames is just as important as proper overlapping in panoramic photography. To achieve this, you'll need to switch your camera to manual mode. This allows you to maintain the same settings throughout the entire sequence of shots.
Start by determining the ideal exposure for the scene. Take a test shot of the brightest area in your panorama and adjust your settings accordingly. Once you've found the right balance, lock in these settings for all subsequent frames. This guarantees that each image in your panorama has the same exposure, making it easier to stitch them together seamlessly.
Be mindful of changing light conditions, especially during sunrise or sunset. If the light shifts dramatically during your shoot, you may need to adjust your exposure mid-panorama. In such cases, it's best to start over to maintain consistency.
Don't rely on automatic white balance either. Set a fixed white balance that suits the scene to avoid color variations between frames.
Keep the Horizon Level
Before you even press the shutter, ensuring a level horizon is essential for stunning panoramas. A tilted horizon can ruin an otherwise perfect shot, making it appear amateurish and distracting. To keep your horizon level, use your camera's built-in level or grid overlay. If your camera doesn't have these features, invest in a hot shoe spirit level or rely on the rule of thirds grid in post-processing software.
When shooting, take a moment to scan the entire scene, paying close attention to where the horizon meets the edges of your frame. If you're capturing a series of images for stitching, maintain a consistent horizon line across all shots. This will make the stitching process much smoother and result in a more professional-looking final image.
Remember, a level horizon isn't just about technical precision; it's about creating a sense of balance and harmony in your panorama.
Here's why it matters:
- It evokes a feeling of stability and calmness in your viewers.
- It allows the eye to flow naturally across the entire image.
- It enhances the grandeur and expansiveness of the scene, leaving a lasting impression.
Experiment With Composition
Creativity is the key to enchanting panoramas. Don't limit yourself to standard horizontal shots; try vertical panoramas or even tilted angles for a unique perspective. Experiment with different focal lengths, from wide-angle to telephoto, to capture diverse scenes. You'll be surprised how a slight change in lens choice can dramatically alter your panorama's feel.
Consider including foreground elements to add depth and interest. A lone tree, rock formation, or architectural feature can serve as an anchor point, drawing the viewer's eye into the expansive scene. Play with the time of day and lighting conditions. Golden hour and blue hour offer soft, warm light that can transform cityscapes and landscapes alike.
To emphasize composition techniques, here's a quick reference table:
| Technique | Effect |
|---|---|
| Rule of Thirds | Balanced, pleasing composition |
| Leading Lines | Guides viewer's eye |
| Framing | Creates focus and depth |
| Symmetry | Evokes harmony and order |
| Contrast | Adds drama and visual interest |
Post-Processing Panorama Stitching
Post-processing is often where the magic of panorama photography truly comes to life. After capturing your series of overlapping shots, it's time to stitch them together seamlessly.
Start by importing your images into specialized panorama software or your preferred photo editing program. Most modern editing tools offer automated stitching features, but don't be afraid to make manual adjustments for ideal results.
Pay close attention to alignment and blending between individual frames. You'll want to guarantee smooth changes and consistent exposure across the entire panorama. If you notice any misalignments or distortions, use your software's tools to correct them.
Don't forget to crop your final image to remove any irregular edges resulting from the stitching process.
Here are three key aspects of post-processing that can elevate your panoramas:
- Fine-tune color balance and contrast to create a cohesive, striking image
- Remove any unwanted elements or distractions that may have crept into your frames
- Experiment with different aspect ratios to find the most impactful composition for your scene
Frequently Asked Questions
What Equipment Is Essential for Panorama Photography Besides a Camera?
You'll need a sturdy tripod to keep your camera stable. Don't forget a wide-angle lens for capturing expansive views. A remote shutter release helps prevent camera shake. Finally, consider a panoramic head for precise rotation between shots.
How Do You Handle Exposure Differences Across a Wide Panoramic Scene?
You'll want to use your camera's manual mode and bracket exposures. Set a consistent aperture, adjust shutter speed for different areas, and use graduated filters. In post-processing, blend exposures to balance the entire panorama.
Can You Create Panoramas With a Smartphone Camera?
Yes, you can create panoramas with your smartphone camera. Most modern smartphones have a built-in panorama mode. Simply select it, hold your phone steady, and slowly pan across the scene. The camera will stitch the images together automatically.
What's the Ideal Focal Length for Panoramic Skyline Shots?
For panoramic skyline shots, you'll want to use a wider focal length, typically between 24-35mm. This range gives you a good balance of capturing the scene's breadth while maintaining detail. Don't forget to overlap your shots!
How Do You Avoid Parallax Errors When Shooting Panoramas?
To avoid parallax errors, you'll want to use a tripod and rotate your camera around its nodal point. Use a panoramic head or find your lens's no-parallax point. Overlap shots by 30-50% for seamless stitching.
In Summary
You're now equipped with essential panorama photography tips for capturing breathtaking skylines. Remember, timing and location are vital, so plan ahead. Master your camera's manual settings and perfect your overlapping technique. Keep that horizon straight, and don't be afraid to get creative with composition. Finally, hone your post-processing skills to seamlessly stitch your images together. With practice, you'll be producing stunning panoramas that'll take viewers' breath away. Get out there and start shooting!
As educators and advocates for responsible drone use, we’re committed to sharing our knowledge and expertise with aspiring aerial photographers.


Leave a Reply