
To excel in aerial photogrammetry, you'll need these essential tools: a high-quality drone camera, ground control points (GCPs), a precise GPS/GNSS receiver, robust photogrammetry software, and a powerful computer or workstation. Don't forget a remote controller with a screen for better visibility, spare batteries and chargers to keep your drone airborne, and portable storage devices for managing your data. Calibration targets are vital for accuracy, while survey area preparation guarantees smooth operations. With these tools at your disposal, you'll be well-equipped to capture stunning aerial imagery and create accurate 3D models. The key to success lies in understanding how to leverage each tool effectively.
Key Takeaways
- High-quality drone camera with at least 20 megapixels and RAW image support for detailed aerial imagery.
- Survey-grade GPS/GNSS receivers for centimeter-level accuracy in geotagging and ground control point placement.
- Ground Control Points (GCPs) and calibration targets for accurate georeferencing and model validation.
- Powerful photogrammetry software to process aerial images into 3D models or maps.
- High-performance computer with multi-core processor, ample RAM, and fast storage for efficient data processing.
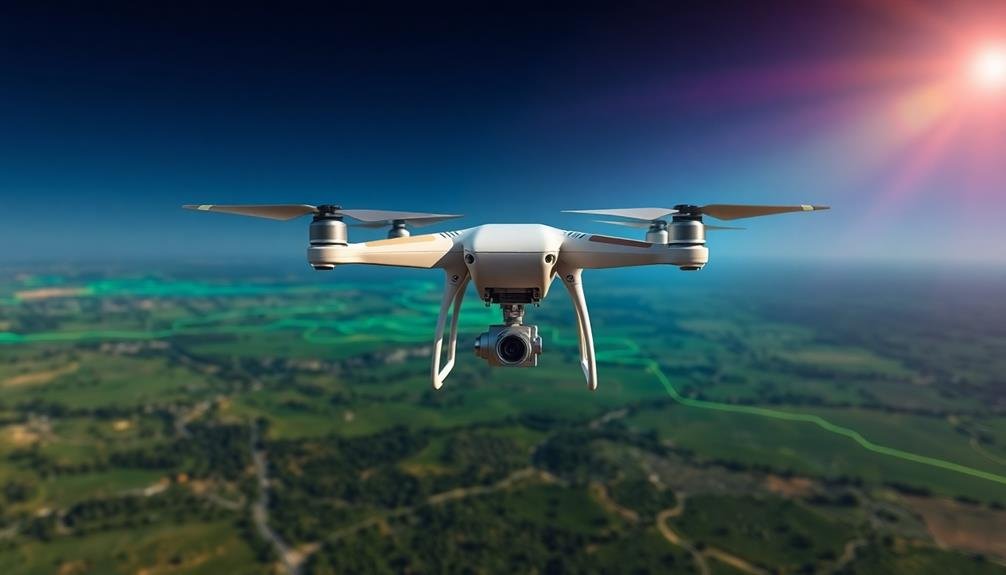
High-Quality Drone Camera

The heart of any aerial photogrammetry setup is a high-quality drone camera. You'll want to invest in a camera that offers high resolution, ideally 20 megapixels or more, to capture detailed images for accurate 3D modeling.
Look for a sensor size of at least 1 inch, as larger sensors generally provide better image quality and perform well in various lighting conditions.
Opt for a camera with a global shutter, which captures the entire image simultaneously, reducing distortion in moving objects. This feature is vital for maintaining geometric accuracy in your photogrammetry projects.
Verify your camera supports RAW image format, allowing for greater flexibility in post-processing and preserving more image data.
Consider cameras with adjustable aperture settings, giving you control over depth of field and exposure. A wide-angle lens is often preferred for aerial photogrammetry, as it captures more area in each shot, reducing the number of images needed for complete coverage.
Ground Control Points (GCPs)

Ground Control Points (GCPs) are essential for accurate aerial photogrammetry, and you'll need to master their placement for ideal results.
You'll also require high-precision GPS receivers to accurately record the coordinates of your GCPs.
Don't forget to invest in durable, weather-resistant materials for marking your GCPs, ensuring they remain visible throughout your survey.
Importance of GCP Placement
Three key factors make Ground Control Points (GCPs) essential in aerial photogrammetry: accuracy, georeferencing, and model validation. To maximize these benefits, you'll need to carefully consider GCP placement. Start by distributing GCPs evenly across your survey area, guaranteeing coverage in both horizontal and vertical planes.
Place them at the edges and corners of your site to establish a strong geometric network. When working with varied terrain, position GCPs at high and low elevations to capture the full range of heights. Avoid clustering GCPs, as this can lead to localized accuracy improvements at the expense of overall model quality.
Aim for a minimum of five well-distributed GCPs, but remember that more points generally yield better results. You'll want to place GCPs on stable, easily identifiable features that contrast with their surroundings. This makes them easier to locate in your aerial imagery.
Consider using artificial targets if suitable natural features aren't available. Finally, make sure your GCPs are visible from multiple camera positions to improve their effectiveness in model adjustment and validation. By following these placement guidelines, you'll greatly enhance the accuracy and reliability of your photogrammetric outputs.
Accurate GPS Receivers
After carefully placing your GCPs, you'll need accurate GPS receivers to determine their precise locations. These receivers are essential for obtaining the high-precision coordinates required for accurate photogrammetry results. You'll want to use survey-grade GPS receivers that can achieve centimeter-level accuracy.
When selecting a GPS receiver, consider factors such as accuracy, reliability, and ease of use. Here's a comparison of different GPS receiver types:
| Type | Accuracy | Cost | Typical Use |
|---|---|---|---|
| Consumer-grade | 3-5 meters | Low | Recreational |
| Mapping-grade | 0.5-2 meters | Medium | GIS mapping |
| Survey-grade | 1-3 cm | High | Surveying, photogrammetry |
| RTK GPS | 1-2 cm | Very high | High-precision surveys |
For aerial photogrammetry, you'll want to use survey-grade or RTK GPS receivers. These provide the level of accuracy needed for precise georeferencing of your aerial imagery. Remember to calibrate your GPS receiver before use and follow proper data collection procedures. This includes allowing sufficient time for the receiver to lock onto satellites and taking multiple measurements at each GCP to guarantee accuracy.
GCP Marking Materials
When it comes to marking your GCPs, choosing the right materials is essential for guaranteeing they're visible in your aerial imagery. You'll want to use high-contrast, durable materials that stand out against the surrounding terrain.
For most applications, you can't go wrong with spray paint. Choose bright colors like white, yellow, or orange that contrast well with the ground. X-shaped markings are standard, but you can also use circles or crosses. Make sure your markings are large enough to be visible from your planned flight altitude.
In situations where spray paint isn't suitable, consider using plastic or fabric targets. These come in various sizes and colors, and you can easily secure them with stakes or sandbags.
For longer-term projects, invest in durable metal or PVC markers that can withstand weathering.
Don't forget to factor in the terrain and lighting conditions when selecting your GCP materials. In snowy areas, dark-colored markers work best, while in desert environments, you'll want to use cooler colors that don't blend with the sand.
Always test your chosen materials before the full flight to guarantee they're clearly visible in your aerial photographs.
GPS/GNSS Receiver
Your GPS/GNSS receiver is essential for achieving high accuracy and precision in aerial photogrammetry.
You'll benefit from improved positional data for your drone and captured images, enhancing the overall quality of your 3D models and orthomosaics.
With real-time positioning capabilities, you can efficiently plan and execute flights, ensuring ideal coverage and reducing the need for time-consuming post-processing adjustments.
Accuracy and Precision Benefits
Precision is the hallmark of a GPS/GNSS receiver in aerial photogrammetry. You'll enjoy enhanced accuracy in your aerial surveys, as these devices can pinpoint locations within centimeters. This level of precision allows you to create highly detailed 3D models and orthomosaics, essential for various applications like construction, agriculture, and environmental monitoring.
By integrating a GPS/GNSS receiver into your aerial photogrammetry setup, you'll achieve:
| Benefit | Impact |
|---|---|
| Improved georeferencing | Precise location data for each image |
| Reduced ground control points | Save time and resources in the field |
| Enhanced data consistency | Minimize errors in image alignment |
| Faster post-processing | Streamlined workflow and quicker results |
| Increased project scalability | Tackle larger areas with confidence |
These benefits translate to more efficient workflows and higher-quality outputs. You'll be able to capture accurate spatial data quickly, reducing the time spent on fieldwork and post-processing. The improved precision also means you can detect subtle changes in landscapes over time, making your aerial photogrammetry projects more valuable for long-term monitoring and analysis. Ultimately, investing in a quality GPS/GNSS receiver will elevate the accuracy and reliability of your aerial photogrammetry work.
Real-Time Positioning Capabilities
Real-time positioning capabilities set GPS/GNSS receivers apart in aerial photogrammetry. These tools provide precise location data for your drone and camera during flight, enabling you to accurately geotag your images and create highly accurate 3D models. With a high-quality GPS/GNSS receiver, you'll achieve centimeter-level accuracy in your aerial surveys.
You'll want to look for receivers that support multiple satellite constellations, including GPS, GLONASS, Galileo, and BeiDou. This multi-constellation support guarantees better coverage and accuracy, even in challenging environments.
Additionally, seek out receivers with real-time kinematic (RTK) or post-processed kinematic (PPK) capabilities for enhanced precision.
When choosing a GPS/GNSS receiver, consider its update rate. Higher update rates, such as 10Hz or 20Hz, provide more frequent position updates, which is vital for maintaining accuracy during fast-moving drone flights.
Also, verify the receiver integrates seamlessly with your drone and camera system. Some receivers come as built-in components of advanced drones, while others can be added as external modules.
Photogrammetry Software
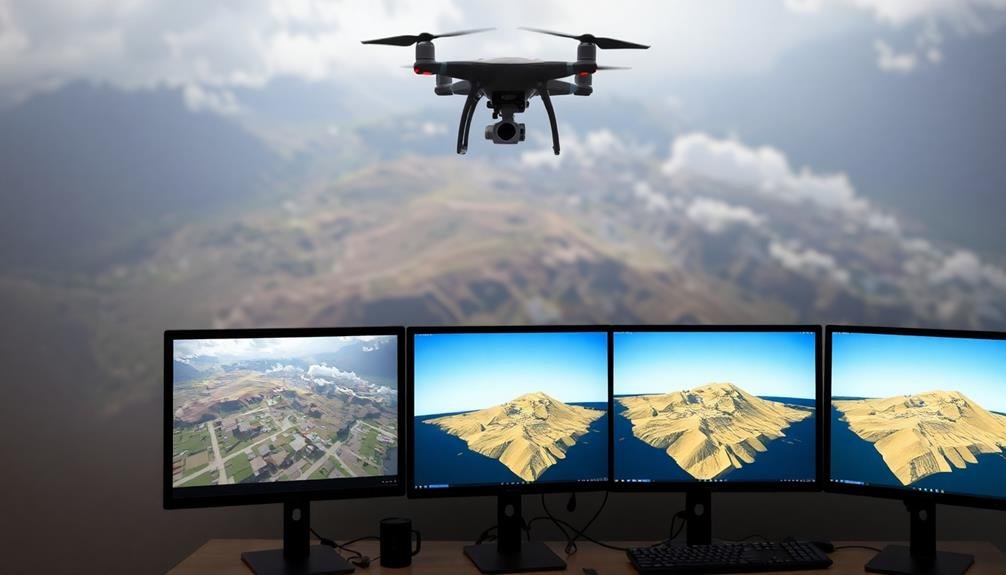
After capturing aerial images, you'll need powerful software to process them into usable 3D models or maps. Photogrammetry software is vital for transforming your raw data into valuable deliverables. Popular options include Pix4D, Agisoft Metashape, and DroneDeploy, each offering unique features and workflows.
When choosing software, consider your specific needs. Look for programs that support your drone's image format and offer robust processing capabilities. You'll want features like automatic tie point generation, dense point cloud creation, and mesh generation.
Many software packages also include tools for orthomosaic creation, digital elevation modeling, and volume calculations. Ease of use is important, especially if you're new to photogrammetry. Opt for software with intuitive interfaces and thorough tutorials.
Cloud-based solutions can offer advantages in processing speed and collaboration, while desktop applications provide more control over the workflow. Don't overlook the significance of output formats. Verify the software can export to formats compatible with your clients' needs or your own analysis tools.
Some programs offer specialized modules for specific industries like agriculture or construction, which can streamline your workflow and enhance deliverables.
Powerful Computer or Workstation

You'll need a robust computer or workstation to handle the demanding tasks of aerial photogrammetry processing.
High-performance processors are essential for efficiently crunching through large datasets of images and point clouds.
Make certain your system has ample RAM to handle complex operations and sufficient storage space for your extensive image libraries and project files.
High-Performance Processors Essential
Processing aerial photogrammetry data demands considerable computational power. You'll need high-performance processors to handle the complex calculations involved in creating 3D models from aerial imagery.
When choosing a processor for photogrammetry work, reflect on multi-core CPUs with high clock speeds and ample cache memory. Look for processors that excel in both single-threaded and multi-threaded performance, as photogrammetry software often utilizes both types of processing.
Intel's Core i9 or AMD's Ryzen 9 series are excellent choices for this task. These high-end processors can greatly reduce processing times and improve your workflow efficiency.
Key features to reflect on when selecting a processor for aerial photogrammetry:
- Number of cores and threads
- Clock speed (base and boost)
- Cache size
- Thermal design power (TDP)
- Compatibility with your motherboard and other components
Ample RAM and Storage
Aerial photogrammetry's data-intensive nature demands a computer with ample RAM and storage. You'll need at least 32GB of RAM to handle large datasets efficiently, but 64GB or more is ideal for complex projects. This guarantees smooth processing and prevents system slowdowns when working with high-resolution images and point clouds.
For storage, opt for a combination of fast SSDs and high-capacity HDDs. Use a 1TB or larger NVMe SSD as your primary drive for the operating system and processing software. This provides quick access to frequently used data and improves overall system responsiveness.
Additionally, incorporate multiple large-capacity HDDs (4TB or more) for storing raw data, project files, and backups.
Consider implementing a RAID setup for improved data security and performance. RAID 1 offers mirroring for data redundancy, while RAID 0 provides faster read/write speeds. For a balance of speed and reliability, RAID 5 or RAID 10 configurations are excellent choices.
Don't forget about external storage solutions. Invest in reliable external hard drives or network-attached storage (NAS) devices for archiving completed projects and freeing up space on your main workstation.
Flight Planning App
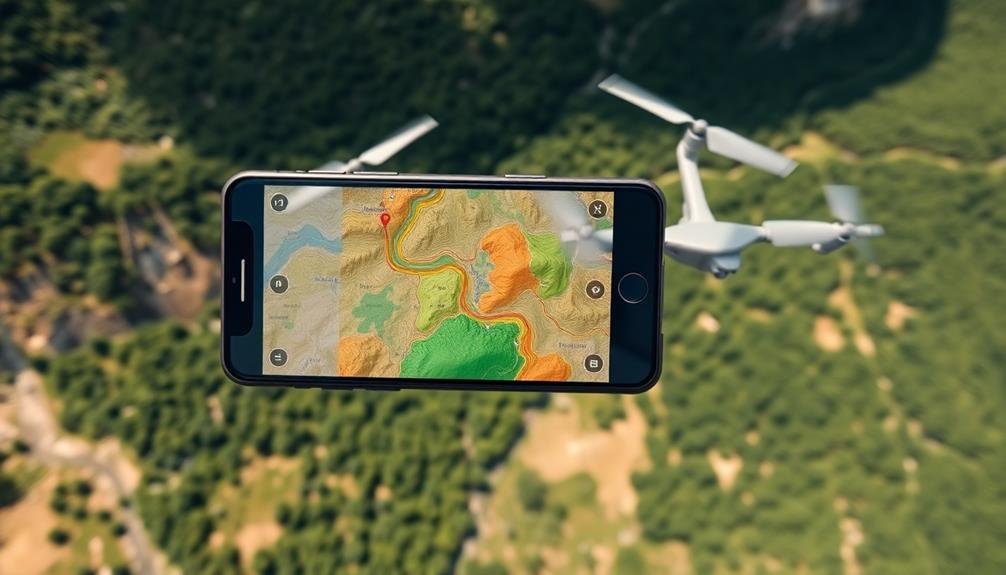
Maneuvering the skies with precision requires a robust flight planning app. These apps are essential for efficient aerial photogrammetry missions, allowing you to plan, execute, and monitor your flights with ease.
A good flight planning app will help you optimize your flight path, guarantee proper image overlap, and maintain consistent altitude throughout the survey.
When choosing a flight planning app, look for these key features:
- Customizable flight patterns (grid, circular, spiral)
- Automatic obstacle detection and avoidance
- Real-time weather integration
- Ability to set camera parameters and trigger intervals
- Mission simulation for pre-flight testing
You'll want an app that's compatible with your drone model and offers intuitive controls.
Many apps allow you to import custom maps or 3D models of your survey area, which can be invaluable for complex terrain. Some even offer automated photogrammetry workflows, seamlessly integrating with processing software.
Remote Controller With Screen

A remote controller with an integrated screen is the second essential tool for successful aerial photogrammetry missions. This device combines the functionality of a traditional drone controller with a built-in display, eliminating the need for a separate smartphone or tablet.
You'll find that having a screen directly on your controller offers several advantages. First, it provides a clearer, glare-resistant view of your drone's camera feed, even in bright sunlight. This improved visibility guarantees you can accurately frame your shots and monitor your flight path.
Additionally, the integrated screen reduces setup time and minimizes the risk of connectivity issues between your mobile device and the controller.
Many modern controllers with screens offer advanced features like real-time map displays, telemetry data, and customizable button configurations. These capabilities allow you to make quick adjustments to your flight plan or camera settings without taking your eyes off the screen.
When choosing a controller, look for one with a high-resolution display, long battery life, and compatibility with your specific drone model.
You'll also want to take into account the controller's ergonomics and weight, as you'll be holding it for extended periods during your photogrammetry missions.
Spare Batteries and Charger
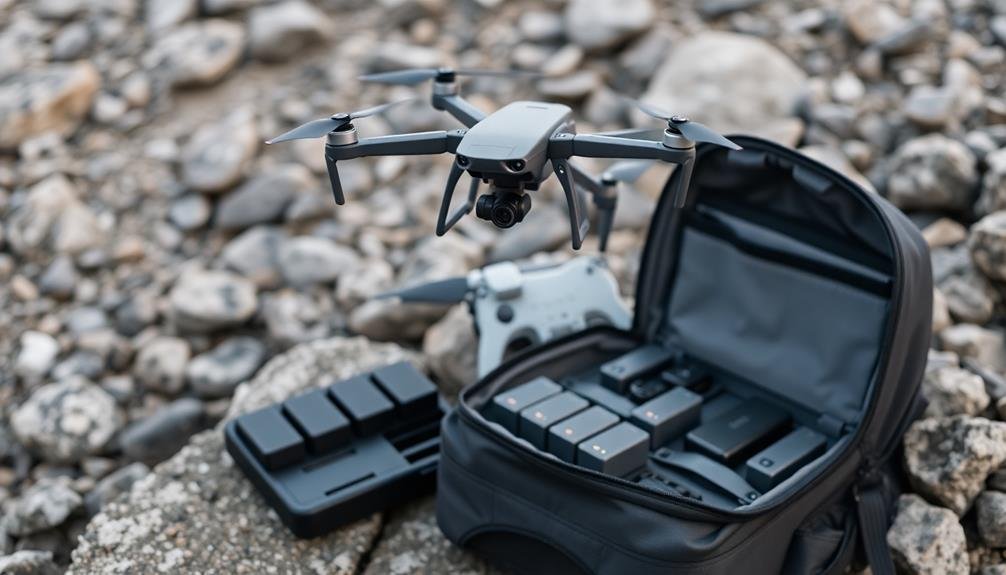
Packing spare batteries and a reliable charger is vital for any aerial photogrammetry mission. You'll want to guarantee you have enough power to complete your project without interruptions. Depending on your drone's battery life and the size of your survey area, you might need multiple spare batteries to maintain continuous flight time.
When selecting batteries and chargers, consider these key points:
- Choose high-quality, manufacturer-approved batteries for safety and performance
- Opt for a multi-battery charger to save time between flights
- Invest in a portable power bank for on-site charging capabilities
- Label your batteries to track usage and maintain proper rotation
- Store and transport batteries safely in a fire-resistant case
Always check your batteries' health before a mission and replace any that show signs of wear or reduced capacity.
It's essential to have a charging strategy in place, especially for longer projects. You might want to set up a charging station at your base camp or in your vehicle.
Portable Storage Devices

While managing power is key, you'll also need to handle the massive amount of data generated during aerial photogrammetry missions. Portable storage devices are essential for safely storing and transporting your high-resolution images and video footage. You'll want to invest in reliable, high-capacity drives that can withstand the rigors of fieldwork.
Consider these options for portable storage:
| Type | Capacity | Features |
|---|---|---|
| SSD | 1-4TB | Fast, durable, compact |
| HDD | 2-8TB | Higher capacity, lower cost |
| RAID | 4-40TB | Redundancy, increased speed |
| Cloud | Unlimited | Remote access, automatic backup |
Choose a storage solution that matches your project requirements and budget. SSDs offer speed and durability but at a higher cost. HDDs provide more storage for less money but are more susceptible to physical damage. RAID systems offer redundancy and improved performance but are bulkier. Cloud storage guarantees your data is always accessible and backed up, but requires a stable internet connection.
Don't forget to bring multiple storage devices for redundancy. Always back up your data in the field before clearing your drone's memory card. This practice will protect your valuable imagery and guarantee you can complete your photogrammetry project successfully.
Calibration Targets

To achieve accurate measurements and 3D models from your aerial photogrammetry missions, you'll need calibration targets. These targets serve as known reference points in your images, allowing for precise scaling and orientation of your final 3D models.
They're essential for ensuring the accuracy of your photogrammetry projects, especially when working with large areas or complex terrain.
There are various types of calibration targets available, each suited for different scenarios:
- Ground Control Points (GCPs): Highly visible markers placed on the ground
- Checkerboard patterns: Ideal for close-range photogrammetry
- Coded targets: Automatically recognized by photogrammetry software
- 3D calibration objects: Used for calibrating camera parameters
- Natural features: Existing landmarks that can serve as reference points
When selecting calibration targets, consider the size of your survey area, the resolution of your camera, and the flying altitude of your drone.
You'll want targets that are easily visible in your aerial images but not so large that they obscure important features.
Place your targets strategically throughout the survey area, ensuring even distribution and coverage of the entire site.
Remember to accurately measure and record the positions of your calibration targets using GPS or other surveying methods for the best results.
Frequently Asked Questions
How Long Does It Take to Learn Aerial Photogrammetry for Beginners?
You can grasp basic aerial photogrammetry concepts in a few weeks. However, mastering the technique takes several months of practice. You'll need to learn flight planning, image capture, processing software, and data analysis. It's a rewarding journey.
What Are the Legal Requirements for Conducting Aerial Photogrammetry Surveys?
You'll need to comply with local drone regulations, obtain necessary permits, and respect privacy laws. You should also follow airspace restrictions, register your drone, and possibly acquire a remote pilot certification, depending on your location.
Can Aerial Photogrammetry Be Used for Indoor Mapping Projects?
Yes, you can use aerial photogrammetry for indoor mapping projects. It's effective for creating detailed 3D models of interior spaces. You'll need specialized equipment like drones with obstacle avoidance and proper lighting to guarantee accurate data capture indoors.
How Do Weather Conditions Affect the Accuracy of Aerial Photogrammetry Data?
Weather conditions greatly impact your aerial photogrammetry data's accuracy. Wind can cause camera shake, clouds affect lighting, and rain distorts images. You'll get the best results on clear, calm days with consistent lighting conditions.
What Are the Potential Career Opportunities in the Field of Aerial Photogrammetry?
You'll find diverse career paths in aerial photogrammetry. You can become a drone pilot, data analyst, GIS specialist, or surveyor. You might work in construction, agriculture, urban planning, or environmental monitoring. There's potential for entrepreneurship too.
In Summary
You're now equipped with the essential tools for aerial photogrammetry success. Remember, it's not just about having the gear, but knowing how to use it effectively. Keep practicing, stay updated on the latest techniques, and don't be afraid to experiment. With these tools at your disposal, you'll be capturing stunning aerial imagery and creating accurate 3D models in no time. Embrace the technology and watch your photogrammetry skills soar to new heights.
As educators and advocates for responsible drone use, we’re committed to sharing our knowledge and expertise with aspiring aerial photographers.


Leave a Reply