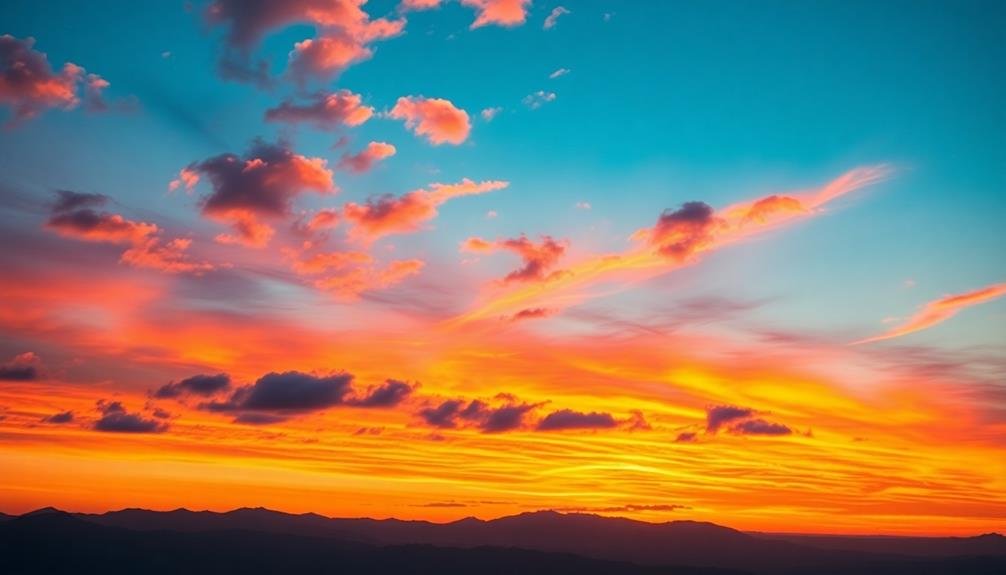
To perfect the exposure triangle for sky-high shots, you'll need to master aperture, shutter speed, and ISO. Start with a wider aperture (f/2.8-f/5.6) for stunning bokeh and depth, then adjust your shutter speed to at least 1/500th to freeze motion and compensate for camera movement. Keep your ISO low (100-400) to minimize noise, but be prepared to increase it in low light. Balance these elements to capture sharp, well-exposed aerial images. Remember to take into account altitude effects on light and be ready to adapt to changing weather conditions. As you soar higher, you'll discover even more techniques to elevate your aerial photography game.
Key Takeaways
- Start with lower ISO (100-400) to reduce noise, adjusting aperture and shutter speed for proper exposure in bright skies.
- Use faster shutter speeds (1/500th or higher) to compensate for aircraft movement and maintain image sharpness.
- Adjust aperture for desired depth of field, using smaller f-stops (f/8-f/11) for sharper foreground and background in aerial landscapes.
- Employ exposure bracketing to capture high dynamic range scenes, taking multiple shots at different exposures.
- Utilize metering techniques like matrix for even lighting, spot for high contrast, and center-weighted for bright sky compositions.
Understanding the Exposure Triangle
Picture a triangle in your mind. Each corner represents a vital element of photography: aperture, shutter speed, and ISO. These three components work together to create the perfect exposure for your sky-high shots. Understanding their relationship is key to mastering aerial photography.
Aperture controls the amount of light entering your camera through the lens opening. It's measured in f-stops, with smaller numbers indicating a wider opening and more light.
Shutter speed determines how long your camera's sensor is exposed to light. Faster speeds freeze motion, while slower speeds create blur.
ISO measures your camera's sensitivity to light. Higher ISO values brighten your image but can introduce noise.
When you adjust one element, you'll need to compensate with the others to maintain proper exposure. For instance, if you're shooting fast-moving clouds and need a quick shutter speed, you'll have to widen your aperture or increase your ISO to let in more light.
It's a delicate balance, but with practice, you'll intuitively grasp how to adjust these settings for stunning aerial photographs in various lighting conditions.
Aperture Control in Aerial Photography

When shooting aerial photos, mastering aperture control is essential for managing depth of field and light.
You'll find that wider apertures can create stunning bokeh effects, isolating your subject against a blurred background.
Depth of Field Control
Three key factors influence depth of field in aerial photography: aperture, focal length, and distance to the subject.
When shooting from above, you'll often want to maximize your depth of field to keep both foreground and background elements sharp. To achieve this, use a smaller aperture (higher f-number) like f/8 or f/11. However, be aware that very small apertures can introduce diffraction, slightly reducing overall image sharpness.
Focal length also plays a significant role. Wide-angle lenses naturally provide greater depth of field, making them ideal for capturing expansive aerial landscapes. If you're using a longer lens for more detailed shots, you'll need to compensate with a smaller aperture to maintain depth of field.
Your distance from the subject is the third factor. As you fly higher, the relative distance between foreground and background elements decreases, effectively increasing your depth of field. This can be advantageous when you want everything in focus, but it may limit your ability to create separation between subjects.
Light Management Techniques
Mastering light management is a cornerstone of successful aerial photography, and aperture control plays a key role. When shooting from the sky, you'll often encounter challenging lighting conditions that require quick adjustments.
By manipulating your camera's aperture, you can effectively control the amount of light entering the lens, influencing both exposure and depth of field.
In aerial photography, aperture control allows you to:
- Balance brightness in high-contrast scenes
- Create artistic effects with selective focus
- Maintain sharpness across vast landscapes
For bright, sunny days, opt for a smaller aperture (higher f-number) to reduce light intake and prevent overexposure. This also increases depth of field, keeping more of the scene in focus.
In low-light situations or when capturing fast-moving subjects, use a wider aperture (lower f-number) to let in more light and freeze motion.
Creative Bokeh Effects
Creative bokeh effects can add a touch of magic to your aerial photographs. When shooting from above, you'll find that manipulating the aperture can create stunning out-of-focus areas that enhance your composition. To achieve this effect, use a wide aperture (low f-number) on your camera. This shallow depth of field will blur the background, creating soft, circular shapes from lights and bright spots.
In aerial photography, you'll often encounter city lights, reflections on water, or sunlight glinting off surfaces. These elements are perfect for creating bokeh. Experiment with different aperture settings to find the right balance between sharpness and blur. Remember, the wider the aperture, the more pronounced the bokeh effect will be.
To maximize the impact of bokeh in your aerial shots, try positioning your main subject in the foreground with distant lights or bright spots in the background. This contrast will make your subject stand out while adding depth and interest to the image.
You can also use bokeh creatively by intentionally blurring certain elements to draw attention to specific parts of your composition. Don't be afraid to get creative and push the boundaries of traditional aerial photography with these unique bokeh effects.
Shutter Speed for Flying Cameras
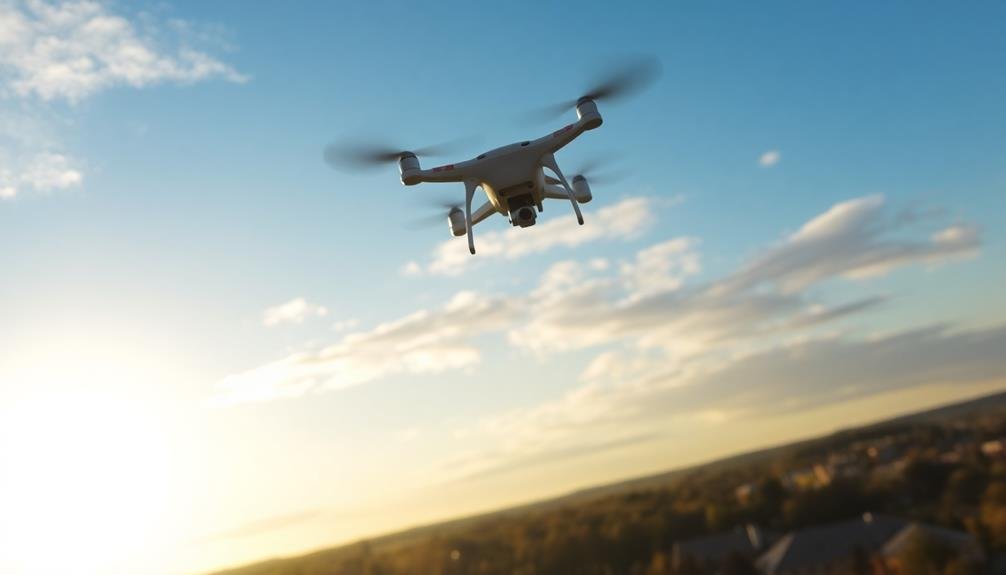
When shooting from a flying camera, shutter speed becomes essential for controlling motion in your images.
You'll need to decide whether to freeze action with faster speeds or create intentional blur with slower ones.
Additionally, you must consider how shutter speed can help compensate for the camera's movement, ensuring sharp images despite being airborne.
Freeze or Blur Motion
Capturing motion with flying cameras presents unique challenges and opportunities for photographers. When shooting from a drone or other aerial platform, you'll need to make quick decisions about whether to freeze or blur motion in your images. Your choice of shutter speed plays a significant role in achieving the desired effect.
To freeze motion, use faster shutter speeds, typically 1/500th of a second or higher. This approach works well for capturing sharp details in fast-moving subjects like birds in flight or vehicles on the ground. Conversely, slower shutter speeds can create a sense of movement and dynamism in your aerial shots. Experiment with speeds between 1/60th and 1/15th of a second to blur motion intentionally.
Consider these factors when deciding between freezing or blurring motion:
- Subject speed and direction
- Distance from the subject
- Desired visual impact
- Available light
Remember that your drone's movement can also affect image sharpness. To minimize camera shake, use a higher shutter speed or enable any built-in stabilization features.
If you're aiming for motion blur, try panning the camera to follow your subject, creating a sense of speed while keeping the main element relatively sharp against a blurred background.
Compensate for Camera Movement
How can you guarantee sharp images when shooting from a moving aerial platform? The key lies in mastering your shutter speed. When you're capturing images from a drone or helicopter, you'll need to account for the constant motion of your camera.
To compensate for camera movement, use a faster shutter speed than you'd typically employ on the ground. As a general rule, start with a shutter speed of 1/500th of a second or faster. This will help freeze any minor vibrations or movements from your aerial platform.
If you're shooting in low light conditions, you may need to increase your ISO or open up your aperture to maintain a fast shutter speed. Don't be afraid to push your ISO higher; modern cameras handle noise well, and a slightly grainy image is preferable to a blurry one.
For even sharper results, consider using your camera's image stabilization feature if available. Some drones offer mechanical gimbals, which can further reduce vibrations.
Additionally, shooting in burst mode can increase your chances of capturing at least one tack-sharp image in a series.
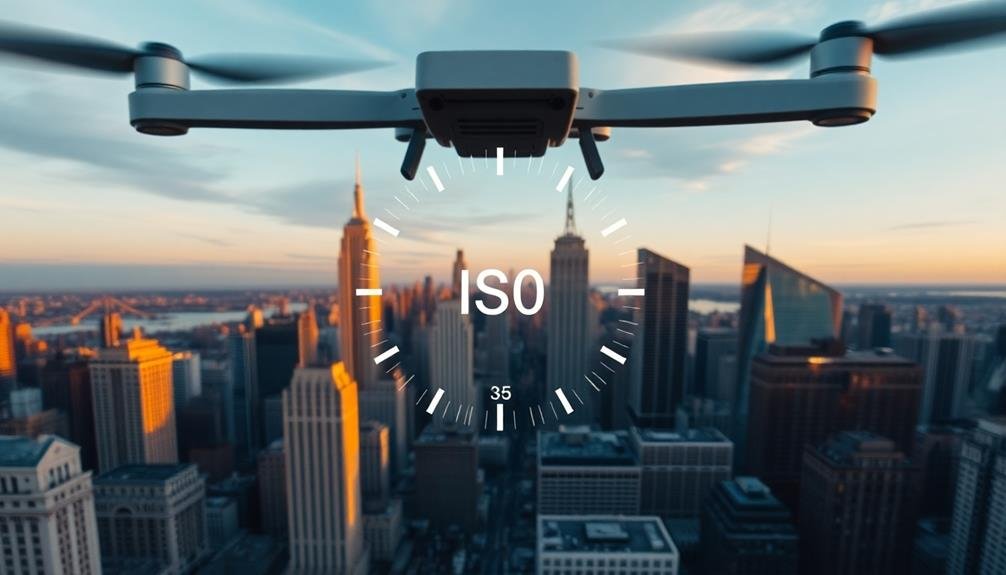
ISO Sensitivity in Sky-High Shots
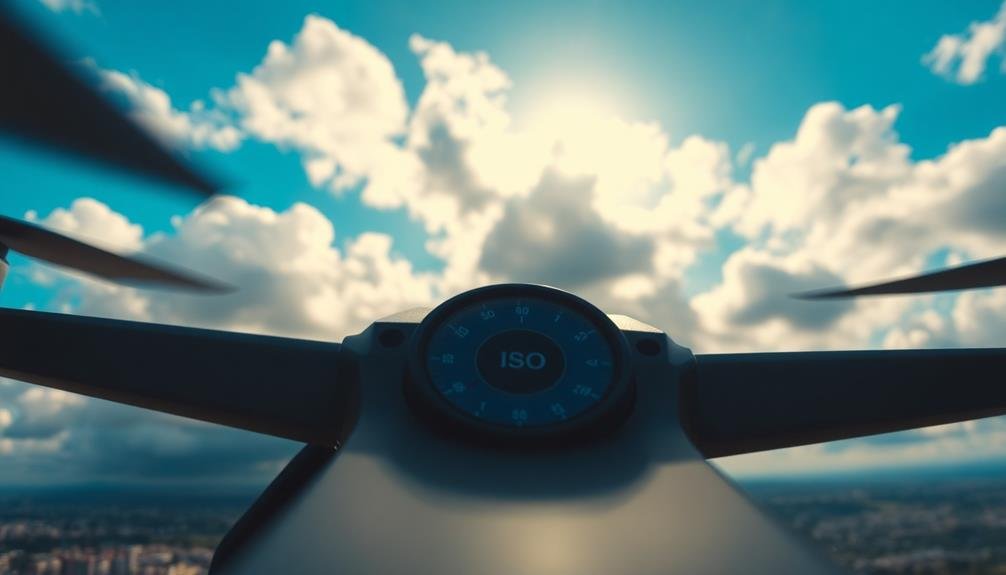
Sky-high photography presents unique challenges when it comes to ISO sensitivity. When shooting from elevated positions, you'll often encounter varying light conditions that require careful ISO adjustment. Higher altitudes mean less atmospheric interference, potentially resulting in brighter, clearer images. However, this can also lead to overexposure if you're not careful.
To master ISO sensitivity in sky-high shots:
- Start with a lower ISO setting (100-400) to minimize noise and maintain image quality
- Gradually increase ISO if needed, balancing it with shutter speed and aperture
- Use auto ISO with a set maximum to prevent excessive noise in changing light conditions
Remember that higher ISOs can introduce unwanted grain, especially noticeable in sky shots. You'll want to keep your ISO as low as possible while still achieving proper exposure.
In situations where you're shooting fast-moving subjects, like birds or aircraft, you may need to bump up your ISO to maintain a fast shutter speed. Always review your images and adjust accordingly, keeping in mind that post-processing can help reduce noise if you've had to use a higher ISO setting.
Balancing Light and Motion

The art of balancing light and motion lies at the heart of dynamic sky-high photography. When shooting from elevated positions, you'll often encounter rapidly changing light conditions and moving subjects. To capture these scenes effectively, you need to master the interplay between shutter speed and aperture.
For crisp, frozen action, opt for faster shutter speeds. This approach works well for capturing birds in flight or fast-moving clouds. However, you'll need to compensate with a wider aperture or higher ISO to maintain proper exposure.
Conversely, slower shutter speeds can create a sense of movement, perfect for blurring water or showcasing streaking lights from cityscapes below. In this case, you'll want to narrow your aperture to avoid overexposure.
Don't forget about the impact of your altitude on light. As you ascend, the air becomes thinner, potentially affecting your exposure. Be prepared to adjust your settings accordingly.
Use your camera's histogram to guarantee you're capturing the full range of tones without clipping highlights or shadows. By mastering these techniques, you'll be able to create stunning sky-high images that perfectly balance light and motion.
Compensating for Atmospheric Conditions

Atmospheric conditions play a significant role in sky-high photography, often presenting unique challenges for photographers. When shooting from elevated positions, you'll need to adjust your exposure settings to compensate for changes in light, air quality, and weather patterns.
Haze, fog, and pollution can reduce contrast and clarity, while high-altitude locations may experience more intense sunlight and UV radiation.
To overcome these atmospheric hurdles, consider these key factors:
- Light intensity: Higher altitudes often mean stronger sunlight, so you may need to decrease your exposure or use filters.
- Air clarity: Adjust your white balance and contrast to counteract the effects of haze or pollution.
- Weather patterns: Be prepared to adapt quickly to changing conditions, such as sudden cloud cover or wind.
You'll need to fine-tune your aperture, shutter speed, and ISO settings to achieve the best results.
Use a polarizing filter to reduce glare and enhance colors, especially when shooting through airplane windows or in bright, clear conditions.
Don't forget to bracket your exposures, giving you more options to work with during post-processing.
Metering Techniques for Aerial Scenes
Mastering metering techniques is essential for capturing stunning aerial scenes. When shooting from above, you'll face unique challenges that require specific metering approaches. Start by using matrix metering, which evaluates the entire frame and works well for evenly lit landscapes.
However, if you're dealing with high-contrast scenes, switch to spot metering to focus on the most important elements. For aerial shots with bright skies and darker ground, try center-weighted metering. This method gives priority to the center of the frame, where your subject is likely to be.
Don't forget to use exposure compensation to fine-tune your results, especially when shooting towards the sun or over reflective surfaces like water. When capturing cityscapes or nighttime aerials, consider using highlight-weighted metering to prevent overexposure of bright lights.
For fast-moving subjects or rapidly changing light conditions, you might want to bracket your exposures. This technique involves taking multiple shots at different exposure levels, ensuring you capture the perfect exposure.
Remember to check your histogram frequently and adjust your settings accordingly. With practice, you'll develop an intuition for which metering mode works best in various aerial scenarios.
Exposure Bracketing From Above

Exposure bracketing takes on new significance when shooting from above. When you're capturing aerial scenes, the dynamic range can be extreme, with bright skies and shadowy landscapes.
To guarantee you don't miss the perfect exposure, bracket your shots. Set your camera to take multiple exposures of the same scene at different settings.
Typically, you'll want to capture at least three exposures:
- One at the camera's suggested settings
- One underexposed (to capture highlight details)
- One overexposed (to bring out shadow details)
In aerial photography, you'll often need to work quickly, so set up your bracketing before takeoff.
Use your camera's auto-bracketing feature if available, or manually adjust your settings between shots.
Pay special attention to your shutter speed, as it's vital for maintaining sharpness when shooting from a moving aircraft.
Frequently Asked Questions
How Does Drone Vibration Affect Image Quality in Aerial Photography?
Drone vibration can greatly impact your aerial photos. It'll cause blurry images and reduced sharpness. You'll notice a loss of detail and clarity. To combat this, you should use vibration dampeners and faster shutter speeds.
What Are the Best Camera Settings for Capturing Star Trails From Above?
For capturing star trails from above, you'll want to use a wide aperture (f/2.8-f/4), long exposure (15-30 minutes), and low ISO (100-400). Don't forget to use manual focus and a remote shutter release.
How Do You Handle Sudden Light Changes During Flight?
You'll need to react quickly to sudden light changes during flight. Use auto ISO or adjust it manually, switch to aperture priority mode, and keep your shutter speed fast. Don't forget to bracket your shots for safety.
Are Polarizing Filters Useful for Aerial Photography?
Yes, polarizing filters are incredibly useful for aerial photography. They'll reduce glare, enhance contrast, and deepen sky colors. You'll get richer images with less haze and reflections, especially when shooting over water or through windows.
What's the Ideal Focal Length for Landscape Aerial Shots?
For landscape aerial shots, you'll want to use a wide-angle lens. A focal length between 16-35mm is ideal. It'll capture expansive views and dramatic perspectives. Don't forget to take into account your altitude when choosing your focal length.
In Summary
You've now mastered the essentials of the exposure triangle for aerial photography. Remember, it's all about balance and adaptation. Don't be afraid to experiment with your settings as you soar above. Practice makes perfect, so keep shooting and refining your technique. With time, you'll instinctively adjust aperture, shutter speed, and ISO to capture stunning sky-high shots in any condition. The sky's the limit for your aerial photography skills!
As educators and advocates for responsible drone use, we’re committed to sharing our knowledge and expertise with aspiring aerial photographers.


Leave a Reply