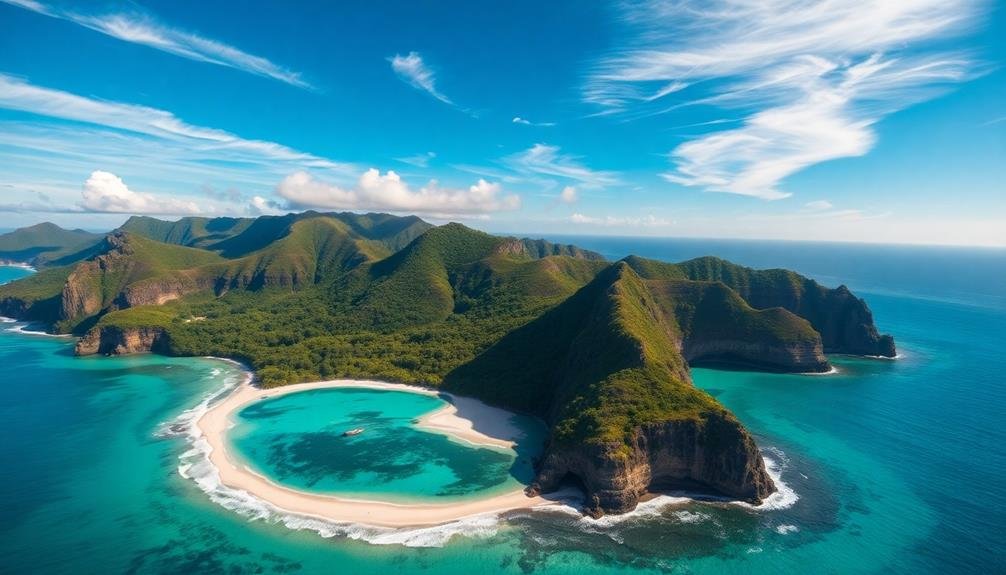
To capture breathtaking island views from above, you'll need the right drone, ideal timing, and proper techniques. Choose a drone with at least 12MP camera and 4K video capabilities. Shoot during golden hour for warm, ethereal lighting, or capture dramatic stormy skies for intense cloud formations. Master composition techniques like the rule of thirds and leading lines to create visually appealing shots. Adjust your camera settings, including shutter speed, aperture, and ISO, to achieve maximum image clarity. Don't forget to take into account weather conditions, post-processing techniques, and legal aspects of drone photography. With these tips, you're on your way to stunning aerial island photography. The sky's the limit for your creative potential.
Choosing the Right Drone
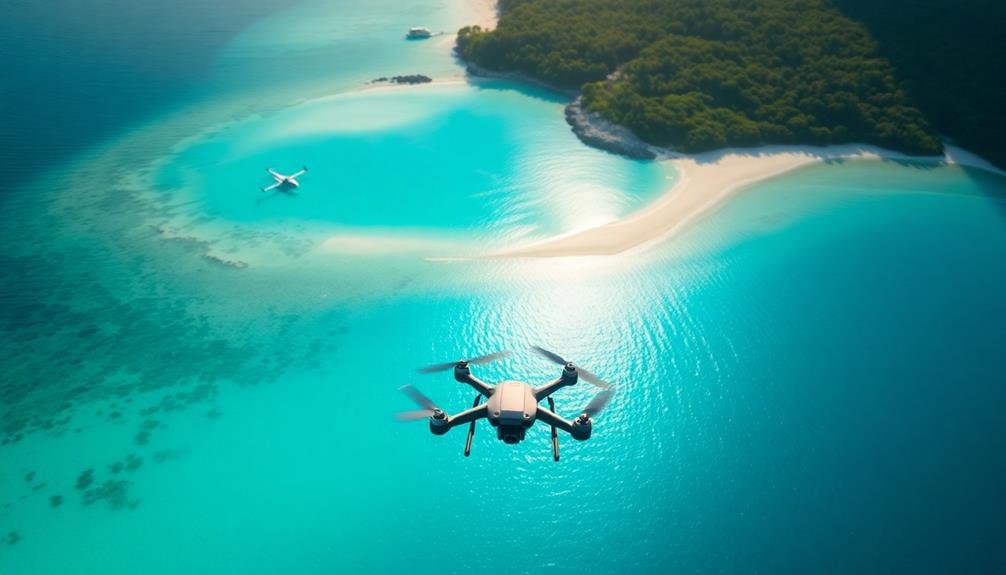
Selecting the perfect drone for skyward photography can make or break your aerial imaging experience. When choosing a drone, consider its camera quality, flight time, range, and stability.
Look for models with at least a 12MP camera and 4K video capabilities to capture stunning island vistas. Opt for drones with longer flight times, ideally 25-30 minutes, to maximize your shooting opportunities.
Range is vital for exploring expansive island landscapes, so choose a drone with a transmission range of at least 4-5 kilometers. Stability features like GPS positioning and obstacle avoidance systems are essential for smooth, professional-looking footage.
Consider the drone's size and weight, as compact models are easier to transport to remote island locations.
Don't forget about additional features like automated flight modes, which can help you capture complex shots with ease. Research various brands and models, comparing their specifications and user reviews.
Ultimately, select a drone that fits your skill level and budget while meeting your photography needs. Remember, investing in a quality drone will greatly enhance your ability to capture breathtaking island views from above.
Best Times for Island Photography
When capturing islands from above, you'll find that timing is everything.
Consider shooting during the golden hour for warm, ethereal lighting that enhances the island's features, or wait for stormy skies to add drama and mood to your aerial shots.
For a truly magical perspective, try night photography to showcase the island against a backdrop of twinkling stars and constellations.
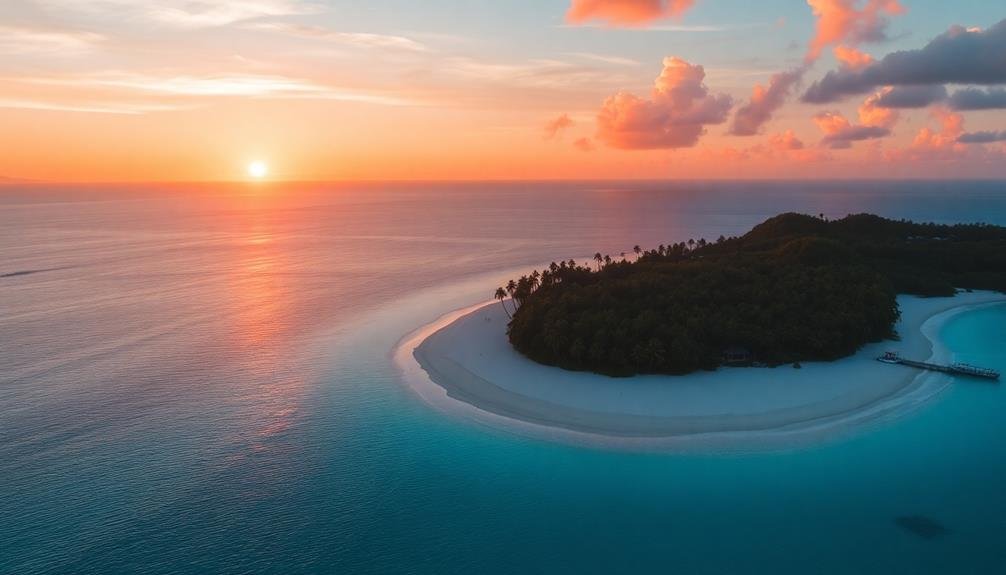
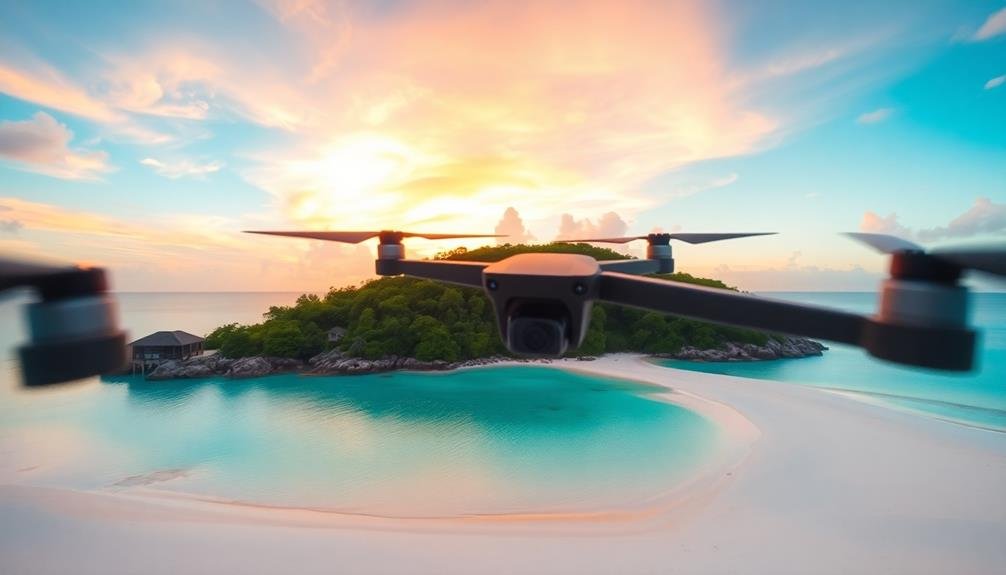
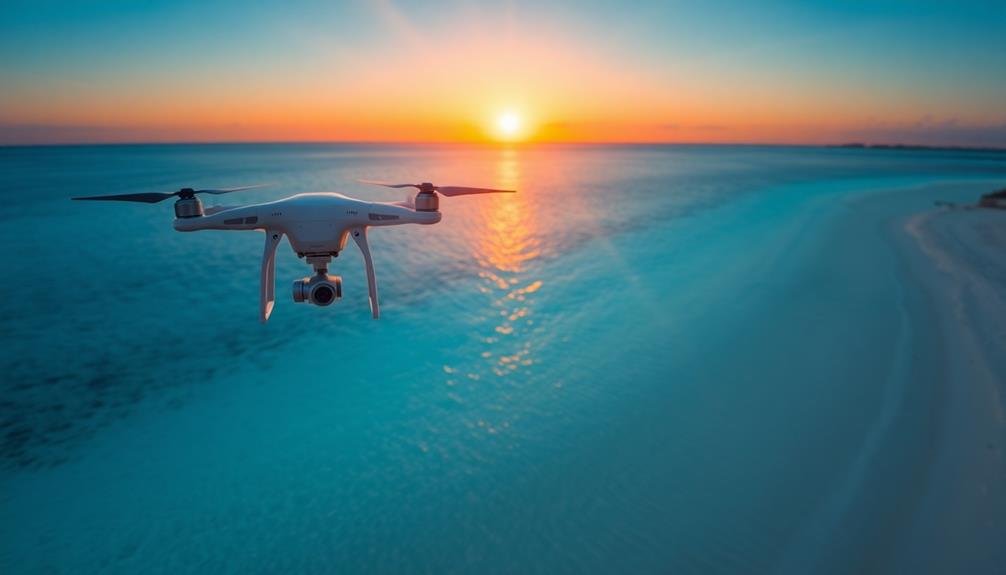
Golden Hour Lighting Magic
During the golden hour, islands transform into magical landscapes bathed in warm, soft light. This fleeting period occurs twice daily, just after sunrise and before sunset, offering you unparalleled opportunities for stunning skyward photography.
To capture the golden hour's essence, arrive at your chosen location early. Set up your equipment and scout the best angles before the light show begins. Use a tripod to guarantee sharp images in the dimming light, and consider bracketing your exposures to capture a wider dynamic range.
Experiment with silhouettes by positioning your subject against the vibrant sky. The golden hour's low-angle light creates long shadows, adding depth and texture to your compositions.
Don't forget to look for reflections in water bodies, as they can double the impact of the golden sky.
Pay attention to the changing colors as the sun nears the horizon. You'll notice a shift from golden yellows to deep oranges and reds. Adjust your white balance settings to accurately capture these hues or use them creatively for artistic effect.
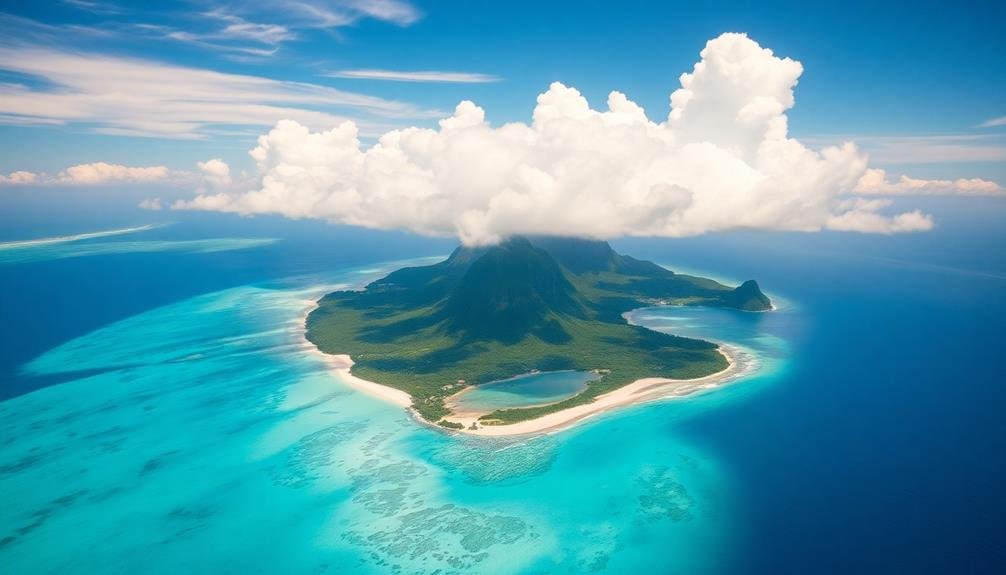
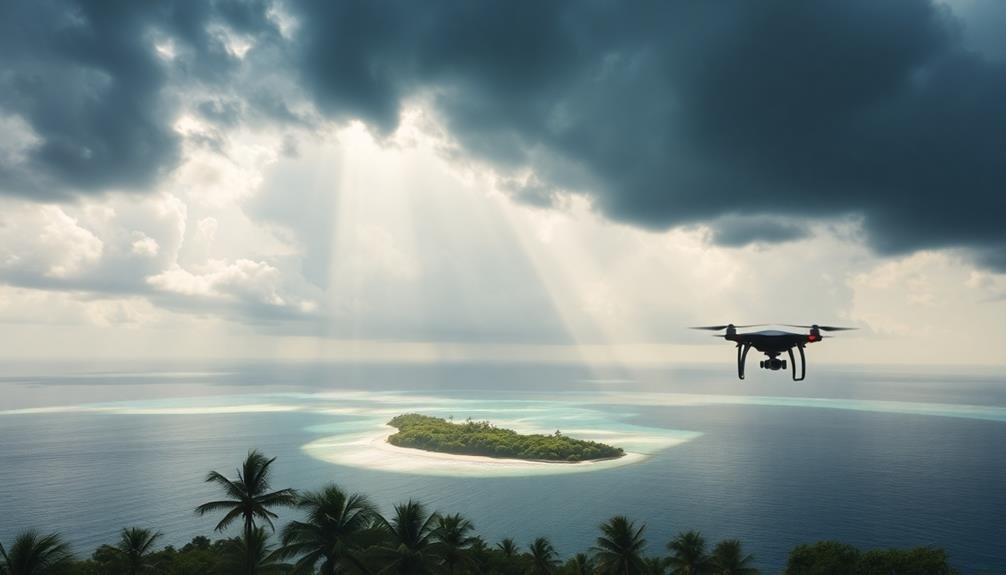
Dramatic Stormy Skies
In the midst of turbulent weather, islands offer photographers a unique canvas for capturing dramatic stormy skies. You'll find that approaching storm systems create intense cloud formations, moody lighting, and striking contrasts that can elevate your island photography.
To capture these dramatic scenes, time your shoot just before or after a storm passes. Look for dark, brooding clouds with patches of sunlight breaking through. This interplay of light and shadow adds depth and drama to your images.
Position yourself to include both land and sky in your composition, using the island's features as anchors in the turbulent scene. Don't shy away from rain; water droplets can create interesting textures and reflections. Protect your gear with waterproof covers and use a lens hood to prevent water spots.
Experiment with longer exposures to capture lightning strikes or to smooth out choppy waters, creating a sense of motion in your images. Adjust your camera settings for the lower light conditions. Increase your ISO if needed, but be mindful of noise. Use a wider aperture to let in more light, and consider bracketing your exposures to capture the full dynamic range of the stormy sky.
Starry Night Captures
While stormy skies offer dramatic daytime shots, the night reveals a different spectacle for island photographers. To capture stunning starry night scenes, you'll need to plan carefully and master a few essential techniques.
First, timing is vital. Choose a night with clear skies and minimal moonlight for the best results. Summer months often provide warmer temperatures for comfortable shooting, but winter's longer nights offer extended opportunities.
Consider these factors when planning your starry night shoot:
- New moon phases for darker skies
- Island locations away from light pollution
- Seasonal celestial events like meteor showers
- Weather forecasts for clear conditions
- Tide schedules for safe beach access
Set up your camera on a sturdy tripod and use a wide-angle lens to capture more of the night sky. Opt for a high ISO setting, wide aperture, and long exposure time to gather enough light.
Don't forget to focus manually on a bright star or distant light source. Experiment with foreground elements like silhouetted palm trees or rocky outcrops to add depth to your composition.
With practice, you'll soon be capturing breathtaking starry night scenes that showcase the island's beauty after dark.
Composition Techniques for Aerial Shots
When capturing aerial shots, mastering composition techniques is essential for creating visually stunning and impactful images. Start by utilizing the rule of thirds, dividing your frame into a 3×3 grid and placing key elements along these lines or at their intersections. This creates a balanced and visually appealing composition.
Look for leading lines in the landscape below, such as roads, rivers, or coastlines, to guide the viewer's eye through the image. These lines can add depth and draw attention to specific areas of interest.
Experiment with symmetry and patterns, which are often more visible from above. Natural or man-made structures can create intriguing geometric shapes when viewed from the air.
Consider the altitude and angle of your shot. Higher altitudes offer a broader perspective, while lower flights can capture more detail. Tilting your camera slightly can add dynamism to your composition.
Pay attention to light and shadows, as they can create dramatic contrasts and textures in aerial photography. Finally, include a point of reference, like a boat or building, to provide scale and context to your aerial shots.
Mastering Camera Settings
When capturing aerial shots of islands, you'll need to master your camera settings for ideal exposure.
Start by adjusting your shutter speed to freeze the motion of your aircraft while maintaining sharpness in the landscape below.
Next, set your aperture to balance depth of field with overall image clarity, considering the vast distances involved in skyward photography.
Optimal Exposure for Islands
Soaring high above tropical paradises, capturing the perfect exposure for island landscapes requires mastering your camera settings.
To achieve ideal results, you'll need to balance the bright sky with the darker land and water elements. Start by setting your camera to aperture priority mode, choosing an f-stop between f/8 and f/11 for sharp, well-defined images.
Next, adjust your ISO to the lowest possible setting, typically 100 or 200, to minimize noise and maximize image quality. Use your camera's spot metering mode to measure the exposure of the brightest areas in your frame, such as sandy beaches or sunlit clouds. Aim to slightly underexpose these highlights to preserve detail.
Consider using these techniques to enhance your island photography:
- Bracket your exposures to capture a wider dynamic range
- Utilize graduated neutral density filters to balance sky and land
- Shoot in RAW format for greater post-processing flexibility
- Experiment with different white balance settings to capture vibrant colors
- Try HDR techniques for challenging lighting conditions
Shutter Speed and Aperture
Mastering camera settings is at the heart of successful skyward photography. When capturing island views from above, understanding shutter speed and aperture is essential. Your shutter speed determines how motion is captured, while aperture controls depth of field and light intake.
For crisp, clear shots of stationary islands, use a faster shutter speed (1/500s or higher) to minimize camera shake. If you're aiming to capture motion, like waves or clouds, experiment with slower speeds (1/30s to 1/2s) to create a dreamy effect. Aperture, on the other hand, affects your image's depth of field. A wider aperture (lower f-number) creates a shallower depth of field, ideal for isolating specific island features. A narrower aperture (higher f-number) keeps more of the scene in focus, perfect for expansive landscape shots.
| Shutter Speed | Effect | Aperture | Effect |
|---|---|---|---|
| Fast (≥1/500s) | Freeze motion | Wide (f/2.8-f/4) | Shallow depth |
| Medium (1/60s-1/250s) | Slight blur | Medium (f/5.6-f/8) | Balanced depth |
| Slow (≤1/30s) | Motion blur | Narrow (f/11-f/22) | Deep focus |
| Very slow (1s+) | Light trails |
Weather Considerations for Drone Flights
Weather plays an essential role in successful drone photography. You'll need to take into account various atmospheric conditions before taking flight to capture those breathtaking island views. Wind speed is vital; strong gusts can destabilize your drone and affect image quality.
Temperature extremes can impact battery life and performance, so plan accordingly. Humidity and moisture can damage your equipment, so avoid flying in fog or light rain.
Always check the forecast before heading out and be prepared to adjust your plans. Here are five key weather factors to take into account:
- Wind speed and direction
- Temperature and humidity levels
- Cloud cover and visibility
- Precipitation chances
- UV index and sunlight intensity
Clear, calm days with minimal wind are ideal for drone photography. Early morning or late afternoon often provide the best lighting conditions, with softer shadows and warmer tones.
However, don't dismiss overcast days entirely; they can create a moody atmosphere perfect for certain shots. Be mindful of sudden weather changes, especially in coastal areas where conditions can shift rapidly.
Post-Processing Island Aerial Images

Once you've captured stunning aerial images of island landscapes, it's time to enhance their visual impact through post-processing. Start by adjusting the exposure and contrast to bring out the vibrant colors of the ocean, beaches, and vegetation. Use the highlights and shadows sliders to recover details in bright skies and dark areas.
Next, focus on color correction. Boost the saturation of blues and greens to make the water and foliage pop, but be careful not to overdo it. Apply a subtle warm temperature adjustment to enhance golden hour shots or cool tones for a crisp, revitalizing look.
Consider these post-processing techniques for different island features:
| Feature | Technique | Goal |
|---|---|---|
| Beaches | Clarity boost | Enhance sand texture |
| Reefs | HSL adjustments | Emphasize underwater patterns |
| Forests | Dehaze | Improve depth and detail |
Don't forget to straighten the horizon and crop your images for ideal composition. Use the healing tool to remove any distracting elements like boats or buoys. Finally, apply subtle vignetting to draw the viewer's eye to the center of the image, showcasing the island's beauty in all its glory.
Legal Aspects of Drone Photography
Before you take off with your drone for aerial photography, it's vital to understand the legal framework surrounding this activity. Different countries and regions have varying regulations, so research local laws before flying. In many places, you'll need to register your drone and obtain a license or permit for commercial use.
Always prioritize safety and privacy. Keep your drone within visual line of sight, avoid flying over people or private property without permission, and respect no-fly zones. Be aware of altitude restrictions and weather conditions that could affect your flight.
Here are key legal considerations for drone photography:
- Obtain necessary certifications (e.g., FAA Part 107 in the US)
- Register your drone with aviation authorities
- Follow local privacy laws and obtain property releases when needed
- Adhere to restricted airspace regulations and no-fly zones
- Comply with import/export rules when traveling internationally
Insurance is another vital aspect to keep in mind. Protect yourself and your equipment with liability coverage and drone-specific insurance policies.
Safety Measures for Remote Locations
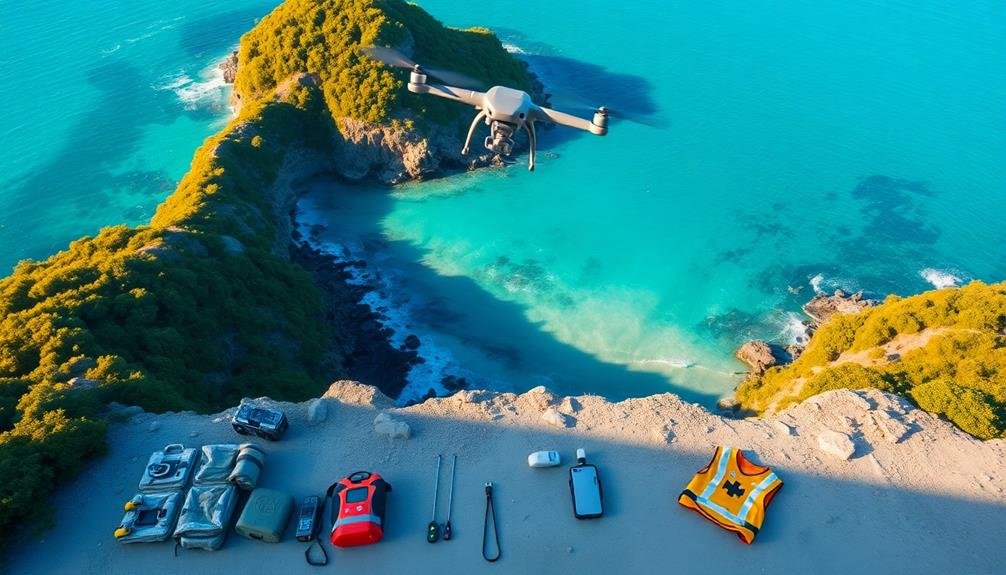
While legal compliance is paramount, ensuring your safety in remote locations is equally important. When capturing breathtaking island views, you'll often find yourself in isolated areas. Always inform someone of your planned location and expected return time.
Carry a fully charged phone and a portable battery pack. Consider investing in a satellite communicator for areas with no cell coverage.
Pack essential supplies like water, snacks, first-aid kit, and appropriate clothing. Check weather forecasts and tide schedules before heading out. Be aware of local wildlife and potential hazards such as unstable cliffs or sudden weather changes.
When operating your drone, maintain visual line of sight at all times. Choose a stable takeoff and landing area, away from obstacles. Monitor your drone's battery life closely, ensuring you have enough power to return safely.
Be prepared for sudden wind gusts or changes in visibility. If you're unfamiliar with the area, consider hiring a local guide who knows the terrain and potential risks.
Always trust your instincts – if a situation feels unsafe, don't take unnecessary risks for a shot. Remember, your safety is more important than any photograph.
Frequently Asked Questions
How Do I Protect My Drone From Saltwater Damage During Island Photography?
To protect your drone from saltwater damage, you'll want to rinse it with fresh water after each flight, use silica gel packs to absorb moisture, apply protective coatings, and store it in a waterproof case when not in use.
What's the Best Way to Transport Drones to Remote Island Locations?
You'll want to use a sturdy, waterproof case for your drone. Pack it with foam inserts to prevent movement. Don't forget spare batteries and props. Consider a backpack-style case for easier hiking on remote islands.
Are There Specific Filters Recommended for Enhancing Island Aerial Shots?
You'll want to use polarizing filters to reduce glare and enhance colors in your island aerial shots. ND filters are also great for controlling exposure in bright conditions. Don't forget UV filters to protect your lens.
How Can I Capture Underwater Features From the Air in Island Photography?
You can capture underwater features from the air by using a polarizing filter to reduce glare and enhance water clarity. Choose clear, calm days and fly lower for better visibility. Adjust your camera settings for ideal underwater contrast.
What Insurance Options Are Available for Drone Equipment Used in Island Photography?
You'll want to contemplate specialized drone insurance for your equipment. Options include liability coverage, hull insurance, and payload protection. Don't forget to check if your homeowner's policy covers drones. Always research local regulations before flying.
In Summary
You're now equipped to capture breathtaking island views from above. Remember to choose the right drone, time your shots perfectly, and master your composition. Don't forget to adjust your camera settings, consider weather conditions, and brush up on post-processing techniques. Always prioritize safety and stay informed about local drone laws. With these tips in your arsenal, you'll be creating stunning aerial island photographs in no time. So grab your drone and start exploring!
As educators and advocates for responsible drone use, we’re committed to sharing our knowledge and expertise with aspiring aerial photographers.


Leave a Reply