To capture stunning sky views of tourist landmarks, start by choosing the right time. Aim for golden hour or blue hour for dramatic lighting, and consider seasonal changes and weather patterns. Next, master composition techniques like the rule of thirds and incorporating unique angles or foreground elements to add depth. Finally, optimize your camera settings by shooting in manual mode, using a low ISO, and selecting a narrow aperture for sharp focus. Don't forget to shoot in RAW format for better editing flexibility. These tips will elevate your landmark photography, but there's always more to explore in the world of sky-focused imagery.
Choose the Right Time

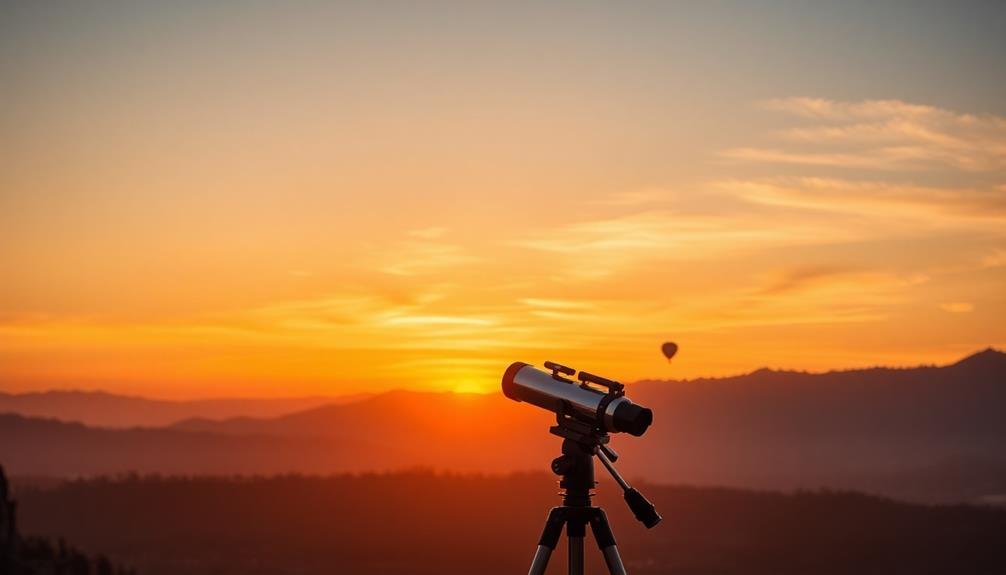
Timing is essential when capturing stunning sky views of tourist landmarks. You'll want to take into account both the time of day and the season to maximize your chances of getting that perfect shot. The golden hour, which occurs just after sunrise and before sunset, offers warm, soft light that can dramatically enhance the appearance of landmarks. During these times, the sky often displays vibrant colors and interesting cloud formations.
Don't overlook the blue hour, occurring just before sunrise and after sunset, when the sky takes on a deep blue hue. This can create a striking contrast with illuminated landmarks. For starry night shots, plan your visit during a new moon when the sky is darkest. Check the lunar calendar and weather forecast in advance.
Seasonally, spring and fall often provide the most dynamic skies with varied cloud patterns and colors. Summer can offer clear blue skies, while winter might present unique opportunities for snow-covered landmarks against dramatic skies.
Research the specific location to understand local weather patterns and how they affect sky conditions throughout the year. By choosing the right time, you'll greatly increase your chances of capturing breathtaking sky views of tourist landmarks.
Master Composition Techniques
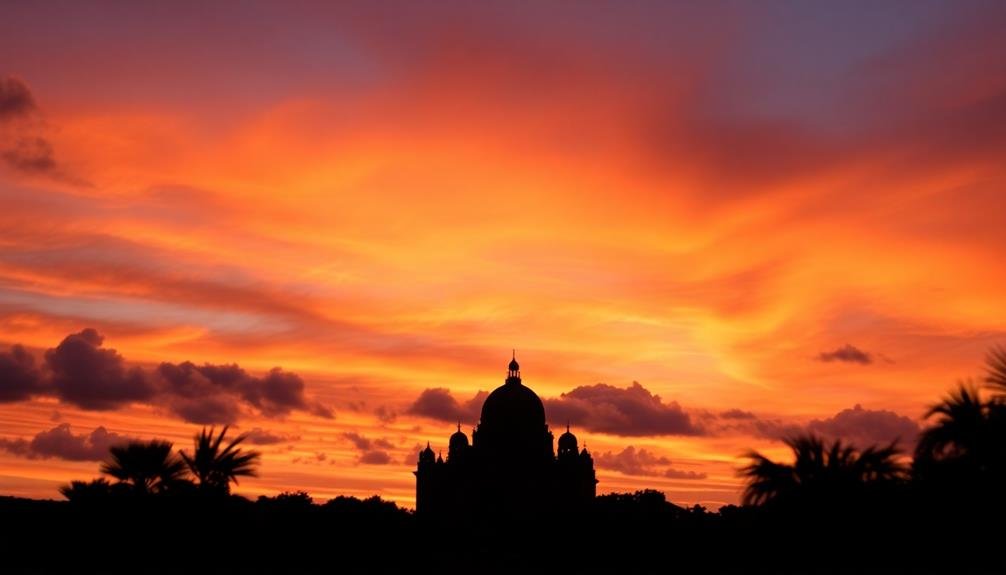
Mastering composition techniques is essential for capturing stunning sky views of tourist landmarks. Start by using the rule of thirds to create balance in your shots. Divide your frame into a 3×3 grid and place key elements along these lines or at their intersections. This technique adds visual interest and draws the viewer's eye to important features.
Experiment with different angles to showcase the landmark and sky in unique ways. Try low-angle shots to emphasize the height of buildings or monuments against the sky. Alternatively, seek out elevated vantage points for sweeping panoramas that highlight the landmark's surroundings.
Include foreground elements to add depth and context to your images. Trees, fountains, or other architectural features can frame your subject and create a sense of scale.
Don't forget to use leading lines, such as roads or pathways, to guide the viewer's gaze towards the main subject. Play with negative space by incorporating expansive skies or reflective surfaces. This technique can create a sense of tranquility and emphasize the landmark's silhouette.
Optimize Camera Settings
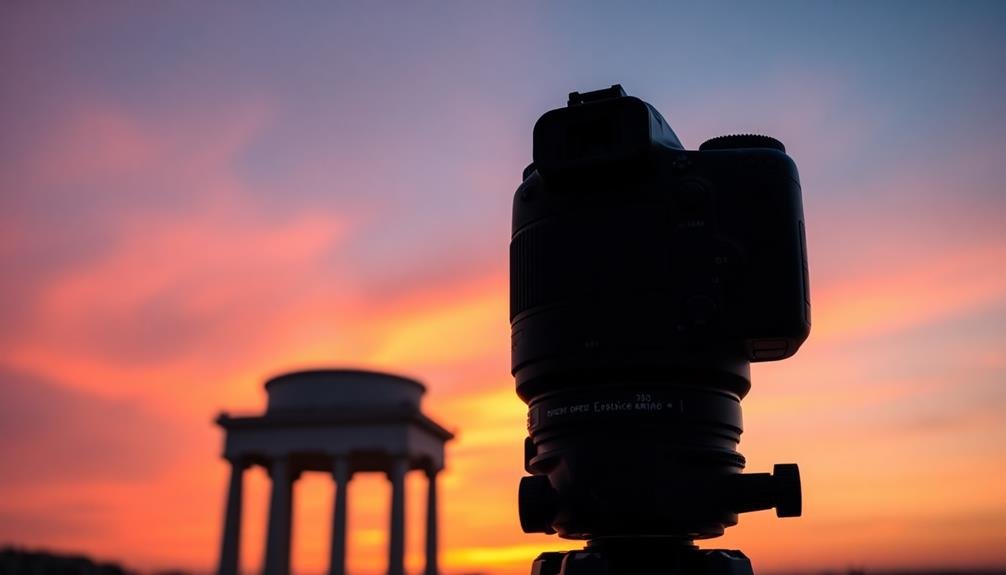
To capture stunning sky views of tourist landmarks, you'll need to optimize your camera settings. Start by selecting the manual mode on your camera for full control. Set your ISO low (100-400) to minimize noise and maximize image quality. Choose a narrow aperture (f/8 to f/16) to guarantee both the landmark and sky are in focus. Adjust your shutter speed based on available light and desired effects, typically between 1/60 and 1/250 second for handheld shots.
Use RAW format to capture more data and allow for greater editing flexibility later. Enable your camera's highlight alert feature to avoid overexposing bright skies. Consider using a polarizing filter to enhance sky colors and reduce glare.
For sunrise or sunset shots, switch to aperture priority mode and use exposure compensation to balance the bright sky with darker foregrounds. If shooting in low light, increase your ISO and use a wider aperture, but be prepared to use a tripod for slower shutter speeds.
Experiment with bracketing exposures to capture a wider dynamic range, especially in high-contrast scenes. Finally, don't forget to check your white balance settings to accurately represent sky colors.
Frequently Asked Questions
How Do I Handle Weather Changes During Sky Photography Sessions?
You'll need to adapt quickly to weather changes. Keep an eye on forecasts, bring protective gear for your equipment, and be flexible with your shooting schedule. Don't forget to use weather changes to your photographic advantage when possible.
Are There Legal Restrictions for Photographing Landmarks From Elevated Positions?
You'll often encounter legal restrictions when photographing landmarks from elevated positions. Check local laws, obtain necessary permits, and respect private property. Be aware of no-fly zones for drones and restrictions on rooftop access in urban areas.
What Safety Precautions Should I Take When Shooting From High Vantage Points?
You should always prioritize safety when shooting from heights. Wear sturdy shoes, use proper equipment, and don't lean over edges. Stay aware of your surroundings, check weather conditions, and follow all posted safety guidelines and regulations.
How Can I Minimize Lens Flare When Photographing Landmarks Against Bright Skies?
To minimize lens flare, you'll want to use a lens hood, avoid shooting directly into the sun, and try shading your lens with your hand. You can also experiment with polarizing filters to reduce glare and enhance contrast.
Which Post-Processing Techniques Enhance Sky Colors Without Looking Unrealistic?
You can enhance sky colors without overdoing it by using subtle adjustments. Try boosting saturation and vibrance slightly, adjusting white balance for warmth, and using graduated filters. Don't forget to fine-tune highlights and shadows for balance.
In Summary
You've now got the tools to capture breathtaking sky views of iconic landmarks. Remember to time your shots perfectly, compose your images with care, and dial in the right camera settings. Don't be afraid to experiment and push your boundaries. With practice, you'll soon be creating stunning aerial photographs that showcase famous sites in a whole new light. So grab your camera, head to the skies, and start capturing unforgettable views!
As educators and advocates for responsible drone use, we’re committed to sharing our knowledge and expertise with aspiring aerial photographers.


Leave a Reply