To capture stunning aerial silhouettes, you'll want to master five key techniques. Start by using backlighting for dramatic contrast, positioning your subject between the camera and light source. Next, place subjects against colorful skies during golden hour or twilight for maximum impact. Layer landscape elements to create depth in your compositions, arranging features in visually pleasing stacks. Utilize negative space to emphasize silhouettes and create balance. Finally, time your shots with golden hour for ideal lighting conditions. These techniques will transform your drone photography, but there's even more to explore in the world of aerial silhouettes.
Key Takeaways
- Position subjects between camera and light source during golden hour for dramatic backlighting and warm tones.
- Layer landscape elements to create depth, arranging foreground, middleground, and background features strategically.
- Utilize negative space to emphasize silhouettes, applying the rule of thirds for balanced compositions.
- Experiment with different angles and heights to reveal interesting sky patterns and subject outlines.
- Time shoots during golden hour, adjusting camera settings for changing light conditions and shooting in RAW format.
Backlighting for Dramatic Contrast
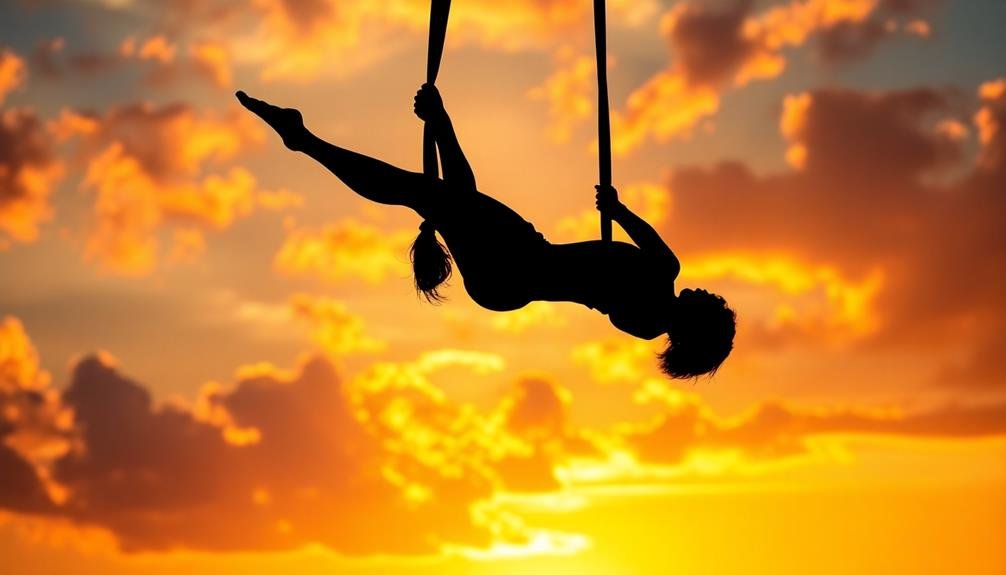
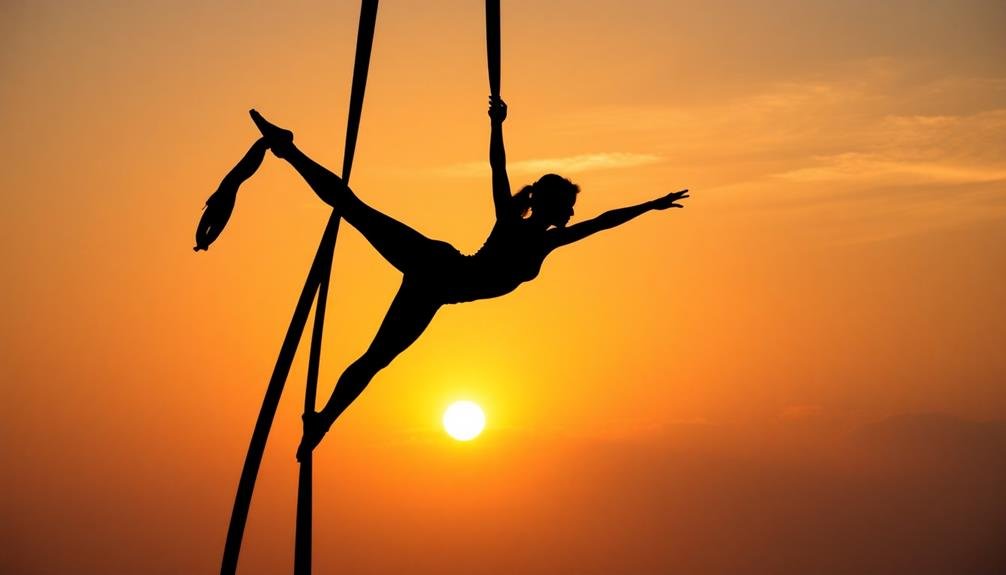
Nearly every aerial silhouette technique relies on backlighting to create dramatic contrast. When you're shooting aerial silhouettes, position your subject between your camera and the light source, typically the sun or bright sky. This placement guarantees that the subject appears dark against a brighter background, creating a striking outline.
To maximize the effect, time your shots during the golden hour—just after sunrise or before sunset. The low-angled light during these periods provides softer, warmer tones that enhance the silhouette's impact. You'll want to expose for the sky, not the subject. This means your camera's light meter should be reading the brightest part of the scene.
Experiment with different angles to find the most compelling shapes. Sometimes, slight adjustments in your position can dramatically alter the silhouette's form. Don't be afraid to underexpose your shots slightly; you can always bring out more detail in post-processing if needed.
For added interest, look for opportunities to include other elements in your composition, such as clouds or birds, that complement the main silhouette. These additional features can add depth and context to your aerial shots.
Positioning Subjects Against Colorful Skies

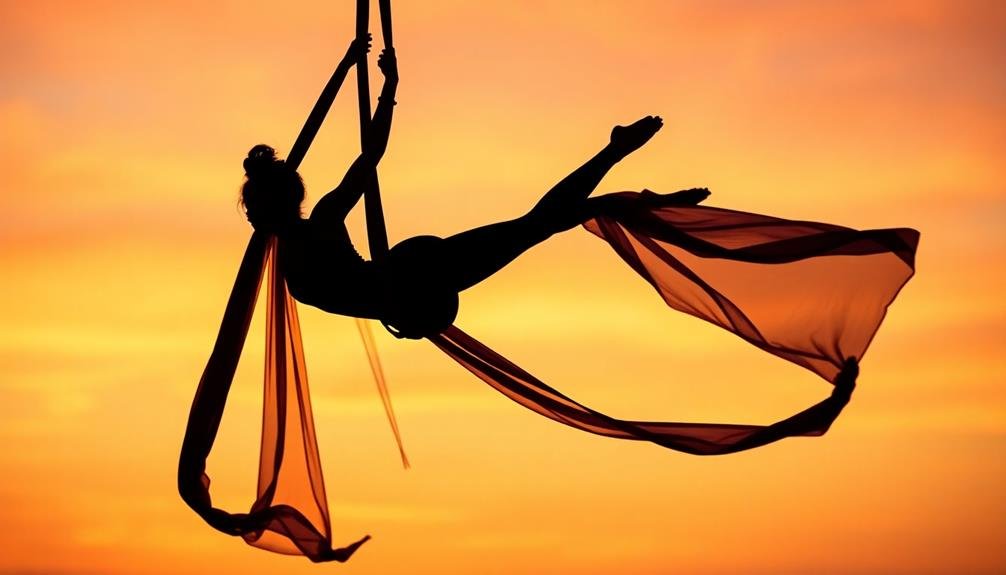
Vibrant skies can elevate your aerial silhouettes from striking to spectacular. To make the most of colorful skies, position your subjects strategically. Look for areas where the sky displays the most intense hues, typically during golden hour or twilight. Place your subject directly in front of these vibrant sections to create maximum contrast and visual impact.
Consider the shape of your subject when positioning it against the sky. Objects with distinct outlines, such as trees, buildings, or people, work best for silhouettes. Aim to capture clean, uncluttered shapes that are easily recognizable. You'll want to guarantee there's enough separation between different elements in your frame to avoid confusion.
Experiment with different angles and heights to find the most compelling composition. Sometimes, flying your drone higher can reveal more interesting sky patterns or colors.
Don't be afraid to adjust your position or wait for the right moment as the sky's colors change. Remember, timing is essential when working with colorful skies, so be prepared to act quickly.
Layering Landscape Elements
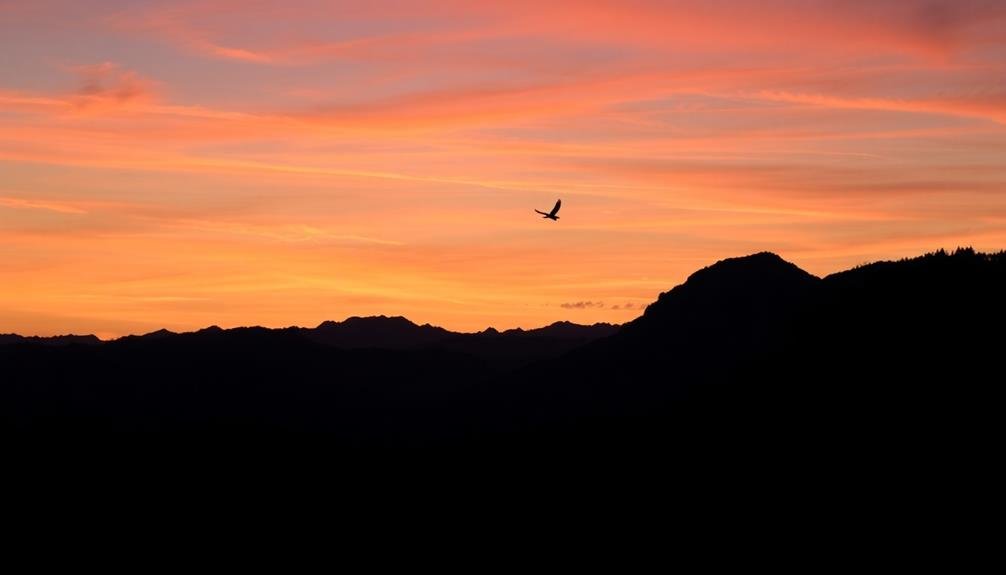
Layering landscape elements in aerial silhouette photography adds depth and visual interest to your images. To achieve this effect, you'll need to carefully compose your shot with multiple layers of landscape features at varying distances from the camera.
Start by identifying foreground, middleground, and background elements in your scene. Trees, hills, mountains, or buildings can serve as excellent silhouettes. Position yourself so that these elements are stacked in a visually pleasing arrangement. Use leading lines or curves to guide the viewer's eye through the layers.
Consider the spacing between layers to create a sense of depth. Overlapping elements can add intrigue, while gaps between layers can emphasize separation. Experiment with different altitudes to change the perspective and relationship between layers.
Pay attention to the shapes formed by your silhouettes. Look for interesting contours and negative spaces that complement each other. You can use a zoom lens to compress the layers or a wide-angle lens to exaggerate the distance between them.
Remember that the sky is an essential part of your composition. Choose a time when the sky's colors and clouds enhance your layered silhouettes, creating a harmonious and striking image.
Utilizing Negative Space
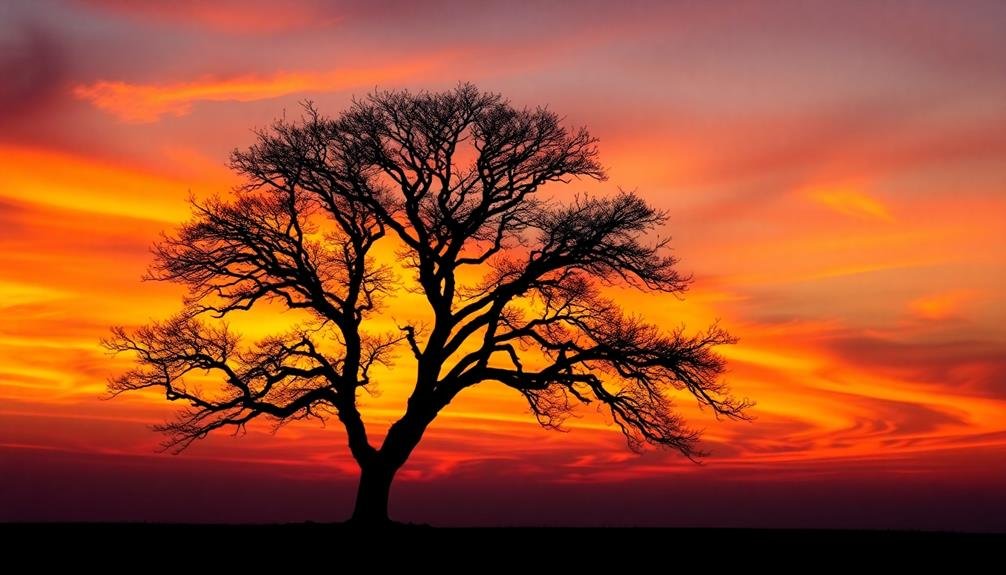
Negative space plays an essential role in creating striking aerial silhouettes. When you're composing your shot, pay attention to the areas around your main subject. These empty spaces can be just as important as the silhouette itself. Look for clean, uncluttered backgrounds that allow your subject to stand out boldly against the sky.
To effectively use negative space, consider the rule of thirds. Place your main subject off-center, leaving a larger area of open sky to create balance and visual interest. This technique draws the viewer's eye to the silhouette while emphasizing the vastness of the sky.
You can also use negative space to tell a story or convey emotion. A small silhouette surrounded by a large expanse of sky can evoke feelings of isolation or freedom. Experiment with different compositions to find the most impactful arrangement.
Don't be afraid to get creative with shapes. Use the negative space to form interesting patterns or geometric shapes that complement your silhouette. This adds depth and complexity to your image, making it more visually appealing and engaging for viewers.
Timing With Golden Hour
While negative space is key to composition, timing is equally important for stunning aerial silhouettes. The golden hour, occurring just after sunrise or before sunset, offers the perfect lighting conditions for your aerial shots. During this time, the sun's low position creates long shadows and a warm, soft light that enhances the contrast between your subject and the sky.
To capture the best aerial silhouettes during golden hour, you'll need to plan ahead. Research the exact times for sunrise and sunset at your location, and arrive early to set up your drone.
As you frame your shot, position the sun behind your subject to create a dramatic backlight effect. Experiment with different angles to find the most striking silhouette.
You'll want to adjust your camera settings to accommodate the changing light. Use a faster shutter speed to freeze any movement and prevent overexposure. Lower your ISO to minimize noise, and adjust your aperture to maintain a balanced exposure.
Don't forget to shoot in RAW format to give yourself more flexibility in post-processing. With careful timing and the right settings, you'll capture breathtaking aerial silhouettes that showcase the beauty of the golden hour sky.
Frequently Asked Questions
What Camera Settings Are Best for Capturing Aerial Silhouettes?
To capture aerial silhouettes, you'll want to use a low ISO (100-400), a fast shutter speed (1/500s or faster), and a narrower aperture (f/8-f/11). Underexpose your shot slightly to emphasize the dark shapes against the sky.
How Do You Maintain Focus on Silhouetted Subjects in Low Light?
To maintain focus on silhouetted subjects in low light, you'll want to use manual focus or single-point autofocus. Lock onto high-contrast edges, increase your aperture for depth of field, and use a tripod to avoid camera shake.
Can Aerial Silhouettes Be Effectively Created With Smartphone Cameras?
Yes, you can create effective aerial silhouettes with smartphone cameras. You'll need to expose for the sky, use HDR mode, and position subjects against bright backgrounds. Try editing apps to enhance contrast and adjust shadows afterward.
Are There Specific Weather Conditions That Enhance Aerial Silhouette Photography?
Yes, specific weather conditions can enhance your aerial silhouette photography. You'll get the best results during golden hour or blue hour. Look for partly cloudy skies, as they'll add drama and texture to your shots.
What Post-Processing Techniques Can Improve Aerial Silhouette Images?
You'll enhance your aerial silhouettes by adjusting contrast, sharpening edges, and fine-tuning exposure. Don't forget to play with color balance, boost saturation, and experiment with black and white conversions for dramatic effects. Crop carefully to perfect composition.
In Summary
You've now mastered the key techniques for creating breathtaking aerial silhouettes. Remember, it's all about timing, positioning, and playing with light. Don't be afraid to experiment with these methods to find your unique style. Whether you're capturing dramatic backlighting or layering landscape elements, you'll soon be producing stunning sky compositions that leave viewers in awe. Keep practicing, and you'll see your aerial photography skills soar to new heights.
As educators and advocates for responsible drone use, we’re committed to sharing our knowledge and expertise with aspiring aerial photographers.


Leave a Reply