To create stunning skyward time-lapse photography, you'll need a sturdy drone, a high-resolution camera with manual controls, and ample storage. Choose locations with scenic landscapes or urban environments, considering accessibility and weather conditions. Plan your flights carefully, adhering to local regulations and safety precautions. Set your camera for long exposures with appropriate intervals, and experiment with different drone flight modes for dynamic shots. In post-processing, use specialized software to stitch your sequences and add subtle effects. Remember to prioritize safety and respect for the environment throughout your shoot. As you explore this guide, you'll uncover the secrets to capturing breathtaking aerial perspectives.
Key Takeaways
- Choose a sturdy drone with programmable flight paths and a high-resolution camera capable of manual controls and RAW shooting.
- Select suitable locations considering accessibility, weather conditions, and legal restrictions for drone flights.
- Set appropriate camera intervals and durations based on the subject (stars, moon, clouds) and use manual controls for consistent exposure.
- Utilize composition techniques like framing, symmetry, and dynamic angles to create visually striking time-lapse sequences.
- Edit footage using specialized software, adjusting exposure and color uniformly, and adding subtle enhancements like music and effects.
Equipment Essentials
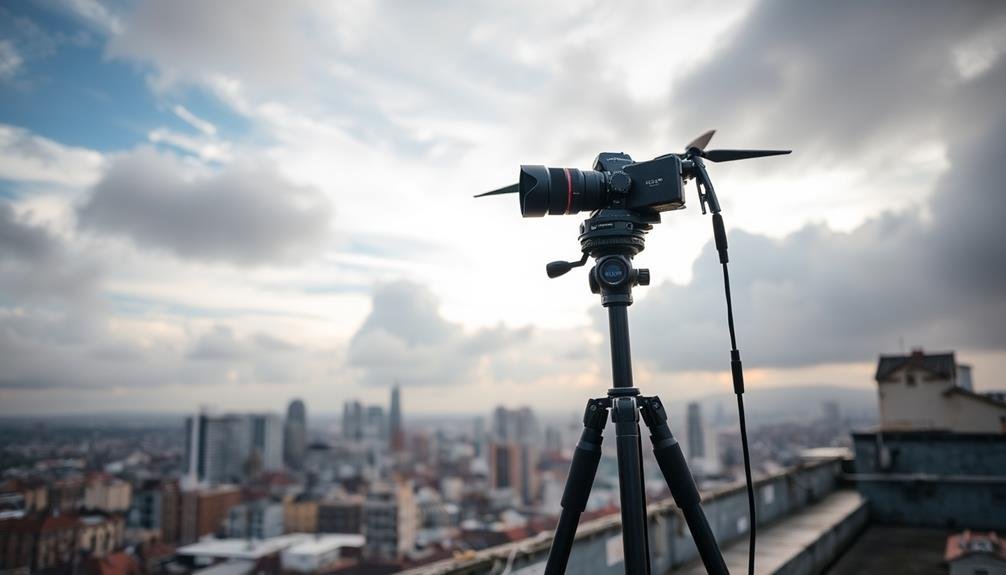
Preparedness is key when it comes to skyward photography. To capture stunning aerial time-lapses, you'll need the right gear. Start with a sturdy drone capable of stable hovering and programmable flight paths. Look for models with long battery life and wind resistance to guarantee uninterrupted shooting.
Your camera choice is vital. Opt for a high-resolution model with manual controls and RAW shooting capabilities. Wide-angle lenses work best for expansive skyward views. Don't forget ND filters to manage exposure in bright conditions.
You'll need plenty of storage space, so pack multiple high-capacity, fast-write SD cards. A laptop or tablet for on-site previews and adjustments is invaluable.
For night shots, consider LED lights or glow sticks to illuminate your subject. A remote trigger can reduce camera shake during long exposures.
Safety gear is non-negotiable. Bring high-visibility clothing, a first-aid kit, and a reliable communication device. Check local regulations and obtain necessary permits before flying.
Lastly, invest in a quality editing software to stitch your time-lapse sequences together and enhance your final product.
Choosing the Perfect Location
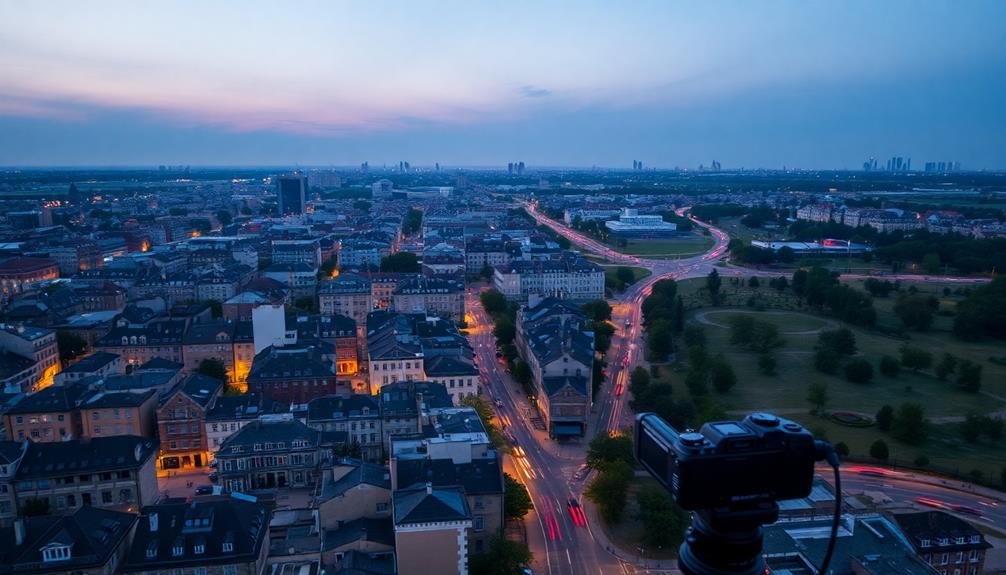
When selecting your skyward photography location, you'll need to decide between scenic natural landscapes and urban environments with architectural elements.
Consider the altitude of potential spots, as higher elevations often provide clearer views of the sky and celestial objects.
Assess the accessibility of each location, factoring in travel time, terrain difficulty, and any necessary permits or permissions.
Scenic vs. Urban Settings
Choosing the right location for skyward photography can make or break your shot. When deciding between scenic and urban settings, consider your artistic vision and the story you want to tell.
Scenic locations offer natural beauty and tranquility. You'll capture stunning views of stars, cloud formations, and celestial events without light pollution. National parks, beaches, and mountain ranges provide excellent backdrops for skyward time-lapses.
However, these areas may require more planning and equipment due to their remote nature.
Urban settings present a different challenge and aesthetic. City skylines, lit-up buildings, and bustling streets create dynamic foregrounds for your skyward shots. You'll capture the interplay between man-made structures and the sky above.
Light pollution can be both a hindrance and an asset, adding unique color casts to your images.
Consider the weather patterns and seasonal changes in your chosen location. Scenic areas might offer clearer skies, while urban environments can provide interesting weather effects like fog or smog.
Ultimately, your choice depends on the mood you want to convey and the technical aspects of your shoot. Experiment with both settings to expand your skyward photography skills.
Altitude and Accessibility Considerations
In addition to the setting type, altitude and accessibility play essential roles in choosing the perfect location for skyward photography.
When scouting for the ideal spot, consider how high you can position your camera and how easily you can reach that location. Higher vantage points often provide more expansive views and interesting perspectives, but they may come with challenges.
Evaluate the following factors when selecting your shooting location:
- Elevation: Determine if you need a tall building, hill, or even a drone to achieve the desired height.
- Access restrictions: Check if you'll need permits or special permissions to enter certain areas.
- Safety concerns: Assess potential risks associated with reaching and setting up at your chosen spot.
- Equipment logistics: Consider how you'll transport your gear to the location, especially if it's remote or elevated.
Weather Considerations
Weather plays an essential role in skyward photography. You'll need to take into account both current and forecasted conditions when planning your shoot. Clear skies are ideal for capturing stars and celestial bodies, while partly cloudy days can add drama to daytime shots. Avoid overcast conditions, as they'll obscure your subject and reduce image quality.
Wind is another significant factor. Strong gusts can shake your camera, causing blurry images. If you're using a drone, check wind speeds and direction to guarantee safe flying conditions.
Temperature also affects your equipment's performance. In cold weather, batteries drain faster, so pack extras and keep them warm. Humidity can fog up your lens, so bring a microfiber cloth to wipe it clean. In hot, humid climates, think about using a UV filter to protect your lens from condensation.
Rain is generally a no-go for skyward photography, but if you're determined, invest in weather-sealed equipment.
Lastly, track the sun and moon phases. Golden hour and blue hour provide stunning lighting for landscape shots, while a full moon can illuminate nighttime scenes beautifully. Use apps to predict these conditions and plan your shoots accordingly.
Flight Planning and Regulations
When it comes to skyward photography using drones, flight planning and regulations are fundamental aspects you can't ignore. Before launching your drone, you'll need to familiarize yourself with local laws and obtain necessary permits. Research no-fly zones, altitude restrictions, and privacy regulations in your area to guarantee compliance.
Proper flight planning is vital for capturing stunning skyward time-lapses. Consider factors like battery life, flight path, and camera settings to enhance your shooting time. Use flight planning apps to map out your route and identify potential obstacles or hazards.
Here are four key steps to follow when planning your skyward photography flight:
- Check weather conditions and choose an ideal time for your shoot.
- Scout the location in advance to identify safe takeoff and landing spots.
- Program your flight path and camera settings before takeoff.
- Confirm you have backup batteries and memory cards on hand.
Remember to always prioritize safety and follow regulations during your skyward photography sessions. By carefully planning your flights and adhering to local laws, you'll be able to capture breathtaking aerial time-lapses while staying within legal boundaries.
Camera Settings for Time-Lapse
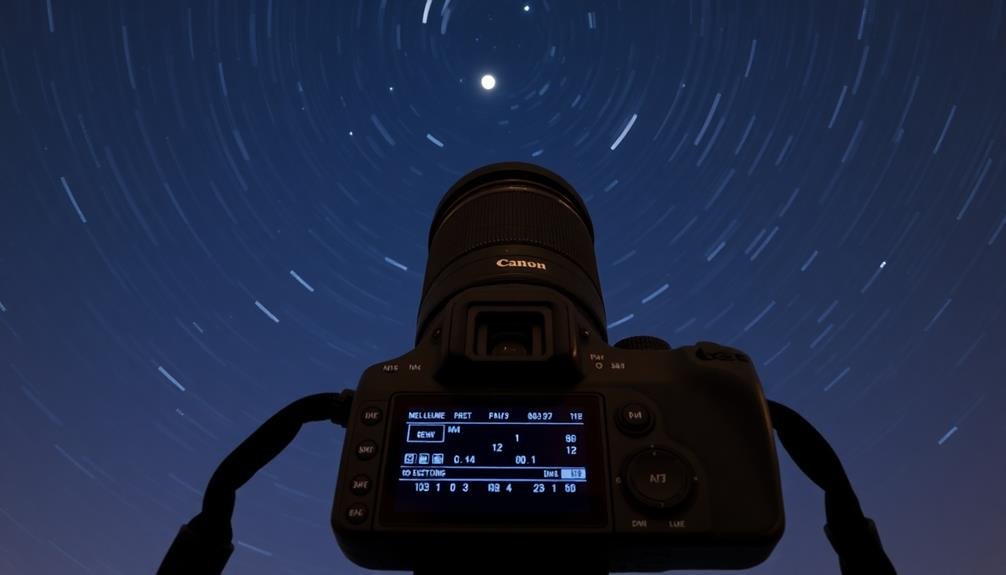
When setting up your camera for skyward time-lapse photography, you'll need to carefully consider your interval and duration settings.
You'll want to adjust your exposure and focus control to capture the night sky's movement effectively. These settings will depend on factors like the length of your desired time-lapse, the speed of celestial objects, and your camera's capabilities.
Interval and Duration Settings
Setting up the perfect time-lapse requires careful consideration of your interval and duration settings. These parameters determine how often your camera takes a photo and how long the entire sequence lasts.
For skyward photography, you'll want to capture the slow movement of celestial bodies or the rapid changes in cloud formations.
Choose your interval based on the subject's speed of movement. For slow-moving stars, set longer intervals of 30 seconds to 1 minute. For fast-moving clouds, use shorter intervals of 2 to 5 seconds. Your duration should be long enough to capture the desired effect, typically ranging from 1 to 4 hours for night sky shots.
Here's a quick guide to help you choose the right settings:
- Stars and Milky Way: 30-second intervals, 2-4 hour duration
- Moon movement: 1-minute intervals, 1-2 hour duration
- Cloud formations: 2-5 second intervals, 30-minute to 1-hour duration
- Sunrise/sunset: 5-10 second intervals, 1-2 hour duration
Exposure and Focus Control
With your interval and duration settings in place, it's time to fine-tune your camera's exposure and focus for ideal time-lapse results.
Start by setting your camera to manual mode, which gives you complete control over exposure settings. Choose an aperture that balances depth of field with light gathering ability, typically f/8 to f/11 for landscape shots.
Adjust your ISO to the lowest possible setting that still allows for proper exposure, minimizing noise in your images.
Shutter speed is essential in time-lapse photography. Use the reciprocal rule as a starting point: set your shutter speed to 1/focal length of your lens. This helps prevent motion blur in each frame.
However, you may need to adjust based on your subject's movement and lighting conditions.
For focus, switch to manual focus mode. Use your camera's live view to zoom in on a distant object and adjust focus until it's sharp.
Once set, don't touch the focus ring again during your shoot.
Consider using neutral density filters in bright conditions to allow for longer exposures, creating smoother motion in your final time-lapse.
Drone Flight Modes
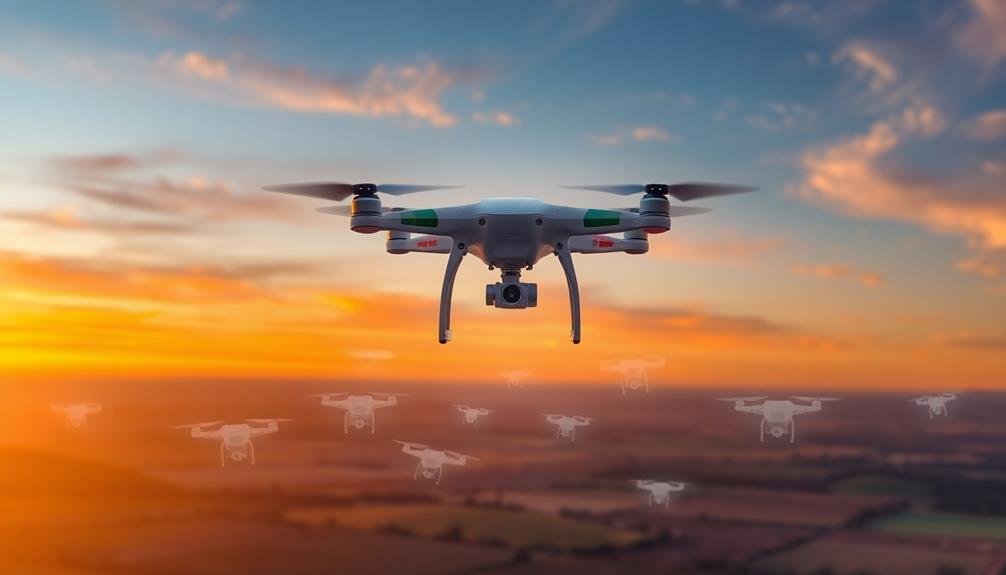
Drone flight modes are game-changers for aerial photographers. They allow you to capture stunning time-lapse sequences with precision and ease. Understanding these modes will help you create professional-looking skyward photography.
The most common flight modes for time-lapse photography include:
- Hover mode: Keeps the drone stationary in the air, perfect for capturing changes in a fixed scene.
- Waypoint mode: Programs the drone to follow a specific flight path, ideal for creating dynamic time-lapses.
- POI (Point of Interest) mode: Orbits around a central subject, great for showcasing landmarks or landscapes.
- Track mode: Follows a moving subject, useful for capturing events or activities over time.
When selecting a flight mode, consider your subject and desired outcome. Hover mode works well for cityscapes or sunsets, while waypoint mode is excellent for revealing expansive landscapes.
POI mode adds drama to architectural shots, and track mode is perfect for following parades or sporting events.
Remember to adjust your camera settings for each mode. In hover mode, you'll want longer intervals between shots, while faster-moving modes require shorter intervals to maintain smooth shifts in your final time-lapse sequence.
Composition Techniques
In spite of the advanced technology at your fingertips, mastering composition techniques remains essential for creating enchanting skyward photography. When shooting from above, you'll need to adapt traditional composition rules to suit this unique perspective.
Start by considering the rule of thirds, dividing your frame into a 3×3 grid and placing key elements along these lines or at their intersections.
Look for leading lines in your aerial shots, such as roads, rivers, or shorelines, to guide the viewer's eye through the image. Symmetry and patterns become particularly striking from above, so seek out geometric shapes in urban landscapes or natural formations.
Don't forget about negative space; it can create a sense of scale and emphasize your subject.
For dynamic compositions, experiment with different angles and altitudes. Tilting your camera slightly can add depth and interest to otherwise flat scenes.
When capturing moving subjects, leave space for them to "move into" within the frame. Finally, consider the interplay of light and shadow, which can create dramatic contrasts and textures in your skyward photography.
With practice, you'll develop an eye for compelling aerial compositions.
Interval and Duration Selection
Time is of the essence when it comes to interval and duration selection in skyward photography. You'll need to strike a balance between capturing enough frames for smooth motion and avoiding excessive file sizes. For cloud movement, try intervals of 10-30 seconds, while longer intervals of 30-60 seconds work well for slower-moving celestial objects.
Your shooting duration depends on the scene and desired effect. For a full day-to-night shift, you might shoot for 4-6 hours. Shorter durations of 1-2 hours can capture dramatic cloud formations or sunset colors. Remember, longer durations require more battery power and storage space.
Consider these factors when selecting intervals and durations:
- Subject movement speed
- Available light and its changes
- Battery life and storage capacity
- Desired final video length
Experiment with different settings to find what works best for your specific scene. Start with shorter durations and adjust as needed. You can always combine multiple sequences in post-processing to create longer time-lapses.
Post-Processing Software Options
Once you've captured your skyward time-lapse sequence, it's time to bring your vision to life through post-processing. You'll need reliable software to compile your images into a seamless video. Here are some popular options to take into account:
| Software | Pros | Cons |
|---|---|---|
| Adobe Premiere | Professional-grade tools | Steep learning curve |
| LRTimelapse | Specialized for timelapse | Requires Adobe Lightroom |
| DaVinci Resolve | Free version available | Resource-intensive |
| Final Cut Pro | Mac-optimized performance | Only available for macOS |
| Quicktime | Simple, built-in option | Limited editing features |
Choose software that aligns with your skill level and project needs. If you're new to video editing, start with user-friendly options like Quicktime or iMovie. As you progress, think about investing in more advanced software like Adobe Premiere or DaVinci Resolve for greater control over your final output.
Remember to adjust your sequence's playback speed, add music or sound effects, and color-grade your footage to enhance the visual impact. Don't be afraid to experiment with different effects and changes to create a unique and enthralling skyward time-lapse video that truly showcases your creative vision.
Editing Time-Lapse Sequences
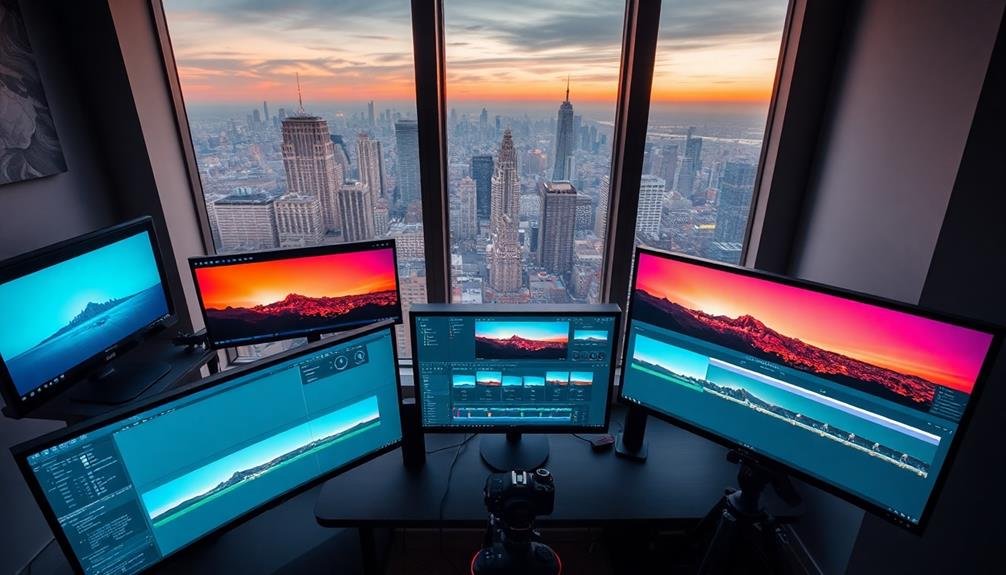
Editing time-lapse sequences is where your artistic vision truly comes to life. You'll transform hundreds of individual frames into a seamless, enthralling video that showcases the beauty of the sky from above.
Start by importing your images into your chosen editing software, ensuring they're in the correct sequence. Adjust exposure, color, and white balance consistently across all frames to maintain a cohesive look.
Next, consider the pacing of your time-lapse. Experiment with frame rates to achieve the desired speed and flow. Smooth out any flickering or jarring shifts between frames using deflicker tools or manual adjustments.
Add motion to your sequence through keyframing or camera movements to create a more dynamic final product.
Here's a quick guide to enhance your time-lapse editing process:
- Import and organize your frames
- Apply basic adjustments uniformly
- Fine-tune individual frames as needed
- Add music or sound effects to complement the visuals
Remember to export your final time-lapse in a high-quality format that preserves the detail and color of your skyward photography.
With practice, you'll develop a unique editing style that brings your aerial time-lapses to life.
Adding Music and Effects
With your time-lapse sequence assembled, it's time to elevate your creation through audio and visual enhancements. Choose music that complements the mood and tempo of your footage. Verify you have the rights to use the track or opt for royalty-free alternatives. Adjust the volume levels to balance the music with any ambient sounds you've captured.
Visual effects can add depth and interest to your time-lapse. Consider subtle color grading to enhance the atmosphere or add light flares to emphasize sunrises or sunsets. Be cautious not to overdo effects, as they can detract from the natural beauty of your skyward footage.
Here's a quick guide to common effects and their impact:
| Effect | Purpose | Caution |
|---|---|---|
| Color Grading | Enhance mood | Avoid unrealistic hues |
| Light Flares | Highlight celestial events | Use sparingly |
| Vignette | Direct focus | Don't obscure key elements |
Troubleshooting Common Issues
As you venture into skyward photography, you'll likely encounter some common challenges.
You may struggle with blurry or unfocused images, inconsistent exposure levels across your shots, or equipment stability issues.
Let's address these problems and explore solutions to help you capture stunning skyward images.
Blurry or Unfocused Images
Blurry or unfocused images are one of the most common frustrations for skyward photographers. To combat this issue, you'll need to pay close attention to your camera settings and shooting technique.
Confirm your shutter speed is fast enough to freeze motion, especially when shooting from moving platforms like drones or planes. Use a higher ISO if necessary, but be mindful of increased noise. Tripods or stabilizing mounts are essential for longer exposures, even when shooting from the ground.
Focus is vital for sharp skyward images. Use manual focus when possible, as autofocus can struggle in low-light conditions or with distant subjects. If your camera has a live view feature, zoom in digitally to fine-tune your focus.
Remember to disable any image stabilization when using a tripod, as it can paradoxically introduce blur.
Here's a quick checklist to avoid blurry skyward shots:
- Set an appropriate shutter speed (1/125s or faster for handheld)
- Use manual focus and live view for precision
- Employ a sturdy tripod or mount for stability
- Disable image stabilization when using supports
Inconsistent Exposure Levels
Inconsistent exposure levels can derail even the sharpest skyward images. When capturing time-lapse sequences from above, you'll often encounter changing light conditions that can lead to flickering or jarring shifts between frames.
To combat this issue, first, switch your camera to manual mode. This prevents automatic adjustments that can cause sudden exposure shifts.
Next, use a graduated neutral density filter to balance bright skies with darker foregrounds. Set your aperture and shutter speed based on the brightest part of your scene, ensuring you don't overexpose highlights.
For longer sequences, consider using the bulb ramping technique, gradually adjusting exposure as light conditions change.
If you're shooting day-to-night shifts, start with settings for the brightest part of the day and slowly increase exposure as it gets darker. Use an intervalometer to automate this process.
In post-processing, software like LRTimelapse can help smooth out remaining exposure variations.
Equipment Stability Problems
Three common equipment stability problems can plague skyward photography: vibration, wind, and unstable mounting. These issues can lead to blurry images and inconsistent framing, ruining your time-lapse sequence. To combat vibration, use a sturdy tripod and avoid touching your camera during shoots.
For wind-related problems, shield your equipment with windbreaks or add weight to your setup. Confirm your mounting system is secure and level to prevent gradual shifts during long exposures.
To further improve stability:
- Use a remote shutter release to minimize camera shake
- Enable mirror lock-up on DSLR cameras to reduce internal vibrations
- Invest in a quality ball head or gimbal for precise adjustments
- Consider using sandbags or bungee cords to anchor your tripod
If you're shooting from elevated positions, be extra cautious with your equipment's placement. Double-check all connections and mounts before starting your time-lapse.
In extreme conditions, you might need to use specialized gear like vibration dampeners or stabilizing rigs. Remember, even small movements can be noticeable in skyward photography, so prioritize stability to achieve crisp, professional-looking results.
Sharing Your Aerial Time-Lapse
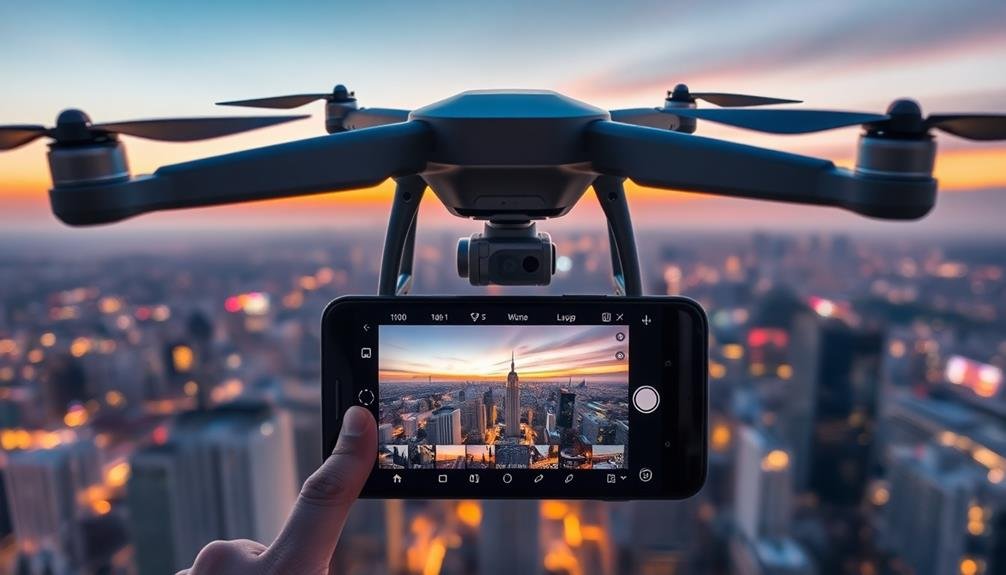
Sharing your aerial time-lapse can be an exciting way to showcase your photography skills and unique perspective. You'll want to choose the right platform to reach your intended audience. Consider popular video-sharing sites like YouTube or Vimeo for wider reach, or specialized photography platforms like 500px or Flickr for a more focused audience.
Before uploading, verify your time-lapse is polished. Edit your footage, adjusting color, contrast, and stabilization if needed. Add a subtle soundtrack to enhance the viewer's experience, but be mindful of copyright issues. Don't forget to include relevant tags and descriptions to improve discoverability.
Here's a quick guide to popular sharing platforms:
| Platform | Pros | Cons | Best For |
|---|---|---|---|
| YouTube | Wide audience, monetization | High competition | General viewers |
| Vimeo | High-quality playback | Smaller audience | Filmmakers |
| Easy sharing, engagement | Time limit constraints | Social media fans | |
| 500px | Photography-focused | Limited video features | Serious photographers |
Remember to engage with your audience by responding to comments and participating in photography communities. This can help you build a following and receive valuable feedback on your work.
Safety and Ethical Considerations
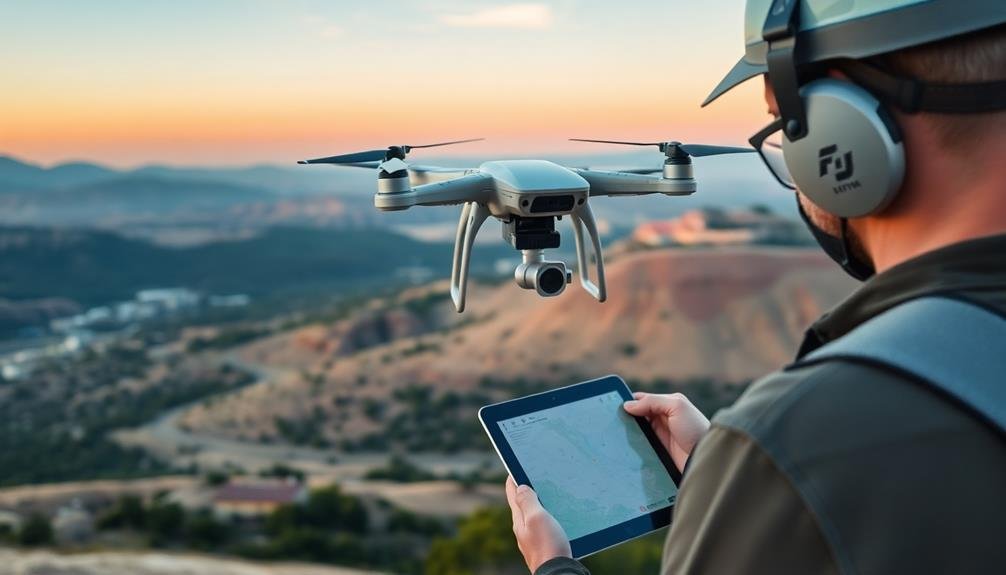
When capturing aerial time-lapses, it's crucial to prioritize safety and ethical considerations. Always follow local regulations and obtain necessary permits before flying your drone. Be aware of no-fly zones, altitude restrictions, and weather conditions that could affect your flight.
Respect privacy and property rights by avoiding shooting over private residences or sensitive areas without permission.
Prioritize the safety of people and wildlife in your filming area. Keep a safe distance from individuals, animals, and structures. Never fly your drone directly over crowds or wildlife, as this can cause distress or potential harm.
Consider the environmental impact of your activities, especially in fragile ecosystems.
Here are four key ethical considerations for aerial time-lapse photography:
- Respect wildlife habitats and nesting areas
- Avoid disturbing historical or cultural sites
- Be mindful of noise pollution in quiet areas
- Share location information responsibly to prevent overcrowding
Frequently Asked Questions
How Do I Prevent Lens Fogging During Long Time-Lapse Shoots?
To prevent lens fogging during long time-lapses, you'll want to use desiccant packets, a lens warmer, or apply anti-fog solution. Keep your gear acclimated to the outdoor temperature and avoid breathing on the lens. Regular cleaning helps too.
Can I Create Time-Lapses at Night With a Drone?
Yes, you can create night time-lapses with a drone. You'll need a drone with long-exposure capabilities, a stable hovering function, and good low-light performance. Be sure to follow local regulations for night flights and drone usage.
What's the Best Way to Stabilize Footage From Windy Conditions?
To stabilize footage in windy conditions, you'll want to use a drone with good stabilization features. Enable your drone's gimbal lock, adjust your flight speed, and use post-processing software. You can also try shooting in calmer weather if possible.
How Do I Achieve Smooth Transitions Between Different Time-Lapse Sequences?
You'll achieve smooth shifts between time-lapse sequences by matching exposure settings, using gradual fades, aligning similar compositions, and maintaining consistent movement. Try overlapping frames or employing motion graphics to seamlessly blend your sequences together.
Are There Any Special Permits Required for Commercial Aerial Time-Lapse Photography?
You'll likely need permits for commercial aerial time-lapse photography. Check with local authorities for airspace restrictions, property permissions, and drone regulations. Don't forget about privacy laws and any required business licenses. Always prioritize safety and compliance.
In Summary
You've now got the tools to create stunning aerial time-lapses. Remember to prioritize safety, respect regulations, and consider the environment. As you practice, you'll develop your unique style and vision. Don't be afraid to experiment with different locations, times of day, and camera settings. Share your work, learn from others, and keep pushing your creative boundaries. The sky's the limit for your skyward photography adventures!

As educators and advocates for responsible drone use, we’re committed to sharing our knowledge and expertise with aspiring aerial photographers.


Leave a Reply