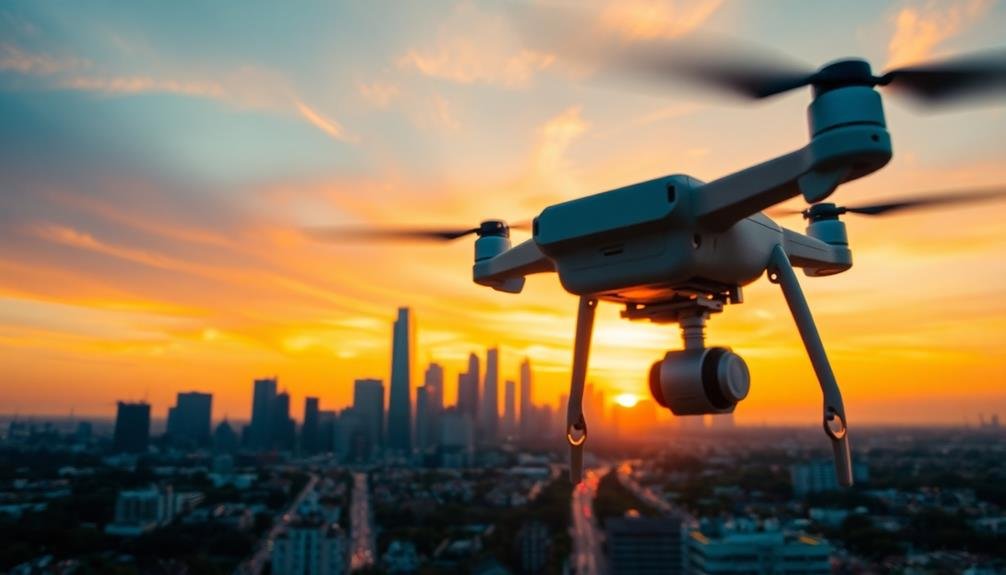
For aerial time-lapse photography, you'll want to focus on three key camera settings. First, set your shutter speed between 1/30 and 1/60 seconds, with the interval at half that speed for smooth motion. Second, choose a wider aperture (lower f-number) to separate your subject from the background, and keep your ISO low (100-200) to minimize noise. Finally, use manual focus and a fixed white balance to guarantee consistency throughout your sequence. These settings will help you capture stunning aerial time-lapses, but there's more to explore in perfecting your technique.
Key Takeaways
- Set shutter speed between 1/30 to 1/60 seconds for smooth motion and optimal frame overlap.
- Use manual mode with a low ISO (100-200) to minimize noise and maintain consistent exposure.
- Choose a wider aperture for subject separation or narrower aperture for increased depth of field.
- Enable manual focus, setting it to infinity or slightly before for sharp landscapes.
- Select a fixed white balance preset or Kelvin value to maintain consistency throughout the sequence.
Shutter Speed and Interval

Your camera's shutter speed and interval settings are essential for capturing stunning aerial time-lapse footage. For aerial time-lapses, you'll want to use a slower shutter speed, typically between 1/30 and 1/60 of a second. This slight motion blur will create a smoother, more cinematic look when your footage is played back.
As for the interval between shots, you'll need to take into account your flight speed and desired playback speed. A good rule of thumb is to set your interval to half your shutter speed. For example, if you're using a 1/30 second shutter speed, set your interval to 1/15 second. This guarantees enough overlap between frames for smooth motion.
Remember that faster-moving subjects, like clouds or traffic, may require shorter intervals to capture their movement effectively. Conversely, slower subjects, such as changing light conditions, can use longer intervals.
Experiment with different combinations to find what works best for your specific scene and desired outcome. Always shoot in manual mode to maintain consistent exposure throughout your time-lapse sequence, and use a neutral density filter if needed to achieve your desired shutter speed in bright conditions.
Aperture and ISO

While shutter speed and interval are key factors in aerial time-lapse photography, aperture and ISO settings also play a vital role in achieving ideal results.
When selecting your aperture, you'll want to take into account the depth of field required for your scene. For aerial time-lapses, a wider aperture (lower f-number) can help separate your subject from the background, while a narrower aperture (higher f-number) guarantees more of the landscape is in focus.
As for ISO, you'll need to balance image quality with light sensitivity. Start with the lowest ISO possible to minimize noise, typically around 100-200. However, if you're shooting in low light conditions or need faster shutter speeds, you may need to increase your ISO.
Be cautious when going above ISO 800, as this can introduce noticeable grain in your images.
Remember that aperture and ISO work together with shutter speed to form the exposure triangle. You'll often need to adjust all three settings in tandem to achieve the desired exposure.
Don't be afraid to experiment with different combinations to find what works best for your specific aerial time-lapse project and lighting conditions.
Focus and White Balance
Once you've set your exposure settings, it's crucial to nail your focus and white balance for stunning aerial time-lapse footage.
For focus, use manual focus to guarantee consistency throughout your sequence. Set your focus to infinity or slightly before to keep the landscape sharp. If you're shooting from a high altitude, this should suffice for most scenes. However, if you're capturing closer subjects, use your camera's live view to zoom in and fine-tune the focus.
For white balance, avoid using auto white balance as it can create inconsistencies between frames. Instead, choose a preset that matches your lighting conditions, such as daylight for sunny scenes or cloudy for overcast days.
If you're shooting during changing light conditions, like sunset or sunrise, consider using a fixed Kelvin value to maintain consistency.
Remember that you can always adjust white balance in post-processing if you shoot in RAW format. This gives you more flexibility to fine-tune the color temperature of your footage.
However, getting it right in-camera will save you time in post-production and provide a more consistent look across your time-lapse sequence.
Frequently Asked Questions
What Drone Models Are Best Suited for Aerial Time-Lapse Photography?
You'll want to contemplate drones like the DJI Mavic 3, Air 2S, or Autel EVO II Pro for aerial time-lapse photography. They offer high-quality cameras, long flight times, and advanced features that'll help you capture stunning time-lapse sequences.
How Do Weather Conditions Affect Aerial Time-Lapse Photography Settings?
Weather greatly impacts your aerial time-lapse settings. You'll need to adjust your shutter speed, ISO, and aperture for different light conditions. Wind can affect your drone's stability, so you'll want to increase your interval between shots.
What File Format Should I Use for Aerial Time-Lapse Footage?
For aerial time-lapse footage, you'll want to use RAW format. It'll give you the most flexibility in post-processing. If your camera doesn't support RAW, opt for high-quality JPEG. Avoid compressed formats to maintain image quality.
How Can I Stabilize My Drone for Smoother Time-Lapse Sequences?
To stabilize your drone for smoother time-lapses, you'll want to use a 3-axis gimbal, enable GPS lock, and activate tripod mode. Choose a windless day, use ND filters, and verify your battery's fully charged for longer shoots.
What Software Is Recommended for Editing Aerial Time-Lapse Videos?
For editing aerial time-lapse videos, you'll want to use powerful software like Adobe Premiere Pro, Final Cut Pro X, or DaVinci Resolve. They offer advanced features for smoothing, color grading, and adding effects to your stunning aerial sequences.
In Summary
You've now mastered the key camera settings for aerial time-lapse photography. Remember to experiment with shutter speed and interval to capture smooth motion. Adjust your aperture and ISO for ideal exposure in changing light conditions. Don't forget to lock your focus and set an appropriate white balance for consistent results. With these techniques, you'll create stunning aerial time-lapses that showcase the world from a unique perspective. Keep practicing, and you'll soon be producing breathtaking sequences that captivate your audience.
As educators and advocates for responsible drone use, we’re committed to sharing our knowledge and expertise with aspiring aerial photographers.


Leave a Reply