To create stunning sky time-lapses, start by selecting the right frame rate for your cloud movement. Stabilize your footage to eliminate camera shake, then adjust exposure and color balance for ideal lighting. Apply gradients to smooth shifts between light and dark areas. Enhance cloud patterns by tweaking playback speed and contrast. Add motion blur effects to create a sense of fluid movement. Finally, incorporate subtle sound design with ambient nature sounds or ethereal music to complement the visuals. These techniques will elevate your time-lapse from ordinary to extraordinary. Mastering these tips will open up a world of creative possibilities for your sky footage.
Key Takeaways
- Choose appropriate frame rates: 1 frame every 5-10 seconds for slow clouds, 1-3 seconds for fast clouds.
- Apply stabilization techniques to remove camera shake and ensure smooth footage.
- Adjust exposure and color balance to enhance natural tones and maintain detail in highlights and shadows.
- Use gradients for seamless transitions between light and dark areas of the sky.
- Enhance cloud movement with motion blur effects and subtle color grading to accentuate patterns and flow.
Choose the Right Frame Rate
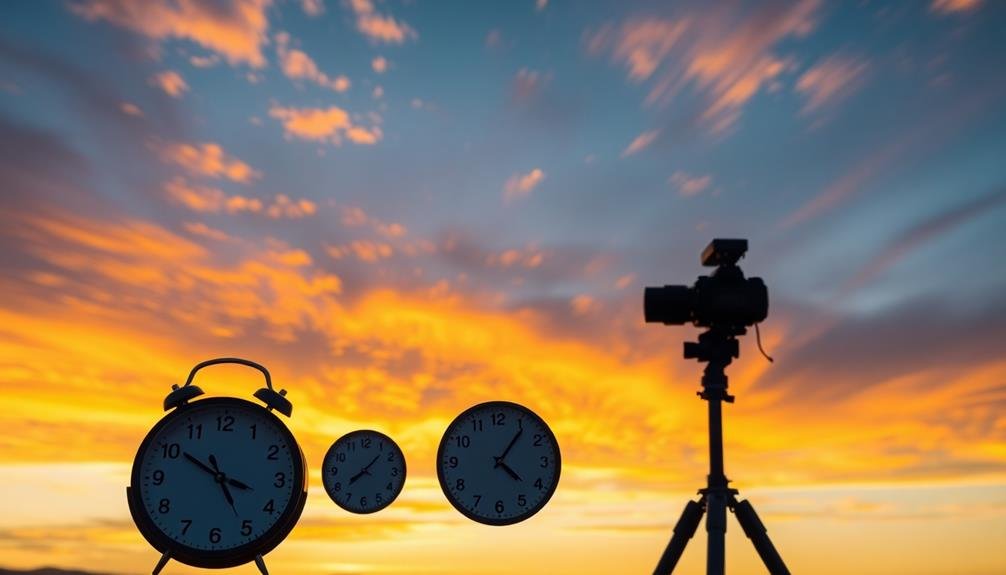
Selecting the perfect frame rate is the foundation of enchanting time-lapse sky footage. You'll need to evaluate the type of sky movement you're capturing and the final playback speed you desire.
For slow-moving clouds, a lower frame rate of 1 frame every 5-10 seconds can work well. If you're capturing fast-moving clouds or dramatic weather changes, increase your frame rate to 1 frame every 1-3 seconds.
Remember, your final video's smoothness depends on your frame rate. Aim for at least 24-30 frames per second in your final composition. To achieve this, you'll need to shoot more frames than you might initially think. For a 10-second clip at 30fps, you'll need 300 frames.
Experiment with different frame rates to find what works best for your specific scene. Faster frame rates can create a more frenetic feel, while slower rates produce a dreamier effect.
Don't be afraid to adjust your frame rate during the shoot if conditions change. By mastering frame rate selection, you'll dramatically improve the quality and impact of your time-lapse sky footage.
Stabilize Your Footage
Stabilizing your time-lapse sky footage is essential for a professional-looking result.
You'll want to remove any camera shake that might've occurred during the shooting process.
The Warp Stabilizer effect in your editing software can be a powerful tool to smooth out unwanted movement and create a rock-solid final video.
Remove Camera Shake
One of the most essential steps in creating stunning sky time-lapses is eliminating camera shake. Even with a tripod, subtle movements can occur due to wind, vibrations, or slight gear shifts. To remove camera shake in post-production, you'll need to use stabilization software or features within your editing program.
Start by analyzing your footage for any noticeable shake. Most modern editing software offers built-in stabilization tools that can automatically detect and correct minor movements. Apply these tools to your clips, adjusting the settings to find the right balance between smoothness and maintaining the original framing.
For more challenging cases, you might need to use advanced stabilization techniques. Track specific points in your frame across multiple frames, then use this data to smooth out the movement. Pay special attention to the horizon line and any stationary objects in your scene.
If you're dealing with extreme shake, consider cropping your footage slightly. This allows the stabilization algorithm more room to work without introducing warping or distortion at the edges of your frame.
Use Warp Stabilizer
For Adobe Premiere Pro and After Effects users, the Warp Stabilizer effect is a powerful tool to smooth out shaky footage in your sky time-lapses.
It's particularly useful when you can't reshoot or when minor camera movements persist after manual stabilization attempts.
To apply Warp Stabilizer, drag the effect onto your clip in the timeline. The software will analyze your footage and automatically apply stabilization. You can adjust settings like smoothness and method to fine-tune the results.
For sky time-lapses, try the "Position, Scale, Rotation" method, which often yields the best results for wide-angle shots.
Keep in mind that Warp Stabilizer may crop your footage slightly to compensate for movement. To minimize this, shoot with a wider frame than you need. If you notice warping or distortion in cloud formations, reduce the smoothness or try the "Position" method instead.
For complex scenes with foreground elements, use masks to isolate the sky and apply Warp Stabilizer only to that area. This prevents unwanted warping of stationary objects while still stabilizing the clouds and celestial elements in your time-lapse.
Adjust Exposure and Color Balance
Once you've assembled your time-lapse footage, it's time to plunge into the exposure and color balance adjustments. Start by evaluating the overall brightness of your sequence. If it's too dark or bright, use the exposure control to make global adjustments. Pay attention to highlights and shadows, ensuring you don't lose detail in either extreme.
Next, focus on color balance. The sky's hues can change dramatically over the course of a time-lapse, so you'll need to find a balance that works for the entire sequence. Use the white balance tool to correct any color casts, aiming for natural-looking tones. Don't be afraid to push the warmth or coolness slightly to enhance the mood of your footage.
For more precise control, utilize curves or levels adjustments. These tools allow you to fine-tune specific tonal ranges, helping you bring out details in clouds or enhance the vibrancy of a sunset.
Remember to use a light touch – subtle adjustments often yield the most professional results.
Apply Gradients for Smooth Transitions
Applying gradients is a powerful technique for creating smooth shifts in your sky time-lapse footage. It can help you seamlessly blend different parts of the sky, enhancing the overall visual appeal and creating a more natural-looking transition between light and dark areas.
To apply gradients effectively, start by identifying the areas where you want to create a shift. This could be between the horizon and the sky, or between different cloud formations. Use your editing software's gradient tool to create a mask that covers the desired area. Adjust the gradient's opacity, feathering, and direction to achieve the most natural-looking blend.
You can also use gradients to correct exposure issues across your frame. If the bottom of your image is darker than the top, apply a gradient to brighten the lower portion gradually. This technique works well for balancing out uneven lighting conditions.
Don't limit yourself to linear gradients. Experiment with radial or reflected gradients to create unique effects that complement your sky's movement. Remember to keep the gradient subtle; overuse can make your footage look artificial.
Enhance Cloud Movement and Patterns

The dynamism of cloud movement forms the heart of enchanting sky time-lapses. To enhance this mesmerizing element, you'll need to focus on accentuating the natural patterns and flow of clouds.
Start by adjusting the playback speed of your footage. Experiment with different rates to find the sweet spot that best showcases the cloud movement without making it appear too rushed or sluggish.
Next, consider using motion blur to create a smoother, more fluid appearance. This technique can help blend frames and emphasize the directional flow of clouds. You can achieve this effect by adjusting your camera's shutter speed during capture or by applying motion blur in post-processing.
Color grading plays an essential role in enhancing cloud patterns. Boost contrast slightly to define cloud shapes, and adjust highlights and shadows to bring out texture.
Be careful not to overdo it, as excessive contrast can lead to an unnatural look. Use subtle color adjustments to emphasize the sky's mood, whether it's a warm sunset or a cool, stormy atmosphere.
Add Motion Blur Effects
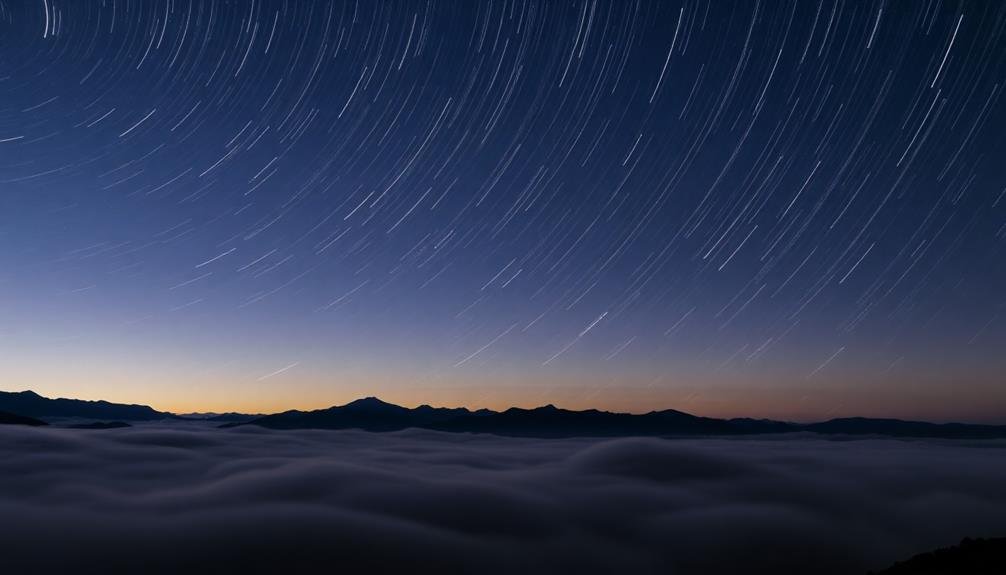
Motion-blur magic can transform your time-lapse footage from good to breathtaking. By adding subtle motion blur effects, you'll create a sense of fluidity and movement that captivates viewers. To achieve this, you'll need to experiment with your editing software's motion blur tools.
Start by adjusting the shutter speed in post-production. A longer shutter speed will naturally create more blur, mimicking the effect of a slower camera shutter.
Next, consider applying directional blur to enhance the sense of movement in specific areas of your frame, such as cloud formations or star trails.
For advanced results, try these techniques:
- Use masking to apply motion blur selectively
- Experiment with radial blur for a vortex effect
- Combine multiple blur layers with varying opacities
- Apply motion blur to individual frames, then blend them
- Create custom blur paths to guide the viewer's eye
Incorporate Subtle Sound Design
When adding sound to your time-lapse sky footage, consider incorporating ambient nature sounds to enhance the visual experience.
You'll find that gentle wind rustling, distant bird calls, or soft water sounds can create a more immersive atmosphere.
For a dreamlike quality, try blending in ethereal musical elements, such as subtle synthesizer pads or atmospheric drones, to complement the evolving sky scenes.
Ambient Nature Sounds
Along with stunning visuals, incorporating subtle ambient nature sounds can elevate your time-lapse sky footage to new heights. When selecting ambient sounds, choose those that complement the visual elements of your time-lapse. For instance, if you're showcasing a sunset over a forest, gentle bird chirps and rustling leaves would be appropriate.
Be mindful of volume levels when adding ambient sounds. They should enhance the viewing experience without overpowering the visual elements. You'll want to create a delicate balance that immerses viewers without distracting them.
Consider using a mix of different nature sounds to create depth and realism in your audio track. Here are some ambient sounds you might include:
- Soft wind rustling through trees or grass
- Distant bird calls or insect chirps
- Gentle water sounds like streams or waves
- Subtle animal noises appropriate to the setting
- Faint thunderclaps for stormy skies
Remember to adjust the audio timing to match the pacing of your time-lapse footage. This synchronization will help create a cohesive and engaging final product that captivates your audience's visual and auditory senses.
Ethereal Musical Elements
While ambient nature sounds can ground your time-lapse in reality, ethereal musical elements can transport viewers to another dimension. To incorporate these subtle sound design elements, start by selecting soft, atmospheric tracks that complement the visual mood of your sky footage.
Look for gentle synthesizer pads, airy textures, or delicate piano melodies that evoke a sense of wonder and expansiveness. Layer these ethereal sounds carefully, blending them with your ambient nature recordings. Use automation to gradually introduce musical elements, allowing them to swell and recede with the visual flow of your time-lapse.
Pay attention to the pacing of your edit, syncing key musical moments with dramatic changes in the sky or cloud formations. Consider using reverb and delay effects to create a sense of space and depth in your audio mix. This can help mirror the vastness of the sky in your footage.
Don't overpower the visuals with too much music; instead, aim for a balanced soundscape that enhances the viewer's experience without distracting from the stunning imagery. Experiment with pitch-shifting and time-stretching techniques to create unique, otherworldly tones that match the surreal nature of accelerated sky movements.
Frequently Asked Questions
How Long Should I Film to Create a Good Time-Lapse Sky Sequence?
You'll want to film for at least 30 minutes to create a good time-lapse sky sequence. However, longer durations of 1-3 hours can produce more dramatic results, especially during sunrise, sunset, or when clouds are moving rapidly.
What's the Best Camera Lens for Capturing Wide-Angle Sky Time-Lapses?
For wide-angle sky time-lapses, you'll want to use an ultra-wide lens. A 14-24mm or 16-35mm lens is ideal. They'll capture more of the sky and landscape, giving you stunning, expansive shots that'll wow your viewers.
How Can I Prevent Flickering in My Time-Lapse Footage?
To prevent flickering in your time-lapse footage, you'll want to use manual settings. Lock your aperture, shutter speed, and ISO. Avoid auto white balance and enable lens corrections. Shoot in RAW format for better post-processing control.
Are There Specific Weather Conditions That Produce the Best Sky Time-Lapses?
You'll get the best sky time-lapses during partly cloudy days with dynamic weather. Look for moving clouds, approaching storms, or colorful sunrises and sunsets. Clear skies can be boring, so aim for days with interesting atmospheric conditions.
What Software Is Recommended for Advanced Time-Lapse Sky Editing Techniques?
You'll find Adobe After Effects, LRTimelapse, and Lightroom excellent for advanced sky time-lapse editing. They offer powerful tools for smoothing shifts, adjusting exposure, and enhancing colors. Don't overlook DaVinci Resolve for its node-based compositing capabilities.
In Summary
You've now got the tools to create enchanting time-lapse sky footage. Remember to experiment with frame rates, stabilize your shots, and fine-tune exposure and color. Don't forget to use gradients for seamless shifts and enhance cloud patterns. Adding motion blur and subtle sound design will elevate your work. With practice, you'll master these techniques and produce stunning visual stories that capture the ever-changing beauty of the sky. Keep shooting and refining your craft!

As educators and advocates for responsible drone use, we’re committed to sharing our knowledge and expertise with aspiring aerial photographers.
Leave a Reply