
To capture stunning aerial travel photos, start by choosing a drone that matches your skill level and travel needs. Master your camera settings, focusing on aperture, shutter speed, and ISO for ideal exposure. Plan your flight path meticulously, considering landmarks and local regulations. When composing shots, use leading lines and natural framing to create compelling images. In post-processing, enhance your photos by adjusting exposure, contrast, and saturation, but maintain a natural look. Remember to keep your horizon level and crop strategically. By following these tips, you'll elevate your travel photography to new heights. Explore further to reveal the full potential of sky-view imagery.
Choose the Right Drone
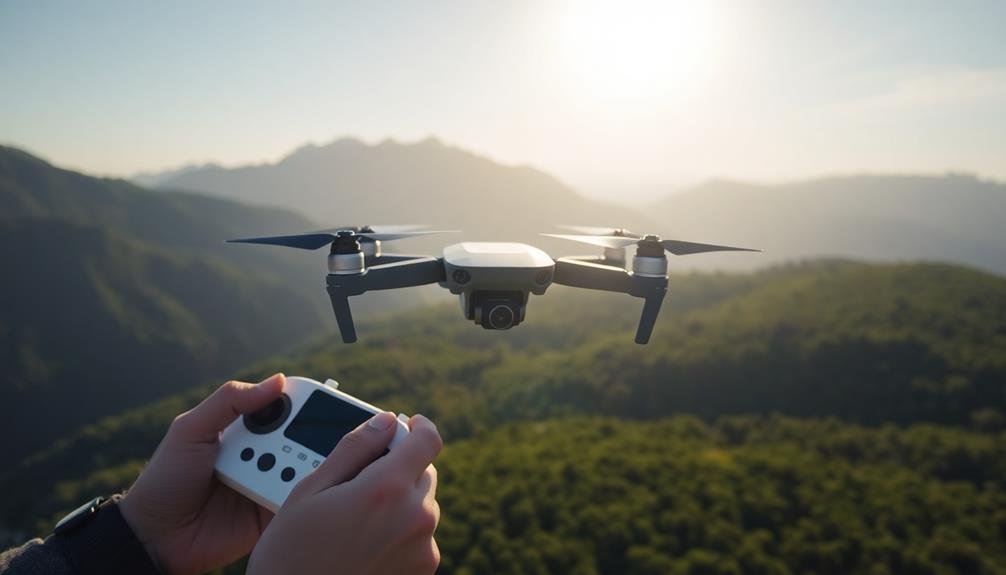
When it comes to aerial photography, selecting the right drone is vital. You'll want to take into account several factors before making your choice.
First, assess your skill level. If you're a beginner, opt for a user-friendly model with built-in stabilization and obstacle avoidance features. For experienced pilots, advanced drones with manual controls offer more creative freedom.
Next, think about portability. If you're traveling, a compact, foldable drone will be easier to transport.
Evaluate the camera quality, as it directly impacts your photos. Look for drones with at least a 12MP camera and the ability to shoot in RAW format for better post-processing options.
Battery life is essential, so choose a drone that can fly for at least 20 minutes on a single charge.
Don't forget about range – a longer transmission distance allows you to capture more diverse perspectives.
Finally, check local regulations regarding drone use in your travel destinations. Some countries have strict rules or outright bans on drones.
Master Camera Settings
Mastery of camera settings is essential for capturing breathtaking aerial photos. You'll need to understand how to adjust your drone's camera for different lighting conditions and subjects. Start by familiarizing yourself with the basics: aperture, shutter speed, and ISO. These three elements work together to control exposure and image quality.
When shooting from above, you'll often encounter challenging lighting situations. To combat this, use the following tips:
- Set your aperture between f/4 and f/8 for a good balance of sharpness and depth of field.
- Adjust shutter speed based on your drone's movement and subject motion. Faster speeds (1/500s or higher) freeze action, while slower speeds create motion blur.
- Keep ISO as low as possible to minimize noise, but don't hesitate to increase it in low-light conditions.
- Experiment with different shooting modes, such as manual, aperture priority, or shutter priority, to find what works best for each situation.
Remember to shoot in RAW format for maximum editing flexibility. Don't be afraid to bracket your exposures, especially in high-contrast scenes.
With practice, you'll develop an intuitive understanding of how to adjust your camera settings on the fly, resulting in stunning aerial photographs that capture the essence of your travels.
Plan Your Flight Path
Now that you've mastered your camera settings, it's time to focus on flight planning. Your flight path can make or break your aerial photography, so careful preparation is essential. Start by researching your destination and identifying key landmarks or landscapes you want to capture. Consider the time of day and how sunlight will affect your shots.
Create a detailed flight plan that includes:
| Waypoint | Target | Altitude |
|---|---|---|
| 1 | City skyline | 400 ft |
| 2 | Beach coastline | 200 ft |
| 3 | Mountain range | 800 ft |
| 4 | River delta | 300 ft |
Remember to account for wind conditions and potential obstacles. Plan your route to maximize efficiency and battery life. If possible, use software to visualize your flight path and adjust as needed.
Don't forget to check local regulations and obtain necessary permits. Some areas may have restricted airspace or require special authorization for drone flights. Always prioritize safety and respect for privacy when planning your aerial photography adventure.
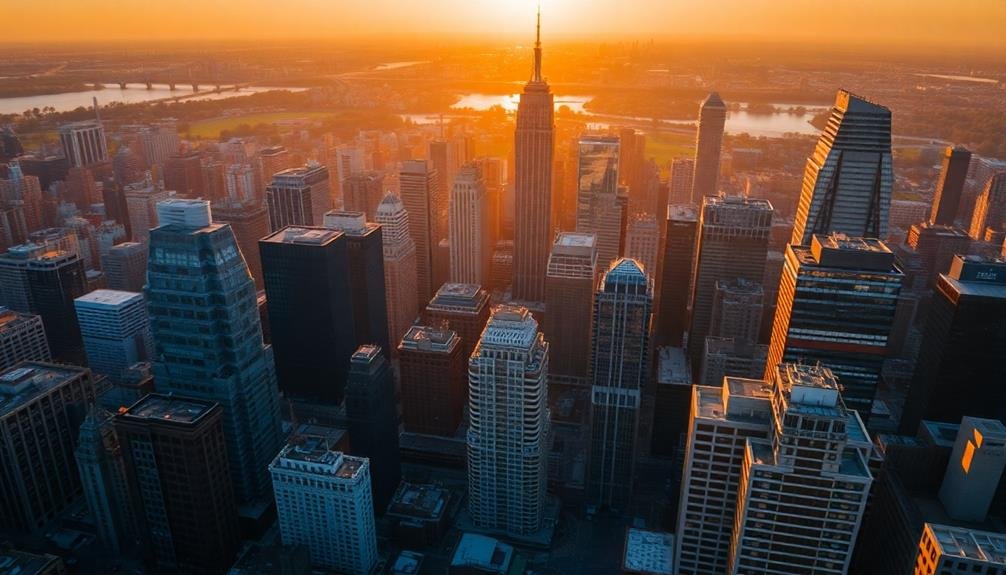
Compose Stunning Aerial Shots

Capturing breathtaking aerial shots comes down to more than just pointing your camera at interesting subjects from up high.
You'll need to master composition techniques that work specifically for aerial photography. As you soar above the landscape, look for patterns, textures, and unique perspectives that aren't visible from the ground.
To compose stunning aerial shots:
- Use leading lines: Rivers, roads, and coastlines can guide the viewer's eye through your image.
- Frame your subject: Utilize natural elements like clouds or mountain ranges to create a frame within your photo.
- Play with symmetry: Look for reflections in water bodies or geometric patterns in urban landscapes.
- Incorporate negative space: Balance your subject with open areas to create a sense of scale and drama.
Remember to adjust your camera settings for the unique lighting conditions at higher altitudes.
Faster shutter speeds will help combat motion blur from the aircraft's movement. Don't forget to experiment with different angles and altitudes to find the perfect composition.
As you practice, you'll develop an eye for spotting compelling scenes from above, turning your aerial adventures into unforgettable photographic memories.
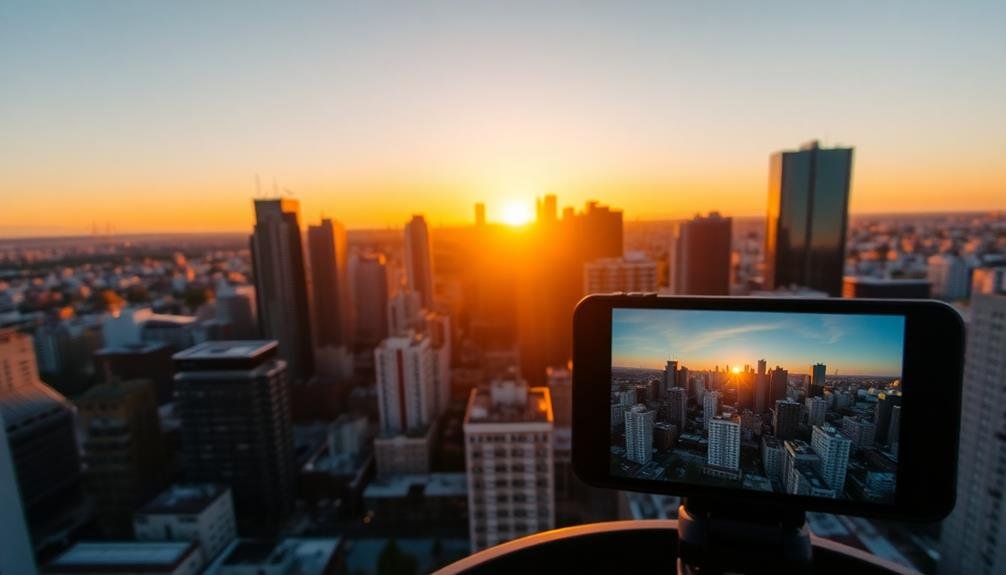
Edit for Maximum Impact
Once you've captured your stunning aerial shots, it's time to bring out their full potential through editing. Start by adjusting the exposure and contrast to enhance the overall brightness and depth of your images.
Don't be afraid to boost the saturation slightly to make colors pop, especially for landscape shots.
Pay attention to the horizon line in your aerial photos. Even a slight tilt can be distracting, so use the straighten tool to guarantee it's perfectly level.
Crop your images strategically to improve composition and remove any distracting elements near the edges.
Use the dehaze tool to cut through any atmospheric haze and reveal crisp details in distant landscapes.
Experiment with selective adjustments to enhance specific areas of your photo, such as brightening shadows or darkening overexposed skies.
Consider using presets or developing your own to create a consistent look across your aerial photography collection.
However, be careful not to over-edit; aim for a natural, realistic appearance that captures the awe-inspiring view from above.
Frequently Asked Questions
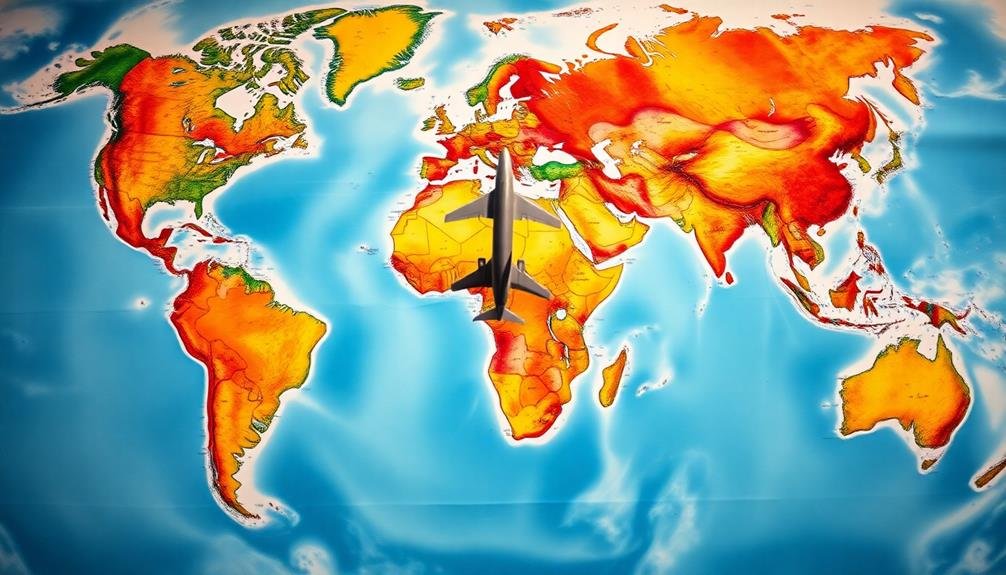
What Are the Legal Restrictions for Flying Drones in Different Countries?
You'll find drone laws vary widely between countries. Some require registration, permits, or licenses. Others have strict no-fly zones or altitude limits. Always research local regulations before flying, as penalties can be severe for violations.
How Can I Protect My Drone From Extreme Weather Conditions?
To protect your drone from extreme weather, you'll want to use a waterproof case, avoid flying in heavy rain or strong winds, and store it in a temperature-controlled environment. Always check weather forecasts before flying and land immediately if conditions worsen.
What Insurance Options Are Available for Drone Photography Equipment?
You'll find various insurance options for your drone equipment. Consider specialized drone insurance, add-ons to your existing policies, or professional photography equipment coverage. Don't forget to check if your homeowner's insurance already covers your gear.
Are There Specific Safety Measures for Flying Drones Near Wildlife?
When flying drones near wildlife, you'll need to maintain a safe distance, avoid disturbing animals, and follow local regulations. Don't chase or harass wildlife, and be aware of nesting areas. Always prioritize the animals' well-being over your shot.
How Can I Minimize Propeller Noise in Aerial Video Recordings?
You can minimize propeller noise by using quieter propellers, flying higher, adjusting your camera's audio settings, or adding a wind muff. You'll also want to contemplate post-production techniques like noise reduction filters to further improve sound quality.
In Summary
You've now got the tools to capture breathtaking aerial photos. Remember, practice makes perfect, so don't be discouraged if your first shots aren't masterpieces. Keep experimenting with different angles, heights, and lighting conditions. As you gain experience, you'll develop your unique style. Always prioritize safety and follow local regulations. With patience and creativity, you'll soon be sharing stunning sky-view images that'll make your followers' jaws drop. So go ahead, take to the skies and let your photography soar!
As educators and advocates for responsible drone use, we’re committed to sharing our knowledge and expertise with aspiring aerial photographers.


Leave a Reply