
To capture stunning architecture on video, you'll need to master key techniques. Start by choosing the right equipment, including drones with high-quality cameras and stabilization features. Understand architectural composition, focusing on lines, shapes, and forms. Master your camera settings, especially aperture and shutter speed, to control depth-of-field and motion blur. Plan your flight path carefully, considering lighting conditions and potential obstacles. Utilize natural light to enhance the building's features, and experiment with aerial timelapse sequences for dramatic effects. Post-processing is essential for polishing your footage. By honing these skills, you'll elevate your architectural videography to new heights.
Choosing the Right Drone
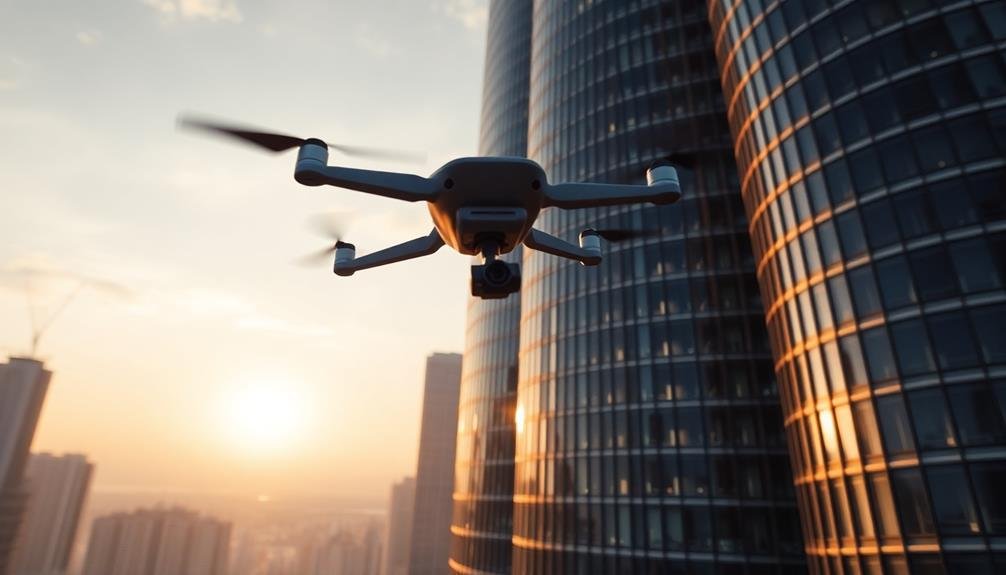
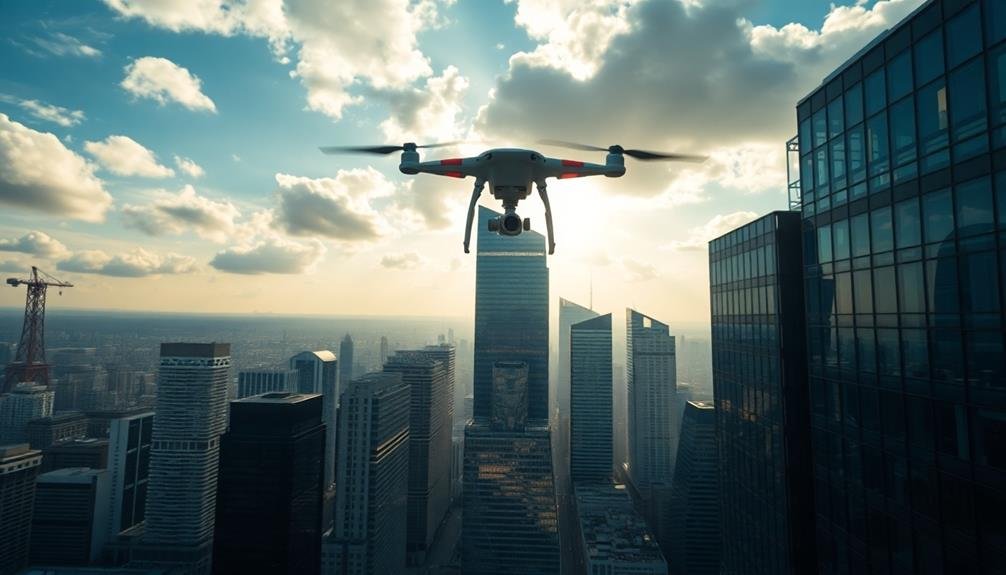
Drones have revolutionized architectural videography, offering unique perspectives and stunning aerial shots. When choosing a drone for architectural videography, you'll want to take into account several key factors.
First, opt for a model with a high-quality camera capable of shooting 4K video and RAW photos. Look for drones with at least a 1-inch sensor and adjustable aperture for better low-light performance and depth of field control.
Flight time is vital, so select a drone with a battery life of at least 25-30 minutes. This guarantees you'll have enough time to capture the necessary footage without frequent interruptions.
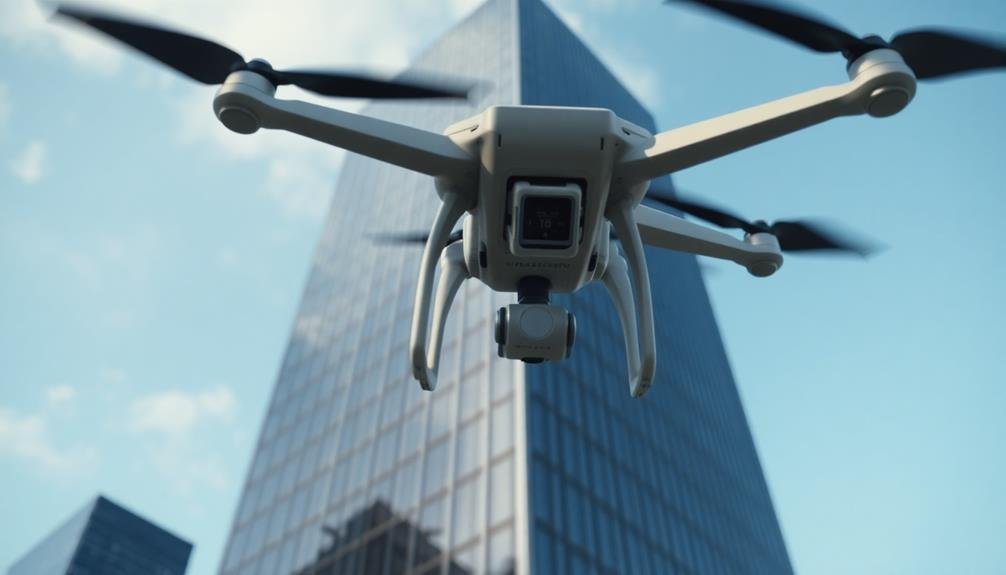
Stability is also essential, so choose a drone with advanced stabilization features like 3-axis gimbals and obstacle avoidance systems.
Reflect on the drone's size and portability, especially if you'll be traveling to different locations. Foldable drones are great for easy transport.
Don't forget about intelligent flight modes, such as orbit, waypoints, and tracking, which can help you create smooth, professional-looking shots of architectural structures.
Understanding Architectural Composition
To capture compelling architectural footage, you'll need to grasp the fundamental elements of composition.
Start by identifying the key lines, shapes, and forms that define the structure's visual appeal.
Consider how symmetry or asymmetry plays a role in the building's design, and use these principles to frame your shots effectively.
Lines, Shapes, and Forms
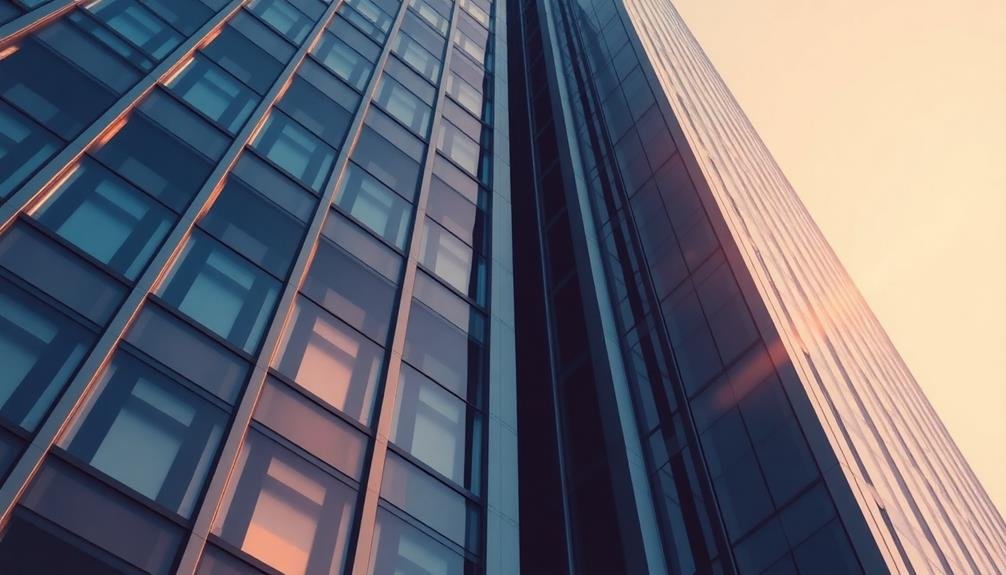
How do you capture the essence of architectural design through videography? Focus on the fundamental elements that make up a building's structure: lines, shapes, and forms. These components are the building blocks of architectural composition and can be used to create visually striking footage.
When filming, pay attention to:
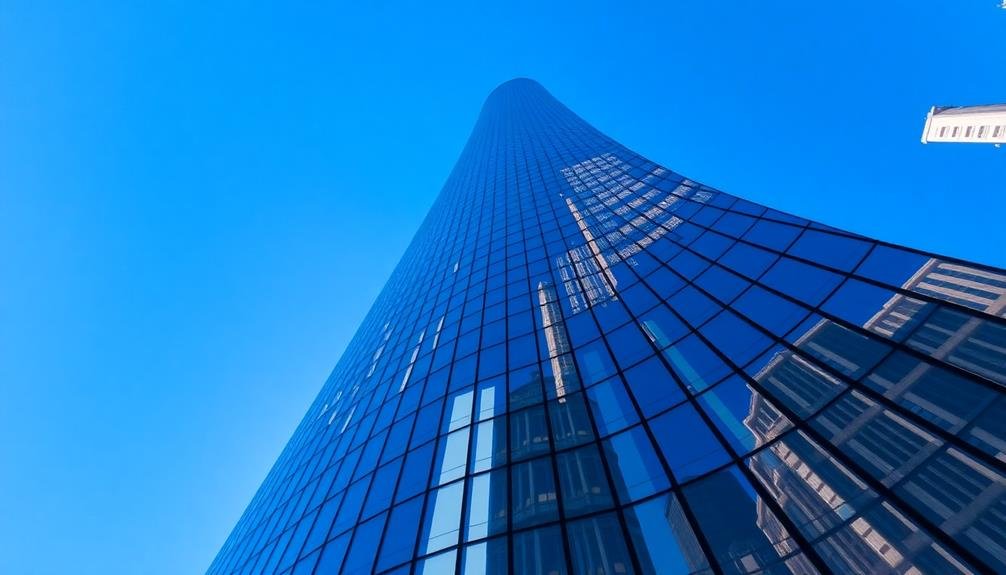
- Vertical lines: Emphasize height and grandeur
- Horizontal lines: Convey stability and calmness
- Diagonal lines: Add dynamism and movement
- Curved lines: Suggest fluidity and grace
Shapes play an essential role in architectural design. Rectangles, squares, circles, and triangles are common in buildings, each conveying different emotions and aesthetics. Capture these shapes from various angles to highlight their significance in the overall design.
Forms are three-dimensional shapes that give buildings their unique character. Use your camera to showcase how different forms interact and create visual interest. Move around the structure to reveal how light and shadow play across these forms, adding depth and texture to your footage.
Symmetry vs. Asymmetry
Architectural composition often hinges on the interplay between symmetry and asymmetry. As you film, you'll need to recognize and capture these elements effectively. Symmetry creates a sense of balance and order, often found in classical and formal designs. It's visually pleasing and can convey stability and grandeur. Asymmetry, on the other hand, introduces dynamic tension and visual interest, often seen in modern and contemporary architecture.
When shooting symmetrical structures, position your camera centrally to emphasize the balanced design. For asymmetrical buildings, experiment with off-center framing to highlight the intentional imbalance. Use these techniques to guide your viewers' eyes and create compelling compositions.
| Symmetry | Asymmetry | Filming Technique |
|---|---|---|
| Balance | Tension | Central framing |
| Formal | Dynamic | Off-center shots |
| Classical | Modern | Leading lines |
| Stability | Interest | Rule of thirds |
| Order | Contrast | Diagonal framing |
As you navigate through symmetrical and asymmetrical elements, pay attention to how they interact within the overall architectural composition. Use your camera movements to reveal these relationships, shifting smoothly between balanced and unbalanced elements to create a visually engaging narrative of the structure's design.
Mastering Camera Settings
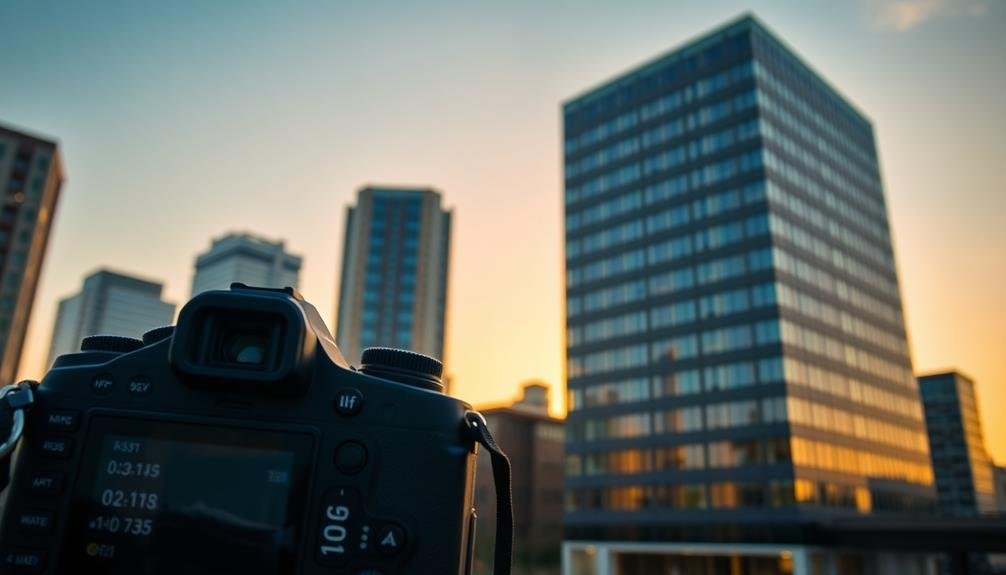
To capture architectural spaces effectively, you'll need to master your camera's settings.
Start by understanding aperture and how it affects depth-of-field, allowing you to control which elements of a building are in focus.
Don't overlook shutter speed considerations, as they'll impact your ability to capture sharp images in varying light conditions and when documenting moving elements within the architecture.
Aperture and Depth-Of-Field
The aperture of your camera lens plays an essential role in architectural videography. It determines the amount of light entering your camera and affects the depth-of-field in your shots. When filming architecture, you'll often want to showcase the entire structure in sharp focus, which requires a smaller aperture (higher f-number). This creates a deeper depth-of-field, keeping both foreground and background elements crisp.
However, there are times when a shallow depth-of-field can be effective in architectural videography:
- Highlighting specific architectural details
- Creating a sense of scale by blurring the background
- Adding visual interest to static shots
- Guiding the viewer's eye to specific elements
To achieve a shallow depth-of-field, use a wider aperture (lower f-number). This technique can be particularly useful when filming interior spaces or focusing on intricate design elements.
Remember that changing the aperture will affect your exposure, so you'll need to adjust your shutter speed or ISO accordingly. Experiment with different aperture settings to find the right balance between depth-of-field and exposure for each shot.
Shutter Speed Considerations
Building on our discussion of aperture, let's explore another key camera setting: shutter speed. When filming architecture, your shutter speed choice can dramatically impact the final look of your footage.
As a general rule, you'll want to use a shutter speed that's double your frame rate. For example, if you're shooting at 24 frames per second, set your shutter speed to 1/48 or 1/50 second. This standard setting guarantees smooth, natural-looking motion in your video.
However, don't be afraid to experiment. A faster shutter speed can create crisper, more defined footage, which might be ideal for capturing intricate architectural details. Conversely, a slower shutter speed can introduce motion blur, potentially adding a sense of dynamism to your shots.
Consider the lighting conditions as well. In bright sunlight, you may need a faster shutter speed to avoid overexposure. In low light, a slower shutter speed can help you capture more light, but be cautious of introducing too much blur.
Planning Your Flight Path
Mapping out your flight path sets the stage for capturing stunning architectural footage. Before launching your drone, take time to plan your route carefully. Consider the building's unique features, angles, and surrounding environment. A well-planned flight path guarantees you'll capture all the necessary shots while maximizing battery life and minimizing potential risks.
Start by scouting the location on foot, identifying key viewpoints and potential obstacles. Use this information to create a mental map of your desired shots. When planning your flight path, keep these factors in mind:
- Building height and scale
- Sunlight direction and time of day
- Nearby structures or trees that may interfere
- No-fly zones or restricted airspace
Begin with wide establishing shots, then gradually move closer to capture details. Incorporate smooth, slow movements to showcase the architecture's grandeur. Plan for both horizontal and vertical movements, including orbits around the structure and gradual ascents or descents.
Remember to factor in time for multiple takes and unexpected adjustments. Always prioritize safety and adhere to local drone regulations.
Utilizing Natural Light

With your flight path planned, it's time to contemplate how you'll harness natural light to elevate your architectural footage. Natural light can dramatically enhance the visual appeal of buildings, creating depth, texture, and atmosphere. To make the most of it, you'll need to take into account the time of day and weather conditions.
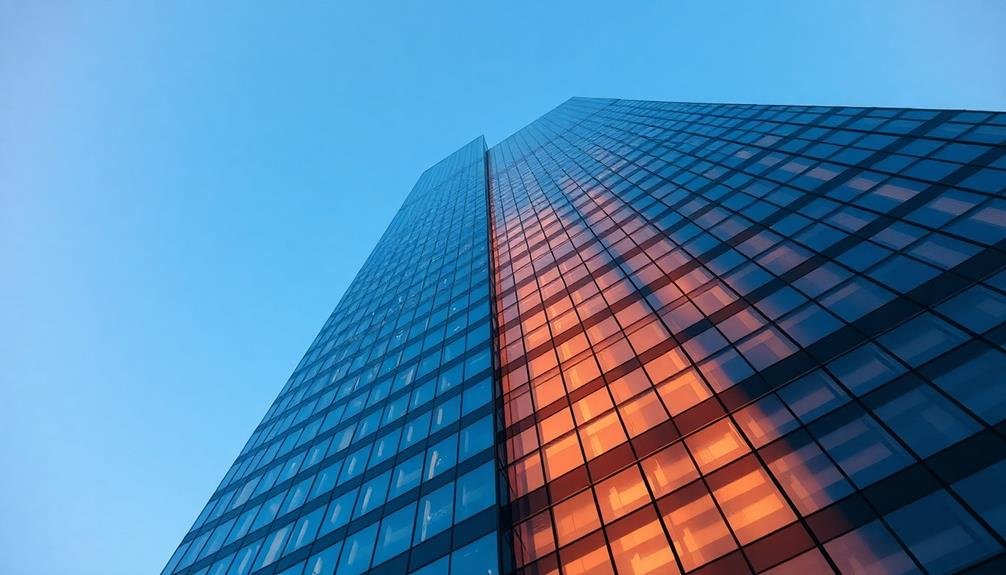
The golden hours, just after sunrise and before sunset, offer warm, soft light that can make architecture glow. During these times, long shadows add dimension and create interesting patterns.
Midday sun, while harsh, can be ideal for capturing stark contrasts and highlighting intricate details.
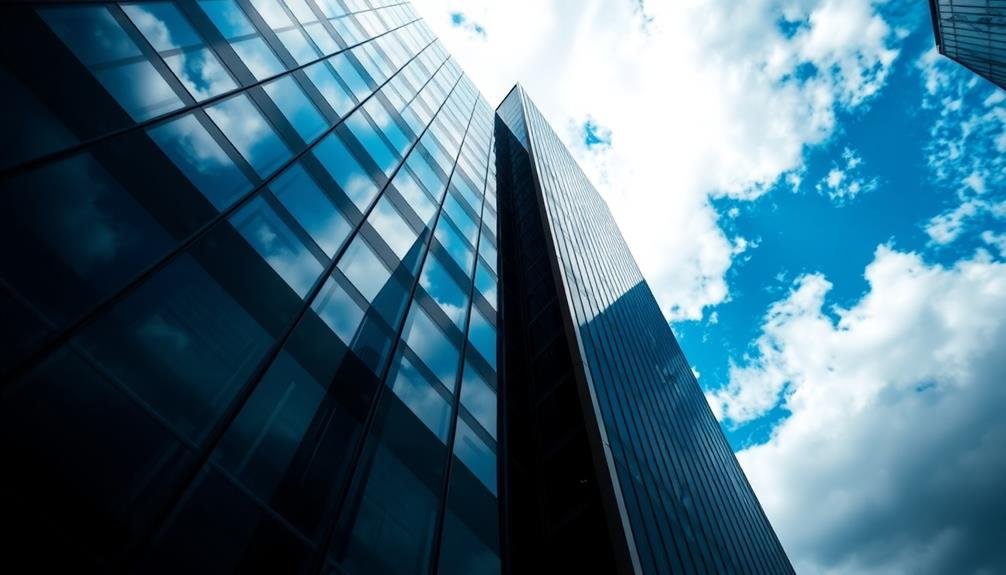
Pay attention to how light interacts with different materials. Glass facades can create stunning reflections, while textured surfaces come alive with side lighting.
Overcast days provide diffused light, perfect for even illumination and reducing harsh shadows.
Don't shy away from backlighting; it can create dramatic silhouettes and emphasize a building's shape. As you fly, observe how light changes the appearance of the structure from various angles.
Adjust your camera settings to maintain proper exposure, and take into account using ND filters to control light in bright conditions.
Capturing Dynamic Perspectives
Three key elements make dynamic perspectives in architectural videography truly mesmerizing: movement, angles, and framing. You'll want to incorporate smooth camera motion to showcase the building's depth and scale. Use techniques like panning, tilting, and dolly shots to create a sense of flow and reveal hidden details.
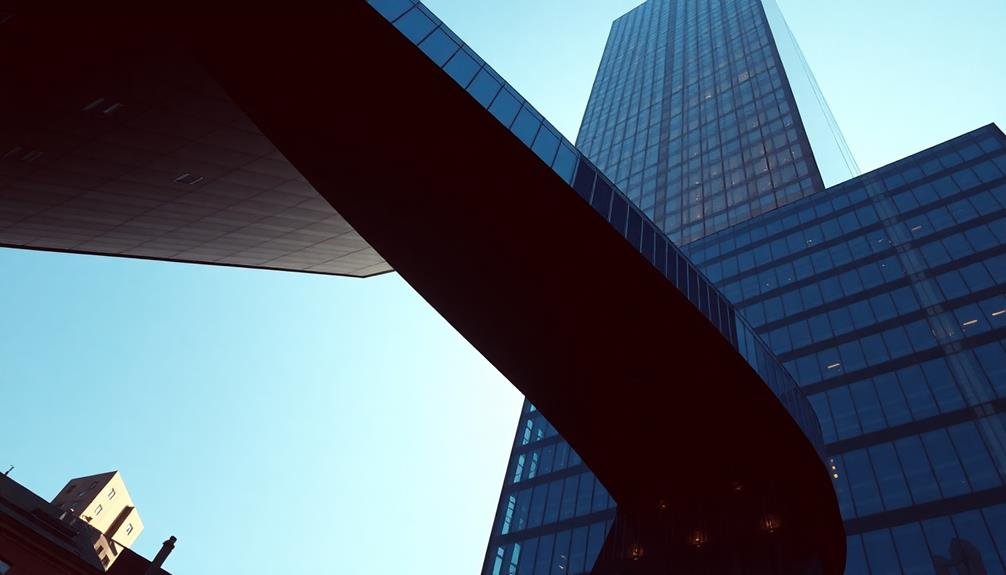
Experiment with unique angles to highlight the structure's most interesting features. Low-angle shots can make buildings appear more imposing, while high-angle views offer a fresh perspective on rooflines and overall layout. Don't be afraid to get close to textures or architectural details for intimate, abstract shots that add visual interest to your video.
Framing is essential in architectural videography. Use foreground elements to create depth and lead the viewer's eye to the main subject. Consider the rule of thirds when composing your shots, and look for natural frames within the architecture itself.
To capture truly dynamic perspectives, try these techniques:
- Use a slider for smooth, linear camera movements
- Incorporate drone footage for sweeping aerial views
- Experiment with time-lapse to show the building in different lighting conditions
- Utilize a gimbal for fluid, handheld shots that mimic the human eye's perspective
Smooth Movement Techniques
Smooth movement is the backbone of compelling architectural videography. To achieve fluid motion, you'll need to master several techniques and tools. Start by investing in a quality gimbal or stabilizer for your camera. These devices counteract hand movements, ensuring your footage remains steady even as you walk or pan.
Practice the art of the slow, controlled movement. Whether you're dollying, tracking, or panning, maintain a consistent speed to avoid jarring changes. Use your body as a natural stabilizer by bending your knees slightly and taking careful steps.
For longer, more complex shots, consider using a slider. This tool allows for smooth horizontal or vertical movements, perfect for revealing architectural details gradually.
When capturing tall structures, a jib or crane can provide sweeping vertical shots that showcase the building's scale.
Don't overlook the power of a well-executed handheld shot. With practice, you can achieve a natural, organic feel that complements the rigid lines of architecture. Remember to breathe steadily and use your core muscles to maintain stability.
Lastly, in post-production, you can further smooth out any remaining bumps with software stabilization tools, ensuring your final product is polished and professional.
Showcasing Scale and Proportion
Capturing the true essence of architectural scale and proportion can make or break your video. To effectively showcase these elements, you'll need to employ specific techniques that highlight the building's size and spatial relationships.
Start by including people or familiar objects in your shots to provide a sense of scale. This allows viewers to instantly grasp the structure's dimensions.
Use wide-angle lenses to capture expansive views, emphasizing the building's overall size and its relationship to its surroundings. Don't forget to balance these with close-up shots that reveal intricate details, creating a dynamic contrast between the macro and micro aspects of the architecture.
Consider these techniques to enhance scale and proportion in your architectural videos:
- Utilize drone footage for aerial perspectives
- Implement time-lapse sequences to show the building in context
- Incorporate low-angle shots to emphasize height and grandeur
- Experiment with framing techniques to juxtapose different elements
Remember to vary your shot composition, alternating between wide, medium, and close-up shots to maintain visual interest.
Highlighting Architectural Details
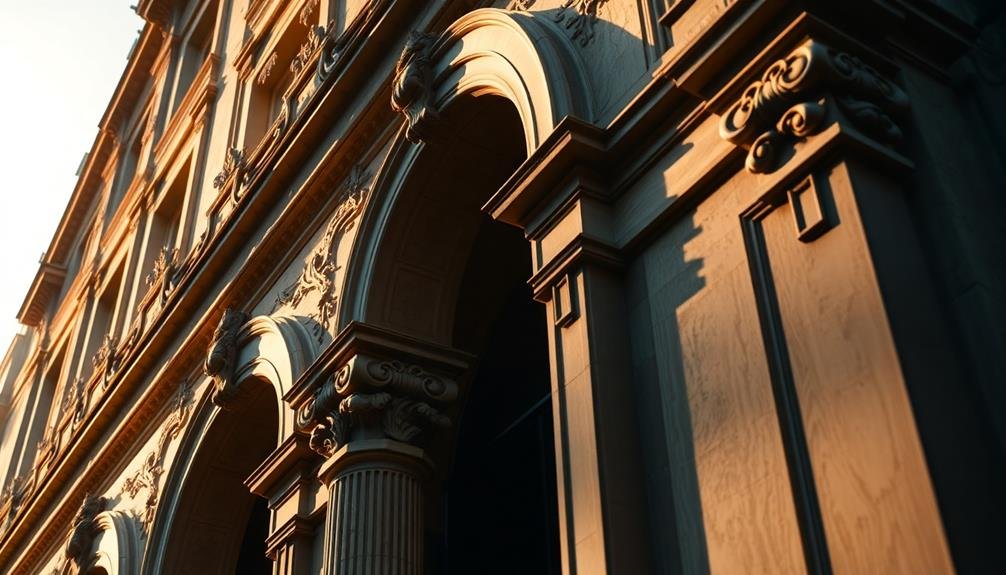
In light of the building's overall scale, it is crucial to zoom in on the finer points that make the architecture unique. Use macro shots to capture intricate details like ornate moldings, textured surfaces, or innovative materials. Employ a shallow depth of field to isolate specific elements and create a sense of depth.
Consider using these techniques to highlight architectural details:
| Technique | Purpose | Equipment |
|---|---|---|
| Macro shots | Capture tiny details | Macro lens |
| Rack focus | Draw attention | Follow focus |
| Time-lapse | Show changing light | Intervalometer |
| Slider shots | Reveal textures | Camera slider |
| Drone footage | Access hard-to-reach areas | Drone |
When filming architectural details, pay attention to lighting. Natural light can create dramatic shadows and highlight textures, while artificial lighting can emphasize specific features. Use a combination of wide, medium, and close-up shots to provide context and draw the viewer's eye to important details.
Don't forget to capture the interplay between different materials and how they contribute to the overall design. By showcasing these details, you'll give viewers a deeper appreciation for the architect's vision and craftsmanship.
Aerial Timelapse Sequences
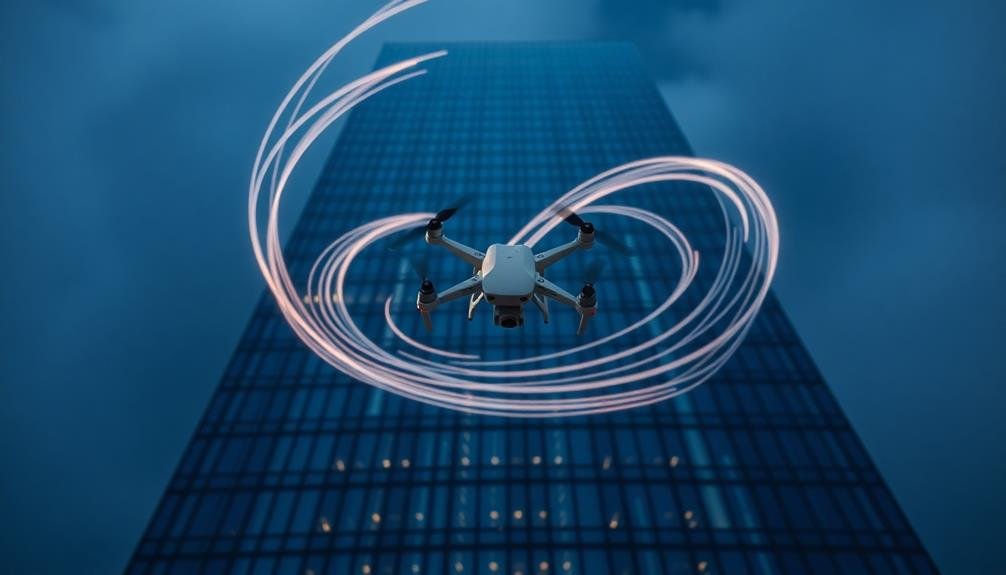
Aerial timelapse sequences offer a unique perspective on architectural marvels, showcasing how structures interact with their surroundings over time. To capture these stunning shots, you'll need a drone capable of hovering steadily for extended periods.
Plan your shots carefully, considering the sun's position and potential weather changes. Choose a vantage point that highlights the building's most impressive features and its relationship with the landscape.
When setting up your timelapse, opt for longer intervals between shots to create a more dramatic effect. You'll want to capture the changing light and shadows as they play across the structure.
Don't forget to adjust your camera settings to accommodate shifting light conditions throughout the day.
Here are some key elements to focus on in your aerial timelapse:
- The building's silhouette against the sky
- Shadows moving across the facade
- Surrounding traffic patterns
- Changing weather conditions
In post-production, you can enhance your timelapse by smoothing out any slight movements and adjusting the playback speed.
Remember to stabilize your footage and color-grade it to achieve a polished, professional look. With practice, you'll create breathtaking aerial timelapse sequences that bring architecture to life in a whole new way.
Post-Processing for Architectural Footage
After capturing your architectural footage, you'll need to focus on post-processing to elevate its quality.
Start by applying color grading and correction techniques to enhance the visual appeal and mood of your shots.
Don't forget to implement stabilization and smoothing methods to eliminate unwanted camera shake, and consider adding subtle visual effects to highlight key architectural features.
Color Grading and Correction
Color grading and correction play a pivotal role in enhancing architectural footage during post-processing. These techniques allow you to fine-tune the visual aesthetics of your video, emphasizing the architectural elements and creating a cohesive look.
When color grading architectural footage, focus on highlighting the building's unique features and materials.
Here are key aspects to take into account:
- White balance adjustment
- Contrast and exposure tweaks
- Color temperature manipulation
- Saturation and vibrancy control
Start by correcting any white balance issues to guarantee accurate color representation. Next, adjust the contrast and exposure to bring out the building's textures and details.
Manipulate the color temperature to set the mood and atmosphere of the scene. For example, a warmer tone can create a welcoming feel, while cooler tones might emphasize modern design elements.
Pay close attention to the saturation and vibrancy levels. Architectural footage often benefits from a slightly desaturated look, which can lend a sophisticated and timeless quality to the video.
However, be careful not to overdo it, as you'll want to maintain the natural beauty of the materials and surroundings.
Stabilization and Smoothing
Stabilization and smoothing techniques are essential in post-processing architectural footage to achieve a polished, professional look. Even with the best handheld techniques or stabilizing equipment, your footage may still have unwanted shakes or jitters. That's where post-processing comes in.
Start by using your editing software's built-in stabilization tools. These analyze your footage and compensate for camera movement, creating smoother shots. Be careful not to overdo it, as excessive stabilization can result in warping or distortion.
For more control, try using keyframe animation to manually smooth out camera movements. This technique allows you to adjust the position, rotation, and scale of your footage over time, creating seamless shifts and eliminating abrupt changes.
Consider using plugins like Warp Stabilizer in Adobe After Effects for advanced stabilization. These tools offer more options and can handle complex camera movements.
If you're dealing with static shots, try using a slight zoom or pan effect to add subtle movement. This technique can make your footage more engaging while maintaining stability.
Adding Visual Effects
Visual effects can transform ordinary architectural footage into enthralling visual stories. In post-processing, you'll have the opportunity to enhance your architectural videos and create a more immersive experience for your audience.
Start by color grading your footage to set the mood and emphasize the building's unique features. Adjust contrast, saturation, and temperature to achieve the desired look.
Consider adding subtle motion graphics to highlight key architectural elements or provide information about the structure. You can incorporate text overlays, animated floor plans, or 3D renderings to give viewers a deeper understanding of the building's design.
To create a more dynamic viewing experience, try these techniques:
- Time-lapse sequences to show the building throughout the day
- Slow motion for dramatic effect on intricate details
- Split-screen comparisons of different areas or before-and-after renovations
- Lens flares or light leaks to add atmosphere
Remember to use effects sparingly and purposefully. Your goal is to enhance the viewer's appreciation of the architecture, not distract from it.
Experiment with different combinations of effects to find the perfect balance that complements your footage and tells a compelling story about the building's design and purpose.
Overcoming Weather Challenges
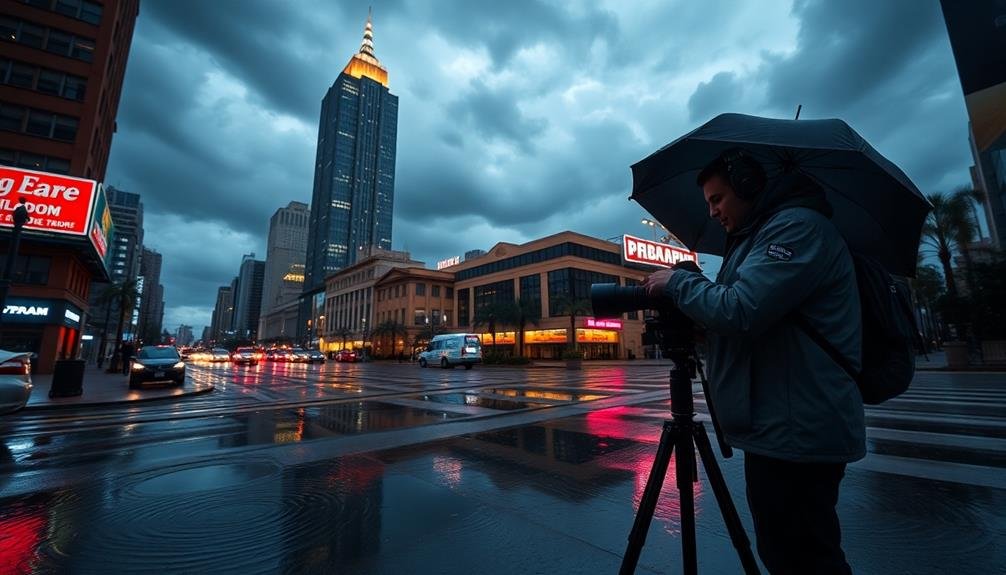
Weather poses three main challenges for architectural videography: unpredictable lighting, unwanted noise, and physical obstacles. To overcome these, you'll need to adapt your techniques and come prepared.
For lighting issues, bring portable LED panels to fill in shadows or add highlights. Use a polarizing filter to reduce glare and enhance colors, especially on sunny days. In overcast conditions, embrace the soft light for even exposure but boost saturation in post-production.
To combat wind noise, invest in a high-quality directional microphone with a windscreen. If possible, record ambient sound separately when conditions improve. For rain, use weatherproof camera gear and seek shelter under overhangs or nearby structures to capture shots.
Physical obstacles like rain or snow can add visual interest but may obscure architectural details. Use a lens hood to prevent water droplets on your lens, and consider time-lapse sequences to showcase weather patterns interacting with the building.
Lastly, always check the forecast and plan shoots accordingly. Sometimes, challenging weather can create unique opportunities for dramatic footage, so stay flexible and creative in your approach.
Compliance With Drone Regulations
Drone regulations are a critical consideration for architectural videographers. You must familiarize yourself with local, state, and federal laws governing drone usage. Register your drone with the FAA if required, and obtain necessary certifications like the Part 107 license for commercial operations.
Always check for temporary flight restrictions and no-fly zones before each shoot. Be aware of privacy concerns when filming near residential areas or private property. Obtain permission from property owners and respect their rights.
Keep your drone within visual line of sight and adhere to altitude restrictions, typically 400 feet above ground level. Maintain a safe distance from people, vehicles, and structures.
To guarantee compliance and enhance your architectural videography:
- Use drone apps that provide real-time airspace information
- Carry your drone registration and pilot certification at all times
- Implement a pre-flight checklist to verify compliance
- Stay updated on changing regulations through official sources
Frequently Asked Questions
How Do I Approach Property Owners for Permission to Film Their Buildings?
You'll want to approach property owners professionally. Contact them in advance, explain your project's purpose, and request permission in writing. Be prepared to discuss liability concerns and offer to share the final footage if they're interested.
What Insurance Coverage Should I Have for Architectural Videography Projects?
You'll need general liability insurance to cover potential property damage or injuries. Consider equipment insurance for your gear and professional indemnity insurance for your work. Don't forget to ask clients about their specific insurance requirements.
How Can I Effectively Collaborate With Architects to Showcase Their Designs?
To effectively collaborate with architects, you'll want to:
- Study their designs beforehand
- Discuss their vision and goals
- Plan shots together
- Share progress regularly
- Be open to feedback
- Highlight unique features they're proud of
What Are the Best Practices for Integrating Client Branding Into Architectural Videos?
To integrate client branding into architectural videos, you'll want to subtly incorporate logos, use brand colors in graphics, and feature company slogans. Don't overdo it; aim for seamless integration that complements the architecture without distracting viewers.
How Do I Price My Services for Architectural Videography Projects?
You'll want to contemplate your experience, equipment costs, and project complexity when pricing architectural videography services. Research local rates, factor in pre-production and post-production time, and don't undervalue your expertise. Offer tiered packages for flexibility.
In Summary
You've now got the tools to create stunning architectural drone footage. Remember to choose the right equipment, master composition and camera settings, and plan your flights carefully. Don't forget to leverage natural light, experiment with timelapses, and refine your work in post-processing. Stay adaptable to weather conditions and always comply with local regulations. With practice and creativity, you'll soon be capturing breathtaking aerial views of architectural wonders. Keep pushing your skills and let your unique perspective shine through.
As educators and advocates for responsible drone use, we’re committed to sharing our knowledge and expertise with aspiring aerial photographers.


Leave a Reply