To start real estate photography from above, you'll need to follow these five steps. First, choose the right drone with high-resolution cameras and good flight time. Next, master basic flight operations, including takeoffs, landings, and key maneuvers. Third, learn composition techniques like the rule of thirds and leading lines to create appealing images. Then, edit and enhance your photos using software to adjust exposure, contrast, and color. Finally, build your portfolio by selecting your best work and showcasing diverse properties. By following these steps, you'll be well on your way to capturing stunning aerial property shots that stand out in the market.
Key Takeaways
- Choose a high-quality drone with 4K camera, GPS, and at least 20 minutes flight time.
- Master basic flight operations and camera controls through practice in open areas.
- Learn aerial composition techniques like the rule of thirds and leading lines.
- Develop post-processing skills using photo editing software to enhance property images.
- Build a diverse portfolio showcasing various properties and your best aerial photography work.
Choose the Right Drone
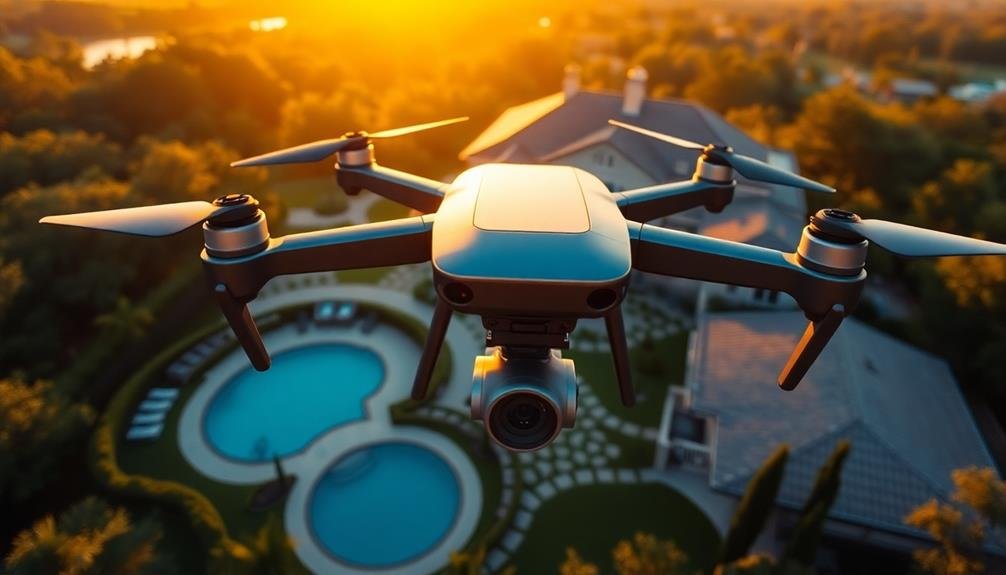
For aerial real estate photography, choosing the right drone is vital. You'll want to take into account factors like image quality, flight time, and ease of use. Look for drones with high-resolution cameras, ideally 4K or higher, to capture stunning property visuals.
Opt for models with at least 20-30 minutes of flight time to guarantee you can complete your shoot without interruptions.
Think about the drone's stability and wind resistance, as these features will affect image quality and your ability to fly in various conditions. GPS-enabled drones with return-to-home functions are important for safety and convenience.
Don't forget to check the drone's portability; you'll want something easy to transport between properties.
For beginners, user-friendly drones with obstacle avoidance systems can be a great starting point. As you gain experience, you might upgrade to more advanced models with manual camera controls and RAW image capture.
Remember to factor in the cost of additional batteries, propellers, and other accessories when budgeting for your drone.
Master Basic Flight Operations
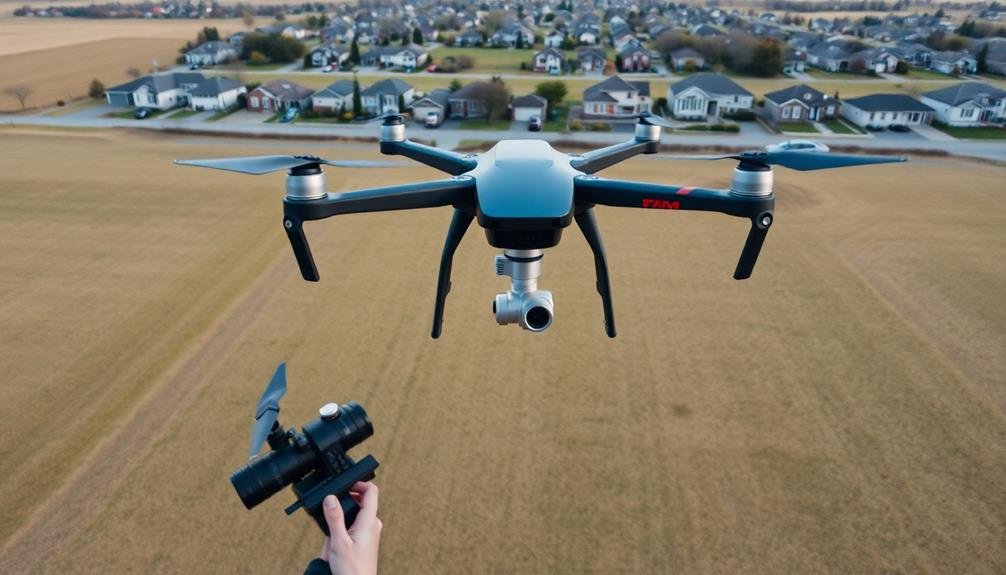
Once you've chosen your drone, it's crucial to master basic flight operations before attempting real estate photography. Start by familiarizing yourself with your drone's controls and features. Practice takeoffs and landings in an open area, guaranteeing you can maintain a stable hover. Learn to control your drone's altitude, speed, and direction with precision.
Next, focus on mastering these key flight maneuvers:
- Straight lines: Fly your drone in smooth, straight lines at various altitudes and speeds.
- Orbits: Practice circular flights around a fixed point, maintaining a consistent distance and altitude.
- Figure eights: Perform smooth figure-eight patterns to improve your control and coordination.
As you gain confidence, practice flying in different weather conditions, such as light wind or overcast skies. Learn to adjust your drone's camera settings mid-flight, including exposure, white balance, and focus.
Familiarize yourself with your area's airspace regulations and no-fly zones to guarantee compliance.
Remember to always prioritize safety. Keep your drone within visual line of sight, avoid flying over people or vehicles, and be prepared to handle unexpected situations.
With consistent practice and attention to detail, you'll develop the skills necessary for capturing stunning real estate photography from above.
Learn Composition Techniques
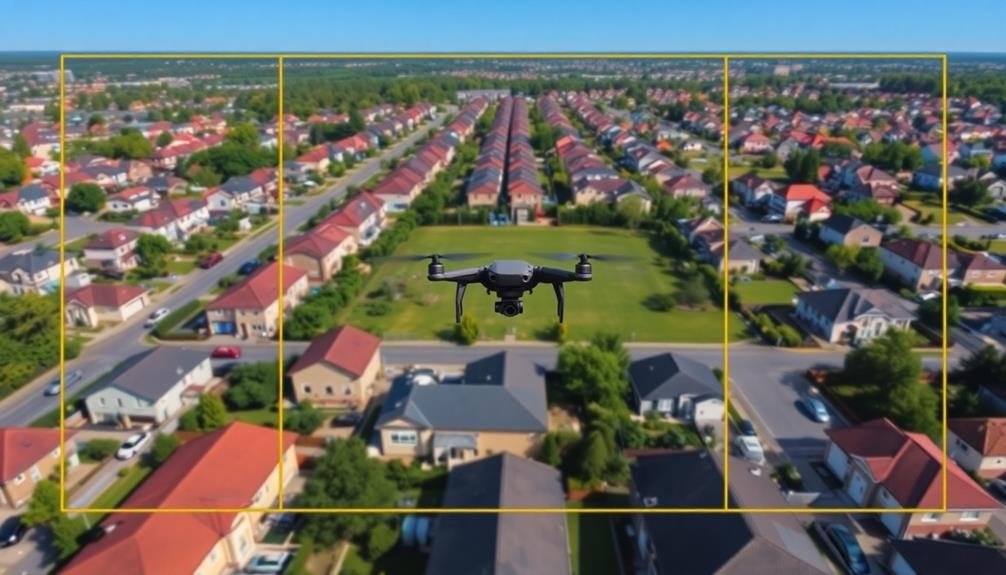
Three essential composition techniques will elevate your real estate drone photography: the rule of thirds, leading lines, and symmetry. The rule of thirds divides your frame into a 3×3 grid, placing key elements along these lines or at their intersections. This creates a balanced, visually appealing image that draws the viewer's eye to important features of the property.
Leading lines guide the viewer's gaze through the image, highlighting the property's best aspects. Use natural elements like driveways, fences, or landscaping to create these lines, directing attention to the main subject.
Symmetry can create striking, memorable images. Capture perfectly balanced shots of symmetrical buildings or landscapes to showcase the property's architectural features.
| Technique | Purpose | Example |
|---|---|---|
| Rule of Thirds | Balance | Place house at intersection |
| Leading Lines | Guide viewer | Use driveway to lead to house |
| Symmetry | Create impact | Capture mirror image of building |
| Framing | Focus attention | Use trees to frame property |
Experiment with these techniques to find what works best for each property. Remember, composition is key to creating professional, eye-catching real estate drone photography that'll impress clients and potential buyers alike.
Edit and Enhance Your Photos
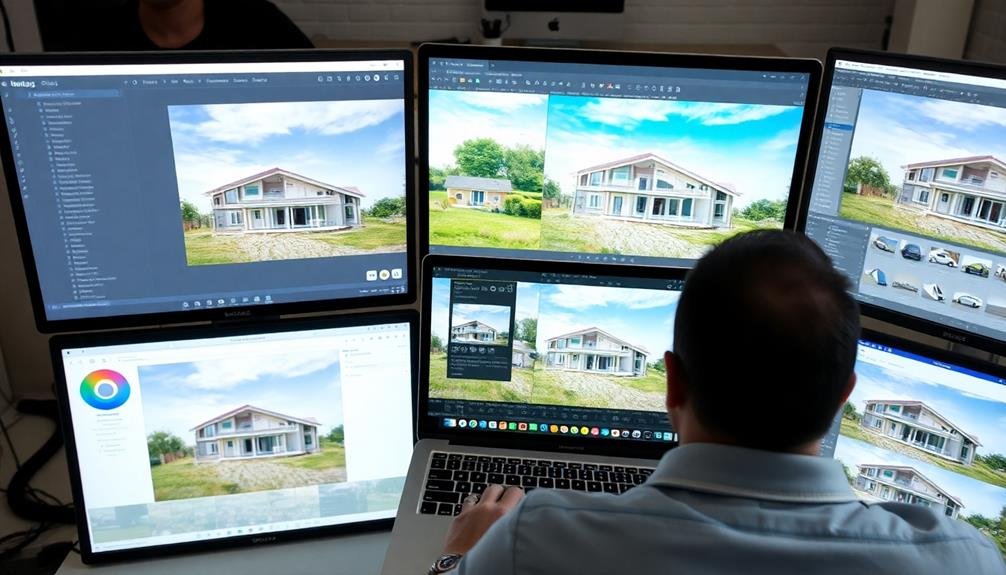
Perfection in real estate photography doesn't end with the click of a shutter. Post-processing is vital to elevate your images from good to exceptional. Start by importing your photos into editing software like Adobe Lightroom or Capture One. Adjust the exposure, contrast, and white balance to guarantee your images accurately represent the property's look and feel.
Next, focus on enhancing specific areas:
- Brighten shadows to reveal details in darker rooms
- Correct lens distortions to straighten vertical lines
- Remove minor imperfections like dust spots or small objects
Don't overdo it with edits. Your goal is to present the property in its best light while maintaining realism. Subtle adjustments to color saturation can make interiors pop, but avoid creating an artificial look.
Pay special attention to window views, balancing interior and exterior exposures for a natural appearance.
For consistency, create and apply presets to streamline your workflow. This guarantees a cohesive look across all images in a property listing.
Build Your Portfolio
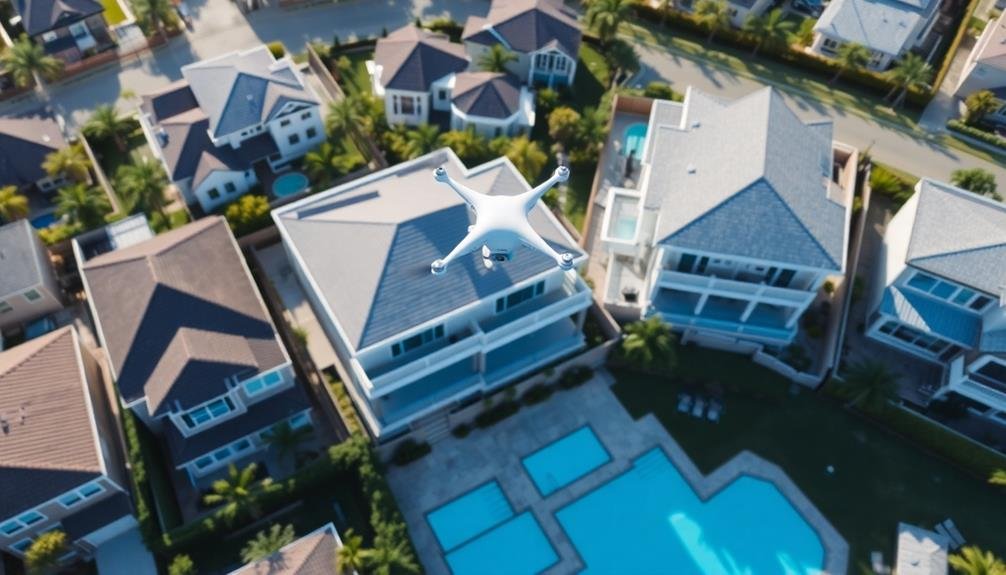
A strong portfolio is the cornerstone of a successful real estate photography career. It's your visual resume, showcasing your skills and style to potential clients. Start by selecting your best work, ensuring a diverse range of properties and styles. Include both interior and exterior shots, as well as different room types and property sizes.
As you build your portfolio, consider these key elements:
| Element | Importance | Tips |
|---|---|---|
| Quality | High | Choose sharp, well-lit images |
| Variety | Medium | Include different property types |
| Consistency | High | Maintain a cohesive style |
| Quantity | Low | Focus on quality over quantity |
| Presentation | Medium | Use a professional website or platform |
Don't limit yourself to just listing photos. Include twilight shots, aerial views, and virtual tours to demonstrate your versatility. Update your portfolio regularly with your latest and best work. As you gain experience, replace older images with newer, higher-quality ones.
Consider creating separate portfolios for different types of clients or property styles. This allows you to tailor your presentation to specific potential clients, increasing your chances of landing jobs in various real estate photography niches.
Frequently Asked Questions
How Much Can I Earn as a Real Estate Drone Photographer?
You can earn a substantial income as a real estate drone photographer. Your earnings depend on your skills, location, and client base. Typically, you'll charge $150-$500 per shoot, with potential for higher rates as you gain experience.
Do I Need a License to Fly Drones for Commercial Real Estate Photography?
Yes, you'll need a license to fly drones commercially for real estate photography. You must obtain a Part 107 Remote Pilot Certificate from the FAA. It's crucial to comply with regulations and maintain safety standards.
What Insurance Do I Need for Drone Real Estate Photography?
You'll need liability insurance to cover potential damages or injuries caused by your drone. It's also wise to get equipment insurance for your drone. Many providers offer specialized policies for commercial drone operations.
How Do I Price My Real Estate Drone Photography Services?
To price your real estate drone photography services, you'll need to evaluate your costs, experience, and local market rates. Start by researching competitors, factor in your equipment and travel expenses, and offer tiered packages for different needs.
Are There Restrictions on Flying Drones in Residential Areas for Photography?
Yes, there are restrictions on flying drones in residential areas. You'll need to follow FAA regulations, obtain necessary licenses, respect privacy laws, and get permission from property owners before conducting drone photography in neighborhoods.
In Summary
You've now got the essential steps to launch your real estate drone photography career. Remember, it's not just about having the right equipment; it's about developing your skills and artistic eye. As you practice and refine your techniques, you'll create stunning aerial shots that showcase properties in their best light. Keep learning, stay updated on regulations, and continuously improve your editing skills. With dedication, you'll soon be soaring above the competition in this exciting field.

As educators and advocates for responsible drone use, we’re committed to sharing our knowledge and expertise with aspiring aerial photographers.


Leave a Reply