To capture stunning night shots with your drone, start with the right equipment: a drone with manual settings and a large sensor. Use high ISO (1600-3200), wide aperture (f/2.8 or lower), and experiment with longer shutter speeds (10-30 seconds). Choose locations with minimal light pollution and interesting foreground elements. Master long exposure techniques for light trails and star photography. Incorporate leading lines and silhouettes in your compositions. Don't forget to balance light and dark areas for depth. Post-processing can enhance your images, but aim for a natural look. As you explore these techniques, you'll reveal the mesmerizing world of night drone photography.
Key Takeaways
- Master camera settings: Use high ISO, wide aperture, and slow shutter speed for optimal low-light performance.
- Stabilize your drone: Utilize gimbals and stable surfaces to prevent blur during long exposures.
- Choose the right location: Scout areas with minimal light pollution and interesting foreground elements for compelling compositions.
- Experiment with light painting: Use customizable drone LED lights to create unique patterns during long exposures.
- Prioritize safety: Familiarize yourself with local regulations, maintain visual line of sight, and ensure proper drone lighting for night flying.
Essential Equipment for Night Drone Photography
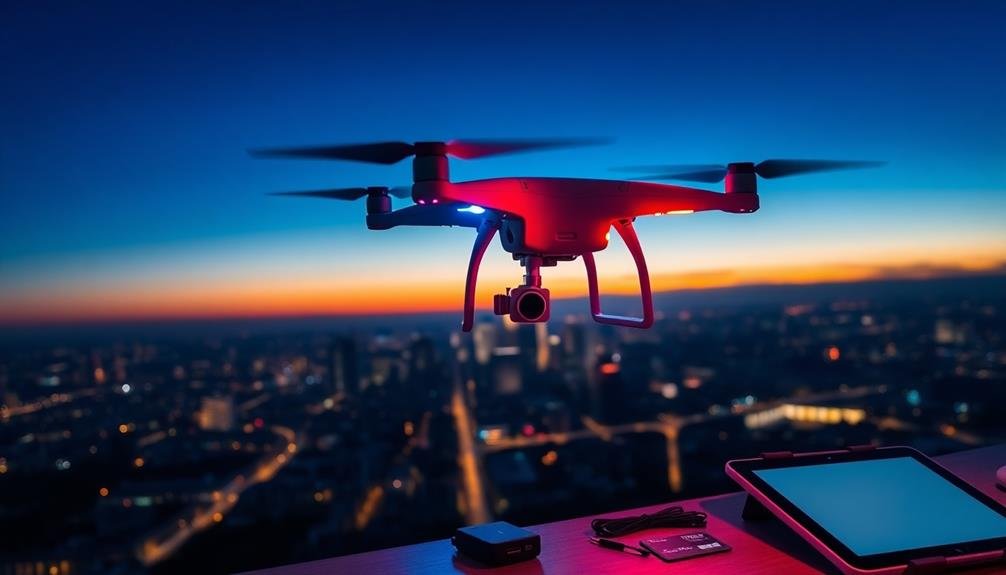
Night sky enthusiasts and aspiring aerial photographers, get ready to elevate your craft with the right gear. To capture stunning night shots with your drone, you'll need a few essential pieces of equipment.
First, invest in a drone with a high-quality camera capable of manual settings. Look for models with large sensors and wide apertures to maximize light capture in low-light conditions.
A set of neutral density (ND) filters is vital for balancing exposure and reducing glare from artificial light sources. Don't forget extra batteries, as cold temperatures can drain them quickly. A drone with obstacle avoidance sensors will help you navigate safely in the dark.
For post-processing, a laptop with photo editing software is indispensable. Consider bringing a portable power bank to keep your devices charged. A bright LED headlamp will help you set up and pack your gear safely.
Lastly, invest in a sturdy carrying case to protect your equipment during transport. With these tools at your disposal, you'll be well-equipped to capture breathtaking night sky images from unique aerial perspectives.
Remember to always follow local regulations and obtain necessary permits for night flying.
Understanding Camera Settings for Low Light

Mastering camera settings for low-light conditions is essential for successful night photography. You'll need to adjust your camera's ISO, aperture, and shutter speed to capture clear, well-exposed images in the dark.
Start by setting your ISO higher than you'd for daytime shots, typically between 1600 and 3200. This increases your camera's sensitivity to light but be cautious of excessive noise.
Open your aperture wide (use a low f-number) to allow more light into the sensor. An f/2.8 or lower is ideal for night photography.
For shutter speed, you'll need to experiment. Longer exposures capture more light but can lead to motion blur. Use a tripod to stabilize your camera and try speeds between 10-30 seconds.
If you're shooting moving subjects, like stars, use the "500 rule" to avoid star trails: divide 500 by your lens's focal length to determine the maximum exposure time.
Don't forget to shoot in RAW format for greater flexibility in post-processing. Use manual focus, as autofocus often struggles in low light.
Choosing the Perfect Night Location
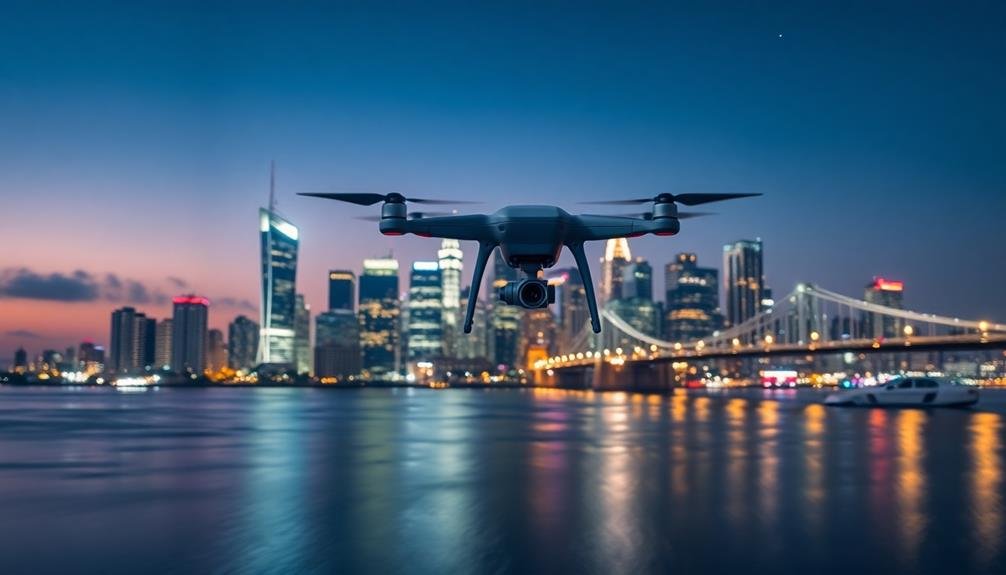
The key to stunning night photography lies in selecting the right location. You'll want to find spots with minimal light pollution and interesting subjects. Urban areas can offer enchanting cityscapes, while rural locations provide opportunities for starry skies and Milky Way shots.
Consider these factors when choosing your night photography location:
| Factor | Urban | Rural |
|---|---|---|
| Light Pollution | High | Low |
| Subject Variety | Diverse | Limited |
| Accessibility | Easy | Challenging |
Once you've identified potential locations, scout them during daylight hours. This will help you plan compositions and identify any safety concerns. Look for foreground elements that can add depth to your images, such as trees, buildings, or bodies of water.
Don't forget to check the weather forecast and moon phase. Clear skies are ideal for astrophotography, while some clouds can add drama to urban scenes. A new moon will provide the darkest skies for capturing stars, while a full moon can illuminate landscapes.
Lastly, consider the time of year. Different seasons offer unique opportunities, from summer's Milky Way to winter's Northern Lights in higher latitudes.
Mastering Long Exposure Techniques
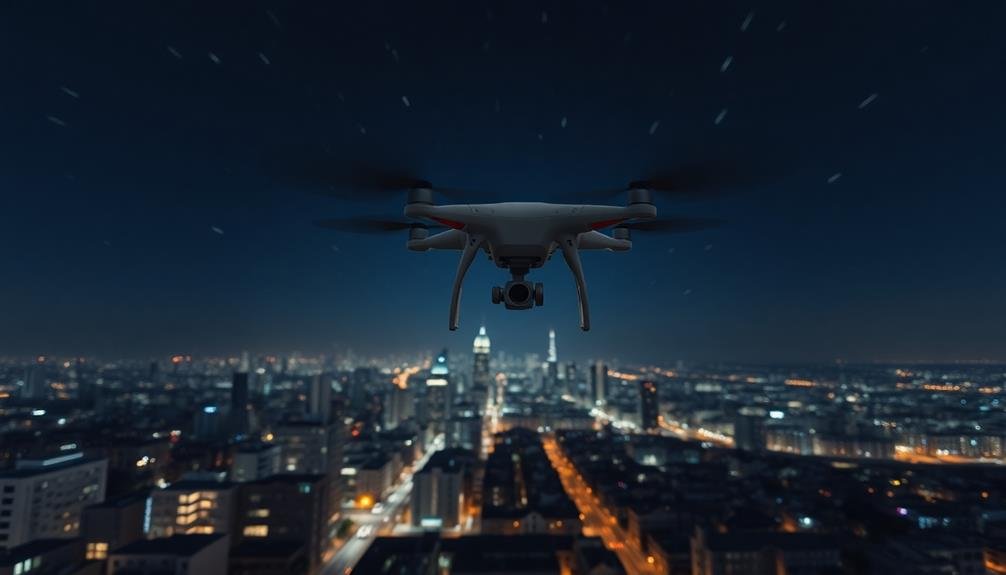
When it comes to long exposure techniques in night photography, you'll need to focus on two key aspects: stabilizing your drone and adjusting your shutter speed.
To capture crisp, clear images, make certain your drone is as steady as possible by using a gimbal or landing it on a stable surface.
You'll want to experiment with longer shutter speeds, typically between 10 to 30 seconds, to allow more light into your camera sensor and create stunning light trails or smooth water effects.
Stabilizing Your Drone
How can you capture stunning night shots with your drone without the frustration of blurry images? The key lies in stabilizing your drone effectively.
When shooting at night, even the slightest movement can result in unwanted blur, especially during long exposures. To achieve crisp, clear images, you'll need to focus on minimizing vibrations and maintaining stability throughout your flight.
Here are three essential techniques to stabilize your drone for night photography:
- Use a gimbal: A quality gimbal will counteract your drone's movements, keeping your camera steady. Confirm it's properly calibrated and balanced before each flight.
- Activate altitude hold: This feature helps your drone maintain a consistent height, reducing vertical movements that can cause blur.
- Fly in calm conditions: Wind is your enemy in night photography. Choose evenings with minimal wind, and avoid flying near structures that can create turbulence.
Remember to adjust your camera settings for night conditions. Use a lower ISO to reduce noise, a wider aperture to let in more light, and a slower shutter speed for long exposures.
With these stabilization techniques and proper camera settings, you'll be well on your way to capturing breathtaking night shots with your drone.
Adjusting Shutter Speed
Mastering long exposure techniques is crucial for capturing stunning night shots with your drone. To achieve this, you'll need to adjust your shutter speed appropriately.
Start by setting your drone's camera to manual mode, giving you full control over the exposure settings. For night photography, you'll typically want to use slower shutter speeds, ranging from 1 to 30 seconds. The exact speed depends on factors like available light and your desired effect.
Longer exposures allow more light to enter the sensor, creating brighter images and capturing light trails from moving objects. Begin with a shutter speed of 2-3 seconds and adjust as needed. If your image is too dark, increase the exposure time. If it's too bright or blurry, decrease it.
Remember that longer exposures require more stabilization, so verify your drone is hovering steadily. Experiment with different shutter speeds to achieve various effects.
For example, use faster speeds (1-2 seconds) to freeze motion in dimly lit scenes, or slower speeds (10-30 seconds) to create dreamy, ethereal landscapes with smooth water or streaking clouds.
Composition Tips for Night Shots
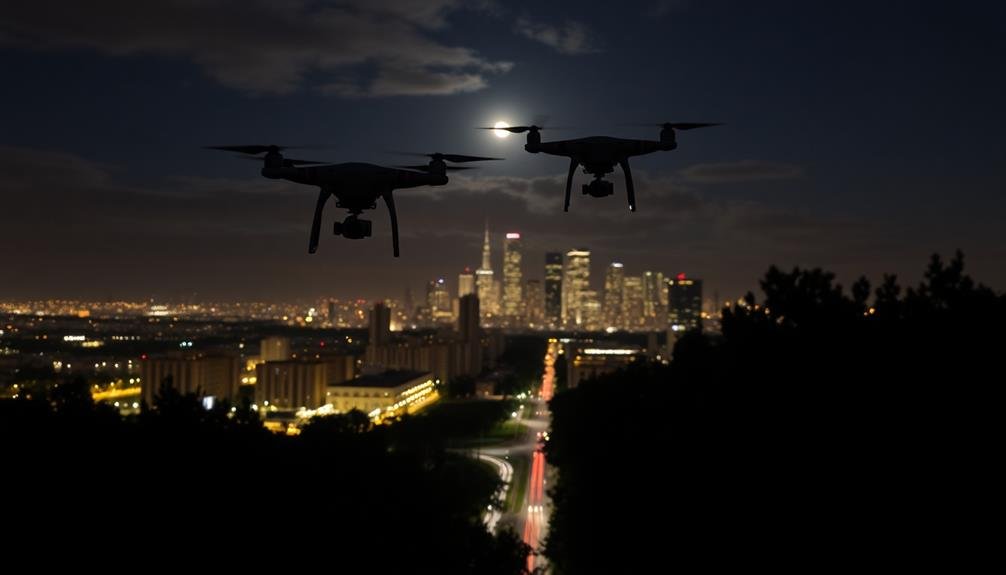
When composing night shots, you'll want to reflect on three key elements to enhance your images.
First, frame your scene with foreground elements to add depth and context.
Next, utilize leading lines to guide the viewer's eye through the photograph, creating a sense of movement and interest.
Frame With Foreground Elements
Framing your night shots with foreground elements can elevate your photography from out of the ordinary to truly mesmerizing. By incorporating objects in the foreground, you'll add depth, context, and visual interest to your nighttime images.
Look for silhouettes, structures, or natural elements that can serve as framing devices, drawing the viewer's eye into the scene.
When choosing foreground elements, consider their relationship to the background and how they'll complement the overall composition. Trees, archways, or rock formations can create a sense of scale and perspective, while adding a layer of intrigue to your night shots.
Don't be afraid to experiment with different angles and positions to find the most mesmerizing frame.
To make the most of foreground elements in night photography:
- Use a wide-angle lens to capture both foreground and background details
- Experiment with long exposures to create light trails or smooth water effects
- Incorporate artificial lighting to highlight foreground elements and create contrast
Use Leading Lines
Leading lines are a powerful compositional tool that can transform your night photography. They guide the viewer's eye through the image, creating depth and interest. At night, you can use various elements as leading lines, such as roads, paths, or architectural features.
To effectively use leading lines:
- Identify strong linear elements in your scene
- Position yourself to maximize the line's impact
- Use a wide-angle lens to emphasize the line's perspective
- Experiment with different angles and viewpoints
Consider these common types of leading lines in night photography:
| Type | Examples | Effect |
|---|---|---|
| Straight | Roads, bridges | Direct, bold |
| Curved | Winding paths | Gentle, natural |
| Converging | Train tracks | Creates depth |
| Vertical | Tall buildings | Emphasizes height |
| Diagonal | Staircases | Dynamic, energetic |
When composing your shot, make sure the leading lines direct attention to your main subject or a point of interest. Use long exposures to capture light trails from cars or stars, creating dynamic leading lines. Remember, leading lines don't always have to be obvious; subtle lines can be just as effective in guiding the viewer's gaze through your night photograph.
Balance Light and Dark
How can you create enchanting night photographs that truly stand out? One key technique is balancing light and dark elements in your composition. This contrast adds depth and drama to your images, drawing the viewer's eye and creating a sense of intrigue.
When composing your night shots, look for areas of illumination against darker backgrounds. Street lamps, car headlights, or lit windows can serve as focal points, guiding the viewer through your image.
Don't be afraid to embrace the darkness, though. The interplay between light and shadow is what gives night photography its unique character.
To effectively balance light and dark in your night shots:
- Use spot metering to expose for the brightest areas, allowing darker regions to fall into shadow.
- Experiment with long exposures to capture light trails and create a sense of movement.
- Incorporate silhouettes by placing dark subjects against brighter backgrounds.
Light Painting With Your Drone
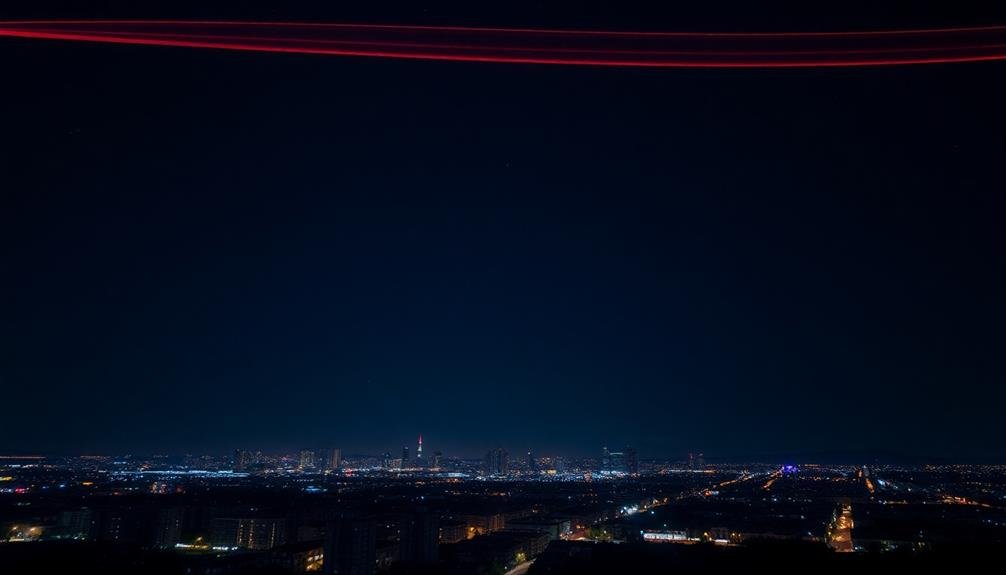
One of the most enchanting techniques in night photography is light painting with your drone. This method allows you to create stunning, otherworldly images by using your drone's lights to "paint" patterns or shapes in the air while your camera captures a long exposure shot.
To get started, you'll need a drone with customizable LED lights, a camera capable of long exposures, and a remote shutter release. Here's a quick guide to help you:
| Step | Action | Tips |
|---|---|---|
| 1 | Set up your camera | Use a sturdy tripod and manual focus |
| 2 | Choose your location | Find a dark area with an interesting backdrop |
| 3 | Plan your flight path | Sketch out your design beforehand |
| 4 | Adjust camera settings | Use a low ISO, small aperture, and long exposure |
Begin with simple shapes like circles or figure-eights, then progress to more complex designs. You can create different effects by varying the drone's speed, altitude, and light color. Remember to follow local drone regulations and always prioritize safety. With practice, you'll be able to create mesmerizing light paintings that transform ordinary landscapes into magical nighttime scenes.
Post-Processing Night Drone Images
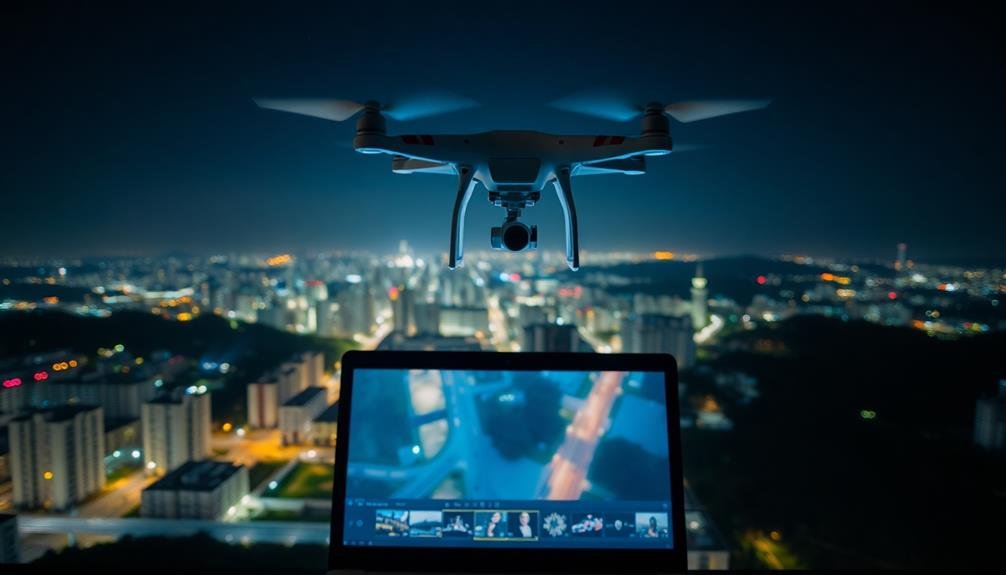
After capturing your stunning night drone images, the next step is to enhance them through post-processing. This vital stage can transform your raw footage into breathtaking visual masterpieces.
Start by importing your images into your preferred editing software, such as Adobe Lightroom or Capture One. These programs offer powerful tools specifically designed for night photography enhancement.
To achieve the best results, focus on these key areas:
- Noise reduction: Night shots often suffer from digital noise. Use your software's noise reduction tools to clean up grainy areas while preserving detail.
- Color balance: Adjust white balance to correct any unnatural color casts caused by artificial lighting or long exposures.
- Exposure and contrast: Fine-tune the overall exposure and enhance contrast to bring out the details in both shadows and highlights.
Don't be afraid to experiment with advanced techniques like selective editing and HDR merging. These can help you overcome the challenges of high dynamic range often encountered in night photography.
Remember, the goal is to enhance your images while maintaining a natural look. Avoid over-processing, which can lead to unrealistic results.
With practice, you'll develop a keen eye for post-processing and create truly spectacular night drone images.
Safety Considerations for Night Flying
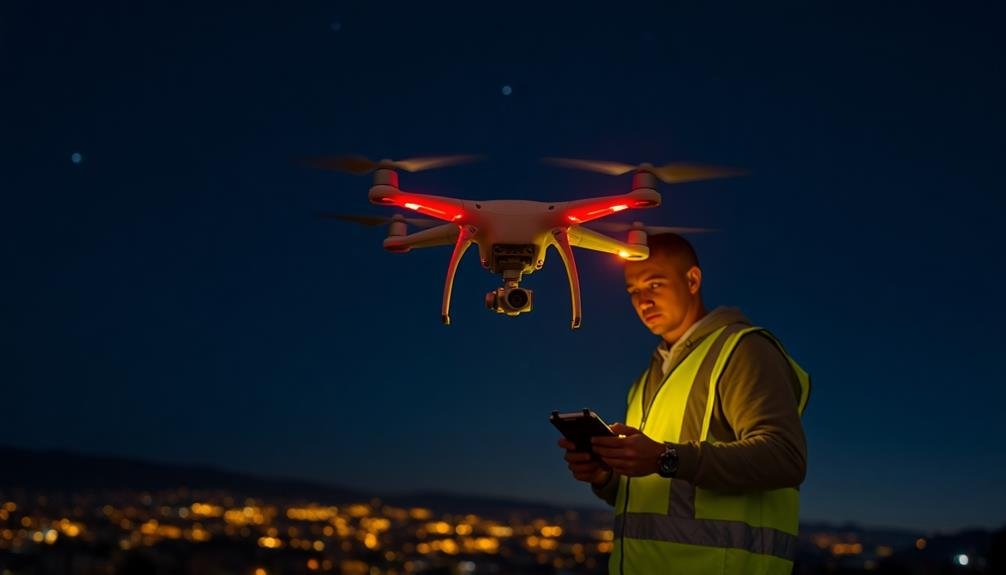
Safety is paramount when it comes to night flying, especially with drones. Before taking off, verify you're familiar with local regulations and obtain necessary permits for night operations. Equip your drone with proper lighting, including anti-collision lights visible from all directions. Always maintain visual line of sight with your drone, and consider using a spotter to help monitor its position.
Check weather conditions and avoid flying in strong winds, rain, or fog. Be aware of obstacles like trees, buildings, and power lines that may be harder to see at night. Plan your flight path carefully, steering clear of populated areas and respecting privacy laws. Keep your drone's firmware updated and batteries fully charged.
| Safety Measure | Importance | Emotion |
|---|---|---|
| Proper Lighting | Critical | Confidence |
| Visual Line of Sight | Essential | Security |
| Weather Awareness | Significant | Caution |
Frequently Asked Questions
How Do I Minimize Propeller Blur in Night Drone Shots?
To minimize propeller blur in night drone shots, you'll want to use faster shutter speeds. Increase your ISO and open up your aperture to compensate for less light. You can also try ND filters or post-processing techniques to reduce visible blur.
Can I Use ND Filters for Night Drone Photography?
You shouldn't use ND filters for night drone photography. They're designed to reduce light, which you don't want at night. Instead, focus on adjusting your camera settings like ISO, aperture, and shutter speed for better low-light shots.
What's the Best Drone Color for Night Flying Visibility?
For night flying visibility, you'll want a bright, high-contrast color. Red or white LEDs are excellent choices. However, many pilots prefer bright green or orange as they're easily visible against dark backgrounds and don't interfere with night vision.
How Does Cold Weather Affect Drone Battery Life During Night Flights?
Cold weather greatly reduces your drone's battery life during night flights. You'll notice shorter flight times as batteries drain faster. It's best to keep spare batteries warm and limit exposure to cold temperatures before flying.
Are There Specific Regulations for Flying Drones at Night Near Airports?
You'll need special authorization to fly near airports at night. It's generally prohibited without FAA approval. You must follow strict rules, including using anti-collision lights and maintaining a safe distance from airport operations. Always check local regulations.
In Summary
You've now got the tools to capture breathtaking night shots with your drone. Remember to practice safety, experiment with settings, and let your creativity soar. Don't be afraid to push boundaries and try new techniques. With patience and persistence, you'll soon be creating stunning nocturnal images that stand out. Keep honing your skills, and you'll find night drone photography to be an incredibly rewarding and exciting pursuit.

As educators and advocates for responsible drone use, we’re committed to sharing our knowledge and expertise with aspiring aerial photographers.


Leave a Reply