
To capture stunning sky-high images, start by selecting a drone with good camera specs and flight time. Master basic controls and practice maneuvers in open areas. Familiarize yourself with camera settings like resolution, shutter speed, and ISO. Apply composition techniques like the rule of thirds and negative space to create visually appealing shots. Take advantage of golden and blue hours for dramatic lighting. Post-process your images to enhance colors and balance exposure. Don't forget to take into account weather conditions and local regulations for safe, legal flights. By following these tips, you'll be on your way to capturing breathtaking aerial photographs that will leave viewers in awe.
Key Takeaways
- Choose a drone with at least 12MP resolution, 4K video capability, and 20-30 minutes flight time.
- Master basic flight controls and practice maneuvers like hovering and flying in patterns.
- Understand camera settings, including resolution, shutter speed, ISO, and aperture for optimal image quality.
- Apply composition techniques like the rule of thirds and utilize negative space for compelling aerial shots.
- Shoot during golden and blue hours, and experiment with post-processing to enhance sky features and overall image quality.
Choose the Right Drone
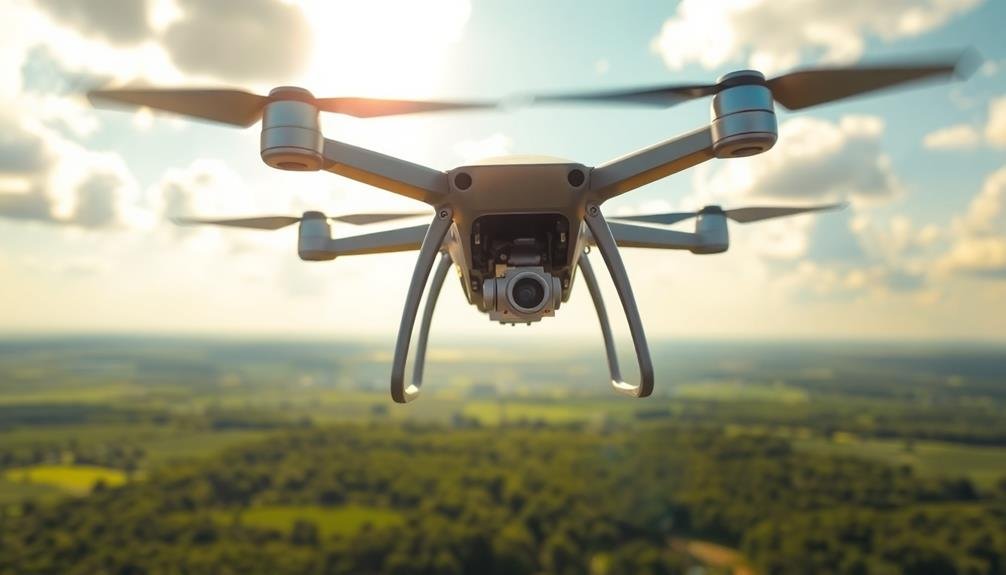
When diving into aerial photography, selecting the right drone is essential. Consider your skill level, budget, and intended use. For beginners, user-friendly models with built-in cameras are ideal. Look for drones with GPS stabilization and return-to-home features for easier control and safety.
Camera quality is vital. Opt for at least 12-megapixel resolution and 4K video capabilities. Some drones offer interchangeable lenses, providing more creative options. Battery life affects flight time, so choose a drone that can stay airborne for 20-30 minutes.
Size and portability matter. Compact, foldable drones are great for travel but may sacrifice stability in windy conditions. Larger drones offer better stability but are less portable.
Consider obstacle avoidance technology, which helps prevent crashes. Automated flight modes like orbit and waypoints can enhance your aerial shots.
Don't forget about regulations. Some countries require drone registration or licenses. Choose a drone that complies with local laws regarding weight and features.
Lastly, factor in additional costs like extra batteries, propellers, and carrying cases. These accessories can greatly enhance your aerial photography experience.
Master Basic Flight Controls
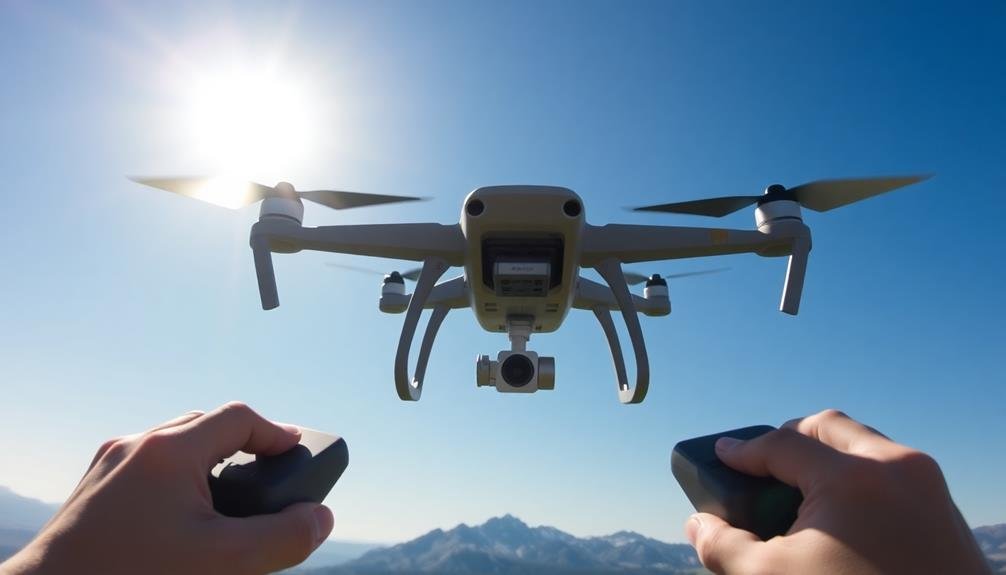
Once you've selected your drone, it's time to get comfortable with its controls. Start by familiarizing yourself with the remote controller's layout. Most drones use two joysticks: the left controls altitude and rotation, while the right manages forward, backward, and sideways movement.
Begin practicing in an open area with minimal obstacles. Focus on mastering hover, which is vital for stable shots. Gradually increase altitude and practice slow, controlled movements. Learn to use the trim buttons to fine-tune your drone's stability.
Next, work on basic maneuvers like flying in a square pattern or figure-eight. These exercises will improve your spatial awareness and control precision. Don't forget to practice landing smoothly, as it's necessary for protecting your equipment.
Many modern drones offer intelligent flight modes like follow-me or orbit. While these can be helpful, it's important to first master manual controls. This skill guarantees you can handle unexpected situations and capture unique angles.
Remember to always maintain visual line of sight with your drone and adhere to local regulations. With consistent practice, you'll soon develop the muscle memory and confidence needed to capture stunning aerial imagery.
Understand Camera Settings

Having mastered flight controls, it is crucial to understand your drone's camera settings. Your drone's camera is the key to capturing breathtaking aerial images, so familiarize yourself with its features. Start by exploring the resolution options, typically ranging from 1080p to 4K. Higher resolutions offer more detail but require more storage space.
Next, focus on shutter speed. Fast shutter speeds freeze motion, while slower speeds create motion blur. Adjust the ISO to control light sensitivity, but remember that higher ISOs can introduce noise. Experiment with different aperture settings to control depth of field and light intake.
Here's a quick reference guide for common camera settings:
| Setting | Purpose | Low Value Effect | High Value Effect |
|---|---|---|---|
| Shutter Speed | Motion control | Motion blur | Freeze motion |
| ISO | Light sensitivity | Darker image | Brighter, noisier |
| Aperture | Depth of field & light | Wide depth | Shallow depth |
| White Balance | Color temperature | Cooler tones | Warmer tones |
Don't forget to explore shooting modes like burst, time-lapse, and panorama. These can add variety to your aerial photography. Finally, always shoot in RAW format for maximum editing flexibility in post-production.
Composition Techniques for Aerial Shots

A bird's-eye view offers unique opportunities for stunning compositions. When capturing aerial shots, focus on patterns, symmetry, and contrasts that aren't visible from the ground. Look for geometric shapes in urban landscapes or natural formations in rural areas. Use leading lines, such as roads or rivers, to guide the viewer's eye through the image.
Consider the rule of thirds when framing your shot. Place points of interest at the intersections of imaginary grid lines dividing your frame into thirds. This creates a more balanced and visually appealing composition.
Don't be afraid to experiment with negative space, allowing vast areas of sky or water to emphasize your subject.
Pay attention to lighting conditions and shadows. Early morning or late afternoon light can create dramatic long shadows that add depth and texture to your aerial images. When shooting cityscapes, wait for the "blue hour" just after sunset for a magical blend of natural and artificial light.
Vary your altitude and angle to find the most compelling perspective. Sometimes, flying lower can reveal interesting details, while higher altitudes may capture grand vistas.
Experiment with different drone movements, such as slow pans or reveals, to add dynamism to your shots.
Best Times for Sky Photography

When you're aiming for stunning sky photography, timing is everything.
You'll want to capture the warm, golden light just after sunrise or before sunset during the "Golden Hour," or the soft, ethereal blue tones that occur during the "Blue Hour" right before dawn or after dusk.
Don't shy away from dramatic weather conditions either, as stormy skies, approaching fronts, or unusual cloud formations can create enchanting and dynamic images.
Golden Hour Magic
Although many photographers chase the perfect shot at any time of day, the golden hour reigns supreme for capturing breathtaking sky images. This magical period occurs twice daily, just after sunrise and before sunset, when the sun's position creates a soft, warm glow that bathes everything in golden light.
During golden hour, you'll notice the sky transform into a canvas of vibrant colors, ranging from deep oranges to soft pinks. The low angle of the sun produces long shadows, adding depth and dimension to your photos.
To make the most of this fleeting moment, arrive at your location early and be prepared to shoot quickly.
Here are four tips to maximize your golden hour photography:
- Use a wide-angle lens to capture expansive skyscapes
- Experiment with silhouettes for dramatic contrast
- Incorporate reflective surfaces like water or glass
- Adjust your white balance to enhance warm tones
Blue Hour Brilliance
Capturing the ethereal beauty of the blue hour offers photographers a unique opportunity to create stunning sky images. This magical time occurs twice daily, just before sunrise and after sunset, when the sky transforms into a deep, rich blue.
To make the most of this fleeting moment, you'll need to plan ahead and be prepared. First, scout your location in advance and arrive early to set up your equipment. Use a sturdy tripod to keep your camera steady during longer exposures.
Set your camera to manual mode and experiment with different shutter speeds, typically ranging from 1 to 30 seconds. Start with a low ISO (100-400) and adjust as needed.
The blue hour is perfect for capturing cityscapes, as artificial lights begin to twinkle against the darkening sky. You can also create stunning silhouettes of natural landscapes or architectural elements.
Don't forget to include interesting foreground elements to add depth to your compositions.
Dramatic Weather Conditions
While the blue hour offers serene beauty, dramatic weather conditions can transform your sky photography into something truly extraordinary. Storm clouds, lightning, rainbows, and unusual cloud formations can add depth, drama, and emotion to your images.
Keep an eye on weather forecasts and be prepared to head out when conditions look promising. Safety should always be your top priority when shooting in adverse weather. Make sure you have proper gear to protect yourself and your equipment from the elements. A sturdy tripod is essential for stability in windy conditions, and a remote shutter release can help minimize camera shake during long exposures.
When capturing dramatic skies, consider these techniques:
- Use a wide-angle lens to showcase the expansive sky
- Experiment with long exposures to create smooth, ethereal cloud movements
- Incorporate foreground elements to add scale and context
- Adjust your white balance to enhance the mood of the scene
Don't be discouraged by less-than-perfect weather. Overcast skies can create soft, diffused light ideal for certain types of photography, while partially cloudy conditions can result in striking sunbeams and dramatic shadows.
Embrace the unpredictability of nature and let it inspire your creative vision.
Post-Processing Your Drone Images

Once you've landed your drone and downloaded your aerial images, it's time to elevate them further through post-processing. Start by importing your photos into editing software like Adobe Lightroom or DJI's built-in editor. Adjust the basics first: exposure, contrast, and white balance. These tweaks can dramatically improve your image's overall look.
Next, focus on enhancing the sky. Use graduated filters to balance the exposure between the sky and land. Boost the blues and add a touch of clarity to make clouds pop. For landscapes, increase vibrance to bring out natural colors without oversaturating.
Don't forget about sharpening. Aerial images can sometimes lack crispness due to atmospheric haze or slight camera shake. Apply selective sharpening to key areas of your image, like buildings or landscape features.
Lastly, consider your composition. Crop your image if needed to improve framing or emphasize certain elements. Use the rule of thirds as a guide, placing key subjects along the grid lines.
Frequently Asked Questions
How Do I Obtain Necessary Permits for Drone Photography in Different Locations?
You'll need to research local regulations for each location. Check with aviation authorities, national parks, and city officials. Register your drone if required. Obtain necessary permits by submitting applications and paying fees. Always fly responsibly and legally.
What Are the Weather Limitations for Safe Drone Operation?
You shouldn't fly in rain, snow, or fog as they can damage your drone. Avoid strong winds exceeding your drone's capabilities. Don't operate in extreme temperatures. Always check local weather reports before flying for safety.
How Can I Prevent Mid-Flight Battery Drainage?
To prevent mid-flight battery drainage, you'll want to monitor your battery levels closely, avoid flying in cold temperatures, and use efficient flight patterns. Don't forget to fully charge your batteries before takeoff and carry spares.
Are There Specific Insurance Requirements for Drone Photography?
You'll need liability insurance for drone photography. Check your local regulations, as requirements vary. Many insurers offer specific drone coverage. Don't forget to insure your equipment too. It's essential to protect yourself and your gear.
How Do I Handle Unexpected Wildlife Encounters During Aerial Shoots?
When you encounter wildlife during aerial shoots, keep your distance and don't disturb them. If they approach, slowly move away. Always prioritize animal safety over getting the shot. Be aware of local wildlife protection laws.
In Summary
You're now equipped to take your photography to new heights! Remember, practice makes perfect. Keep honing your flight skills, experimenting with camera settings, and refining your composition. Don't forget to shoot during golden hours for the best light. With time, you'll capture breathtaking aerial images that'll wow your audience. Post-processing is your final chance to make your photos truly shine. So get out there, fly safely, and let your creativity soar!
As educators and advocates for responsible drone use, we’re committed to sharing our knowledge and expertise with aspiring aerial photographers.


Leave a Reply