To capture stunning drone photos, focus on these five key camera settings: ISO, shutter speed, aperture, white balance, and focus mode. Keep your ISO low (100-400) for daytime shots to reduce noise. Use faster shutter speeds (1/250th or higher) for sharp images, especially in windy conditions. Adjust your aperture to control depth of field, using smaller f-numbers for artistic effects. Set white balance according to lighting conditions, typically 5500K-6500K for sunny days. Choose the right focus mode based on your subject and distance. By mastering these settings, you'll elevate your aerial photography game and reveal your drone's full potential.
Key Takeaways
- Set ISO between 100-400 for daytime shots to minimize noise and maintain image quality.
- Use a shutter speed of at least 1/500th for sharp images, especially in windy conditions.
- Choose smaller apertures (f/8-f/11) for landscape shots to increase depth of field.
- Adjust white balance to 5500K-6500K on sunny days for accurate sky colors.
- Use infinity focus for landscapes to ensure sharpness from foreground to horizon.
Optimal ISO for Aerial Shots
When capturing aerial shots with your drone, setting the right ISO is essential for achieving crisp, noise-free images. Generally, you'll want to keep your ISO as low as possible to minimize digital noise. For most daytime drone photography, start with ISO 100 or 200. These lower settings will produce the cleanest images with the best color accuracy and detail.
As light conditions change, you may need to adjust your ISO. In bright sunlight, stick to ISO 100-400. For overcast days or during golden hour, you might bump it up to ISO 400-800.
If you're shooting in low light conditions, such as dawn or dusk, you may need to increase your ISO to 1600 or even 3200. However, be aware that higher ISOs will introduce more noise into your images.
To maintain image quality while increasing ISO, consider using noise reduction software in post-processing.
Also, remember that ISO works in conjunction with shutter speed and aperture. If you need a higher ISO, try widening your aperture or slowing your shutter speed first. This balanced approach will help you capture stunning aerial shots in various lighting conditions.
Shutter Speed for Clear Images
Your drone's shutter speed plays an essential role in capturing clear, sharp images from the air. Generally, you'll want to use faster shutter speeds to counteract the drone's movement and vibrations. For stationary subjects, aim for a shutter speed of at least 1/250th of a second.
If you're photographing moving objects or flying in windy conditions, increase it to 1/500th or even 1/1000th.
Remember that shutter speed affects exposure, so you'll need to adjust your aperture and ISO accordingly. In bright daylight, you can easily use faster shutter speeds without compromising image quality.
However, in low light conditions, you might need to balance between a fast enough shutter speed and a higher ISO.
If you're after creative effects like motion blur, experiment with slower shutter speeds. Just keep in mind that this requires extremely stable flying conditions and possibly a neutral density filter to avoid overexposure.
Always consider your drone's capabilities when setting shutter speed. Some models have built-in stabilization that allows for slightly slower speeds, while others may require faster settings to achieve sharp results.
Test different speeds in various conditions to find what works best for your specific drone and shooting style.
Aperture Settings in Flight
Mastering aperture settings in flight can greatly enhance your aerial photography. When you're shooting from a drone, you'll need to take into account the unique challenges of aerial photography. The aperture you choose affects both the depth of field and the amount of light entering your camera's sensor.
For landscape shots, you'll often want a larger depth of field to keep everything in focus. Try using a smaller aperture (higher f-number) like f/8 or f/11. This will help guarantee that both foreground and background elements are sharp.
However, if you're aiming for a more artistic effect or want to isolate a subject, a wider aperture (lower f-number) like f/2.8 or f/4 can create a pleasing bokeh effect.
Remember these key points when adjusting your drone's aperture:
- Smaller apertures (higher f-numbers) increase depth of field but require more light
- Wider apertures (lower f-numbers) let in more light but reduce depth of field
- Take into account your drone's stability when choosing aperture, as slower shutter speeds may introduce blur
Always monitor your exposure triangle (aperture, shutter speed, and ISO) to maintain proper exposure. As lighting conditions change during your flight, be prepared to adjust your aperture accordingly to capture the best possible images.
White Balance for Sky Tones
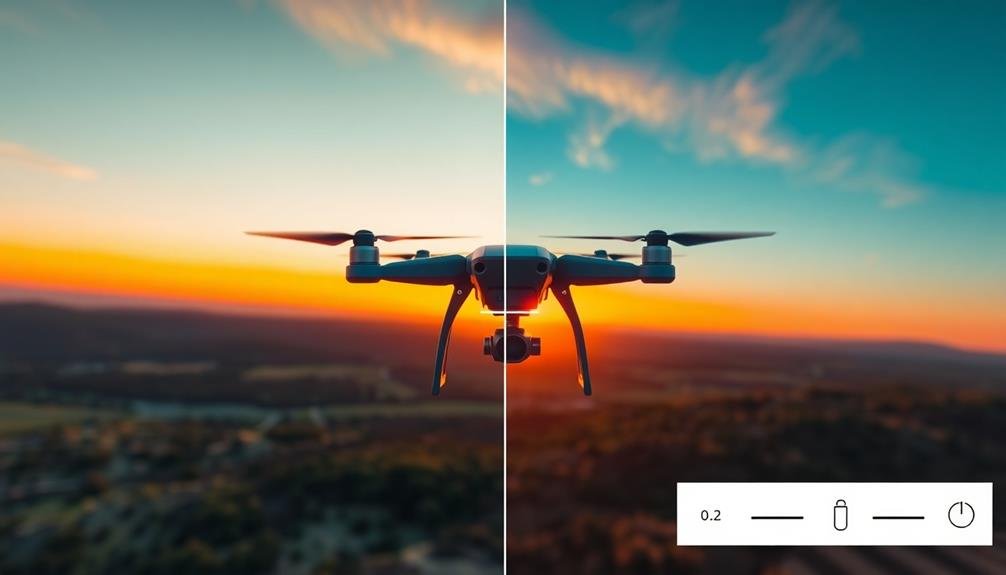
Setting the right white balance for sky tones in drone photography can make or break your aerial shots. When shooting from above, you'll often capture large portions of sky, making accurate color representation essential.
To achieve natural-looking skies, start by using your drone's auto white balance feature as a baseline. However, don't rely on it entirely, as it can sometimes misinterpret the scene.
For more control, switch to manual white balance. On sunny days, set your white balance between 5500K and 6500K to capture the sky's blue hues accurately. During golden hour, opt for a warmer setting around 3200K to 4000K to enhance the orange and red tones. For overcast conditions, try 6500K to 7500K to neutralize the gray tones and add some life to the sky.
Remember that RAW files offer more flexibility in post-processing, allowing you to fine-tune white balance later. If you're unsure, bracket your white balance settings by taking multiple shots at different temperatures. This gives you options to choose from when editing.
Focus Modes for Drone Photography
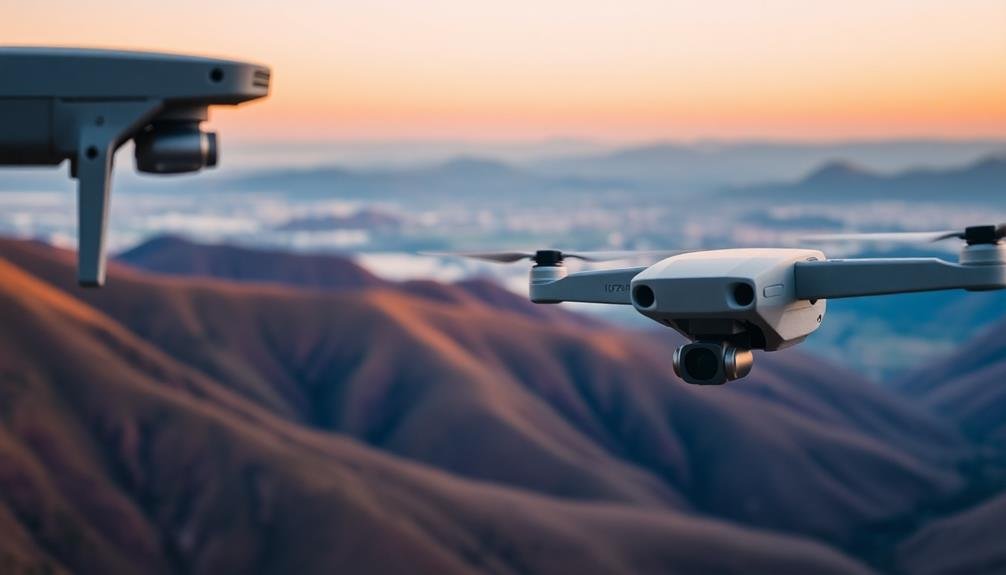
Choosing the right focus mode can greatly impact the sharpness and clarity of your drone photos. Most drones offer multiple focus options, each suited for different scenarios.
When shooting landscapes or distant subjects, you'll want to use infinity focus. This mode guarantees everything from about 3 feet to the horizon remains sharp, making it ideal for capturing vast sceneries.
For subjects closer to the drone, autofocus can be your best friend. It's quick and efficient, allowing you to concentrate on composition. However, be aware that some drones struggle with autofocus in low-light conditions or when there's a lack of contrast in the scene.
Manual focus gives you complete control over what's in focus, but it requires more skill and time. It's particularly useful when shooting in challenging lighting conditions or when you want to create specific effects, like selective focus.
Consider these factors when choosing your focus mode:
- Subject distance and movement
- Available light and contrast in the scene
- Your desired creative effect
Frequently Asked Questions
How Do I Avoid Propellers Appearing in My Drone Photos?
To avoid propellers in your drone photos, you'll want to adjust your camera angle slightly downward. You can also try using a wider lens, flying slower, or editing out any stray blades in post-processing if necessary.
What's the Best File Format for Drone Photography: RAW or JPEG?
You'll want to shoot in RAW for drone photography. It gives you more flexibility in post-processing, preserves detail, and allows for better color correction. However, if you're short on storage, JPEG can still produce good results.
How Can I Reduce Lens Flare When Shooting Towards the Sun?
To reduce lens flare when shooting towards the sun, you'll want to use a lens hood, adjust your angle slightly, or block the sun with an object. You can also try using filters or post-processing techniques to minimize flare effects.
Are Polarizing Filters Useful for Drone Photography?
Yes, polarizing filters are incredibly useful for drone photography. They'll reduce glare, enhance colors, and improve contrast in your shots. You'll notice a significant difference when capturing water, sky, and landscapes from above. Give them a try!
How Do I Achieve a Cinematic Look in My Drone Photos?
To achieve a cinematic look in your drone photos, you'll want to use a wider aspect ratio, like 16:9. Adjust your camera settings for a lower shutter speed, and experiment with color grading in post-processing for a film-like aesthetic.
In Summary
You've now got the key camera settings to elevate your drone photography. Remember, it's all about experimenting and finding what works best for your style. Don't be afraid to push the limits and try new techniques. With practice, you'll master these settings and capture breathtaking aerial shots. Keep your drone charged, your skills sharp, and your creativity soaring. The sky's the limit for your aerial photography adventures!

As educators and advocates for responsible drone use, we’re committed to sharing our knowledge and expertise with aspiring aerial photographers.


Leave a Reply