Mastering low-light drone settings reveals a world of breathtaking nightscapes and urban vistas, elevating your aerial photography to new heights. You'll capture the magic of city lights, star-filled skies, and moody landscapes with stunning clarity and depth. By understanding ISO, aperture, and shutter speed in low-light conditions, you'll create images that pop with vibrant colors and sharp details. You'll also learn techniques for long exposures, noise reduction, and creative compositions that set your work apart. With these skills, you'll access the potential to shoot safely and confidently after dark, pushing the boundaries of your drone photography.
Key Takeaways
- Mastering low-light settings enables capture of unique nighttime perspectives and urban glow unavailable during daylight hours.
- Proper ISO, aperture, and shutter speed adjustments minimize noise and maximize image quality in challenging lighting conditions.
- Understanding long exposure techniques allows for creative light trails and motion blur effects in nightscapes.
- Skilled use of manual focus ensures sharp, detailed images when autofocus struggles in low-light environments.
- Proficiency in low-light settings expands shooting opportunities, allowing for captivating twilight and night photography year-round.
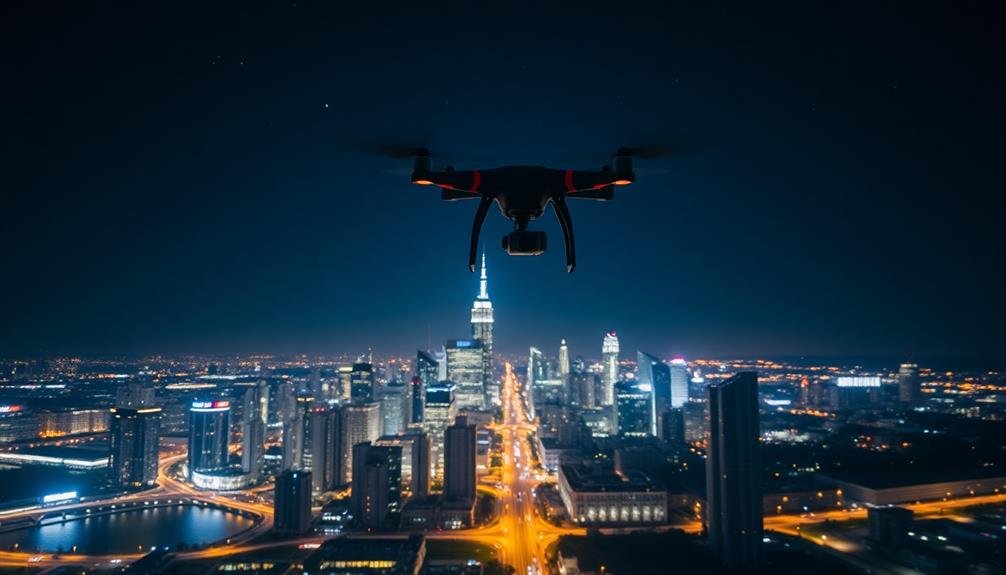
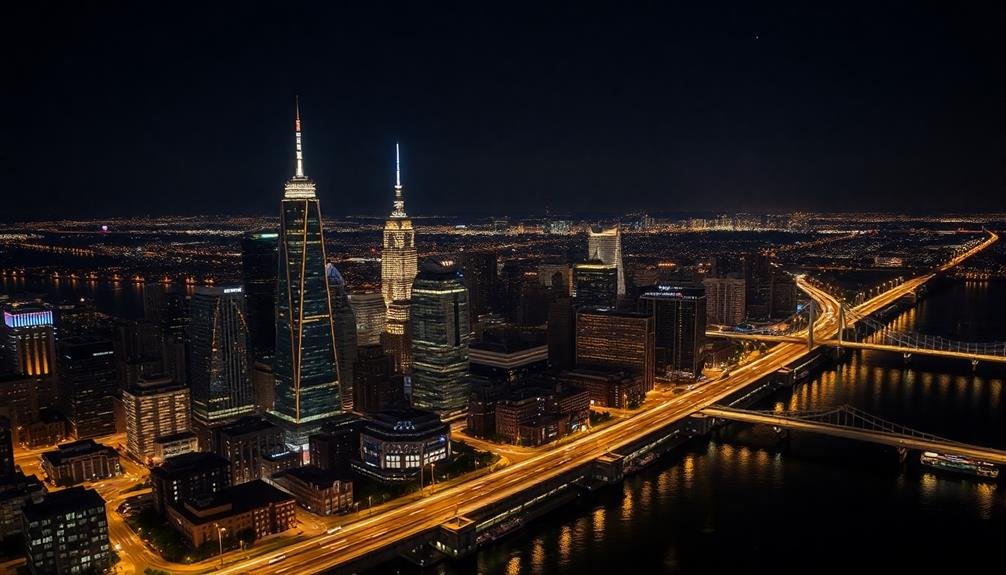
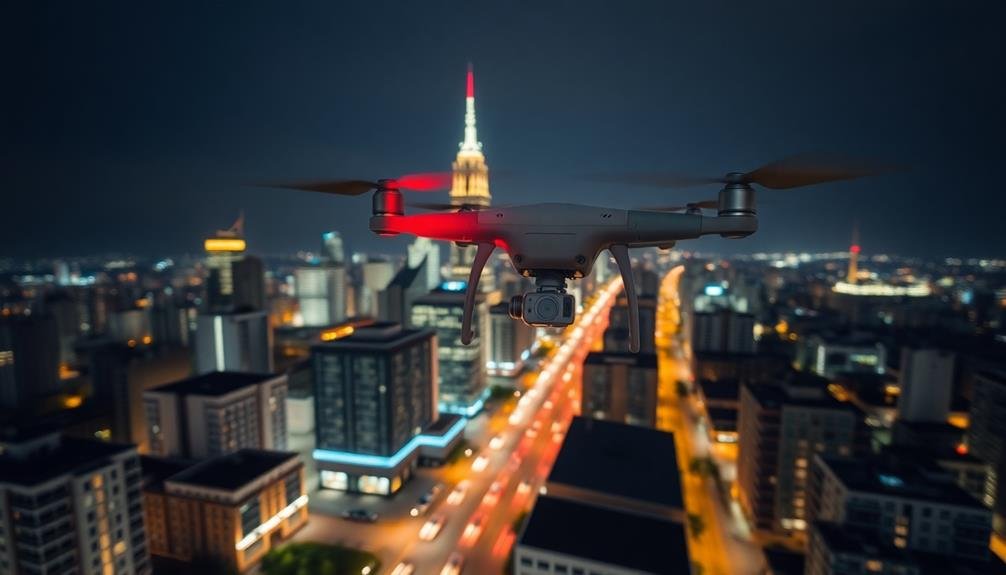
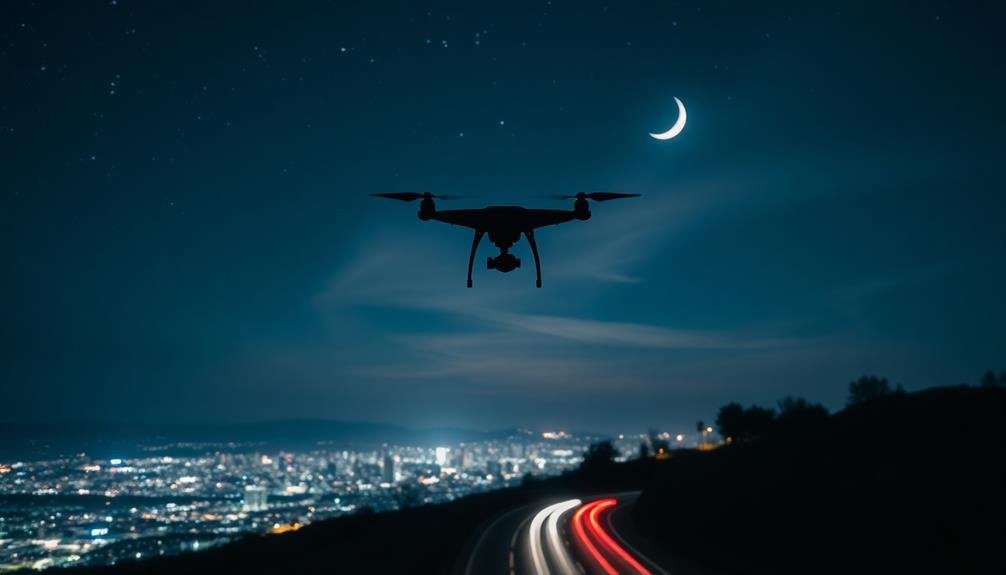
Capturing Urban Glow and Cityscapes
When it comes to capturing urban glow and cityscapes with your drone, you'll need to dial in your settings carefully.
Start by lowering your ISO to minimize noise, typically between 100-400. Adjust your aperture to f/2.8 or wider if possible, allowing more light to reach the sensor. Set a slower shutter speed, around 1/15 to 1/30 second, to capture the city's luminescence without motion blur.
Use manual focus and set it to infinity to guarantee sharp cityscapes. Enable RAW format for greater post-processing flexibility. Adjust white balance to "tungsten" to counteract the orange glow of streetlights, or use a custom setting for more accurate colors.
Experiment with long exposures (2-4 seconds) to create light trails from traffic, but use a gimbal or stable surface to avoid shake. Consider bracketing your shots to capture a wider dynamic range.
For best results, fly during the "blue hour" just after sunset when the sky still has color but city lights are visible.
Always monitor your drone's altitude and maintain visual line of sight. Be aware of local regulations regarding night flights and restricted areas in urban environments.
Mastering Long Exposure Techniques
When capturing long exposures with your drone, you'll need to master ideal shutter speed settings.
Start by experimenting with slower shutter speeds, typically between 1 and 30 seconds, to achieve light trails and smooth water effects.
As you adjust your shutter speed, remember to balance your ISO sensitivity to maintain image quality while preventing overexposure in your nighttime shots.
Optimal Shutter Speed Settings
The art of capturing stunning low-light drone shots hinges on mastering long exposure techniques. When it comes to best shutter speed settings, you'll need to strike a balance between letting in enough light and maintaining image sharpness. Start by setting your drone's camera to manual mode, giving you full control over the shutter speed.
For nighttime cityscapes or starry skies, aim for slower shutter speeds, typically between 2 to 30 seconds. This allows more light to reach the sensor, creating those mesmerizing light trails and star streaks. However, longer exposures can introduce motion blur, so you'll need to:
- Use a sturdy drone with advanced stabilization
- Activate the drone's tripod mode if available
- Choose a calm night with minimal wind
For scenes with moving elements like traffic or flowing water, experiment with shutter speeds between 1/2 to 2 seconds. This range often produces the best results, capturing motion while retaining detail in stationary objects.
Balancing ISO Sensitivity
Striking the right balance with ISO sensitivity is essential for successful long exposure drone photography in low light. As you increase ISO, you'll boost your camera's light sensitivity, allowing for faster shutter speeds and reduced motion blur. However, higher ISO values also introduce more digital noise, potentially degrading image quality.
Start with the lowest ISO setting that still allows for a proper exposure. This is typically between 100 and 400 for most drone cameras. If you're using a tripod or have your drone hovering steadily, you can often maintain these lower ISO values.
As light levels decrease, gradually increase your ISO, but be mindful of your drone's noise performance at higher settings. Many modern drones have improved high-ISO capabilities, so don't be afraid to push it to 1600 or even 3200 if necessary. However, always test your specific drone's limits beforehand.
Use post-processing noise reduction techniques to clean up any residual grain. Remember, it's often better to capture a slightly noisy image than to miss the shot entirely due to underexposure or excessive motion blur.
Optimal ISO Settings for Night

Selecting the right ISO settings is essential for successful night drone photography. You'll need to balance image quality with light sensitivity to capture clear, vibrant nightscapes. Start with a base ISO of 100 or 200, then gradually increase it as needed. Remember, higher ISO values introduce more noise, so aim for the lowest setting that still allows for proper exposure.
When shooting at night, you'll likely need to push your ISO higher than during daylight hours. Most modern drones can handle ISO values between 800 and 3200 without significant image degradation. However, the ideal setting will depend on your specific drone model and lighting conditions.
To determine the best ISO for your nighttime shots:
- Experiment with different ISO values in similar lighting conditions
- Review your images on a large screen to assess noise levels
- Use post-processing software to reduce noise if necessary
Don't be afraid to test your drone's limits, but always prioritize image quality over extreme ISO values.
With practice, you'll develop an intuitive sense of the right ISO settings for various nighttime scenarios, allowing you to capture stunning low-light images consistently.
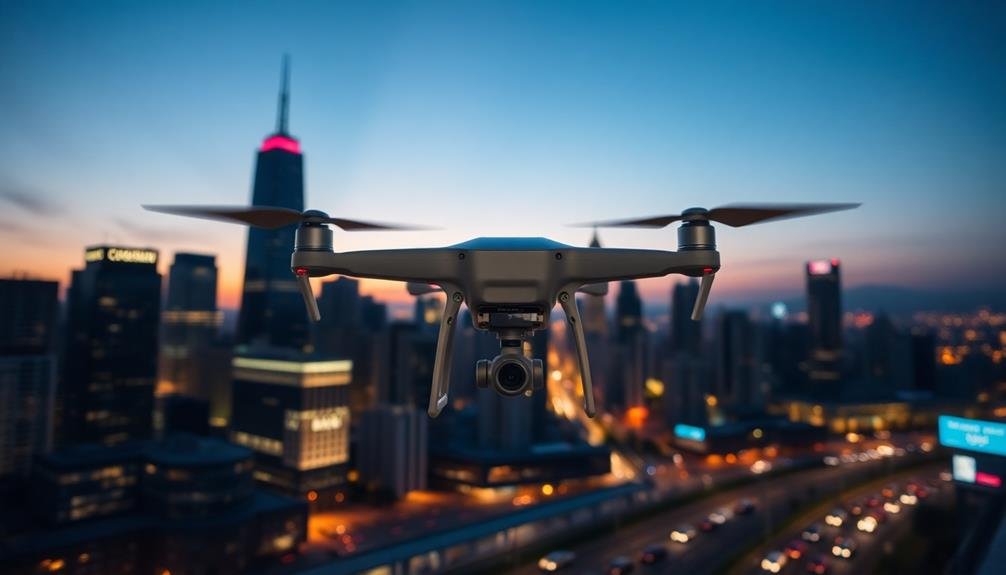
Aperture Control in Low Light

How does aperture control affect your low-light drone photography? Aperture, denoted by f-stops, determines how much light enters your drone's camera sensor. In low-light conditions, you'll want to use a wider aperture (smaller f-number) to allow more light in. This not only brightens your image but also affects depth of field.
When shooting nightscapes, you'll often want a large depth of field to keep both foreground and background sharp. However, the need for more light might necessitate a compromise. Here's a quick guide to help you balance aperture settings with light and depth of field:
| Aperture | Light Gathered | Depth of Field | Best For |
|---|---|---|---|
| f/2.8 | More | Shallow | Isolating subjects |
| f/4 | Moderate | Medium | General nightscapes |
| f/5.6 | Less | Deeper | Cityscapes |
| f/8 | Even less | Deep | Sharpest images |
| f/11 | Least | Deepest | Starbursts on lights |
Balancing Shutter Speed and Motion

When shooting in low light with your drone, you'll need to carefully consider your shutter speed to achieve the desired effect.
You can freeze motion with faster shutter speeds, creating crisp, sharp images, or intentionally blur movement with slower speeds for a sense of dynamism.
Finding the right balance between these extremes is essential, as you'll want to maintain enough shutter speed to avoid camera shake while still capturing sufficient light for a well-exposed image.
Freezing vs. Blurring Motion
In low-light drone photography, the balance between freezing and blurring motion hinges on your shutter speed settings. When you're aiming to capture crisp, sharp images, you'll need faster shutter speeds to freeze motion. This is particularly important when photographing moving subjects or when your drone is in motion.
However, faster shutter speeds require more light, which can be challenging in low-light conditions.
On the flip side, slower shutter speeds allow more light to reach the sensor, making them ideal for low-light situations. They can also create artistic motion blur effects, adding a sense of movement to your nightscapes.
But be cautious, as slower speeds can lead to camera shake and overall image softness.
To master this balance, consider these key points:
- Experiment with different shutter speeds to find the sweet spot for your specific scene
- Use a drone with good stabilization features to minimize shake at slower speeds
- Consider using neutral density filters to achieve slower shutter speeds in brighter conditions
Shutter Speed Sweet Spot
Finding the shutter speed sweet spot is essential for balancing motion and light in low-light drone photography. You'll need to strike a careful balance between capturing enough light and avoiding excessive motion blur.
Start by setting your shutter speed to 1/60th of a second as a baseline. This speed often provides a good starting point for handheld shots and can work well for stationary subjects in low light.
However, you may need to adjust based on your drone's movement and your subject. If you're shooting city lights or stationary landscapes, you can experiment with slower shutter speeds like 1/30th or even 1/15th of a second to let in more light.
Be cautious, though, as these slower speeds can introduce unwanted blur from your drone's vibrations or wind movement.
For scenes with moving elements, such as cars or flowing water, you might need to increase your shutter speed to 1/125th or 1/250th of a second to freeze motion.
Remember, faster shutter speeds mean less light, so you'll need to compensate by increasing your ISO or widening your aperture.
Always test different speeds and review your results to find the perfect balance for your specific shooting conditions.
Utilizing Manual Focus for Sharpness

Mastering manual focus is crucial for achieving sharp images in low-light drone photography. When flying in dim conditions, your drone's autofocus system may struggle to lock onto subjects, resulting in blurry shots. By taking control of the focus yourself, you'll guarantee your nightscapes are crisp and detailed.
To utilize manual focus effectively, start by setting your camera to manual focus mode. Then, use your drone's live view feed to zoom in on a high-contrast area of your scene. Adjust the focus until the edges appear sharp and well-defined. Once you've achieved ideal focus, you can zoom out and compose your shot.
Here are some additional tips for using manual focus in low-light drone photography:
- Use focus peaking if your drone camera supports it
- Pre-focus on a known distance before takeoff
- Employ the hyperfocal distance technique for maximizing depth of field
Remember that manual focus requires practice and patience. Don't be discouraged if your first attempts aren't perfect. With time, you'll develop a keen eye for sharp focus, even in challenging low-light conditions.
Noise Reduction Strategies for Drones
Noise reduction stands out as a critical challenge for low-light drone photography. As you push your drone's ISO settings to capture dark scenes, digital noise becomes more pronounced, potentially ruining your shots. To combat this, you'll need to employ several strategies.
First, always shoot in RAW format. This preserves more data, giving you greater flexibility in post-processing to reduce noise without sacrificing image quality.
Next, utilize your drone's built-in noise reduction features, but be cautious not to overdo it, as excessive noise reduction can lead to loss of detail.
In-flight techniques can also help. Use slower shutter speeds and wider apertures when possible to keep ISO levels lower. Bracket your exposures, taking multiple shots at different settings, to guarantee you have options in post-processing.
After your flight, leverage powerful noise reduction software like Topaz DeNoise AI or DxO DeepPRIME. These AI-driven tools can considerably reduce noise while preserving detail.
Composition Techniques for Nighttime Shots
Composing striking nighttime shots with your drone requires a different approach than daytime photography. You'll need to take into account the unique challenges and opportunities that darkness presents.
Focus on strong, simple compositions that make the most of available light sources and contrast.
When framing your shots, look for:
- Leading lines created by street lights, car trails, or illuminated buildings
- Reflections in water bodies that mirror city lights or the moon
- Silhouettes of landmarks or natural features against a starry sky
Use the rule of thirds to place key elements off-center, creating a more dynamic image.
Don't be afraid to leave large areas of darkness in your frame; this negative space can add drama and emphasize lit areas.
Experiment with long exposures to capture light trails from cars or boats, giving your images a sense of motion and energy.
Remember to keep your drone stable during these longer shots, using a hover mode if available.
Post-Processing Night Drone Footage
Post-processing plays an essential role in elevating your night drone footage from good to extraordinary. When editing your nighttime shots, focus on enhancing details and reducing noise without compromising the overall atmosphere.
Start by adjusting exposure and contrast to bring out hidden elements in the shadows while maintaining the dark ambiance. Use noise reduction tools carefully, as overdoing it can result in a loss of fine details.
Color grading is vital for night footage. Experiment with cooler tones to emphasize the nocturnal mood or warmer hues to create a more inviting atmosphere.
Don't shy away from selective adjustments; use masks to target specific areas of your frame for precise enhancements. Pay attention to highlight recovery, especially for city lights or the moon, to prevent overexposure.
Consider using plugins or specialized software for astrophotography if you've captured starry skies. These tools can help separate stars from noise and enhance their visibility.
Safety Considerations for Night Flying

Flying drones at night comes with unique challenges and risks that demand extra attention to safety. You'll need to be extra vigilant about your surroundings and potential obstacles that may be harder to spot in low-light conditions.
Always verify you're familiar with local regulations regarding night flights, as many areas have specific restrictions or require special permits for after-dark operations.
Before taking off, thoroughly inspect your drone and its components. Pay special attention to:
- Battery life and charge levels
- Proper functioning of lights and sensors
- Secure attachment of props and camera equipment
When flying, maintain a clear line of sight with your drone at all times. Use visible LED lights on your aircraft to help track its position and orientation.
It's vital to fly slower and more cautiously than you'd during daylight hours, giving yourself ample time to react to unexpected situations.
Consider using a spotter to help monitor the drone's flight path and alert you to any potential hazards. Always have a predetermined landing zone that's well-lit and free of obstacles.
Frequently Asked Questions
What Weather Conditions Are Best for Low-Light Drone Photography?
For low-light drone photography, you'll want clear skies with minimal cloud cover. Calm nights without wind are ideal. A new moon or minimal moonlight can enhance starry shots. Avoid rain, fog, or high humidity conditions.
How Do Different Drone Models Compare for Nighttime Image Quality?
You'll find newer, high-end drones often outperform older or budget models in low-light conditions. They typically have larger sensors, better noise reduction, and higher ISO capabilities. Compare specs like sensor size and max ISO when choosing for nighttime shooting.
Can ND Filters Be Used Effectively for Night Drone Photography?
You can use ND filters for night drone photography, but they're not ideal. They reduce light, which you usually want at night. Instead, focus on adjusting ISO, shutter speed, and aperture for better low-light results.
What Are the Legal Restrictions for Flying Drones at Night?
You'll need a Part 107 waiver and anti-collision lighting to fly drones at night legally. You must also follow local regulations, maintain visual line of sight, and avoid restricted airspace. Always check current FAA guidelines before flying.
How Does Altitude Affect Low-Light Drone Photography Results?
You'll find that altitude greatly impacts your low-light drone shots. Higher altitudes often provide clearer air and less light pollution, enhancing image quality. However, you'll need to balance this with local regulations and your drone's capabilities.
In Summary
You've revealed the secrets to stunning nighttime drone photography. By mastering low-light settings, you're now equipped to capture breathtaking urban landscapes and starry skies. Remember, practice makes perfect. Keep experimenting with different techniques, and don't be afraid to push your drone's limits. Always prioritize safety during night flights. With these skills, you'll create mesmerizing nightscapes that stand out from the crowd. So go ahead, take to the skies, and let your creativity soar!
As educators and advocates for responsible drone use, we’re committed to sharing our knowledge and expertise with aspiring aerial photographers.


Leave a Reply