To elevate your aerial photography, master these 10 bracketing techniques: exposure bracketing for dynamic range, white balance bracketing for varied lighting, ISO bracketing to control noise, aperture bracketing for depth, shutter speed bracketing for motion, focus stacking for edge-to-edge sharpness, HDR bracketing for dramatic skies, panorama bracketing for wide-angle views, time-lapse bracketing for changing conditions, and composition bracketing for diverse perspectives. Each method offers unique advantages, from capturing the full light spectrum to ensuring perfect focus across your frame. By incorporating these strategies, you'll reveal new creative possibilities and push your drone photography to new heights. Explore further to transform your aerial shots from ordinary to extraordinary.
Key Takeaways
- Exposure bracketing captures the full dynamic range in aerial shots by taking multiple exposures at different settings.
- White balance bracketing helps adjust for varied lighting conditions, especially during golden hour or over reflective surfaces.
- ISO bracketing manages image noise in challenging lighting situations by capturing shots at different sensitivity levels.
- Aperture bracketing provides various depth-of-field options within a single scene, useful for focus stacking in post-processing.
- HDR bracketing techniques balance bright skies with darker landscape elements for dramatic aerial compositions.
Exposure Bracketing for Dynamic Range

Mastering exposure bracketing is vital for capturing the full dynamic range in aerial photography. When you're shooting from above, you'll often encounter scenes with extreme contrasts between bright skies and darker landscapes. To overcome this challenge, you'll need to use exposure bracketing.
Start by setting your camera to Aperture Priority mode and enabling the Auto Exposure Bracketing (AEB) function. Typically, you'll want to capture at least three exposures: one at the camera's recommended settings, one underexposed, and one overexposed. For high-contrast scenes, consider expanding to five or seven brackets.
As you're flying, remember that timing is essential. You'll need to maintain a steady position while capturing your bracketed shots, so plan your flight path accordingly. Use a fast shutter speed to minimize motion blur, and opt for a lower ISO to reduce noise in your images.
Once you've captured your bracketed exposures, you can blend them in post-processing software to create a single image with a wider dynamic range. This technique will allow you to preserve details in both the highlights and shadows, resulting in more balanced and visually striking aerial photographs.
White Balance Bracketing
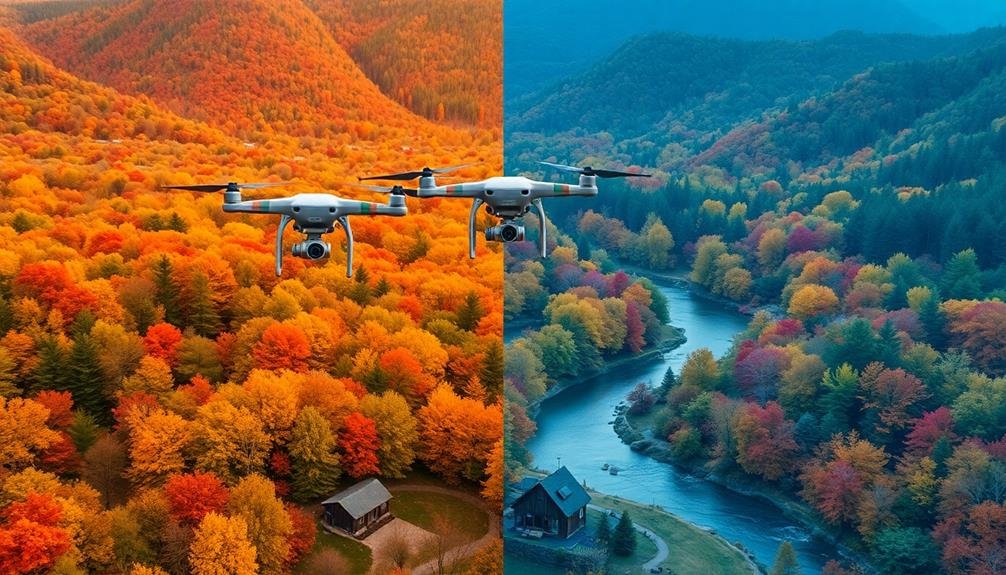
When you're capturing aerial shots, you'll often encounter varied lighting conditions that can affect color temperature.
To adjust for these changes and achieve natural color tones, you can use white balance bracketing. This technique allows you to take multiple shots with different white balance settings, ensuring you'll have options to choose from in post-processing.
Adjusting for Varied Lighting
White balance bracketing comes in handy when aerial photographers encounter diverse lighting conditions. As you soar above different landscapes, you'll often face rapidly changing light sources, from sunlit areas to shadowy regions. This technique allows you to capture multiple shots with varying white balance settings, ensuring you'll have the perfect color temperature in post-processing.
To implement white balance bracketing, set your camera to take a series of images with different white balance presets. You might start with auto white balance, then bracket with sunny, cloudy, and shade settings. This approach is particularly useful when shooting during golden hour or in mixed lighting scenarios, such as cityscapes with both natural and artificial light.
Remember to take into account the dominant light source in your frame and adjust your bracketing accordingly. For instance, when shooting over water, you might need to compensate for the blue reflections.
Achieving Natural Color Tones
To nail down natural color tones in aerial photography, white balance bracketing proves invaluable. This technique involves capturing multiple images of the same scene with different white balance settings. You'll typically shoot a series of three to five photos, each with a slightly different color temperature.
Start by setting your camera to auto white balance, then bracket around it. Take one shot at the auto setting, one cooler, and one warmer. If you're shooting in RAW, you can adjust white balance in post-processing, but bracketing still helps you nail the right look in-camera.
Pay attention to the time of day and lighting conditions. During golden hour, you'll want to lean towards warmer tones, while blue hour calls for cooler settings.
When shooting over water or snow, be mindful of reflections that can throw off your camera's auto white balance.
Don't forget to take into account your altitude. As you gain elevation, atmospheric haze can affect color rendition. You might need to adjust your white balance to compensate for this blue cast.
ISO Bracketing for Noise Control
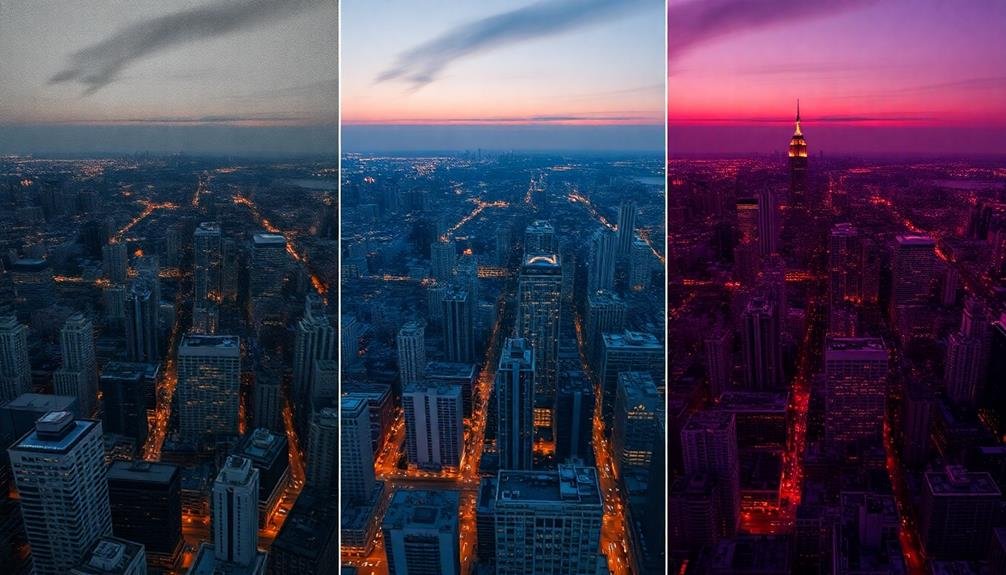
For aerial photographers, ISO bracketing is a powerful technique to manage image noise in challenging lighting conditions. By capturing multiple shots at different ISO settings, you'll have a range of options to choose from in post-processing.
To use ISO bracketing effectively, start by setting your camera to bracket mode and selecting ISO as the variable. Choose your base ISO, typically the lowest setting that still provides adequate exposure. Then, set the bracketing range, usually in one-stop increments. Your camera will automatically capture a series of images at different ISO values.
Here's a quick guide to ISO bracketing:
| ISO Setting | Noise Level | Dynamic Range | Use Case |
|---|---|---|---|
| Low ISO | Minimal | High | Bright, stable scenes |
| Medium ISO | Moderate | Balanced | Mixed lighting |
| High ISO | Noticeable | Reduced | Low light, fast action |
| Very High | Significant | Limited | Extreme low light |
When editing, compare the bracketed images to find the ideal balance between exposure and noise. You can also blend multiple exposures to maximize detail and minimize noise. Remember, ISO bracketing works best when combined with proper exposure techniques and post-processing skills.
Aperture Bracketing for Depth
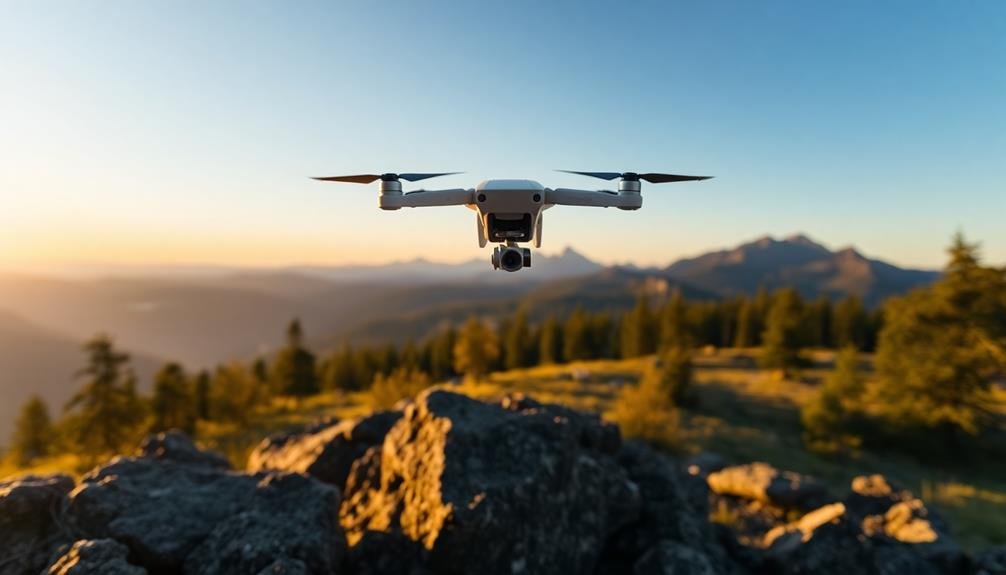
Aperture bracketing in aerial photography allows you to capture a range of depth-of-field options within a single scene.
By taking multiple shots at different f-stops, you're ensuring that you've got various focus ranges to choose from during post-processing. This technique is particularly useful when you're unsure about the ideal depth of field for your aerial composition or when you want to create focus-stacked images later.
To effectively use aperture bracketing in your aerial shoots:
- Start with your widest aperture (lowest f-number) and take a shot
- Gradually increase the f-number, taking shots at each step
- Finish with your narrowest aperture (highest f-number)
Shutter Speed Bracketing
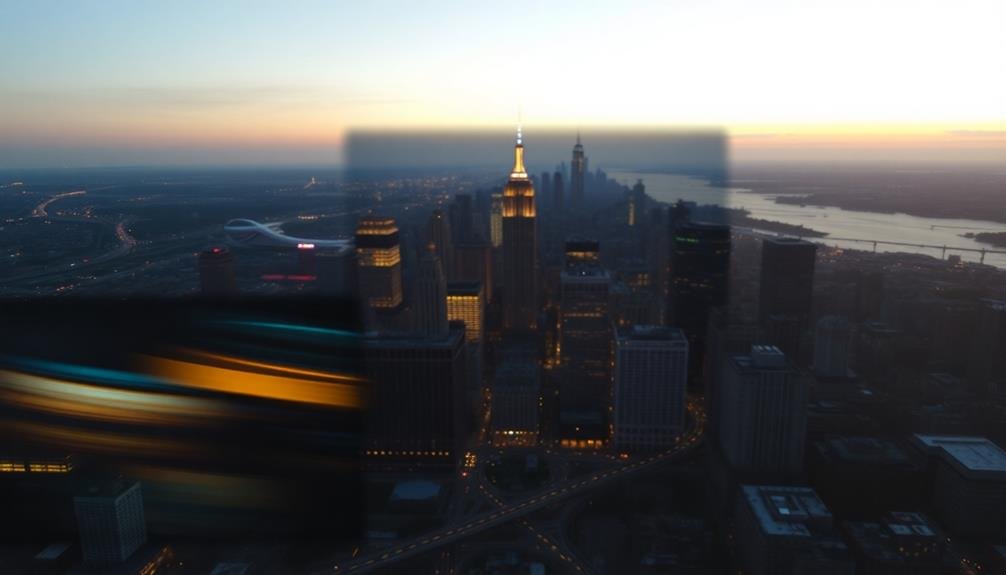
Mastery of shutter speed bracketing is crucial for aerial photographers seeking to capture the perfect shot in varying light conditions. When you're up in the air, light can change rapidly, and your subject's movement might be unpredictable.
Shutter speed bracketing allows you to take multiple shots at different speeds, ensuring you've got options to choose from later. To use this technique, set your camera to shutter priority mode and enable auto-bracketing. Choose a base shutter speed that you think will work best, then set your camera to take additional shots at faster and slower speeds.
For example, if your base is 1/250s, you might bracket with 1/500s and 1/125s. This approach is especially useful when photographing moving subjects like vehicles or wildlife from the air. The faster shutter speeds will freeze motion, while slower speeds might introduce interesting blur effects.
It's also helpful in low-light situations or when dealing with reflective surfaces like water or glass buildings. By bracketing shutter speeds, you'll increase your chances of getting that one perfect shot with the ideal balance of sharpness and motion.
Focus Stacking in Aerial Shots
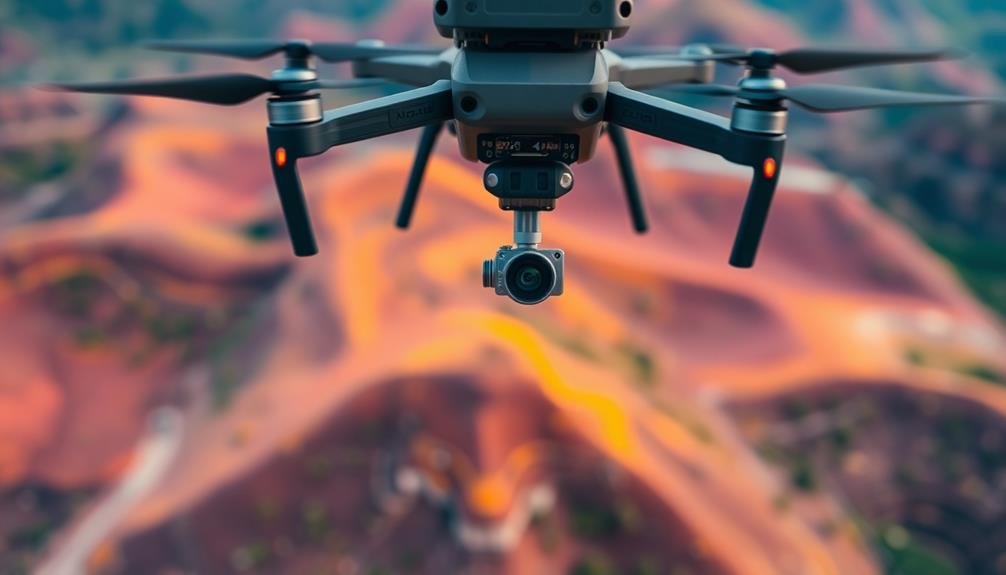
Focus stacking is a powerful technique that can dramatically enhance the depth and clarity of your aerial photographs. When shooting from the air, you'll often encounter scenes with elements at varying distances, making it challenging to capture everything in sharp focus. That's where focus stacking comes in handy.
By taking multiple shots of the same scene at different focus points and then combining them in post-processing, you can create an image with edge-to-edge sharpness.
To implement focus stacking in your aerial photography:
- Set your camera to manual focus mode and use a tripod or gimbal for stability.
- Take a series of shots, adjusting the focus point for each image to cover the entire depth of the scene.
- Use specialized software like Helicon Focus or Photoshop to blend the images seamlessly.
Remember that wind and movement can complicate focus stacking in aerial shots. You'll need to work quickly and efficiently to minimize changes between frames.
It's also essential to maintain consistent exposure settings across all shots to guarantee a smooth blend. With practice, you'll master this technique and produce stunningly detailed aerial photographs that captivate viewers with their crisp, all-encompassing focus.
HDR Bracketing for Dramatic Skies
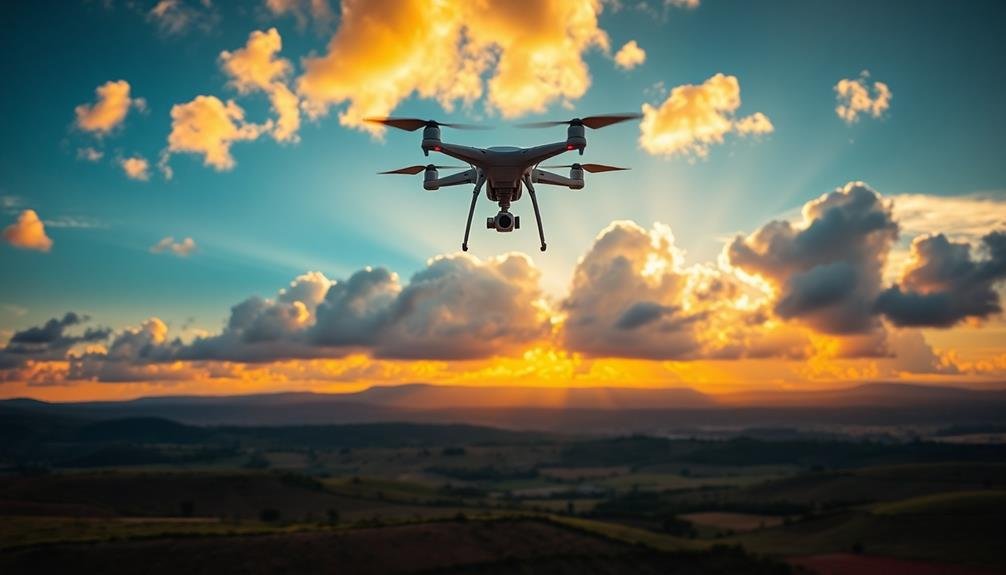
When you're shooting aerial scenes with dramatic skies, HDR bracketing can be your secret weapon.
You'll capture the full range of light in cloud formations by taking multiple exposures at different settings. This technique allows you to balance the bright highlights of the sky with darker landscape elements, resulting in a more dynamic and visually striking image.
Capturing Dynamic Cloud Formations
The sky often steals the show in aerial photography, and capturing dynamic cloud formations can elevate your images to new heights.
When you're shooting from above, clouds can create stunning textures, patterns, and layers that add depth and drama to your compositions. To make the most of these atmospheric wonders, you'll need to master the art of bracketing.
Start by evaluating the cloud formations and lighting conditions. You'll want to bracket your exposures to capture the full range of tones in both the clouds and the landscape below.
Here's a quick guide to help you nail those dynamic cloud shots:
- Use a wider aperture (f/5.6 to f/8) to maintain sharpness across the frame
- Set your camera to Aperture Priority mode and bracket in 1-stop increments
- Take at least three exposures: one for highlights, one for midtones, and one for shadows
Balancing Exposure Extremes
How can you capture the full dynamic range of a dramatic sky without losing detail in the landscape below? The answer lies in HDR bracketing, a powerful technique for balancing exposure extremes in aerial photography.
To implement HDR bracketing, you'll need to take multiple shots of the same scene at different exposure levels. Set your camera to Aperture Priority mode and use Auto Exposure Bracketing (AEB) if available. Typically, you'll want to capture at least three exposures: one properly exposed, one underexposed, and one overexposed.
When shooting, prioritize a fast shutter speed to minimize motion blur, especially if you're using a drone. Aim for at least 1/250th of a second or faster. Keep your ISO as low as possible to reduce noise, and maintain a consistent aperture across all shots.
Post-processing is essential for HDR bracketing. Use software like Adobe Lightroom or Photomatix to merge your bracketed exposures. During this process, pay close attention to highlight and shadow recovery.
Adjust contrast, saturation, and sharpness to enhance the final image without creating an unrealistic look. Remember, the goal is to create a balanced, natural-looking photograph that captures the scene's full dynamic range.
Panorama Bracketing Techniques
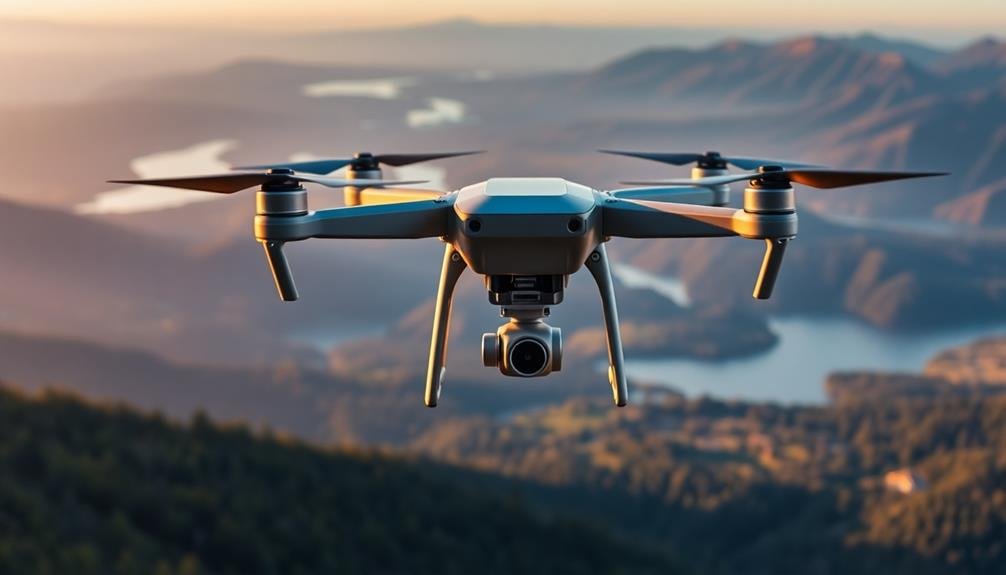
Numerous aerial photographers employ panorama bracketing techniques to capture stunning, wide-angle views from above. This method involves taking multiple overlapping shots of a scene and later stitching them together to create a single expansive image. You'll need to maintain consistent exposure settings across all frames to guarantee a seamless final result.
When shooting panoramas from the air, you'll face unique challenges. Wind and aircraft movement can make it difficult to capture perfectly aligned shots. To overcome this, you should:
- Use a faster shutter speed to minimize motion blur
- Overlap your shots by at least 30% to give yourself more wiggle room during post-processing
- Utilize a gimbal or stabilizer to keep your camera level and steady
Don't forget to contemplate your composition carefully. Look for leading lines or interesting patterns that'll guide the viewer's eye across the entire panorama.
You'll also want to pay attention to the horizon line, keeping it straight and consistent throughout your shots. By mastering these panorama bracketing techniques, you'll be able to create breathtaking aerial images that showcase vast landscapes in all their glory.
Bracketing for Time-Lapse Sequences
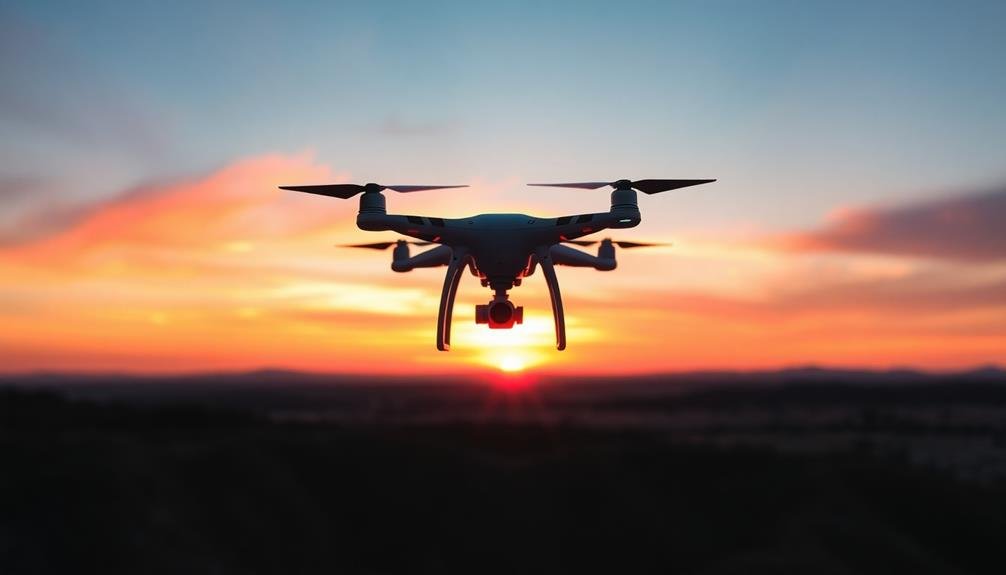
When capturing time-lapse sequences from the air, you'll need to carefully consider your interval and exposure settings.
You should adjust your bracketing technique to account for changing light conditions throughout the sequence.
In post-processing, you can blend your bracketed exposures to create a smooth, well-exposed time-lapse that showcases the dynamic aerial perspective.
Interval and Exposure Settings
Setting up interval and exposure bracketing for time-lapse sequences in aerial photography requires careful consideration of several factors.
You'll need to balance the desired length of your final sequence with the available flight time and storage capacity of your drone. Shorter intervals between shots will result in smoother motion but consume more battery power and storage space.
For exposure bracketing, you'll want to capture a range of exposures to guarantee you have enough detail in both highlights and shadows. This is especially important in changing light conditions, such as during sunrise or sunset.
Consider using a 3-5 shot bracket with 1-2 stop intervals between each exposure.
When setting up your time-lapse sequence, keep these key points in mind:
- Calculate your interval based on the desired playback speed and duration
- Adjust your exposure bracketing range according to the scene's dynamic range
- Monitor your drone's battery life and storage capacity throughout the shoot
Remember to factor in any movement of your drone during the sequence, as this can affect the final result.
Post-Processing Time-Lapse Brackets
After capturing your time-lapse brackets, you'll need to process them to create a stunning final sequence.
Begin by importing your bracketed sets into your preferred photo editing software. Select the best exposure from each set, or blend multiple exposures to achieve the desired dynamic range.
Next, apply consistent adjustments across all frames to maintain a cohesive look. This includes color correction, contrast, and sharpening. Pay special attention to smoothing out any flickering caused by exposure variations between frames.
Once you've refined individual images, it's time to compile them into a time-lapse sequence. Use dedicated time-lapse software or video editing programs to assemble the frames. Set your desired frame rate, typically 24-30 fps for smooth motion.
Consider adding subtle shifts or camera movements in post-production to enhance the visual appeal. Experiment with speed ramping to emphasize certain moments in your sequence.
Composition Bracketing From Above
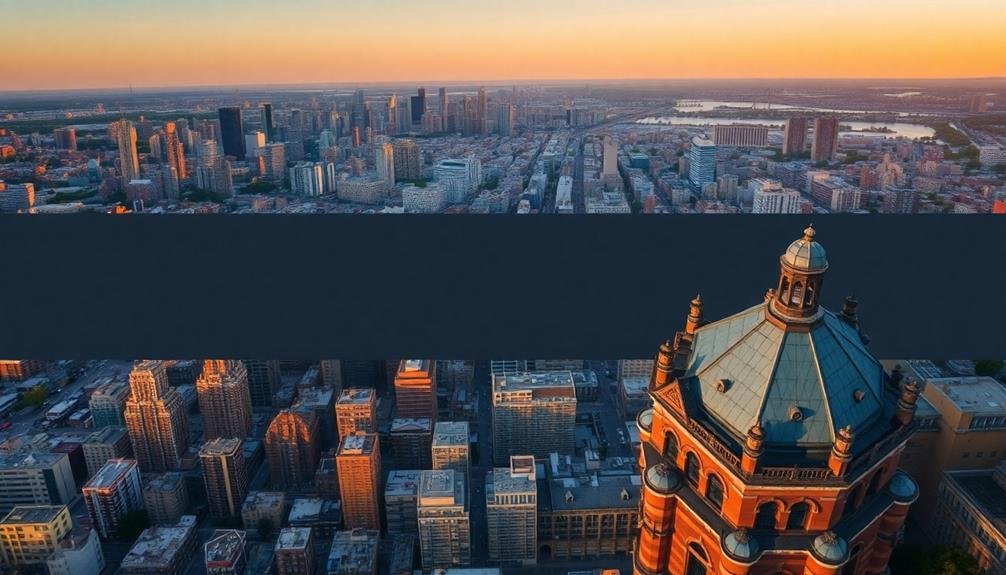
Aerial photographers have a unique advantage when it comes to composition bracketing. From above, you can capture a wider range of perspectives and angles that aren't possible from the ground. By varying your altitude, direction, and camera angle, you'll create a series of shots that offer different compositional elements for each scene.
To effectively bracket your compositions from the air:
- Vary your altitude: Start high for a broad overview, then descend in increments to capture more detailed shots.
- Rotate your perspective: Shoot the same subject from different angles by flying around it in a circular pattern.
- Adjust your camera angle: Experiment with straight-down, oblique, and horizontal shots to capture diverse compositions.
When composition bracketing from above, pay attention to leading lines, patterns, and symmetry that may only be visible from an aerial viewpoint. Use natural features like rivers, roads, or shorelines to guide the viewer's eye through your images.
Don't forget to take into account the interplay of light and shadow, which can dramatically change as you alter your position in the sky. By mastering composition bracketing from above, you'll create a diverse portfolio of aerial shots that showcase your subject from multiple compelling perspectives.
Frequently Asked Questions
How Does Weather Affect Bracketing Techniques in Aerial Photography?
Weather greatly impacts your aerial bracketing. You'll need to adjust exposure settings for changing light conditions. Overcast skies require fewer brackets, while bright sunlight demands more. Wind can affect stability, so you'll need faster shutter speeds.
What Software Is Best for Processing Bracketed Aerial Images?
You'll find Adobe Lightroom and Photomatix Pro are top choices for processing bracketed aerial shots. They offer powerful HDR merging tools, extensive adjustments, and intuitive interfaces. DxO PhotoLab and Aurora HDR are also excellent options to evaluate.
Can Bracketing Techniques Be Used Effectively With Drone Photography?
Yes, you can effectively use bracketing techniques with drone photography. You'll capture multiple exposures at different settings, ensuring you've got all the detail in highlights and shadows. It's especially useful in high-contrast aerial scenes.
How Do You Manage Storage Space When Shooting Multiple Bracketed Sequences?
You'll need to manage storage carefully when shooting bracketed sequences. Use high-capacity memory cards, delete unnecessary shots in-flight, and transfer files to a portable hard drive or cloud storage between flights to free up space.
Are There Legal Restrictions on Using Bracketing Techniques for Aerial Photography?
You'll find that legal restrictions on aerial photography typically focus on where you can fly, not your shooting techniques. However, you should always check local laws and obtain necessary permits before flying drones for photography purposes.
In Summary
You've now got a powerful set of bracketing techniques to take your aerial photography to new heights. Don't be afraid to experiment with these methods on your next flight. Remember, it's all about capturing the perfect shot. By mastering these bracketing techniques, you'll have more control over your images and be able to tackle challenging lighting conditions with confidence. Keep practicing, and soon you'll be creating stunning aerial masterpieces.

As educators and advocates for responsible drone use, we’re committed to sharing our knowledge and expertise with aspiring aerial photographers.
Leave a Reply