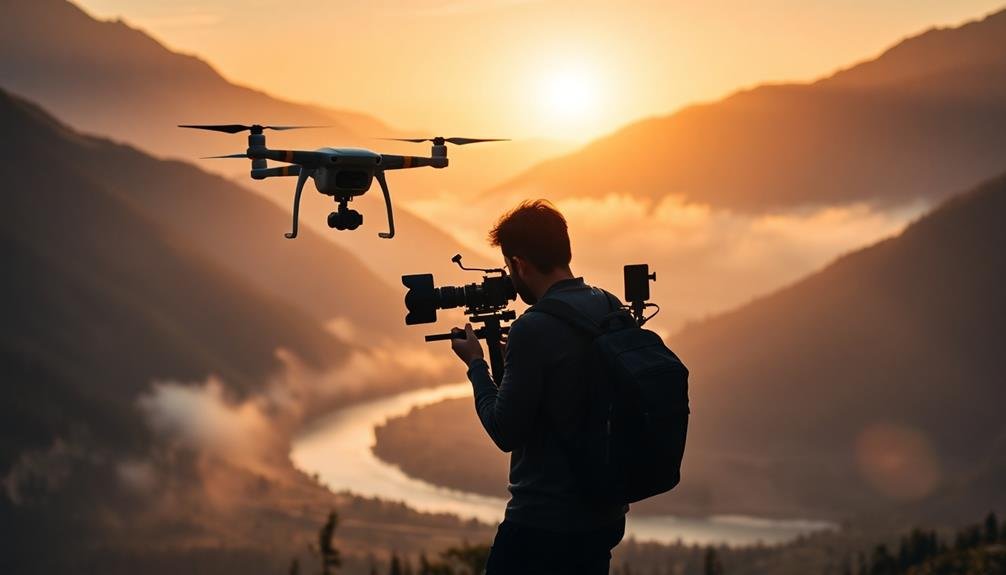
To capture stunning cinematic descent shots, start by choosing a drone with excellent stability and camera quality. Master smooth descent control through practice and intelligent flight modes. Plan your shot composition carefully, considering the rule of thirds and narrative elements. Optimize your camera settings for a cinematic look, adjusting frame rate, shutter speed, and ISO. Incorporate interesting foreground elements to add depth and visual interest. Experiment with descent speed to evoke different emotions. Finally, enhance your footage in post-production with stabilization, color grading, and audio fine-tuning. These pro tips will elevate your aerial cinematography to new heights.
Key Takeaways
- Choose a drone with stability features, precise control, and high-quality camera capabilities for smooth cinematic descents.
- Master descent control by practicing altitude transitions and utilizing intelligent flight modes for complex maneuvers.
- Calibrate speed and sensitivity settings to achieve the optimal balance for your shooting style and environment.
- Plan shot composition carefully, considering the rule of thirds, starting and ending points, and narrative elements.
- Enhance visual interest by incorporating foreground elements, varying descent speeds, and applying post-production techniques like stabilization and color grading.
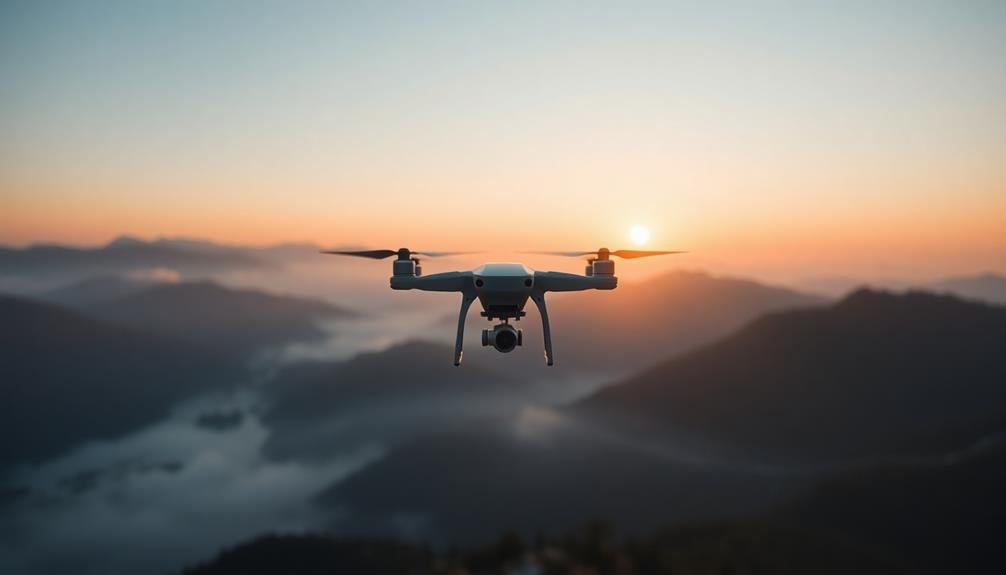
Choose the Right Drone
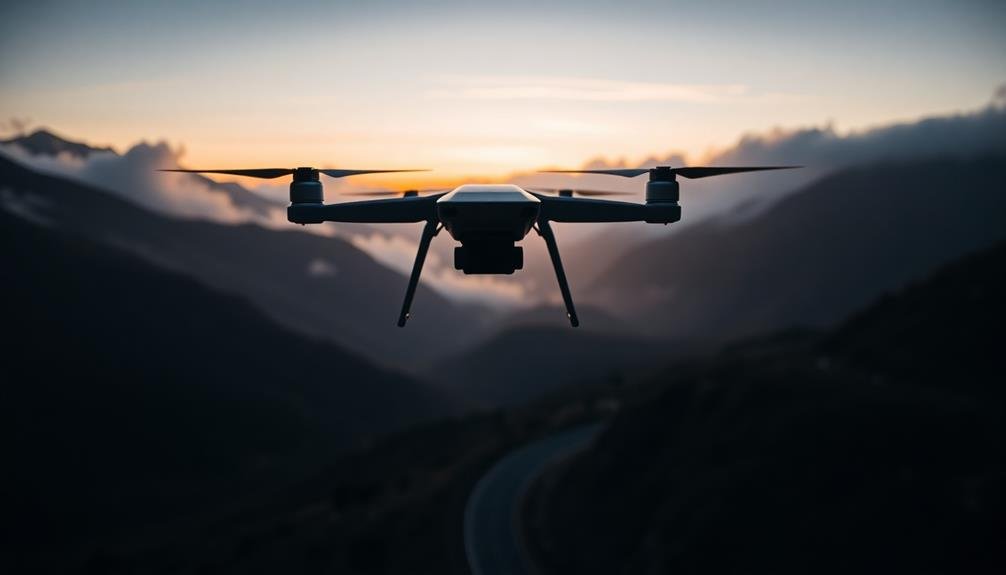
When it comes to capturing cinematic descent shots, selecting the appropriate drone is vital. You'll want a model that offers stability, precise control, and high-quality image capture. Look for drones with advanced flight modes like waypoint navigation and altitude hold, which will help you maintain smooth, consistent descents.
Consider the camera specifications carefully. A drone with a 4K or higher resolution camera will provide crisp, detailed footage. Make sure it has a wide dynamic range and good low-light performance for versatility in various shooting conditions. A gimbal stabilization system is essential for eliminating vibrations and maintaining steady shots during descent.
Battery life is another significant factor. Longer flight times allow for multiple takes and extended shooting sessions. Pay attention to the drone's wind resistance rating, as this will affect its performance during outdoor shoots.
Don't overlook portability. If you're often shooting on location, a compact, foldable drone will be more convenient.
Master Smooth Descent Control
To master smooth descent control, you'll need to fine-tune your drone's speed settings for gradual shifts.
Practice altitude changes at various rates to develop a feel for your equipment's responsiveness.
Leverage your drone's intelligent flight modes to automate complex maneuvers and achieve consistently cinematic descents.
Calibrate Drone Speed Settings
Mastering smooth descent control starts with calibrating your drone's speed settings. You'll need to fine-tune your drone's vertical and horizontal speed to achieve the perfect cinematic descent. Begin by adjusting the maximum descent speed in your drone's app or controller settings. A slower descent speed often results in smoother footage, but you'll need to balance this with your shot requirements.
Next, calibrate your drone's sensitivity settings. Lower sensitivity allows for more precise control, while higher sensitivity enables quicker responses. Experiment with different combinations to find the sweet spot for your shooting style.
Here's a quick reference guide for calibrating your drone's speed settings:
| Speed Setting | Slow Descent | Medium Descent | Fast Descent | Rapid Descent |
|---|---|---|---|---|
| Vertical (m/s) | 0.5 – 1.0 | 1.0 – 2.0 | 2.0 – 3.0 | 3.0+ |
| Horizontal (m/s) | 1.0 – 2.0 | 2.0 – 4.0 | 4.0 – 6.0 | 6.0+ |
Remember to practice with different speed settings in various conditions. Wind, lighting, and obstacles can all affect your drone's performance. By mastering your speed settings, you'll be able to capture smooth, professional-looking descent shots in any situation.
Practice Altitude Transitions
In order to master smooth descent control, you'll need to practice altitude changes extensively. Start by finding an open area with plenty of vertical space to work with.
Begin your descent from a high altitude, around 400 feet, and practice gradual descents to lower altitudes. Focus on maintaining a consistent speed throughout the descent. Use your drone's altitude hold feature to pause at different heights, then resume the descent. This will help you develop a feel for smooth shifts between altitudes.
Practice varying descent rates, from slow and subtle to faster drops. Pay attention to how different speeds affect the visual impact of your footage. Experiment with combining altitude changes with horizontal movements to create more dynamic shots.
Try descending towards specific targets or landmarks, adjusting your approach angle as you go. This will improve your spatial awareness and control.
Don't forget to practice ascending as well, as smooth upward movements are equally important for cinematic shots.
Lastly, review your practice footage carefully. Analyze what works and what doesn't, and make adjustments to your technique accordingly.
With consistent practice, you'll develop the muscle memory and finesse needed for stunning cinematic descent shots.
Use Intelligent Flight Modes
While manual control is fundamental, intelligent flight modes can elevate your descent shots to new heights. Many modern drones offer built-in intelligent flight modes specifically designed for cinematic shots, including descents. Take advantage of these features to achieve smoother, more professional-looking footage.
Start by exploring your drone's "Cinematic Mode" or similar options. These modes often slow down the drone's movements and soften control inputs, resulting in more fluid descents.
"Tripod Mode" can be particularly useful for ultra-smooth, slow descents, as it limits the drone's speed and responsiveness.
For more dynamic shots, try "Point of Interest" or "Orbit" modes. These allow your drone to descend while circling a subject, creating a dramatic reveal effect.
"Waypoint Mode" lets you pre-program a descent path, ensuring consistent results across multiple takes.
Don't forget about "ActiveTrack" or similar subject-tracking modes. These can help you maintain focus on a moving subject while descending, adding an extra layer of complexity to your shots.
Experiment with different modes and combine them with manual control for truly unique and enthralling cinematic descents.
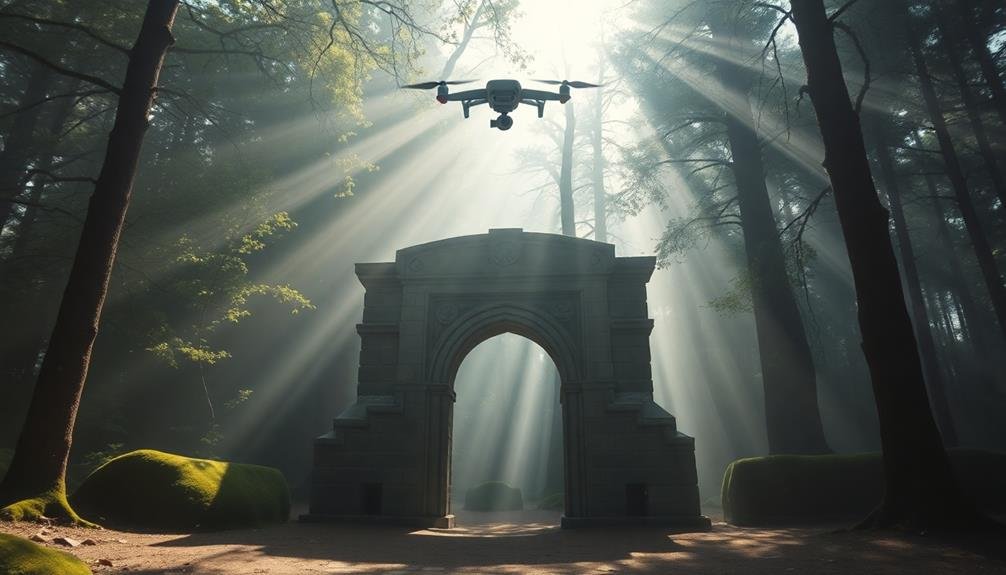
Plan Your Shot Composition
To achieve stunning cinematic descent shots, carefully planning your shot composition is essential. Start by scouting your location and identifying interesting visual elements that can guide the viewer's eye as you descend. Look for leading lines, natural frames, or contrasting colors that'll add depth and interest to your shots.
Consider the rule of thirds when framing your descent. Place key elements along these imaginary lines or at their intersections to create a balanced and visually appealing composition. As you descend, think about how the perspective changes and how you can use this to your advantage.
Plan your starting and ending points carefully. Begin with a wide shot to establish the scene, then gradually move closer to your subject as you descend. This creates a sense of progression and draws the viewer into the shot. Think about the story you're trying to tell with your descent and how each frame contributes to that narrative.
Experiment with different angles and movements during your descent. Try spiraling around your subject, moving from foreground to background, or revealing hidden elements as you descend. These techniques can add dynamism and intrigue to your shots.
Utilize Cinematic Camera Settings
To capture truly cinematic descent shots, you'll need to fine-tune your camera settings.
Start by adjusting your frame rate, typically to 24fps for that classic film look.
Next, optimize your shutter speed to match your frame rate, and set an appropriate ISO to balance exposure without introducing excessive noise.
Adjust Frame Rate Settings
Adjusting your camera's frame rate settings is crucial for achieving cinematic descent shots. For a classic cinematic look, set your camera to 24 frames per second (fps). This frame rate mimics the traditional film look and creates natural motion blur, enhancing the sense of movement in your descent shots.
If you're aiming for smoother, more fluid motion, take into account shooting at higher frame rates like 60 or 120 fps. These settings allow you to create stunning slow-motion effects in post-production, adding drama and impact to your descent footage. When shooting at higher frame rates, remember to adjust your shutter speed accordingly to maintain the proper motion blur.
For a dreamy, ethereal effect, try shooting at a slightly lower frame rate, such as 22 fps. This subtle adjustment can create a surreal, almost floating sensation in your descent shots.
Experiment with different frame rates to find the perfect balance for your specific scene and desired mood.
Don't forget to take into account your project's final output when choosing frame rates. If you're delivering content for web or TV, verify your chosen frame rate is compatible with the platform's requirements.
Optimize Shutter Speed
Once you've set your frame rate, optimizing your shutter speed is essential for achieving that cinematic look in your descent shots. The general rule of thumb is to set your shutter speed to double your frame rate. For example, if you're shooting at 24fps, you'll want a shutter speed of 1/48th of a second. This creates a natural-looking motion blur that mimics what the human eye perceives.
However, don't be afraid to experiment with different shutter speeds to achieve various effects:
- Faster shutter speeds (e.g., 1/100th or 1/200th) will create crisper, more defined images with less motion blur. This can be useful for high-speed descent shots where you want to capture every detail.
- Slower shutter speeds (e.g., 1/30th or 1/15th) will introduce more motion blur, creating a dreamy, ethereal effect. This can be particularly effective for slower, more atmospheric descent shots.
- Variable shutter speeds within a single shot can create interesting shifts or emphasize changes in speed during your descent.
Set Appropriate ISO
After fine-tuning your shutter speed, the next camera setting to master for cinematic descent shots is ISO. This essential parameter controls your camera's sensitivity to light and plays a significant role in achieving that coveted cinematic look.
For descent shots, you'll want to keep your ISO as low as possible to minimize noise and maintain image quality. Start with your camera's native or base ISO, typically 100 or 200. If you're shooting in bright daylight, this should suffice.
However, when filming in low-light conditions or during golden hour, you may need to increase your ISO. Don't be afraid to push your ISO higher if necessary, but be mindful of your camera's limitations.
Modern cameras can often handle ISO 800 or 1600 without significant image degradation. As you increase ISO, pay attention to noise levels in your footage. If you notice excessive graininess, consider using noise reduction in post-production.
Incorporate Interesting Foreground Elements
Depth and dimension come alive when you incorporate interesting foreground elements in your cinematic descent shots. These elements add visual interest, create a sense of scale, and guide the viewer's eye through the frame. As you descend, look for objects that can serve as engaging foreground elements, such as tree branches, rock formations, or architectural features.
To effectively use foreground elements in your descent shots:
- Frame your shot carefully: Position the foreground element off-center to create a balanced composition. Use the rule of thirds to guide your placement and guarantee the element doesn't overpower the main subject.
- Adjust your focus: Experiment with selective focus techniques. Try keeping the foreground element slightly out of focus to create depth and draw attention to your main subject in the background.
- Play with movement: As you descend, allow the foreground element to move across the frame. This creates a dynamic effect and enhances the sense of motion in your shot.
Remember to maintain a smooth, controlled descent while incorporating these elements.
Practice your movements to achieve a seamless integration of foreground and background, resulting in engaging cinematic descent shots that truly immerse your audience.
Experiment With Descent Speed
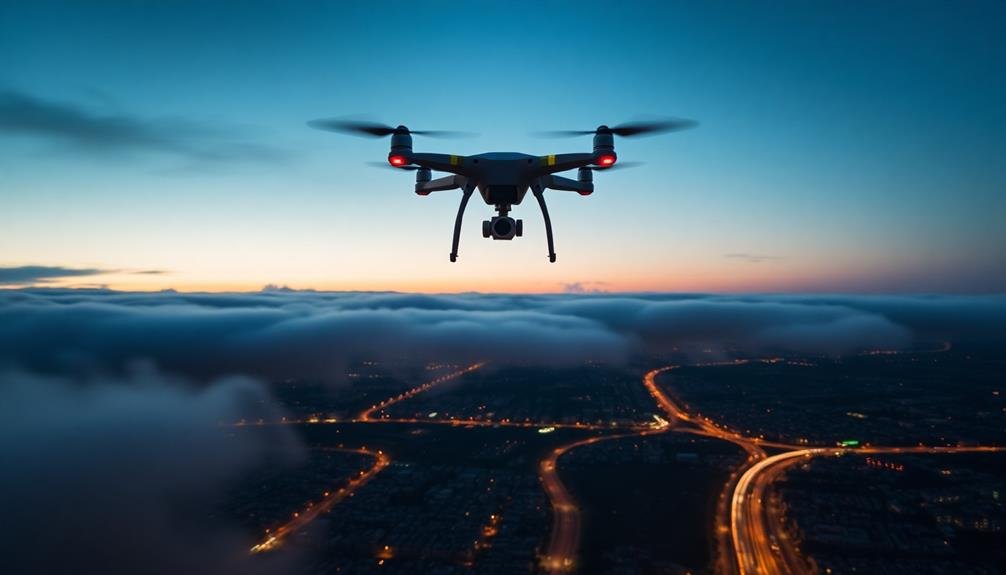
The speed of your descent can dramatically affect the mood and impact of your cinematic shots. You'll want to experiment with different speeds to create the desired effect. Slow descents can evoke a sense of wonder or reveal details gradually, while faster drops can heighten tension or excitement.
Try varying your speed within a single shot. Start slow and accelerate, or begin quickly and decelerate as you approach your subject. This technique adds dynamism and keeps viewers engaged. Don't forget to adjust your camera settings accordingly; faster descents may require a higher shutter speed to avoid motion blur.
Consider using the following descent speeds to evoke specific emotions:
| Speed | Emotion | Example Scene |
|---|---|---|
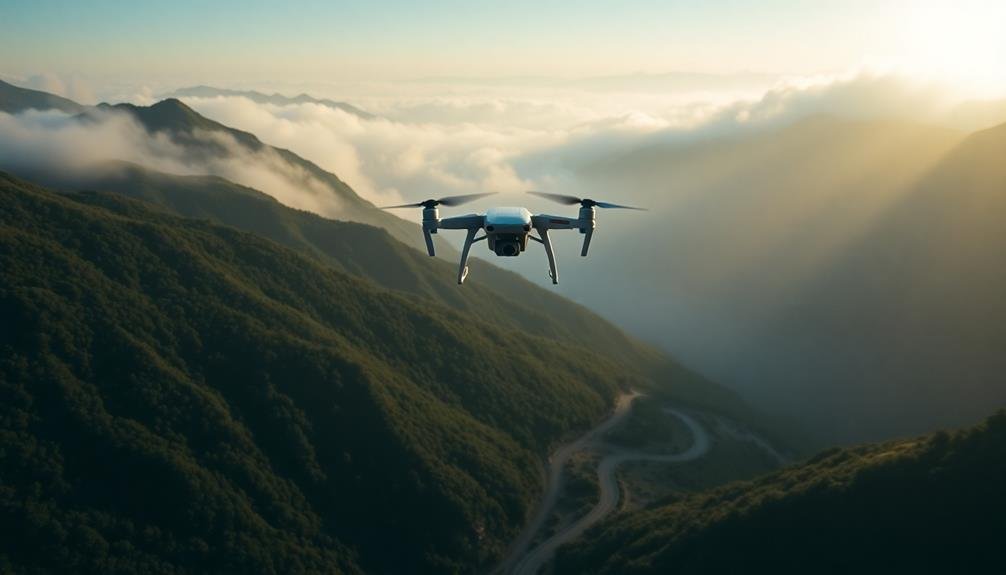
| Very Slow | Awe | Revealing a vast landscape |
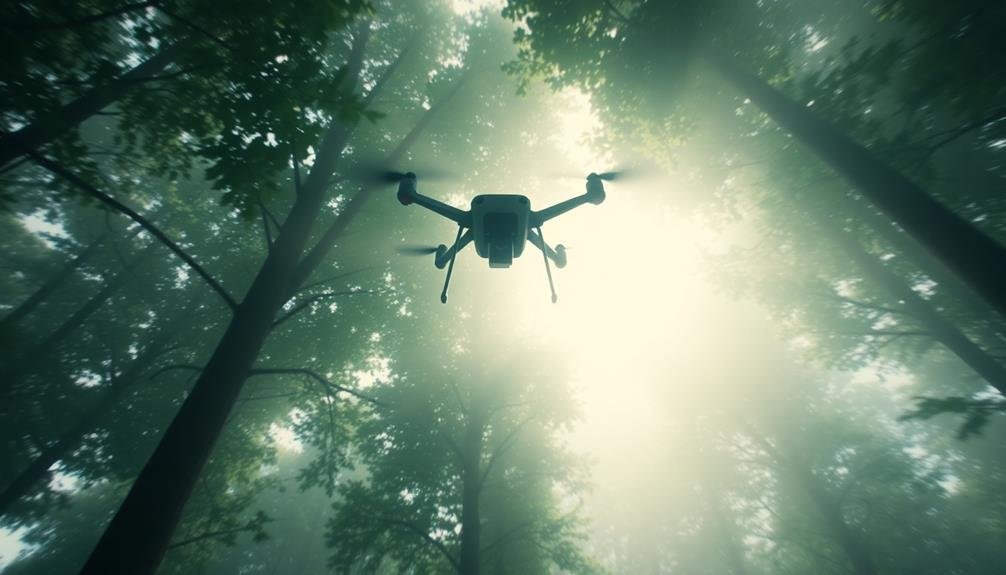
| Slow | Contemplative | Descending into a quiet forest |
| Medium | Curious | Exploring an abandoned building |
| Fast | Exciting | Dropping into a bustling city |
| Very Fast | Thrilling | Plummeting towards turbulent waters |
Post-Production Enhancements for Descent Shots
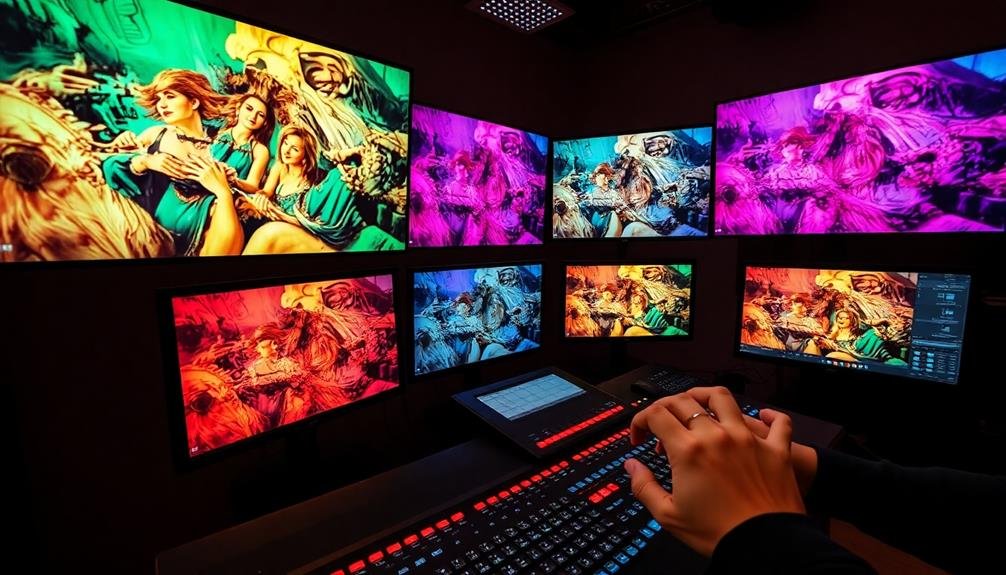
Post-production work can elevate your descent shots from good to great. With careful editing and visual enhancements, you'll transform raw footage into enchanting cinematic sequences.
Start by stabilizing your footage to eliminate unwanted camera shake, ensuring smooth and professional-looking descents. Next, adjust the color grading to create a consistent mood throughout the shot, enhancing the visual impact of your descent.
Consider adding subtle motion graphics or text overlays to provide context or emphasize key elements in your scene. You can also experiment with speed ramping to create dynamic pacing, slowing down or speeding up specific parts of the descent for dramatic effect.
Don't forget to fine-tune your audio, incorporating atmospheric sounds or music to complement the visuals and heighten the viewer's experience.
Here are three key post-production techniques to enhance your descent shots:
- Use parallax effects to create a sense of depth and dimension
- Apply lens flares or light leaks for added cinematic flair
- Implement subtle zoom or push effects to increase the feeling of movement
Frequently Asked Questions
How Do Weather Conditions Affect Cinematic Descent Shots?
Weather conditions greatly impact your cinematic descent shots. You'll find fog adds mystery, rain creates drama, and sunlight enhances depth. Wind can challenge stability, while cloudy skies offer softer lighting. Always adapt your techniques to the weather.
What Safety Precautions Should Be Taken When Filming Descent Shots?
When filming descent shots, always prioritize safety. Secure your equipment, wear appropriate gear, and use harnesses. Don't take unnecessary risks. Scout locations in advance, have a safety plan, and work with experienced professionals whenever possible.
Are There Specific Locations That Work Best for Cinematic Descent Shots?
You'll find steep mountains, urban skyscrapers, and deep canyons ideal for cinematic descent shots. Don't overlook unique spots like caves, waterfalls, or abandoned structures. Remember, the location should match your story's mood and theme.
How Can Audio Enhance the Impact of a Cinematic Descent Shot?
You'll enhance your descent shot's impact with carefully chosen audio. Use a rising soundtrack to build tension, add whooshing sound effects for speed, and incorporate ambient noises to create depth. Don't forget subtle audio cues for realism.
What Legal Considerations Should Be Addressed Before Filming Descent Shots?
You'll need to secure permits, obtain property owner permissions, and guarantee compliance with drone regulations. Don't forget to check local laws, respect privacy rights, and consider safety measures. Always have proper insurance coverage before filming descent shots.
In Summary
You've now got the tools to create breathtaking cinematic descent shots. Remember, it's all about practice and experimentation. Don't be afraid to push your creative boundaries. With the right drone, smooth control, thoughtful composition, and post-production tweaks, you'll be capturing jaw-dropping aerial descents in no time. Keep refining your skills, and soon you'll be producing professional-quality footage that'll leave your audience in awe. Happy flying!
As educators and advocates for responsible drone use, we’re committed to sharing our knowledge and expertise with aspiring aerial photographers.


Leave a Reply