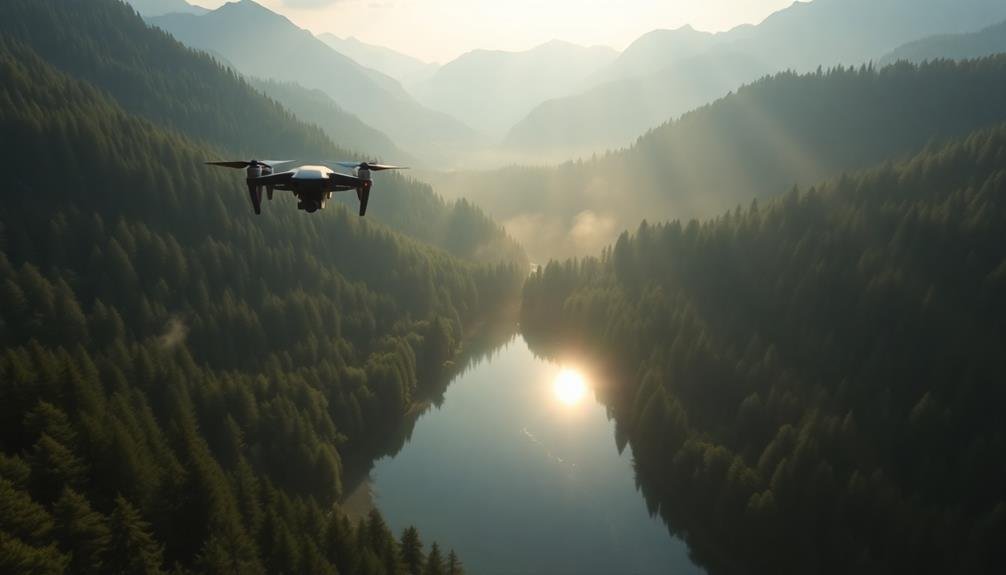
Elevate your drone videography with these five pro flyover tricks. Master the reveal shot by gradually lifting your drone to disclose landscapes. Perfect the orbit technique for enchanting 360-degree views around a focal point. Execute smooth altitude changes to add dynamic shifts to your footage. Implement dynamic panning movements to create cinematic sweeps across scenes. Utilize tracking for moving subjects to capture fluid, professional-looking sequences. Each technique requires practice and finesse, but they'll transform your aerial footage from amateur to stunning. By mastering these tricks, you'll access a whole new level of drone cinematography skills.
Key Takeaways
- Master the reveal shot by gradually lifting the drone to unveil landscapes, using smooth throttle control and interesting foreground elements.
- Perfect the orbit technique to capture 360-degree views, experimenting with different speeds and altitudes around a focal point.
- Execute smooth altitude changes by practicing gentle ascents and descents while maintaining steady speed and forward momentum.
- Implement dynamic panning movements, combining horizontal drone motion with fixed camera angles or gradual reveals of subjects.
- Utilize intelligent tracking modes to follow moving subjects, maintaining safe distances and experimenting with various angles and heights.
Master the Reveal Shot

As you begin your drone photography journey, mastering the disclosure shot should be your top priority. This cinematic technique involves slowly lifting your drone to uncover a breathtaking landscape or subject. Start by positioning your drone low to the ground, just above an obstacle like trees or buildings. Then, gradually increase altitude while moving forward, revealing the scene behind the foreground elements.
To perfect the disclosure shot, practice smooth throttle control. Use gentle, steady movements to create a fluid ascent. Experiment with different speeds to find the right pace for your subject. Remember, slower reveals build anticipation, while faster ones create a more dramatic effect.
Consider the composition as you rise. Frame your shot to include interesting foreground elements that'll give way to the main subject. Pay attention to lighting conditions; early morning or late afternoon often provide the best natural light for disclosure shots.
Don't forget to adjust your camera settings as you ascend, compensating for changing light levels.
Lastly, plan your disclosure shot carefully. Scout locations beforehand and visualize the final shot. With practice, you'll create stunning disclosure shots that captivate your audience and showcase your drone piloting skills.
Perfect the Orbit Technique

Moving from revealing landscapes to circling subjects, let's explore the orbit technique. This dynamic maneuver involves flying your drone in a circular path around a focal point, creating a enchanting 360-degree view. To perfect this technique, start by selecting a compelling subject and maintaining a consistent altitude and distance throughout the flight.
Begin with slower orbits and gradually increase speed as you gain confidence. Use your drone's intelligent flight modes, like Point of Interest or Circle, to achieve smoother orbits. Experiment with different altitudes and distances to capture varied perspectives of your subject.
Here's a breakdown of orbit variations to try:
| Orbit Type | Height | Speed | Effect |
|---|---|---|---|
| Low & Slow | 10-20ft | 2-3mph | Intimate, detailed view |
| High & Fast | 100ft+ | 10-15mph | Dramatic, sweeping shot |
| Ascending | Start low, end high | Moderate | Reveals scale and context |
| Descending | Start high, end low | Moderate | Focuses attention on subject |
Remember to take into account lighting conditions and potential obstacles in your flight path. Practice different orbit speeds and directions to add variety to your footage. With mastery of the orbit technique, you'll create mesmerizing circular shots that add depth and dimension to your drone cinematography.
Execute Smooth Altitude Changes

Mastering smooth altitude changes elevates your drone footage to new heights. To execute these shifts flawlessly, start by practicing gentle ascents and descents using your drone's altitude controls. Aim for a steady, consistent speed to avoid jerky movements that can ruin your shot.
When ascending, gradually increase throttle pressure while maintaining forward momentum. This technique creates a smooth, diagonal flight path that's visually appealing. For descents, reduce throttle slowly while keeping the drone moving forward. Remember, sudden drops can appear jarring on camera.
Utilize your drone's intelligent flight modes, such as "Tapfly" or "Waypoints," to automate altitude changes. These features help maintain a consistent speed and trajectory.
When filming structures or landscapes, try the "Point of Interest" mode to orbit while changing altitude, creating a spiral effect.
Practice timing your altitude changes with the subject's movement or the scene's natural flow. This synchronization adds a professional touch to your footage.
Implement Dynamic Panning Movements

To elevate your drone footage, implementing dynamic panning movements is essential. These fluid, sweeping shots add depth and interest to your aerial cinematography. Start by mastering the basic pan, moving your drone horizontally while keeping the camera fixed on a subject. Practice smooth, consistent movements to avoid jerky footage.
Next, try combining pans with other movements. A reveal pan involves starting with the camera pointed away from your subject, then slowly panning to disclose it. For added drama, incorporate altitude changes during your pan. Ascend or descend while panning to create a dynamic, three-dimensional effect.
Experiment with different pan speeds. Slow pans work well for landscape shots, while faster pans can create a sense of urgency or excitement. Use your drone's intelligent flight modes, like Point of Interest or Waypoints, to execute precise, repeatable pans.
Don't forget about vertical pans. Tilt your camera up or down while moving horizontally for a unique perspective.
Utilize Tracking for Moving Subjects
Capturing dynamic subjects in motion can take your drone footage to the next level. To utilize tracking for moving subjects, you'll need a drone with intelligent flight modes. These modes allow your drone to automatically follow a target, keeping it centered in the frame as it moves.
Start by selecting your subject and activating the tracking mode. Most drones offer options like ActiveTrack or Follow Me. As you track, maintain a safe distance from your subject and be aware of obstacles in your flight path.
Experiment with different angles and heights to add visual interest to your footage. For smoother tracking shots, use a combination of the drone's gimbal and its flight movements. This creates a more cinematic feel and reduces jerky motions.
When tracking faster subjects, increase your drone's speed settings to keep up. Try varying your shots by combining tracking with other techniques. For example, start with a reveal shot, then shift into tracking mode.
Or use tracking to capture a moving subject, then pull away for a dramatic aerial view. Remember to practice these techniques in open areas before attempting more complex shots.
Frequently Asked Questions
What Drone Equipment Is Best for Beginners Learning Professional Flyover Techniques?
For beginners learning professional flyover techniques, you'll want a user-friendly drone with a good camera. Start with a DJI Mini 2 or Mavic Air 2. They're easy to fly, have great image quality, and won't break the bank.
How Can I Ensure My Drone Flights Comply With Local Regulations?
To comply with local drone regulations, you'll need to research your area's specific rules. Register your drone, obtain necessary permits, follow altitude limits, and respect no-fly zones. Always prioritize safety and privacy during your flights.
What Weather Conditions Are Ideal for Capturing Stunning Drone Footage?
You'll get the best drone footage in calm, clear conditions. Aim for golden hour lighting at sunrise or sunset. Avoid strong winds, rain, and fog. Overcast days can provide soft, even light for certain shots.
How Do I Protect My Drone From Damage During Complex Maneuvers?
To protect your drone during complex maneuvers, you'll want to start slow and practice in open areas. Use propeller guards, maintain your drone regularly, and don't push its limits. Always fly within your skill level and follow safety guidelines.
What Post-Processing Software Is Recommended for Enhancing Drone Flyover Footage?
You'll want to use professional video editing software like Adobe Premiere Pro or DaVinci Resolve. They offer powerful color grading, stabilization, and effects tools. For beginners, try user-friendly options like iMovie or Filmora. Don't forget noise reduction software.
In Summary
You've now got five powerful drone techniques in your arsenal. With practice, you'll master the reveal shot, orbit technique, smooth altitude changes, dynamic panning, and tracking. These pro tricks will elevate your aerial footage from amateur to stunning. Remember, it's not just about the moves, but how you combine them. Keep experimenting, and don't be afraid to push your creative boundaries. Soon, you'll be capturing breathtaking shots that'll leave viewers in awe.

As educators and advocates for responsible drone use, we’re committed to sharing our knowledge and expertise with aspiring aerial photographers.


Leave a Reply