To master the perfect circular shot, you'll need the right gear and technique. Start with a camera capable of manual settings, a sturdy tripod, and a dolly or slider system. Plan your circular path carefully, considering your subject and potential obstacles. Adjust your camera settings for smooth motion, using a wide-angle lens and maintaining consistent speed. Practice your movements to build muscle memory, and don't forget post-production techniques like stabilization and color grading. With attention to detail in equipment setup, planning, execution, and editing, you'll elevate your circular shots to cinematic excellence. The following guide will reveal the secrets to creating mesmerizing orbital footage.
Equipment Setup and Preparation
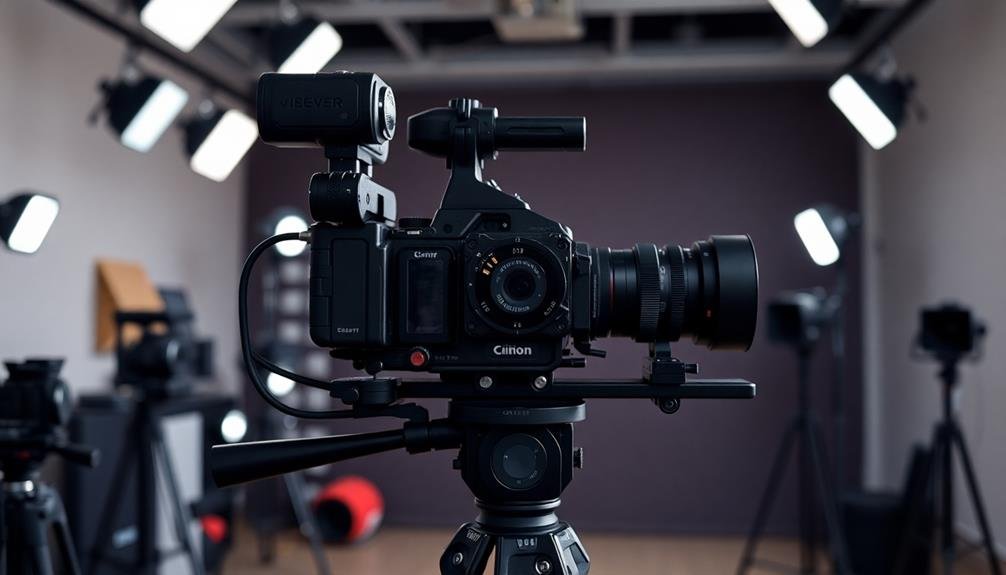
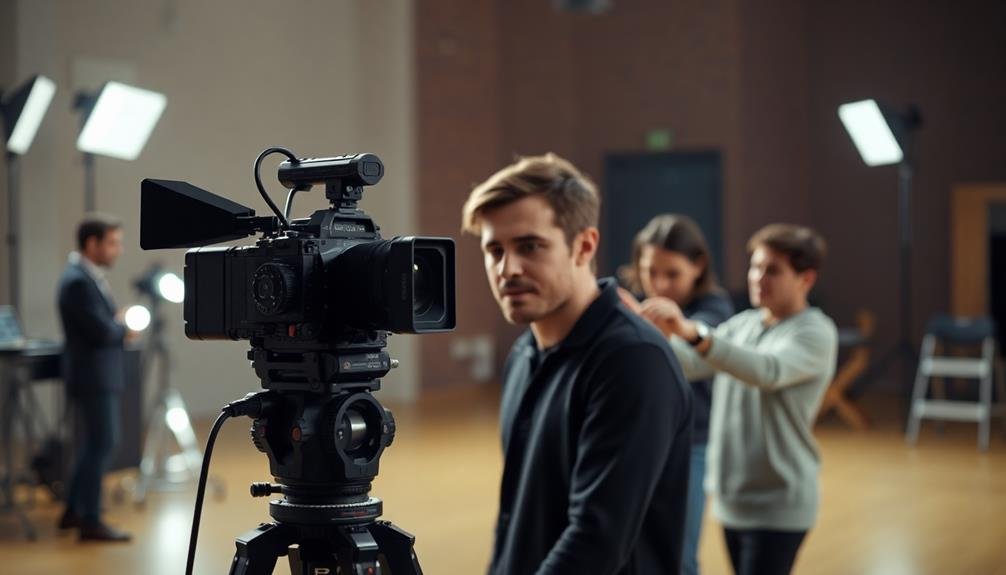
The foundation of a perfect circular shot lies in proper equipment setup and preparation. You'll need a camera with manual settings, a sturdy tripod, and a dolly or slider system. For smoother motion, consider investing in a motorized dolly. Verify your camera's lens is wide enough to capture the entire scene while maintaining focus throughout the circular movement.
Begin by setting up your tripod on level ground. Attach the dolly or slider system, making sure it's securely fastened. Mount your camera onto the dolly, double-checking all connections. Set your camera to manual mode, adjusting the aperture, shutter speed, and ISO to achieve the desired exposure. Use a higher f-stop for greater depth of field, confirming your subject remains in focus throughout the shot.
Next, determine the center point of your circular movement. Place a marker at this spot to guide your camera's trajectory. Test the dolly's movement, confirming it glides smoothly without jerks or vibrations. If using a motorized system, program the speed and duration of the circular motion.
Planning Your Circular Flight Path
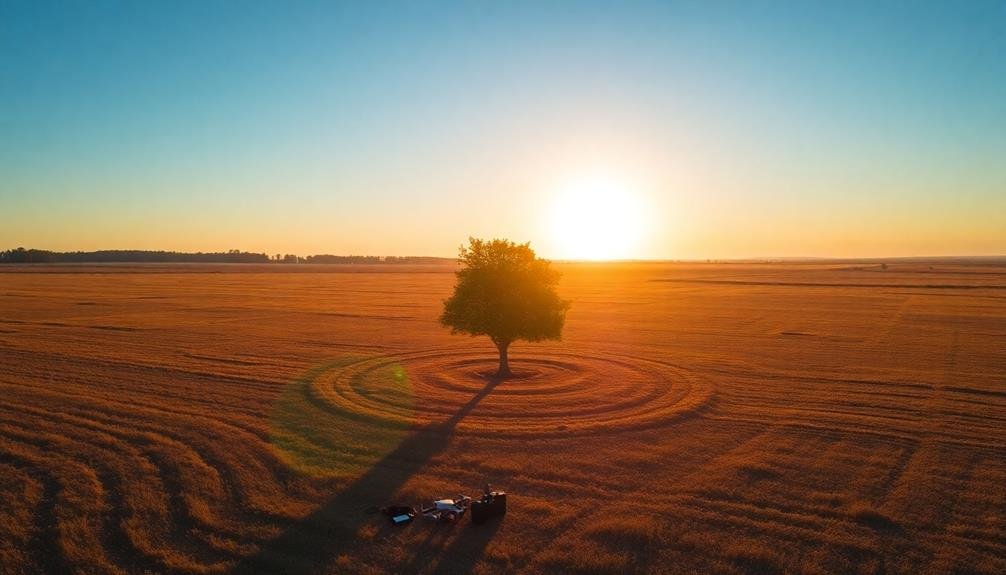
With your equipment set up and ready, it's time to map out your circular flight path. Begin by identifying your central subject and determining the radius of your circle. Consider the altitude at which you'll fly, keeping in mind any obstacles or regulations. A wider circle allows for a more gradual reveal, while a tighter orbit creates a more dynamic effect.
Next, choose your starting point and direction. Clockwise or counterclockwise movements can evoke different emotions, so select based on your creative vision. Plan for a complete 360-degree rotation, ensuring your flight path is clear of obstructions throughout.
When executing your circular shot, remember these key points:
- Maintain a consistent speed to achieve a smooth, professional look
- Keep your camera focused on the central subject throughout the flight
- Adjust your gimbal settings to compensate for the drone's tilt during turns
Practice your flight path before recording to perfect your technique. Start with a slower speed and gradually increase as you become more comfortable.
Camera Settings for Smooth Orbits

Ideal camera settings are essential for achieving smooth, professional-looking orbits. You'll want to focus on shutter speed, frame rate, and ISO to capture fluid motion. Set your shutter speed to twice your frame rate (e.g., 1/60 for 30fps) to maintain a natural motion blur. Keep your ISO as low as possible to minimize noise, adjusting it only when necessary for proper exposure.
For circular shots, use a gimbal or stabilizer to reduce shake. Enable your camera's built-in stabilization if available. Select a wide-angle lens to capture more of the scene and minimize visible movement. Opt for manual focus to prevent unwanted focus shifts during the orbit.
Here's a quick reference table for ideal camera settings:
| Setting | Recommendation | Explanation |
|---|---|---|
| Shutter Speed | 2x Frame Rate | Natural motion blur |
| Frame Rate | 24-30fps | Cinematic look |
| ISO | As low as possible | Minimize noise |
| Aperture | f/5.6 – f/8 | Balanced depth of field |
| Focus | Manual | Prevent unwanted shifts |
Remember to adjust these settings based on your specific environment and lighting conditions. Practice and experiment to find the perfect balance for your unique circular shots.
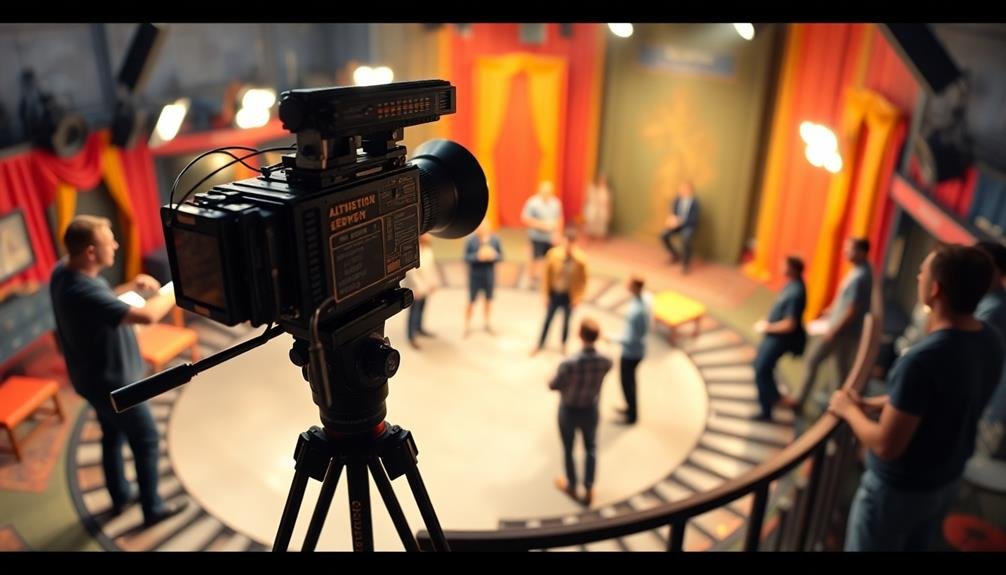
Executing the Perfect Circular Shot
Executing a perfect circular shot requires careful planning and precise movement. Begin by marking your circular path on the ground, ensuring it's wide enough for smooth camera movement. Position your subject in the center and establish your starting point.
As you move, maintain a consistent distance from your subject and keep the camera level. Start your movement slowly, gradually increasing speed as you become more comfortable. Focus on maintaining a steady pace throughout the orbit.
Keep your subject centered in the frame by adjusting your camera's position as you move. Remember to use your whole body, not just your arms, to create a fluid motion.
Practice the shot multiple times to perfect your technique. Each run will help you identify areas for improvement and build muscle memory.
As you master the circular shot, you'll be able to:
- Captivate your audience with dynamic, immersive visuals
- Elevate your storytelling by revealing new perspectives
- Create a sense of mystery and anticipation as the scene unfolds
Post-Production Techniques and Enhancements

Post-production magic can transform your circular shot from good to extraordinary. Start by stabilizing your footage to smooth out any unwanted camera shake. Use your editing software's built-in stabilization tool or a third-party plugin for best results.
Next, adjust the color grading to enhance the mood and atmosphere of your shot. Pay attention to the circular motion's impact on lighting changes and adjust accordingly.
If you've used a dolly or slider, remove any visible tracks or equipment in the frame. For 360-degree shots, stitch the footage seamlessly to create a continuous circular effect. Consider adding subtle motion graphics or text that follows the circular path to emphasize the movement.
To further enhance the circular effect, experiment with speed ramping. Slow down key moments and accelerate others to create a dynamic flow.
If you're working with multiple takes, use clever editing techniques to blend them seamlessly, creating an illusion of one continuous shot.
Frequently Asked Questions
How Do Weather Conditions Affect Circular Shots?
Weather conditions can considerably impact your circular shots. Wind may disrupt camera movement, while rain or snow can affect visibility. You'll need to adjust your settings and equipment to compensate for these challenges and maintain smooth, consistent motion.
Can Circular Shots Be Achieved With Non-Drone Cameras?
You can achieve circular shots without drones. Use handheld gimbals, dolly systems, or cable-mounted cameras. With practice, you'll master smooth circular movements around your subject, creating dynamic and immersive footage for your projects.
What Are the Legal Restrictions for Filming Circular Shots in Public Spaces?
You'll need to check local laws for filming in public spaces. Some areas require permits, while others have restrictions on equipment use. Always respect privacy and property rights when capturing circular shots outdoors.
How Do You Maintain Subject Focus During Fast Circular Movements?
To maintain subject focus during fast circular movements, you'll need to use continuous autofocus, adjust your aperture for depth of field, and practice smooth tracking. Don't forget to stabilize your camera and anticipate your subject's movement.
Are There Specific Genres or Scenes Where Circular Shots Are Most Effective?
You'll find circular shots most effective in action sequences, dance scenes, and dramatic moments. They're great for conveying disorientation, emphasizing tension, or showcasing a character's emotional state. Use them in thrillers, musicals, and intense dramas.
In Summary
You've now mastered the art of the circular shot. With the right equipment, careful planning, and proper camera settings, you're ready to create stunning orbits. Remember to execute your flight path smoothly and confidently. Don't forget the power of post-production to enhance your footage. Keep practicing, and you'll soon be capturing breathtaking circular shots that elevate your cinematic work. Your audience will be mesmerized by the dynamic perspectives you've created.
As educators and advocates for responsible drone use, we’re committed to sharing our knowledge and expertise with aspiring aerial photographers.


Leave a Reply