To master cinematic orbit shifts, you'll need to understand your drone's orbit mode and practice smooth manual control. Plan your flight path carefully, considering obstacles and ideal camera angles. Use a high-quality drone with a 3-axis gimbal for stable footage. Set your camera to manual mode, adjusting shutter speed, aperture, and ISO for best results. Maintain consistent altitude and rotation speed during orbits, and keep your subject well-framed. In post-processing, stabilize and color-grade your footage for a polished look. Avoid common mistakes like inconsistent speed or altitude changes. By honing these skills, you'll create enchanting aerial shots that elevate your filmmaking to new heights.
Key Takeaways
- Master manual flight control for smooth yaw, pitch, and throttle adjustments during orbits.
- Choose appropriate camera settings: manual mode, 1/50-1/60 shutter speed, f/4-f/8 aperture, low ISO.
- Maintain consistent altitude and rotation speed throughout the orbit for fluid shots.
- Experiment with different focal lengths to capture wide landscapes or compress backgrounds for dramatic effect.
- Plan flight paths carefully, considering obstacles, restricted airspace, and optimal visual storytelling opportunities.
Understanding Orbit Transitions
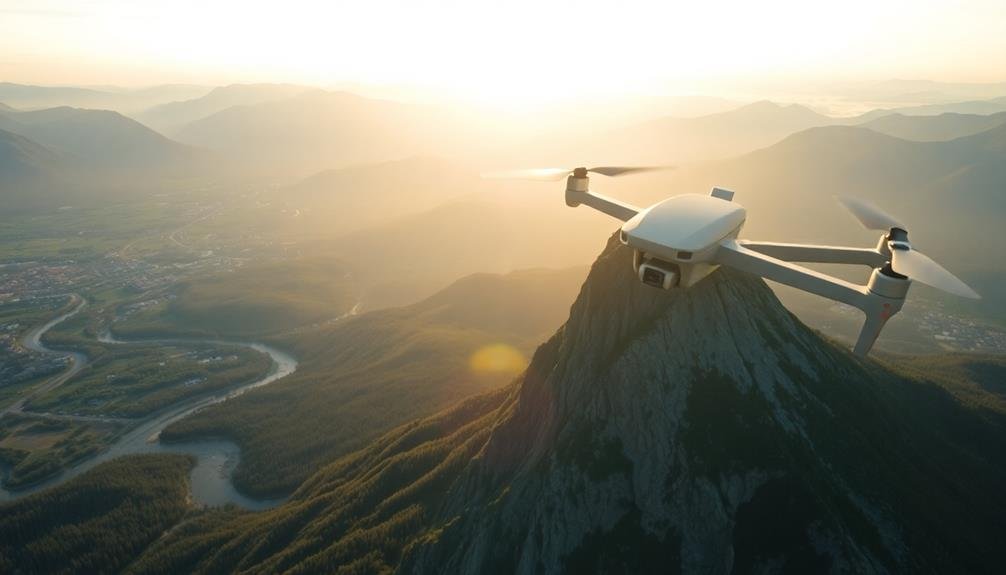
Orbit shifts, a cornerstone of aerial cinematography, involve the smooth circular movement of a drone around a subject. These changes create dynamic, engaging shots that add depth and perspective to your footage. To master orbit changes, you'll need to understand their key components and execution techniques.
First, familiarize yourself with your drone's orbit mode settings. Most modern drones offer automated orbit functions, allowing you to set a focal point and radius. Practice adjusting these parameters to achieve different effects. The speed of your orbit is essential; slower orbits convey a sense of grandeur, while faster ones create excitement.
Pay attention to your subject's placement within the frame. As you orbit, maintain a consistent distance and height to guarantee smooth motion. Consider the background elements that will enter and exit the frame during the change. Use these to enhance your storytelling or create visual interest.
Experiment with different altitudes and angles. Low orbits can emphasize a subject's height, while high orbits provide a broader context. Tilting the camera during the orbit adds another layer of dynamism to your shots.
Equipment for Smooth Orbits
To achieve smooth orbits in aerial cinematography, you'll need the right equipment. Start with a high-quality drone that offers stable flight and precise control. Look for models with GPS positioning, altitude hold, and obstacle avoidance features. These will help maintain consistent orbits and prevent collisions.
Invest in a gimbal stabilizer for your camera. A 3-axis gimbal will counteract drone movements, ensuring smooth footage. Choose a gimbal that's compatible with your drone and camera setup.
Don't overlook the importance of your remote controller. Opt for a controller with dual joysticks and customizable buttons for fine-tuned adjustments during orbit shots. Some advanced controllers even offer touchscreen displays for real-time monitoring.
Consider using orbit-specific accessories like automated orbit modes or waypoint planning software. These tools can help you pre-program perfect circular paths.
Lastly, equip yourself with high-capacity batteries and spare props. Orbit shots often require multiple takes, and you don't want to cut your shooting session short due to power limitations or unexpected prop damage.
With the right gear, you'll be well-prepared to capture stunning orbit shifts in your aerial filmmaking projects.
Planning Your Flight Path
Before launching your drone, you'll want to scout ideal flight routes that maximize the visual impact of your orbit shifts.
Consider the subject's position, surrounding obstacles, and potential background elements to optimize your camera movement patterns.
Scout Ideal Flight Routes
Scouting ideal flight routes is an essential step in planning your cinematic orbit shifts. Begin by studying satellite imagery and topographical maps of your filming location. Look for natural features, structures, or landmarks that could serve as focal points for your orbits. Consider the sun's position throughout the day to anticipate lighting conditions and potential glare issues.
Once you're on-site, walk the area to identify potential obstacles, such as trees, power lines, or buildings that might interfere with your flight path. Take note of any restricted airspace or no-fly zones in the vicinity. Use a drone flight planning app to visualize and map out your intended routes, marking key waypoints and altitude changes.
Test fly your planned routes at a safe altitude to assess feasibility and identify any unforeseen challenges. Pay attention to wind patterns and their effect on your drone's stability. Adjust your flight paths as needed, ensuring smooth shifts between orbit points.
Don't forget to factor in battery life and signal strength when planning longer routes. By thoroughly scouting and testing your flight routes, you'll be better prepared to capture stunning orbital shifts during your actual shoot.
Optimize Camera Movement Patterns
Perfecting your camera movement patterns goes hand in hand with planning your flight path. As you map out your drone's trajectory, consider how your camera will move to capture the most compelling shots. Aim for smooth, fluid motions that enhance the viewer's experience and create a sense of cinematic grandeur.
Start by identifying key focal points in your scene. These could be landmarks, architectural features, or natural elements that you want to highlight. Plan your camera movements to gracefully shift between these points, using a combination of pans, tilts, and zooms.
Consider the following movement patterns for different effects:
| Movement | Effect | Best Used For |
|---|---|---|
| Circular orbit | Reveals depth | Showcasing 3D objects |
| Vertical rise | Dramatic reveal | Landscapes, cityscapes |
| Dolly zoom | Disorienting | Emotional intensity |
| Spiral descent | Dizzying effect | Action sequences |
Remember to maintain a consistent speed throughout your movements. Sudden accelerations or decelerations can be jarring for viewers. Practice your planned movements repeatedly before the actual shoot to guarantee smooth execution. By optimizing your camera movement patterns, you'll create more engaging and professional-looking aerial footage that captivates your audience.
Mastering Manual Flight Control
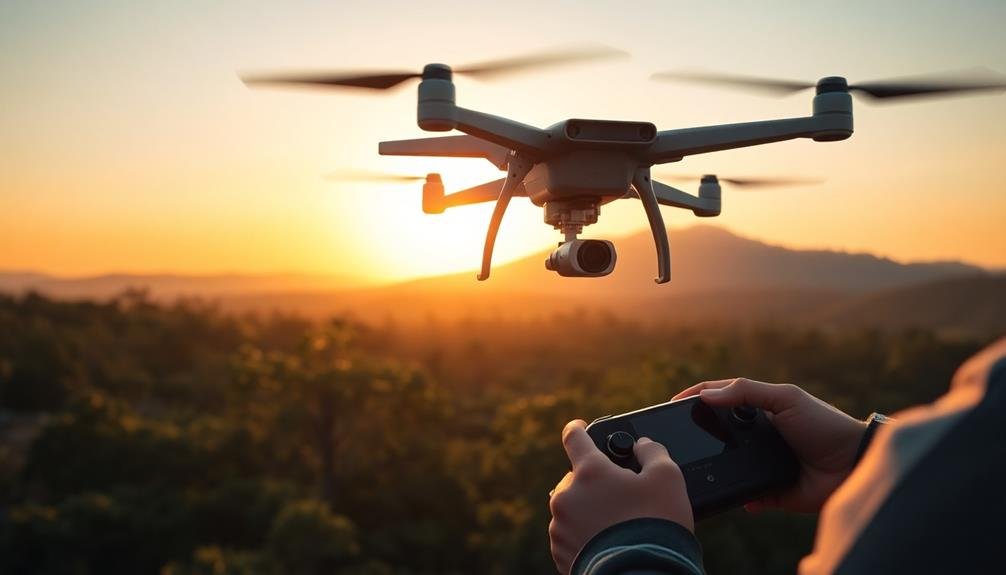
To achieve cinematic orbit shifts, you'll need to master manual flight control.
Focus on executing smooth yaw and pitch movements, as abrupt changes can ruin your shot.
You'll also want to pay close attention to throttle management, ensuring precise control over your drone's speed and altitude throughout the maneuver.
Smooth Yaw and Pitch
Once you've mastered basic flight controls, it's time to focus on smooth yaw and pitch movements for cinematic orbits. These two movements are essential for creating fluid, professional-looking shifts around your subject.
To achieve smooth yaw, practice rotating your drone slowly and consistently. Use gentle stick movements and maintain a constant speed throughout the rotation. Start with small angles and gradually increase as you improve. Remember to keep your subject centered in the frame as you orbit.
For pitch control, focus on subtle adjustments to your drone's tilt. Aim for a gradual, even change in perspective as you move around your subject. Combine pitch with altitude changes to add depth to your shots. Try tilting up slightly as you ascend, or down as you descend, to create dynamic compositions.
Coordinate your yaw and pitch movements to create seamless orbits. Practice flying in perfect circles while maintaining a consistent angle on your subject. Use visual references and your drone's on-screen guides to help maintain proper positioning.
With practice, you'll develop muscle memory for these smooth, cinematic movements.
Precise Throttle Management
While smooth yaw and pitch control are key components of orbital shots, precise throttle management is equally important for creating professional-looking aerial footage. Mastering throttle control allows you to maintain a consistent distance from your subject throughout the orbit, ensuring a seamless and polished final product.
To achieve precise throttle management, start by practicing hovering at various altitudes. This will help you develop a feel for the drone's responsiveness and the subtle adjustments needed to maintain position.
When executing an orbital shot, use gentle, continuous throttle inputs to compensate for changes in wind resistance and altitude as you move around your subject. Pay close attention to your drone's altitude readout and make small corrections as needed.
It's often helpful to use visual references in your environment to gauge your height and distance from the subject. Remember that different flight modes may affect throttle sensitivity, so familiarize yourself with your drone's settings.
Lastly, consider using automated flight modes or waypoints for complex shots, but don't rely on them entirely. Developing manual throttle control skills will give you greater flexibility and creativity in your aerial filmmaking.
Ideal Camera Settings

Mastering your camera settings is essential for capturing stunning cinematic orbit shifts. Start by setting your camera to manual mode, giving you full control over exposure.
Opt for a shutter speed between 1/50th and 1/60th of a second to achieve a natural motion blur. Adjust your aperture to balance depth of field with light intake, typically between f/4 and f/8 for aerial shots.
For ISO, keep it as low as possible to minimize noise, ideally below 400. If lighting conditions require, increase ISO gradually while monitoring image quality.
Choose a neutral picture profile or shoot in log format for maximum flexibility in post-production. Set your white balance manually to maintain consistent color temperature throughout the orbit.
Focus on your subject using manual focus or a reliable autofocus mode, ensuring sharpness throughout the shift. Use a gimbal to stabilize your camera and reduce unwanted shake.
Enable your drone's obstacle avoidance system for added safety during complex maneuvers. Finally, shoot in 4K resolution at 24 or 30 frames per second to capture high-quality footage that can be easily cropped or stabilized in post-production if needed.
Perfecting Focal Length Choice
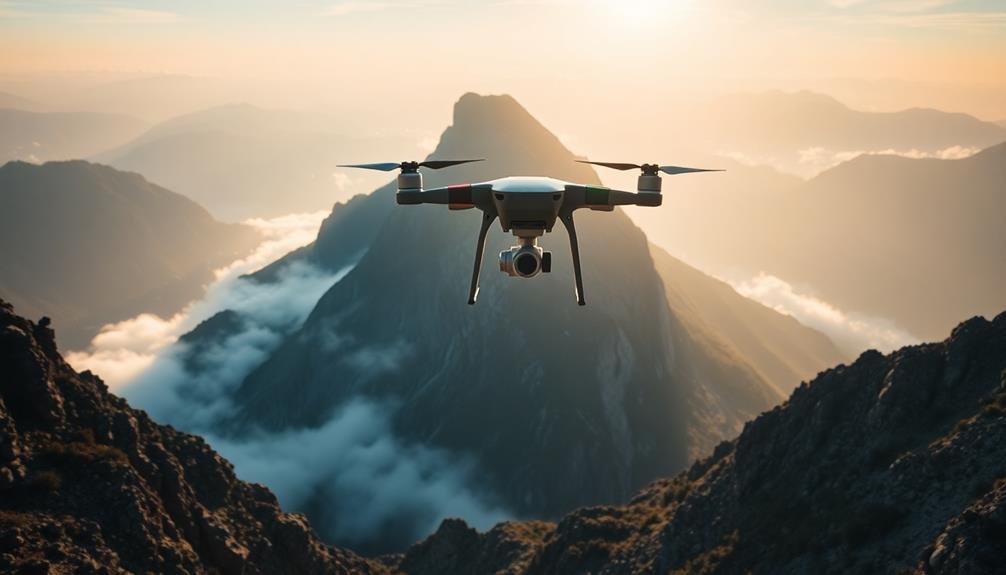
When choosing a focal length for your cinematic orbit shifts, you'll need to evaluate the pros and cons of wide and telephoto lenses.
Wide lenses offer a broader field of view, allowing you to capture more of the scene, while telephoto lenses compress the background, creating a dramatic effect.
Your decision will greatly impact the visual storytelling and emotional impact of your aerial footage, so it's essential to understand how lens compression affects the viewer's perception of distance and scale.
Wide vs. Telephoto Lenses
Choosing the right lens for your cinematic orbit shifts can make or break your aerial footage. When deciding between wide and telephoto lenses, consider your artistic vision and the story you're trying to tell.
Wide-angle lenses offer a broader field of view, allowing you to capture more of the landscape and emphasize the drone's movement. They're ideal for showcasing expansive environments and creating a sense of scale. You'll get smoother-looking orbits with less apparent motion, which can be perfect for establishing shots or revealing vast scenes.
Telephoto lenses, on the other hand, compress the background and foreground, creating a more dramatic effect. They're excellent for isolating subjects and adding depth to your shots. With a telephoto lens, your orbits will appear faster and more dynamic, emphasizing the circular motion around your subject.
Consider using both lens types in your production for variety. Start with a wide-angle shot to establish the location, then switch to a telephoto lens for a more intimate, focused orbit around your subject. This technique adds visual interest and helps guide your audience's attention throughout the scene.
Lens Compression Effects
Understanding lens compression is essential for perfecting your focal length choice in cinematic orbit changes. As you move from wide to telephoto lenses, you'll notice a change in how objects appear in relation to each other. Wider lenses create a sense of separation, while telephoto lenses compress the scene, making objects seem closer together.
When planning your orbit change, consider how lens compression affects your shot's mood and storytelling. A wide-angle lens can exaggerate the distance between foreground and background elements, creating a dynamic sense of movement. Conversely, a telephoto lens will flatten the scene, emphasizing the relationship between objects and potentially creating a more intimate atmosphere.
| Focal Length | Compression Effect | Best Use Case |
|---|---|---|
| Wide (16-35mm) | Minimal compression | Emphasize depth |
| Standard (50mm) | Moderate compression | Natural perspective |
| Telephoto (70-200mm) | Strong compression | Highlight relationships |
Experiment with different focal lengths to find the perfect balance for your orbit change. Remember, the choice of lens will greatly impact the viewer's perception of space and movement. By mastering lens compression, you'll elevate your aerial filmmaking and create more compelling, cinematic orbit shifts.
Maintaining Consistent Altitude

A steady hand is essential when executing cinematic orbit shifts, but maintaining consistent altitude is equally important. As you fly your drone in a circular pattern around your subject, keeping a constant height will guarantee your footage looks smooth and professional. To achieve this, you'll need to master your drone's controls and develop a keen sense of spatial awareness.
Start by using your drone's altitude hold feature if available. This will help maintain a set height automatically, allowing you to focus on other aspects of your shot. However, don't rely solely on this feature. Keep an eye on your drone's altitude readout and make subtle adjustments as needed.
Wind can be a significant factor in altering your drone's altitude. Be prepared to compensate for updrafts or downdrafts by gently adjusting your throttle. Practice flying in various weather conditions to improve your skills.
Consider using visual reference points to help maintain altitude. Landmarks, buildings, or natural features can serve as guides. Additionally, use your drone's gimbal to keep the subject centered in the frame, which will help create a consistent look throughout the orbit change.
Controlling Rotation Speed
The pace of your orbit can make or break your aerial shot. Controlling rotation speed is essential for creating smooth, professional-looking shifts. You'll want to maintain a consistent speed throughout your orbit to avoid jarring changes that can distract viewers.
Start by practicing at different speeds to find what works best for your subject and scene. Generally, slower rotations create a more dramatic, cinematic feel, while faster ones can add energy and excitement. Use your drone's controller to fine-tune the speed, aiming for fluid movement.
To master rotation speed control, focus on these key aspects:
- Gradual acceleration: Begin your orbit slowly and gradually increase speed to your desired pace.
- Steady hand technique: Use gentle, consistent pressure on your controller's sticks to maintain a uniform speed.
- Visual reference points: Pick landmarks in your frame to gauge your rotation speed and keep it constant.
Subject Framing Techniques
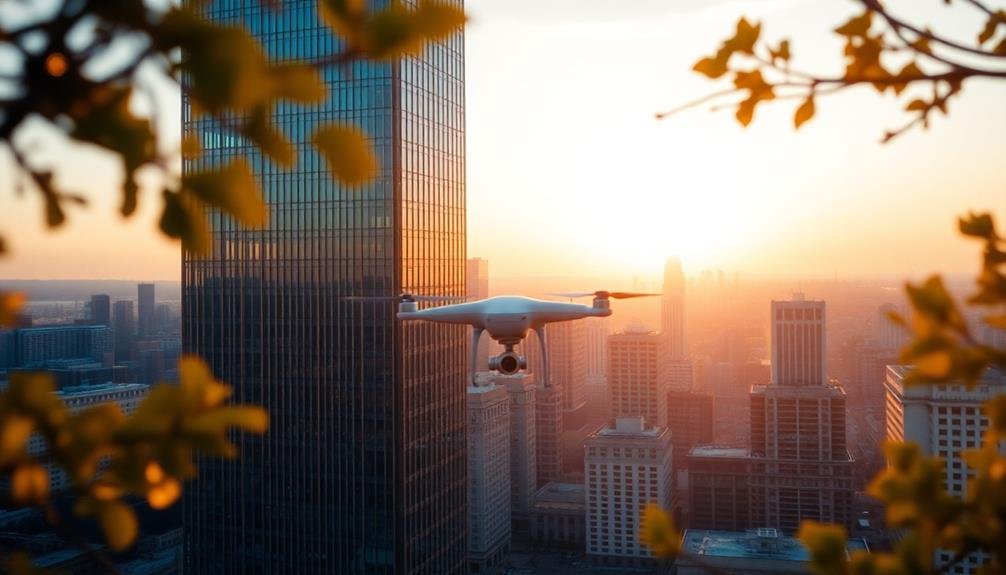
Framing finesse is essential when executing cinematic orbit shifts. As you perform your orbit change, keep your subject centered in the frame to maintain visual stability. This technique allows viewers to focus on the subject while the background rotates around it, creating a mesmerizing effect.
To achieve ideal framing, use your drone's gimbal controls to adjust the camera angle as you fly. Anticipate changes in elevation and adjust accordingly to keep your subject properly positioned. Consider using the rule of thirds to add visual interest, placing your subject at one of the intersecting points rather than dead center.
Experiment with different framing techniques as you orbit. Start with a wide shot to establish context, then gradually tighten the frame as you rotate. This creates a sense of intimacy and draws viewers into the scene. Alternatively, begin close and pull out to reveal the surrounding environment.
Pay attention to foreground elements that can add depth to your shot. As you orbit, incorporate trees, buildings, or other objects to create layers and enhance the three-dimensional feel of your movement.
Remember to maintain a smooth, consistent motion throughout the orbit to guarantee a polished, professional result.
Obstacle Avoidance During Orbits
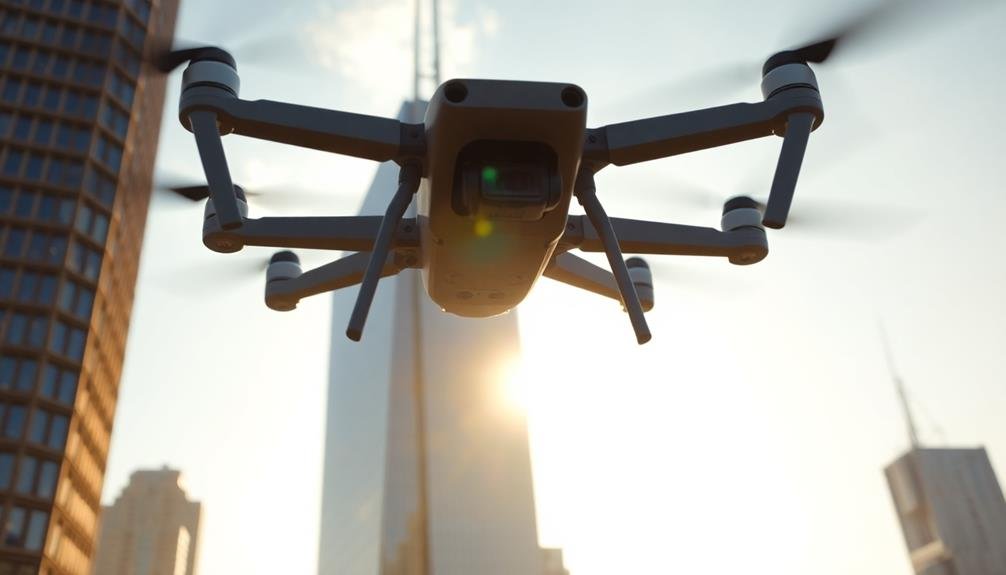
When executing cinematic orbit shifts, obstacle avoidance becomes essential for both safety and shot quality. As you navigate your drone around a subject, you'll need to maintain constant awareness of your surroundings. Pre-flight planning is vital, so scout the location thoroughly and identify potential hazards before taking off.
During the orbit, keep your eyes on both the drone and the environment. You'll want to:
- Maintain a safe distance from buildings, trees, and other structures
- Watch for unexpected obstacles like birds, power lines, or other aircraft
- Adjust your altitude as needed to clear obstructions while maintaining the desired shot composition
Use your drone's obstacle avoidance sensors if available, but don't rely on them entirely. These systems may not detect all hazards, especially thin objects like wires or small branches.
If you encounter an unexpected obstacle, don't hesitate to abort the orbit and reassess your flight path.
Practice smooth, controlled movements to navigate around obstacles while keeping your subject in frame. By mastering obstacle avoidance during orbits, you'll create safer, more professional-looking aerial footage that seamlessly captures your subject from all angles.
Post-Processing Orbit Footage
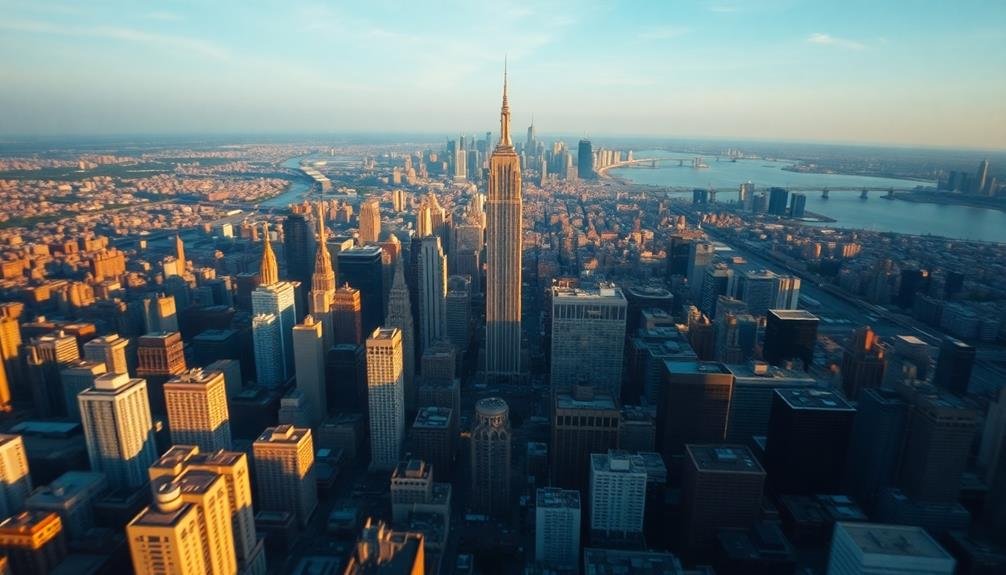
Perfection in post-processing can elevate your orbit footage from good to exceptional. Start by stabilizing your footage to smooth out any minor shakes or vibrations. Use warp stabilizer in Adobe Premiere Pro or a similar tool in your preferred editing software.
Next, color grade your footage to enhance its visual appeal. Adjust exposure, contrast, and saturation to create a cohesive look across your entire orbit sequence.
Consider adding subtle speed ramping to your orbit footage. Slow down the motion as you approach key points of interest, then gradually increase the speed to maintain viewer engagement. Apply motion blur during faster sections to enhance the sense of movement.
If you've captured your orbit in 4K, take advantage of the extra resolution by scaling and panning within the frame to create dynamic movements in post.
Don't forget about audio. Add a subtle whoosh sound effect to complement the orbital motion, and consider incorporating appropriate background music to enhance the mood.
Common Orbit Transition Mistakes
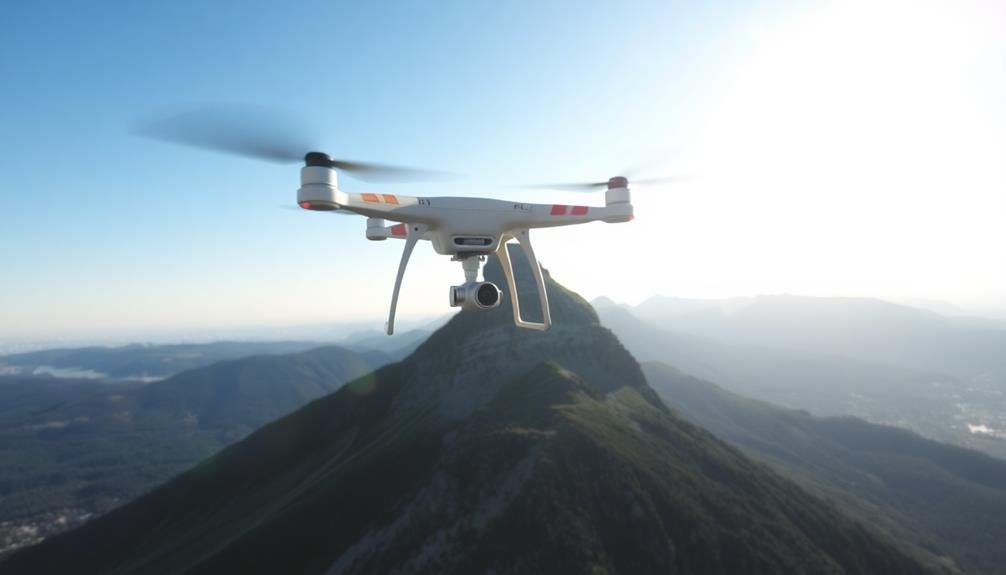
Despite the visual appeal of orbit shifts, filmmakers often stumble into common pitfalls that can detract from their footage. To avoid these mistakes, you'll need to be aware of the most frequent issues and how to prevent them.
One of the biggest errors is inconsistent speed throughout the orbit. Your alteration should maintain a steady pace, avoiding sudden accelerations or decelerations that can jar the viewer.
Another mistake is failing to keep the subject centered in the frame. As you orbit, guarantee your focal point remains locked in the middle of the shot to maintain visual stability.
Here are three more common orbit alteration mistakes to watch out for:
- Incorrect altitude changes during the orbit
- Wobbling or unstable camera movement
- Poor timing of the alteration within the overall edit
You'll also want to avoid overusing orbit alterations. While they're visually striking, too many can become repetitive and lose their impact.
Instead, use them sparingly to highlight key moments or alterations between scenes. By being mindful of these common errors, you'll create more polished and professional-looking orbit alterations in your aerial footage.
Advanced Orbit Variations

Several advanced orbit variations can take your aerial filmmaking to the next level. One such technique is the ascending or descending orbit, where you gradually increase or decrease altitude while circling your subject. This adds depth and dimension to your shot, disclosing new perspectives as you move.
Another powerful variation is the spiral orbit, where you tighten or widen your circular path as you fly. This creates a dynamic, spiraling effect that can build tension or release it, depending on your direction.
Try incorporating speed changes into your orbits. Start slow and gradually increase speed, or begin fast and decelerate. These variations can emphasize specific moments or create a sense of time passing.
For a more complex move, combine an orbit with a reveal. Begin behind an object, then orbit around to disclose your main subject. This technique adds an element of surprise and can be particularly effective for landscape or architectural shots.
Lastly, experiment with partial orbits. Instead of a full 360-degree rotation, use a 180 or 270-degree movement to shift between scenes or subjects. This variation maintains the fluid motion of an orbit while allowing for more flexibility in your shot composition.
Frequently Asked Questions
How Do Weather Conditions Affect Orbit Transitions?
Weather conditions greatly impact your orbit shifts. Wind can destabilize your drone, affecting smoothness. Rain or fog may reduce visibility. Sunlight changes can alter exposure. You'll need to adjust your technique and camera settings accordingly.
Can Orbit Transitions Be Combined With Other Drone Maneuvers?
Yes, you can combine orbit shifts with other drone maneuvers. Try mixing them with altitude changes, reveals, or dolly zooms. You'll create more dynamic and engaging shots by seamlessly blending different movements during your flight.
What's the Optimal Duration for a Cinematic Orbit Transition?
You'll want to keep your orbit shift between 3-5 seconds. It's long enough to create impact but short enough to maintain viewer interest. Adjust based on your scene's pace and overall video length.
Are There Legal Restrictions on Performing Orbit Transitions in Certain Areas?
Yes, there are legal restrictions on orbit changes in many areas. You'll need to check local drone laws and obtain necessary permits. Avoid restricted airspace, crowded areas, and private property. Always prioritize safety and compliance.
How Do You Maintain Visual Interest During Longer Orbit Transitions?
To keep longer orbits visually engaging, you'll want to vary your speed and altitude. Try zooming in or out, change your gimbal angle, and capture interesting foreground elements. Don't forget to highlight dynamic subjects within your scene.
In Summary
You've now got the tools to create stunning orbit shifts in your aerial filmmaking. Remember, practice makes perfect. Don't be afraid to experiment with different speeds, angles, and subjects. Keep safety in mind, respect local regulations, and always prioritize your surroundings. With time, you'll develop a keen eye for opportunities to incorporate these dynamic movements. Soon, you'll be capturing breathtaking orbits that'll elevate your footage to cinematic heights. Keep flying, keep creating!

As educators and advocates for responsible drone use, we’re committed to sharing our knowledge and expertise with aspiring aerial photographers.


Leave a Reply