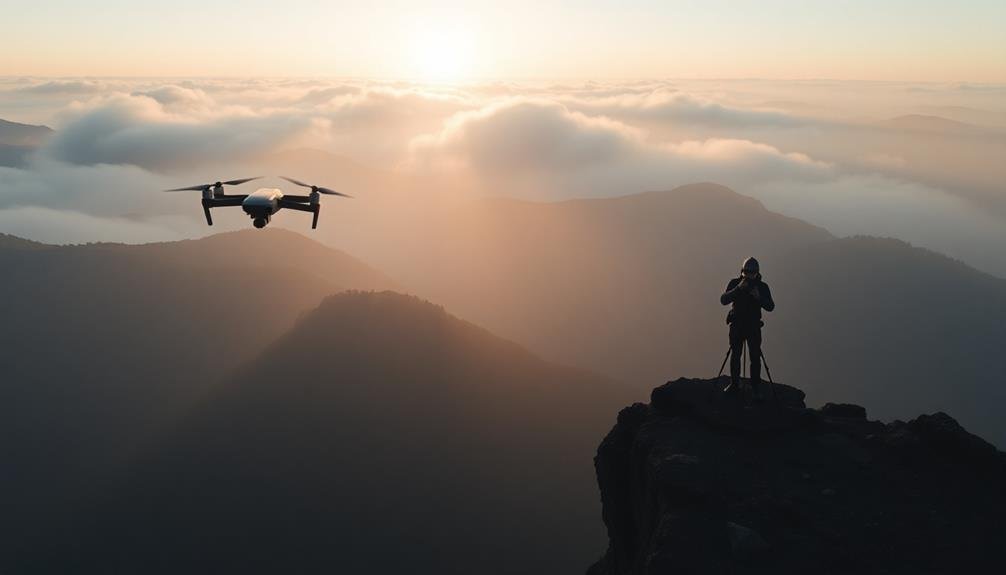
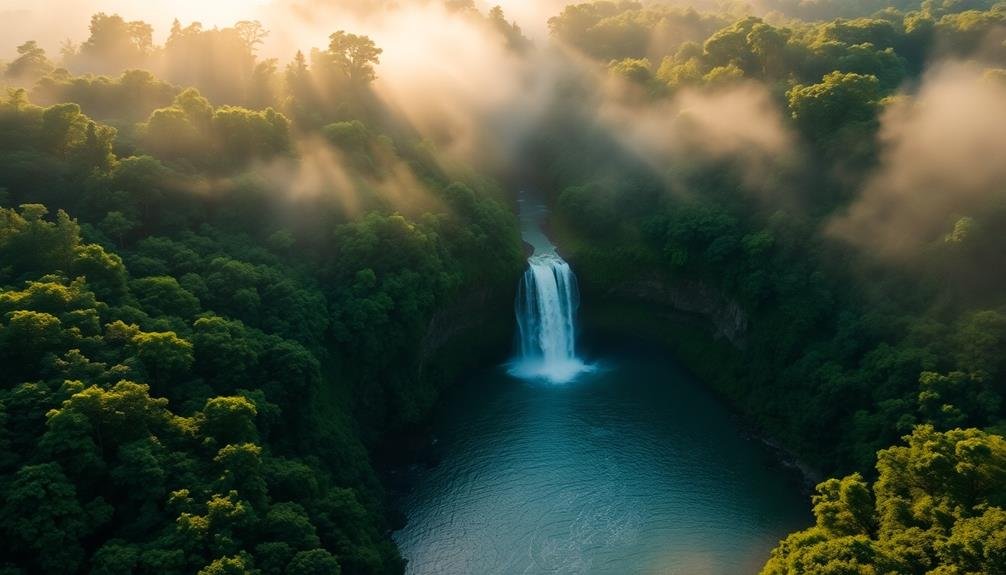
Cinematic reveals can transform your shots from ordinary to extraordinary. You'll master techniques like the vertical reveal, horizontal slide, and orbit reveal to create suspense and drama. Learn to craft the dolly zoom effect for striking visual distortion, and implement tilt reveals for added tension. Perfect the reveal-to-hide technique to engage viewers, execute dramatic descents for emotional impact, and nail precision reveals through meticulous planning. With practice, you'll create arc reveals that build anticipation and excitement. These pro techniques will elevate your filmmaking, enchanting audiences with epic, memorable shots. Discover how to unleash your creative potential and take your cinematography to the next level.
Key Takeaways
- Master vertical and horizontal reveals using consistent camera movement and strategic subject placement.
- Implement dynamic techniques like orbit reveals and dolly zooms for enchanting visual effects.
- Utilize creative reveal techniques such as reverse reveals and point-of-interest reveals to build anticipation.
- Incorporate parallax and flythrough reveals to add depth and create seamless scene transitions.
- Perfect timing and pacing in reveal shots to maximize dramatic impact and viewer engagement.
Mastering the Vertical Reveal
Three key elements make up a successful vertical reveal: timing, camera movement, and subject placement. To master this technique, you'll need to carefully choreograph these components.
Start by positioning your subject at the bottom of the frame, hidden from view. As you begin the shot, move your camera slowly and steadily upward, revealing the subject gradually.
Timing is essential. You'll want to maintain a consistent pace throughout the reveal, building anticipation as you go. Too fast, and you'll lose the impact; too slow, and you risk losing your audience's attention. Practice different speeds to find the sweet spot for your specific shot.
Your camera movement should be smooth and controlled. Use a stabilizer or slider to achieve fluid motion. If you're shooting handheld, practice your technique to minimize shake.
Subject placement is equally important. Consider the rule of thirds when framing your shot, and think about how your subject will interact with other elements in the frame as they're revealed.
Experiment with different compositions to create visual interest and impact.
Perfecting the Horizontal Slide

With horizontal slides, you're creating a sweeping reveal that can add drama and intrigue to your shots. To perfect this technique, start by selecting the right equipment. A slider or dolly is necessary for smooth movement, while a fluid head tripod guarantees steady panning.
Begin with your subject hidden behind an object in the foreground. As you slide the camera horizontally, gradually reveal your subject. Timing is vital; move too quickly, and you'll lose the impact. Too slow, and your audience may lose interest. Practice different speeds to find the sweet spot for your scene.
Consider the direction of your slide. Moving left to right feels natural to viewers, while right to left can create tension. Use this to your advantage based on the emotion you want to evoke.
Pay attention to your background as well. A cluttered backdrop can distract from your subject, so choose clean lines or interesting textures that complement your reveal.
Experiment with varying distances between your camera and subject. Closer shots create intimacy, while wider angles provide context.
Executing the Orbit Reveal

An orbit disclosure can transform ordinary shots into enchanting visual experiences. This technique involves smoothly circling around your subject, gradually revealing the scene to your audience. To execute a perfect orbit disclosure, you'll need a stabilizer or gimbal for your camera, guaranteeing fluid motion throughout the shot.
Begin by positioning yourself at a 90-degree angle to your subject. As you start moving, maintain a consistent distance and speed while rotating your camera to keep the subject centered. The key is to move slowly and steadily, allowing the background to change gradually and create a sense of depth.
Consider these factors for a successful orbit disclosure:
- Lighting: Guarantee consistent illumination as you move around the subject
- Focal length: Use a wider lens for smoother motion and more background reveal
- Obstacles: Plan your path to avoid tripping or bumping into objects
Practice is essential to master this technique. Start with static subjects before attempting moving ones. Experiment with different speeds and distances to find the perfect balance for your shot.
Crafting the Dolly Zoom Effect
While the orbit reveal captivates through circular motion, the dolly zoom effect creates a striking visual distortion that can evoke powerful emotions. To execute this technique, you'll need to simultaneously zoom your lens while moving the camera forward or backward. As you zoom in, dolly the camera backward; as you zoom out, move the camera forward. This opposing motion keeps your subject the same size while dramatically altering the background perspective.
Start by setting your focal length wide and positioning your camera close to your subject. Mark your start and end positions, ensuring a clear path for movement. As you begin recording, smoothly zoom in while dollying backward at a consistent speed. Maintain focus on your subject throughout the shot. The result is a disorienting effect where the background appears to rush towards or away from your subject.
Practice this technique to master timing and coordination. Experiment with different zoom ranges and dolly speeds to achieve various intensities. You can enhance the effect in post-production by manipulating playback speed or adding motion blur.
Use the dolly zoom judiciously to heighten tension, convey psychological shifts, or emphasize dramatic moments in your cinematography.
Implementing the Tilt Reveal

The tilt reveal is a powerful cinematic technique that can add drama and suspense to your shots. It involves slowly tilting the camera up or down to gradually disclose a scene or subject, creating anticipation and impact. To execute a tilt reveal effectively, you'll need a sturdy tripod with a fluid head for smooth movement.
Start by framing your initial shot, typically focusing on a less significant element. As you begin the tilt, maintain a steady pace to build tension. The reveal should be timed with your story's narrative, often coinciding with a musical cue or dialogue for maximum effect. Remember, the slower the tilt, the greater the suspense.
To enhance your tilt reveal:
- Use foreground elements to create depth and guide the viewer's eye
- Experiment with different lenses to alter perspective and emphasize scale
- Combine with a dolly move for added dynamism
Practice is key to mastering this technique. Try various subjects and speeds to find what works best for your story.
Whether you're disclosing a stunning landscape or an essential plot element, the tilt reveal can elevate your film's visual storytelling and keep your audience engaged.
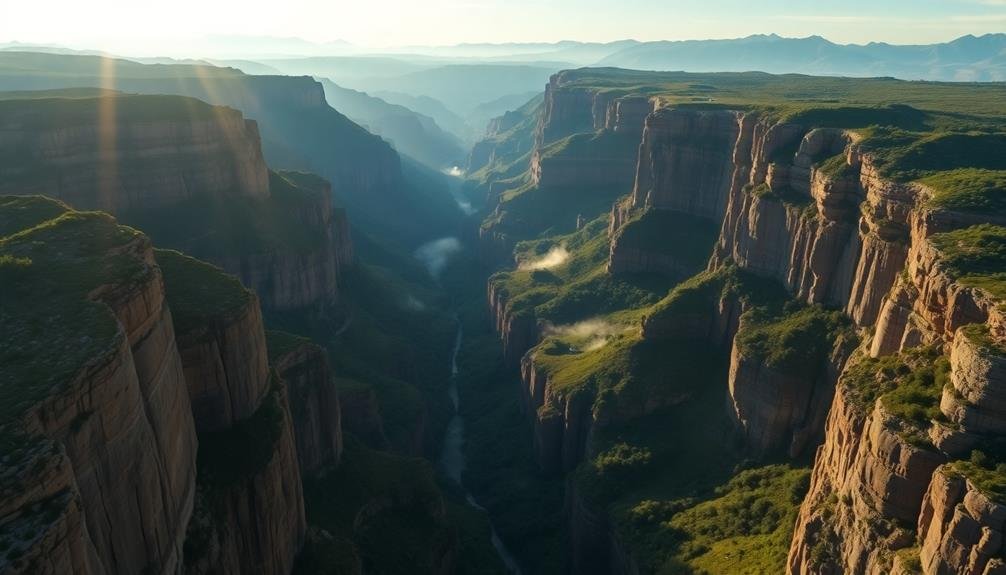
Nailing the Parallax Reveal

Moving from vertical movement to lateral motion, let's explore the intriguing parallax reveal. This technique creates depth by showcasing foreground and background elements moving at different speeds. To nail the parallax reveal, you'll need to master precise camera movement and thoughtful composition.
Start by selecting a foreground object that can partially obscure your main subject. Position your camera so that the foreground element covers the subject entirely. As you slowly move the camera laterally, usually on a slider, the subject will gradually come into view. The key is to maintain a consistent speed throughout the movement.
For maximum impact, choose foreground and background elements with contrasting textures or colors. This enhances the sense of depth and creates visual interest. Consider using foreground elements like tree branches, architectural features, or even props placed strategically in the scene.
Experiment with different speeds and distances between foreground and background to achieve varying degrees of the parallax effect. Remember, subtle movements often yield the most cinematic results.
With practice, you'll develop an eye for spotting parallax opportunities in various environments, elevating your reveal shots to new heights.
Achieving the Flythrough Reveal
To achieve a stunning flythrough reveal, you'll need to equip yourself with the right tools and master precise camera movements.
Start by investing in a quality gimbal or drone to guarantee smooth, stable footage as you glide through your scene.
Practice your piloting skills and plan your path carefully to create a seamless, enthralling change that draws viewers into your shot.
Equipment and Setup Essentials
Mastering the flythrough reveal requires a carefully curated set of equipment and a well-planned setup. You'll need a high-quality camera capable of capturing smooth motion, such as a mirrorless or DSLR with excellent image stabilization. Pair this with a versatile lens that can handle various focal lengths, allowing you to adapt to different spaces and subjects.
A gimbal is essential for achieving fluid movement. Choose one that's compatible with your camera and can support its weight. Practice balancing your setup to guarantee peak performance during the shoot.
Don't overlook lighting. Portable LED panels can help you maintain consistent illumination throughout the reveal. Consider using a combination of key and fill lights to create depth and dimension in your shots.
For a successful flythrough reveal, focus on these key elements:
- Smooth camera movement
- Proper framing and composition
- Precise timing and pacing
Plan your path carefully, marking key positions and focal points. Use tape or small markers to guide your movement during the shot.
Remember to practice the reveal multiple times before recording to perfect your technique and timing.
Mastering Smooth Camera Movements
With your equipment ready, it's time to focus on the heart of the flythrough reveal: smooth camera movements. Mastering this technique requires practice and precision.
Start by planning your shot, visualizing the path your camera will take. Use markers or tape to outline the trajectory, ensuring a clear path free of obstacles.
Begin with slow, controlled movements. Use your body as a stabilizer, keeping your arms close to your torso and your steps steady. Practice walking heel-to-toe for smoother motion. If you're using a gimbal, familiarize yourself with its settings and balance it properly.
For aerial shots, master your drone controls. Start with simple patterns like straight lines or gentle arcs before attempting more complex movements. Always maintain visual contact with your drone and be aware of your surroundings.
Experiment with different speeds and angles to create dynamic reveals. Slow movements build anticipation, while faster ones add excitement. Consider combining vertical and horizontal movements for added depth.
Creating the Reverse Reveal

In the domain of cinematic storytelling, the reverse reveal stands out as a powerful technique to captivate your audience. This method involves starting with a close-up shot and gradually pulling back to disclose a larger, often unexpected scene. It's an effective way to build suspense and deliver a visual punch.
To execute a reverse reveal, you'll need to plan your shot carefully. Begin by framing your subject tightly, focusing on specific details. As you pull back, maintain a steady, controlled movement to gradually expose more of the environment. The key is to time your reveal for maximum impact, often coinciding with a significant moment in your narrative.
Here are some tips to enhance your reverse reveal:
- Use a dolly or slider for smooth, consistent movement
- Consider adding atmospheric elements like fog or lighting changes
- Experiment with different lens focal lengths for varied effects
Mastering the Point-of-Interest Reveal
To master the point-of-interest reveal, you'll need to sharpen your eye for identifying the focal point in your shot.
Once you've pinpointed the key element, you'll want to structure your shot to build anticipation and curiosity.
Timing the reveal perfectly is essential, so practice different pacing techniques to maximize the impact when you finally showcase your focal point.
Identifying the Focal Point
Mastering the art of identifying a focal point can elevate your photography from good to extraordinary. It's the element that draws the viewer's eye and creates a strong visual impact. To identify the focal point, consider what stands out in the scene. Look for elements that contrast with their surroundings, whether in color, shape, or size.
When composing your shot, use the rule of thirds to place your focal point strategically. This technique divides the frame into a 3×3 grid, with the focal point ideally positioned at one of the intersecting lines. Remember, the focal point doesn't always have to be centered; off-center placement can create a more dynamic composition.
Consider these factors when identifying your focal point:
- Visual weight: larger or more prominent objects naturally draw attention
- Leading lines: use lines in the scene to guide the viewer's eye to the focal point
- Negative space: utilize empty areas to emphasize your subject
Once you've identified your focal point, use techniques like selective focus, lighting, or framing to emphasize it further.
Timing the Reveal Perfectly
Photography's most enchanting moments often hinge on the perfect reveal of a point of interest. To master this technique, you'll need to carefully orchestrate the timing of your shot.
Start by identifying the ideal moment for your reveal. This could be when light conditions are optimal, when your subject is in the perfect position, or when an action reaches its climax.
Consider using motion to enhance your reveal. You might pan slowly across a landscape, gradually exposing a stunning vista, or track a moving subject as it emerges from behind an obstacle.
Experiment with different shutter speeds to capture the right amount of motion blur, adding drama to your reveal.
Timing is vital when working with changing light conditions. The golden hour, just before sunset or after sunrise, offers fleeting opportunities for breathtaking reveals as shadows shift and colors intensify.
Be ready to act quickly, as these moments are often brief.
Don't forget about sound if you're working with video. Timing your reveal to coincide with a crescendo in music or a significant sound effect can amplify its impact, creating a truly cinematic experience for your audience.
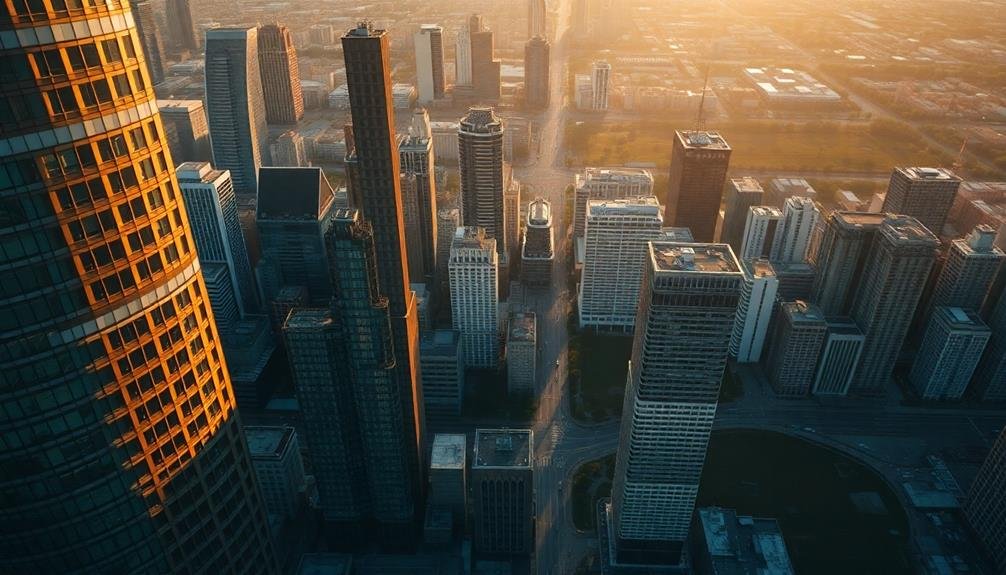
Executing the Spiral Ascent

The spiral ascent is a dynamic drone maneuver that adds depth and drama to your aerial shots. To execute this technique, you'll need to combine smooth vertical movement with a gradual rotation.
Start low, ideally near ground level, and slowly increase altitude while simultaneously rotating your drone. The key is maintaining a constant, steady pace for both the ascent and rotation.
As you perform the spiral ascent, keep your subject centered in the frame. This creates a mesmerizing effect as the background revolves around your focal point. Adjust your drone's speed and rotation rate to match the scale of your subject and the desired intensity of the reveal.
To maximize the impact of your spiral ascent:
- Choose a location with interesting vertical elements
- Use a wider lens to capture more of the surroundings
- Experiment with different ascent speeds and rotation rates
Practice this maneuver in open areas before attempting it in tighter spaces or around obstacles.
Remember to comply with local drone regulations and always prioritize safety. With practice, you'll master the spiral ascent, creating enchanting aerial shots that elevate your cinematic reveals to new heights.
Perfecting the Reveal-to-Hide Technique
The Reveal-to-Hide technique hinges on your ability to time the hidden element perfectly.
You'll need to choreograph your camera movements to disclose the subject at just the right moment, then conceal it again for maximum impact.
Experiment with creative blocking strategies, using natural elements or props to obscure and reveal your subject in unexpected ways.
Timing the Hidden Element
Mastering the reveal-to-hide technique elevates your photography to new heights, allowing you to create enchanting images that intrigue viewers. The key to perfecting this technique lies in timing the hidden element. You'll need to carefully choreograph the movement of your subject or camera to gradually conceal the focal point of your shot.
Start by identifying the element you want to hide and plan its gradual disappearance from the frame. Consider factors like the speed of movement, lighting changes, and the overall composition. You'll want to time the reveal-to-hide process to coincide with the peak of visual interest in your shot.
To effectively time the hidden element:
- Use a slow, steady camera movement to build anticipation
- Synchronize subject movement with camera motion for a seamless shift
- Experiment with different speeds to find the perfect timing for your specific shot
Practice this technique in various settings to develop your instinct for timing. Remember, the goal is to create a sense of mystery and intrigue that keeps viewers engaged.
Creative Blocking Strategies
Creative blocking strategies form the backbone of the reveal-to-hide technique, allowing you to craft visually compelling compositions that gradually conceal key elements.
Start by identifying your subject and the reveal's focal point. Then, consider using foreground objects, set pieces, or even actors to obscure parts of the frame.
Experiment with different blocking configurations. Try using a character's body to partially hide another, or position props strategically to create intrigue.
You can also use camera movement to your advantage, panning or tracking to progressively reveal or conceal elements within the scene.
Don't forget about lighting. Shadows and selective illumination can be powerful tools for blocking and revealing.
Use spotlights, practical lights, or natural light sources to guide the viewer's attention and create areas of mystery within the frame.
Implementing the Dramatic Descent

Three key elements form the foundation of a dramatic descent shot: timing, camera angle, and subject positioning. To execute this technique effectively, you'll need to carefully choreograph your subject's movement while maintaining precise control over your camera's descent.
Start by positioning your camera at a high vantage point, typically using a crane, drone, or tall structure. As your subject enters the frame, begin lowering the camera smoothly and steadily. The rate of descent should match the emotional intensity of the scene, accelerating for heightened drama or slowing for a more contemplative mood.
Consider these factors for maximum impact:
- Lighting: Use dramatic shadows or backlighting to enhance the subject's silhouette.
- Environment: Incorporate interesting background elements that reveal themselves during the descent.
- Sound design: Pair the visual descent with appropriate audio cues or music.
As you descend, adjust your frame to keep the subject centered or use the rule of thirds for a more dynamic composition.
End the shot with a powerful close-up or wide reveal, depending on your narrative goals.
Crafting the Arc Reveal

The arc reveal is a powerful cinematic technique that can add a sense of wonder and discovery to your shots. To craft an effective arc reveal, start by positioning your camera behind an object that obscures your subject. As you move the camera, gradually disclose your subject in a sweeping, arc-like motion.
Choose your foreground object carefully. It should be large enough to hide your subject but not so dominating that it becomes the focus. Trees, buildings, or even people can work well.
Consider the speed of your camera movement; a slow, deliberate arc builds anticipation, while a quicker disclosure can create excitement.
Pay attention to your subject's placement within the frame as it's disclosed. You might start with it off-center and bring it to a central position, or reveal it in stages for added drama. Use focus pulls to enhance the effect, starting with the foreground in focus and shifting to your subject as it's disclosed.
Experiment with different angles and heights for your arc. A low angle looking up can make your subject appear more imposing, while a high angle can provide a sense of scale or vulnerability.
Nailing the Precision Reveal

Precision reveals often serve as a powerful tool in a filmmaker's arsenal, offering a controlled and deliberate way to disclose key elements in a shot. To nail the precision reveal, you'll need to focus on meticulous planning and execution. Start by identifying the exact moment and method of revelation, ensuring it aligns with your narrative purpose.
Choreograph your camera movement with precision, using smooth, controlled motions to guide the viewer's eye. Whether you're using a slider, dolly, or handheld rig, practice the reveal multiple times to achieve consistency. Timing is essential, so coordinate with your actors or subjects to sync their movements with the camera.
Consider these key aspects for a successful precision reveal:
- Lighting: Use strategic lighting to gradually illuminate the subject
- Focus: Employ rack focus techniques to shift attention
- Framing: Carefully compose each frame to build anticipation
Pay attention to the pacing of your reveal. A slow, deliberate movement can build tension, while a quick reveal can surprise the audience.
Frequently Asked Questions
What Camera Equipment Is Essential for Beginners to Create Cinematic Reveals?
You'll need a DSLR or mirrorless camera with manual controls, a versatile zoom lens, and a sturdy tripod. Don't forget a slider for smooth movements. A gimbal can help stabilize handheld shots for more dynamic reveals.
How Can Sound Design Enhance the Impact of Visual Reveal Techniques?
You'll amplify your reveal's impact by syncing sound with visuals. Use crescendos, swooshes, or abrupt silence to build tension. Layer ambient noise, music, and sound effects to create atmosphere and guide viewers' emotions during the reveal.
Are There Specific Lighting Techniques That Complement Different Types of Cinematic Reveals?
You'll find that lighting plays an essential role in cinematic reveals. Use backlighting for silhouettes, dramatic shadows for mystery, and gradual illumination for slow reveals. Don't forget color shifts to enhance mood changes during the reveal.
How Do Weather Conditions Affect Outdoor Cinematic Reveals?
Weather greatly impacts your outdoor reveals. You'll find rain adds drama, fog creates mystery, and sunlight enhances beauty. Wind can add movement, while snow brings a magical quality. Adapt your shots to nature's ever-changing canvas for stunning results.
What Post-Production Software Is Best for Enhancing and Fine-Tuning Cinematic Reveal Shots?
You'll find Adobe Premiere Pro and DaVinci Resolve are top choices for enhancing cinematic reveals. They offer powerful color grading, effects, and motion control tools. Final Cut Pro X is also excellent for Mac users seeking intuitive editing.
In Summary
You've now mastered nine powerful cinematic reveal techniques. With these tools in your arsenal, you'll elevate your filmmaking to new heights. Remember, practice makes perfect. Don't be afraid to experiment and combine these techniques for unique effects. As you continue to refine your skills, you'll develop your own signature style. Keep pushing boundaries, and soon you'll be creating stunning visuals that captivate audiences and bring your stories to life like never before.
As educators and advocates for responsible drone use, we’re committed to sharing our knowledge and expertise with aspiring aerial photographers.


Leave a Reply