
To create stunning drone 360-degree panoramas, start by choosing a high-resolution drone with advanced stabilization. Scout your location, considering lighting and obstacles. Set up your camera with manual settings for consistent exposure. Plan a circular flight pattern, ensuring proper overlap between shots. Capture multiple images while maintaining a stable altitude. Use specialized software to stitch your photos together, correcting any misalignments or exposure differences. Finally, edit and polish your panorama, adjusting color, contrast, and sharpness for maximum impact. By mastering these steps, you'll reveal the potential to capture breathtaking aerial vistas that transport viewers to new heights.
Key Takeaways
- Choose a drone with high-resolution camera, GPS, and advanced stabilization features for optimal image capture.
- Scout locations, plan flight patterns, and ensure compliance with local regulations before shooting.
- Set up camera for manual mode, low ISO, narrow aperture, and enable bracketing for consistent exposures.
- Capture multiple overlapping images in a circular pattern, maintaining consistent altitude and settings.
- Use specialized stitching software to merge images, correct distortions, and apply final enhancements for seamless panoramas.
Choose the Right Drone
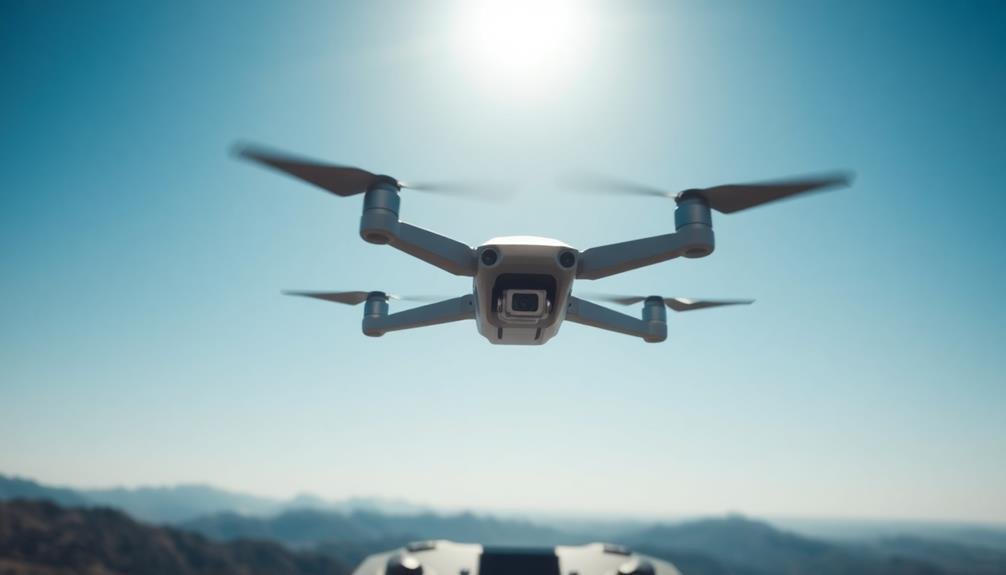
Drones aren't created equal when it comes to capturing stunning 360-degree panoramas. To achieve the best results, you'll need to select a drone that's specifically designed for aerial photography.
Look for models with high-resolution cameras, preferably 12 megapixels or higher, and the ability to shoot in RAW format for better post-processing flexibility.
Stability is essential for seamless panoramas, so choose a drone with advanced stabilization features like a 3-axis gimbal. This will help minimize camera shake and guarantee smooth footage.
Additionally, opt for a drone with GPS capabilities and intelligent flight modes, such as orbit or waypoint functions, which can assist in capturing consistent panoramic shots.
Battery life is another important factor. You'll want a drone that can stay airborne for at least 20-30 minutes, giving you ample time to set up and capture your shots.
Consider models with obstacle avoidance systems to prevent crashes in challenging environments.
Scout Your Location
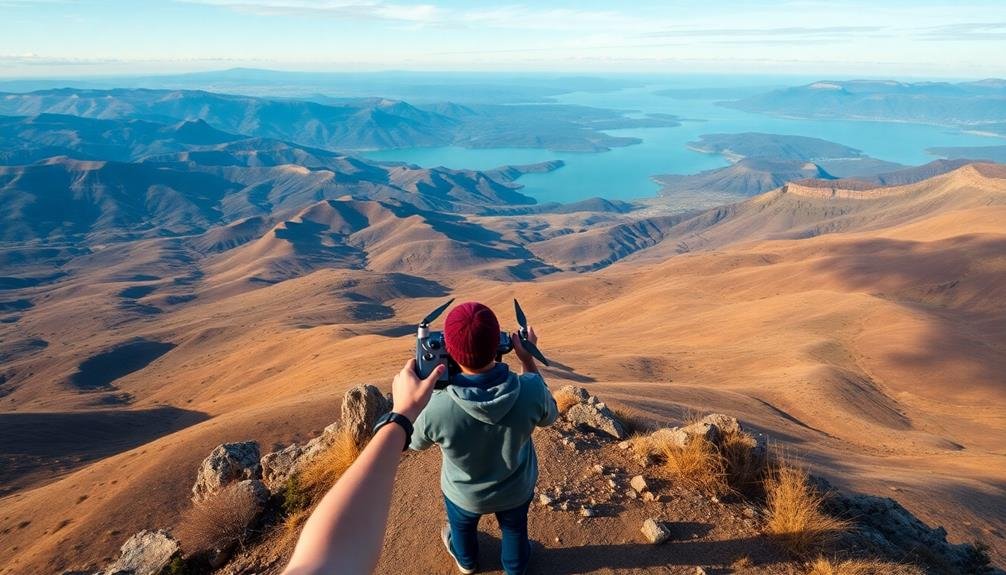
Before taking flight, scouting your location is essential for capturing breathtaking 360-degree panoramas. Start by researching potential sites online, looking for unique landscapes, landmarks, or cityscapes that'll make for stunning aerial views.
Once you've identified a promising location, visit it in person to assess its suitability. Check for any flight restrictions or no-fly zones in the area. You'll need to verify you're complying with local drone regulations and obtain any necessary permits.
Look for potential obstacles like tall buildings, trees, or power lines that could interfere with your flight or compromise safety. Evaluate the lighting conditions at different times of day. The golden hours just after sunrise or before sunset often provide the most dramatic lighting for panoramic shots.
Consider the sun's position and how it'll affect your images throughout your planned flight. Identify several possible takeoff and landing spots that offer clear, level ground. Look for areas with minimal foot traffic to avoid disturbing others or putting anyone at risk.
Set Up Your Drone Camera

Once you've scoped your location, it's time to set up your drone camera for capturing stunning 360-degree panoramas.
Begin by ensuring your drone's firmware and camera settings are up to date. Set your camera to manual mode for consistent exposure across all images. Choose a low ISO setting to minimize noise, typically between 100-400.
Select a narrow aperture (high f-number) to maximize depth of field, ensuring sharpness throughout the panorama. Adjust your shutter speed to complement the aperture and ISO settings, maintaining proper exposure. Use RAW format for maximum image quality and post-processing flexibility.
Enable your drone's bracketing feature to capture multiple exposures, safeguarding against under or overexposed areas. Set your white balance manually to maintain consistent color temperature across all shots. Activate any built-in panorama or 360-degree shooting modes your drone might offer.
Position your drone at the desired altitude and location, ensuring it's level and stable. Use the drone's gimbal to tilt the camera slightly downward, capturing more ground detail.
Plan Your Flight Pattern

Your flight pattern's careful planning is vital for capturing a flawless 360-degree panorama. Start by choosing a central point for your drone to orbit. This point should be the focal point of your panorama, such as a landmark or interesting landscape feature.
Determine the radius of your circular flight path, considering factors like the desired field of view and any obstacles.
Next, decide on the number of photos you'll need to capture a full 360-degree view. This typically ranges from 8 to 12 images, depending on your camera's lens and overlap requirements.
Calculate the precise angles at which you'll take each photo to guarantee consistent spacing.
Consider the altitude of your flight. Higher altitudes can capture more expansive views but may sacrifice detail. Lower altitudes offer more intricate scenes but might require multiple panoramas to cover the same area.
Factor in lighting conditions and plan your flight time accordingly to avoid harsh shadows or uneven exposure.
Lastly, account for potential wind interference. Strong winds can affect your drone's stability and the consistency of your shots. If possible, choose a calm day or adjust your flight pattern to compensate for wind direction.
Capture Overlapping Images

Precision is key when capturing overlapping images for your 360-degree panorama. You'll need to guarantee each photo overlaps with its neighbors by at least 30-40% to create a seamless final image.
Start by hovering your drone at the planned altitude and capturing your first shot. Then, rotate the drone slightly and take the next photo, maintaining the same height and distance from the center point.
Continue this process, moving in a circular pattern until you've completed a full 360-degree rotation. For best results, capture multiple rows of images at different tilt angles. This will provide more coverage and help eliminate any potential gaps in your panorama.
Pay close attention to your drone's position and movement throughout the process. Use the on-screen grid or markers in your drone's camera app to guarantee consistent framing and overlap. If your drone has an automated panorama mode, consider using it to streamline the capture process. However, manual shooting often provides more control and better results.
Remember to maintain steady flight conditions and consistent camera settings throughout the entire capture sequence. This will help guarantee uniform exposure and color across all images, making the stitching process smoother and more effective.
Stitch Photos With Software
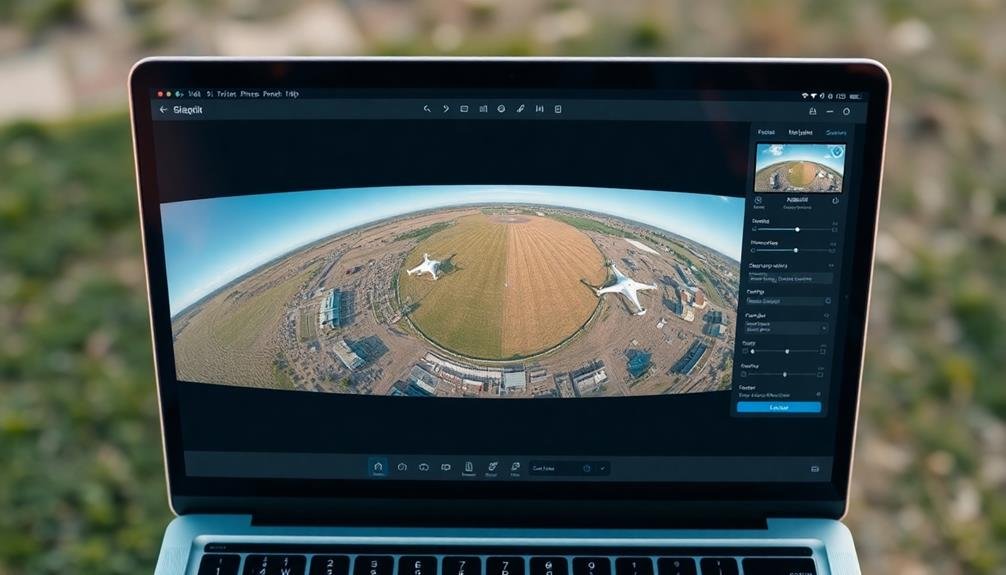
After capturing your overlapping images, it's time to transform them into a stunning 360-degree panorama using specialized stitching software. Popular options include PTGui, Autopano Giga, and Adobe Lightroom.
Import your images into the software and let it analyze them for matching points. Most programs will automatically align and blend the photos, but you may need to make manual adjustments for ideal results.
Pay attention to exposure differences between images and use the software's tools to balance them. Correct any misalignments or ghosting effects caused by moving objects. If your drone captured bracketed exposures, consider using HDR merging features to enhance dynamic range.
Once you're satisfied with the alignment and blending, render your panorama. Choose the appropriate output format, such as equirectangular projection for 360-degree viewing platforms. Fine-tune the final image with color corrections, sharpening, and contrast adjustments.
For the best results, experiment with different stitching algorithms and settings. Each panorama may require a unique approach, so don't hesitate to try multiple methods.
With practice, you'll develop a workflow that consistently produces breathtaking 360-degree drone panoramas.
Edit and Polish Final Panorama
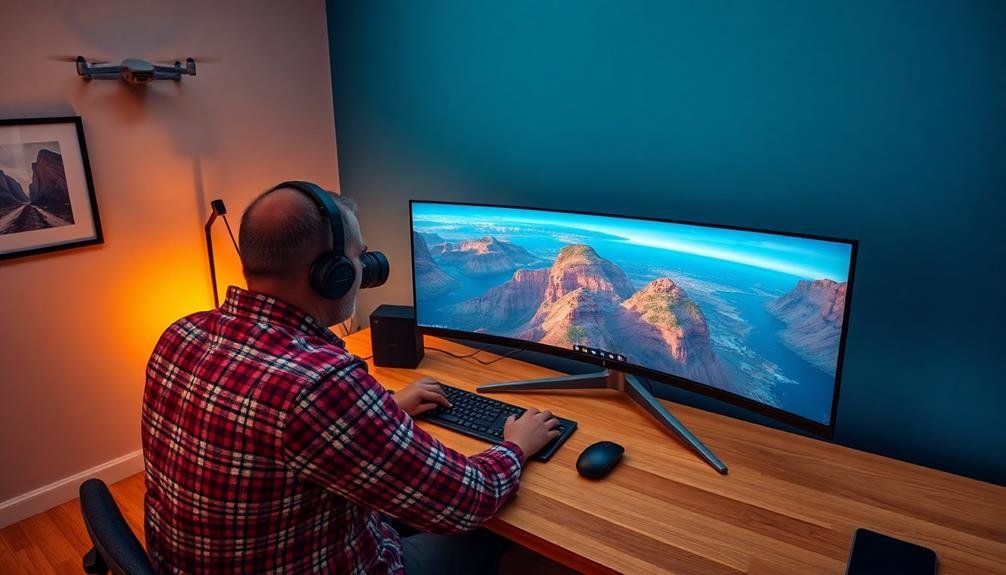
With your panorama stitched together, it's time to refine the image and make it truly shine. Start by adjusting the overall exposure and color balance to guarantee a cohesive look across the entire panorama.
Pay special attention to areas where different photos meet, as lighting conditions may have changed during the shoot.
Next, focus on enhancing specific elements within the panorama. Use selective adjustments to bring out details in shadows or highlights, and consider applying subtle sharpening to key areas of interest.
Don't overdo it, though – aim for a natural look that doesn't appear overly processed.
To create a truly polished final product, follow these steps:
- Remove any visible seams or artifacts from the stitching process
- Correct lens distortions, especially near the edges of the panorama
- Adjust the cropping to eliminate any irregular edges or unwanted elements
- Apply a subtle vignette to draw the viewer's eye toward the center of the image
Frequently Asked Questions
How Do Weather Conditions Affect Drone Panorama Photography?
Weather conditions greatly impact your drone panorama photography. You'll find that wind can destabilize your shots, while rain or fog can obscure visibility. Bright sunlight might cause harsh shadows, but overcast skies often provide softer, more even lighting.
What Licenses or Permits Are Required for Commercial Drone Panorama Photography?
You'll need a Part 107 commercial drone license from the FAA for commercial drone photography. You may also require local permits, property owner permissions, and airspace authorizations depending on your location and intended use.
Can I Create 360-Degree Panoramas With a Smartphone-Controlled Drone?
Yes, you can create 360-degree panoramas with a smartphone-controlled drone. Many modern drones have built-in panorama modes. You'll need to fly your drone steadily and use the app's features to capture and stitch the images together.
How Long Does It Typically Take to Shoot a Full 360-Degree Panorama?
You'll typically spend 5-15 minutes shooting a full 360-degree panorama. It depends on your drone's capabilities, the scene's complexity, and your desired resolution. Practice and good planning can help you speed up the process.
Are There Any Privacy Concerns When Capturing Panoramas in Populated Areas?
You should be aware of privacy concerns when capturing panoramas in populated areas. It's essential to respect people's privacy, avoid capturing identifiable individuals without consent, and follow local laws regarding photography in public spaces.
In Summary
You've now mastered the art of creating breathtaking 360-degree drone panoramas. With the right equipment, careful planning, and precise execution, you'll capture stunning aerial views that immerse viewers in your chosen location. Don't forget to experiment with different heights, times of day, and editing techniques to refine your style. As you practice, you'll develop an eye for unique perspectives and compositions. Keep pushing your skills, and soon you'll be producing professional-quality panoramas that truly stand out.
As educators and advocates for responsible drone use, we’re committed to sharing our knowledge and expertise with aspiring aerial photographers.


Leave a Reply