Auto-exposure lock (AE lock) is a game-changer for aerial photography, allowing you to maintain consistent exposure across multiple shots in challenging lighting conditions. You'll benefit from seamless compositions, better control in backlit scenarios, and improved results with moving subjects. AE lock prevents the camera from constantly adjusting exposure, giving you creative control while balancing automation. It's particularly useful for panoramas, HDR photography, and capturing dramatic scenes during sunsets or sunrises. By mastering AE lock, you'll elevate your drone photography skills, producing professional-quality images with less post-processing. Discover how this powerful tool can transform your aerial shots and release your creative potential.
Key Takeaways
- AE Lock maintains consistent exposure across multiple shots, crucial for aerial photography's rapidly changing lighting conditions.
- Use AE Lock for panoramas, HDR photography, and capturing fast-moving subjects against varying backgrounds.
- Practice activating and deactivating AE Lock on the ground before flying to ensure familiarity during aerial shoots.
- AE Lock prevents brightness inconsistencies in panoramic shots by locking exposure on a representative area throughout the sequence.
- Combine AE Lock with exposure compensation to fine-tune settings in challenging lighting conditions like backlit scenes.
Understanding Auto-Exposure Lock
Auto-exposure lock's primary function is to maintain consistent exposure settings across multiple shots.
When you're capturing aerial photographs, lighting conditions can change rapidly due to varying altitudes, cloud cover, or the sun's position. AE lock allows you to freeze your camera's exposure settings, ensuring uniformity in your images.
To use AE lock effectively, you'll first need to meter the scene for ideal exposure.
Once you've found the perfect settings, engage the AE lock feature on your camera. This action prevents the camera from automatically adjusting exposure as lighting conditions shift.
It's particularly useful when you're shooting panoramas or a series of images you plan to stitch together later.
Benefits of AE Lock
Now that you understand how AE lock functions, let's explore its advantages for aerial photography. AE lock provides you with consistent exposure across multiple shots, which is essential when capturing panoramas or stitching images together. You'll avoid jarring shifts between frames, resulting in seamless final compositions.
When shooting in challenging lighting conditions, such as flying over water or snow, AE lock prevents your camera from being fooled by reflective surfaces. It maintains proper exposure for your subject, even as your drone moves across varying landscapes. This feature is particularly useful for tracking moving subjects, like boats or vehicles, as it guarantees they remain properly exposed throughout your sequence.
AE lock also helps you maintain creative control over your images. You can deliberately under or overexpose scenes for artistic effect without your camera constantly adjusting. This is especially valuable when capturing dramatic skies or silhouettes.
Additionally, using AE lock can speed up your workflow by reducing the need for extensive post-processing adjustments. It's an invaluable tool for achieving professional-quality results directly in-camera, saving you time and effort in editing.
When to Use AE Lock

Knowing when to engage AE lock can make or break your aerial shots. You'll want to use it in situations where lighting conditions are tricky or rapidly changing. For instance, when you're flying over areas with high contrast, like a shoreline with bright sand and dark water, AE lock helps maintain consistent exposure across your frames.
Here are some key scenarios when you should consider using AE lock:
| Scenario | Why Use AE Lock |
|---|---|
| Backlit subjects | Prevents underexposure |
| Panoramas | Guarantees consistent exposure |
| HDR photography | Maintains bracket consistency |
You'll also find AE lock useful when capturing fast-moving subjects against varying backgrounds. It prevents your camera from constantly readjusting exposure as the scene changes. When shooting in low light conditions, such as during golden hour or twilight, AE lock can help you maintain the desired mood and ambiance throughout your shots.
AE Lock vs. Manual Exposure
While AE lock offers significant advantages in many aerial photography scenarios, it's important to understand how it compares to manual exposure. AE lock allows you to maintain consistent exposure settings across multiple shots without constantly adjusting your camera. This is particularly useful when flying over areas with varying light conditions or when capturing panoramic shots.
Manual exposure, on the other hand, gives you complete control over your camera's settings. You'll set the aperture, shutter speed, and ISO yourself, which can be ideal for achieving specific creative effects or when dealing with challenging lighting situations. However, manual mode requires more skill and attention, which can be difficult to manage while piloting a drone.
AE lock strikes a balance between automation and control. It lets you quickly respond to changing conditions while maintaining consistency. Manual exposure offers precision but demands more of your attention.
Consider your skill level, the complexity of your shot, and the lighting conditions when choosing between the two. For most aerial photography situations, AE lock will provide the flexibility and ease of use you need, while manual exposure remains a valuable tool for specific creative goals or technical challenges.
Setting Up AE Lock
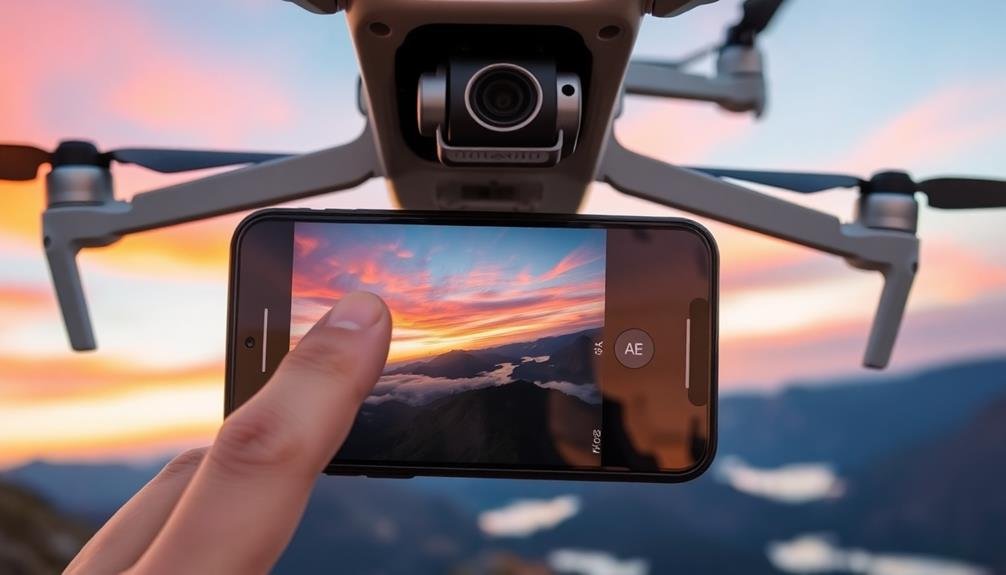
The key to effectively using AE lock in aerial photography lies in proper setup. Before taking flight, familiarize yourself with your camera's AE lock function. You'll typically find it as a dedicated button or within the camera's menu settings.
Once you've located it, practice activating and deactivating the feature on the ground.
When you're airborne, start by evaluating the lighting conditions of your subject. Frame your shot and half-press the shutter button to allow the camera to meter the scene. If you're satisfied with the exposure, engage the AE lock. This will freeze the current exposure settings, allowing you to recompose your shot without the camera adjusting for new lighting conditions.
Remember these key points when setting up AE lock:
- Choose a representative area of your scene for metering
- Engage AE lock before recomposing
- Monitor your histogram to verify proper exposure
- Be prepared to disengage and reset if lighting changes dramatically
- Use AE lock in conjunction with other techniques like bracketing
Common AE Lock Mistakes

When using Auto-Exposure Lock in aerial photography, you'll want to avoid three common mistakes.
First, don't forget to reset your AE Lock after each shot, as this can lead to improperly exposed subsequent images.
Second, make certain you're using the correct metering mode for your scene, as the wrong mode can result in inaccurate exposure readings.
Forgetting to Reset
Among the most common mistakes in using Auto-Exposure (AE) Lock, forgetting to reset stands out as a frequent pitfall. When you're engrossed in capturing aerial shots, it's easy to overlook disengaging the AE Lock after you've finished with a particular scene.
This oversight can lead to unexpected exposure issues in your subsequent shots, potentially ruining otherwise perfect aerial photographs.
To avoid this mistake, you should develop a habit of resetting your camera's settings after each shooting session. Remember that AE Lock is designed for specific scenarios, and leaving it engaged can result in incorrectly exposed images when lighting conditions change.
This is particularly essential in aerial photography, where light can vary dramatically as you move between different altitudes and locations.
Here are five key points to help you remember to reset your AE Lock:
- Make it part of your post-shot routine
- Use visual cues or reminders on your camera
- Double-check your settings before each new scene
- Utilize custom shooting modes for quick resets
- Practice until it becomes second nature
Incorrect Metering Mode
Aerial photographers' success with Auto-Exposure (AE) Lock often hinges on selecting the right metering mode. If you're using the wrong metering mode, your AE Lock won't deliver the results you're after.
Each metering mode interprets the scene differently, and choosing incorrectly can lead to over or underexposed images.
For aerial photography, you'll typically want to use evaluative (matrix) metering. This mode considers the entire frame, which is ideal for the varied landscapes you'll encounter from above.
However, if you've left your camera in spot or center-weighted metering from a previous shoot, you might find your exposures are off. Spot metering, for instance, only measures a small area, which can be problematic when you're dealing with vast, diverse scenes from the air.
Overreliance on Automation
Many photographers fall into the trap of overrelying on their camera's automation features, including AE Lock. While these tools can be incredibly useful, they shouldn't replace your understanding of exposure principles and creative decision-making.
When you depend too heavily on AE Lock without considering the changing lighting conditions in aerial photography, you risk ending up with improperly exposed images.
To avoid this mistake, it's essential to actively engage with your camera settings and the scene you're capturing. Don't just set AE Lock and forget about it. Instead, regularly reassess your exposure as you fly, especially when the lighting or subject matter changes markedly.
Remember that AE Lock is a tool to assist you, not a substitute for your photographic judgment.
Here are key reasons to be cautious of overreliance on automation:
- It can lead to missed creative opportunities
- You might overlook important exposure adjustments
- It can result in inconsistent image quality across a series
- You may fail to adapt to rapidly changing aerial conditions
- It can hinder your growth as a photographer
AE Lock for Panoramic Shots
When you're capturing panoramic shots from the air, AE lock is essential for maintaining consistent exposure across all frames.
You'll want to lock your exposure on a representative area of the scene to avoid brightness inconsistencies as you pan across the landscape.
Consistent Exposure Across Frames
In light of panoramic aerial photography, maintaining consistent exposure across multiple frames is vital. When you're capturing a series of images to stitch together later, inconsistent exposure can lead to visible seams and uneven lighting in your final panorama.
By using AE Lock, you'll guarantee that each frame maintains the same exposure settings, resulting in a seamless and professional-looking final image.
To achieve consistent exposure across frames:
- Set your camera to manual mode
- Determine the ideal exposure for the scene
- Activate AE Lock before starting your panoramic sequence
- Keep the AE Lock engaged throughout the entire shooting process
- Review your images periodically to confirm consistency
Remember that lighting conditions can change rapidly during aerial photography, especially if you're shooting at sunrise or sunset.
By locking your exposure, you'll prevent your camera from adjusting settings between shots, which could otherwise result in noticeable differences in brightness or color temperature.
This technique is particularly significant when capturing high-contrast scenes, such as landscapes with both bright skies and shadowy terrain.
With consistent exposure across frames, you'll create stunning panoramas that accurately represent the beauty of the aerial view you've captured.
Avoiding Brightness Inconsistencies
Building on the concept of consistent exposure across frames, let's address a common issue in panoramic aerial photography: brightness inconsistencies. When you're capturing multiple shots to stitch together later, variations in brightness can ruin your final image. This is where AE Lock becomes invaluable.
By locking your exposure settings before starting your panoramic sequence, you'll guarantee each frame maintains the same brightness level. To use AE Lock effectively, first frame your initial shot and adjust your exposure settings for the scene's average lighting.
Once you're satisfied, engage the AE Lock feature on your camera or drone. As you pan across the landscape, your camera will maintain these locked settings, preventing sudden brightness shifts between frames.
This technique is particularly useful when your panorama includes areas of varying light intensity, such as changes from shaded to sunlit areas.
Seamless Panorama Blending
AE Lock plays an essential role in creating seamless panoramic shots during aerial photography. When you're capturing multiple images to stitch together later, consistent exposure across all frames is vital.
By engaging AE Lock, you'll maintain the same exposure settings throughout the entire panorama sequence, preventing jarring shifts between images.
To achieve flawless panoramas, follow these steps:
- Activate AE Lock before starting your panorama sequence
- Pan slowly and steadily, maintaining consistent altitude
- Overlap each frame by about 30% for easier stitching
- Keep the horizon level throughout the entire sequence
- Avoid changing zoom or focus during the panorama capture
Mastering Exposure Compensation With AEL
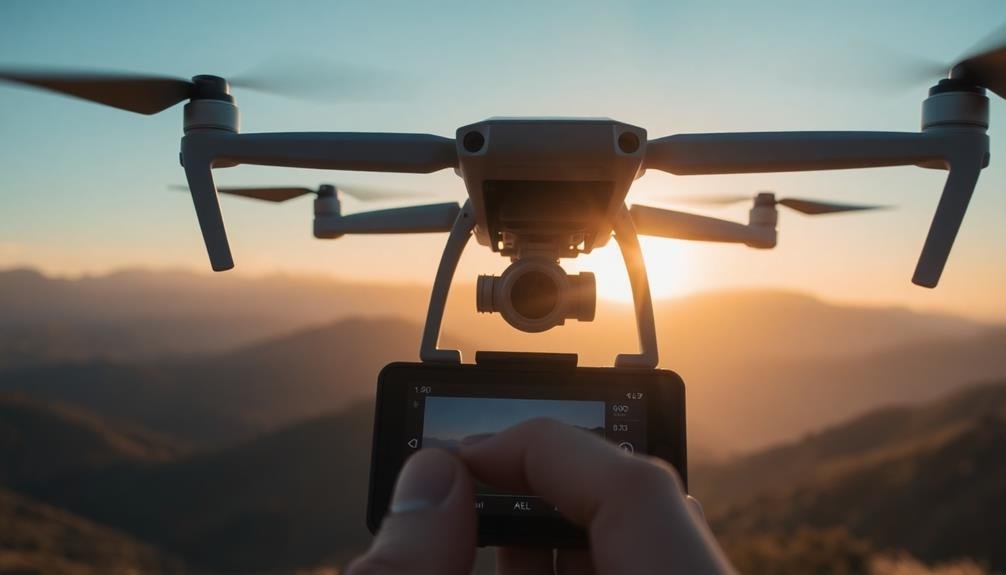
Mastering exposure compensation with Auto-Exposure Lock (AEL) is an essential skill for aerial photographers. This technique allows you to maintain consistent exposure across multiple shots, even in challenging lighting conditions.
To use AEL effectively, first assess your scene and determine the ideal exposure for your main subject. Once you've found the right settings, engage the AEL function on your camera or drone controller.
With AEL activated, you can recompose your shot without the camera automatically adjusting the exposure. This is particularly useful when shooting high-contrast scenes or backlit subjects.
For example, if you're capturing a landscape with bright sky and darker ground, lock the exposure on the ground to prevent overexposure of the sky.
You can also use AEL in conjunction with exposure compensation. If your locked exposure isn't quite right, adjust the compensation up or down to fine-tune the results.
AE Lock in Challenging Lighting
When you're capturing aerial shots in challenging lighting conditions, AE Lock becomes an invaluable tool.
You'll encounter situations like backlit scenes, high-contrast environments, and rapidly changing light that can confuse your camera's metering system.
Backlit Scenes
Backlit scenes pose a significant challenge for aerial photographers, often tricking camera meters and resulting in underexposed subjects. When flying your drone towards the sun or a bright sky, your camera's meter will likely read the bright background and underexpose your main subject.
This is where AE Lock becomes invaluable. To tackle backlit scenes effectively, engage AE Lock when your drone is positioned to capture a well-exposed subject. This locks in the exposure settings, preventing the camera from adjusting as you reframe the shot. You'll maintain proper exposure on your subject even as you incorporate the bright background into your composition.
Here are key tips for using AE Lock in backlit aerial scenes:
- Meter for the subject, not the bright sky
- Lock exposure before repositioning your drone
- Use exposure compensation if needed
- Consider spot metering for precise subject exposure
- Experiment with silhouettes for creative effect
High-Contrast Environments
High-contrast environments present another significant challenge for aerial photographers. When you're capturing scenes with bright highlights and deep shadows, your drone's camera may struggle to expose the image correctly. This is where AE Lock becomes invaluable.
By using AE Lock, you can maintain a consistent exposure across your entire shot, preventing the camera from constantly adjusting to the varying light levels.
To effectively use AE Lock in high-contrast situations, first identify the most important part of your scene. If you're shooting a cityscape with both sunlit skyscrapers and shadowy streets, decide which area you want to prioritize.
Once you've chosen your focus, position your drone so that this area fills most of the frame. Activate AE Lock to set the exposure for this portion of the scene. As you recompose your shot, the exposure will remain fixed, allowing you to capture details in both highlights and shadows.
Rapidly Changing Light
Unpredictability is the hallmark of rapidly changing light conditions in aerial photography. As you fly, shifting cloud cover, varying altitudes, and the sun's position can dramatically alter your exposure in seconds. AE Lock becomes your trusty companion in these scenarios, allowing you to maintain consistent exposure despite the fluctuating light.
When you encounter rapidly changing light, engage AE Lock to freeze your camera's exposure settings. This technique is particularly useful when:
- Flying through patchy clouds
- Shifting between shaded and sunlit areas
- Capturing sunset or sunrise scenes
- Shooting near reflective surfaces like water or snow
- Performing quick altitude changes
By locking your exposure, you'll prevent your camera from constantly adjusting and potentially ruining your shots. Remember to reassess and update your exposure periodically as conditions evolve.
It's essential to strike a balance between maintaining consistency and adapting to significant light changes.
Practice using AE Lock in various lighting situations to develop your instincts. You'll soon find yourself anticipating light changes and engaging AE Lock proactively, resulting in more professional and cohesive aerial imagery.
Don't be afraid to experiment with different exposure settings before locking them in, ensuring you capture the scene exactly as you envision it.
Bracketing With AE Lock
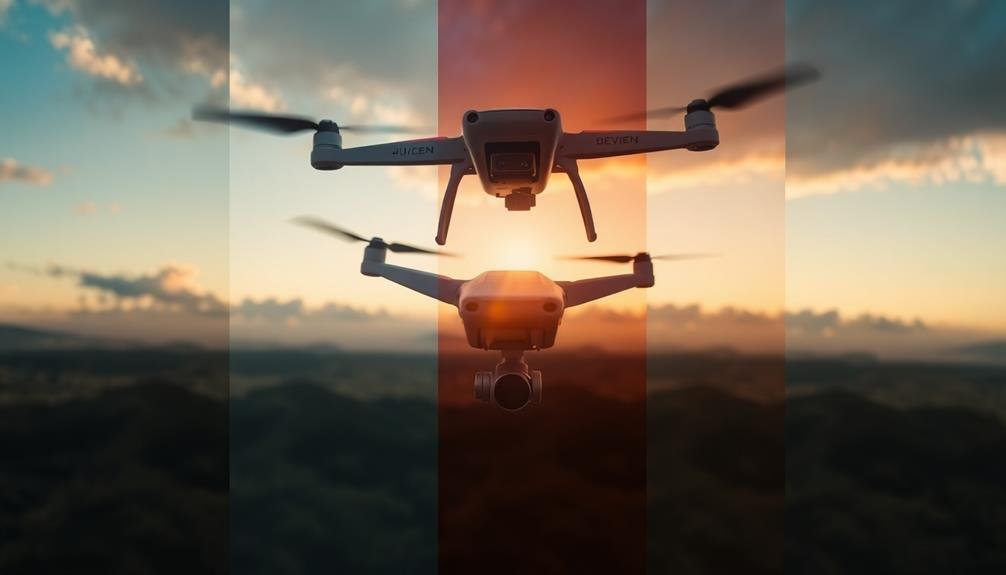
Combining AE Lock with bracketing techniques can greatly enhance your aerial photography results. When you've locked your exposure for a specific scene, you can use bracketing to capture multiple versions of the same image with slight variations in exposure. This technique guarantees you'll have options to choose from in post-processing, especially useful when shooting in challenging lighting conditions.
To bracket with AE Lock, first set your desired exposure using the lock feature. Then, adjust your camera's bracketing settings to capture a series of shots at different exposure values. Typically, you'll want to take at least three images: one at the locked exposure, one underexposed, and one overexposed. This range allows you to capture details in both highlights and shadows that might be lost in a single exposure.
When shooting aerial scenes with high contrast, such as landscapes with bright skies and dark terrain, bracketing becomes even more valuable. You can later blend these bracketed images using HDR techniques or manually in post-processing to create a well-balanced final image.
Remember to keep your drone as stable as possible during the bracketing sequence to guarantee easy alignment of the images later.
AE Lock for HDR Drone Photography
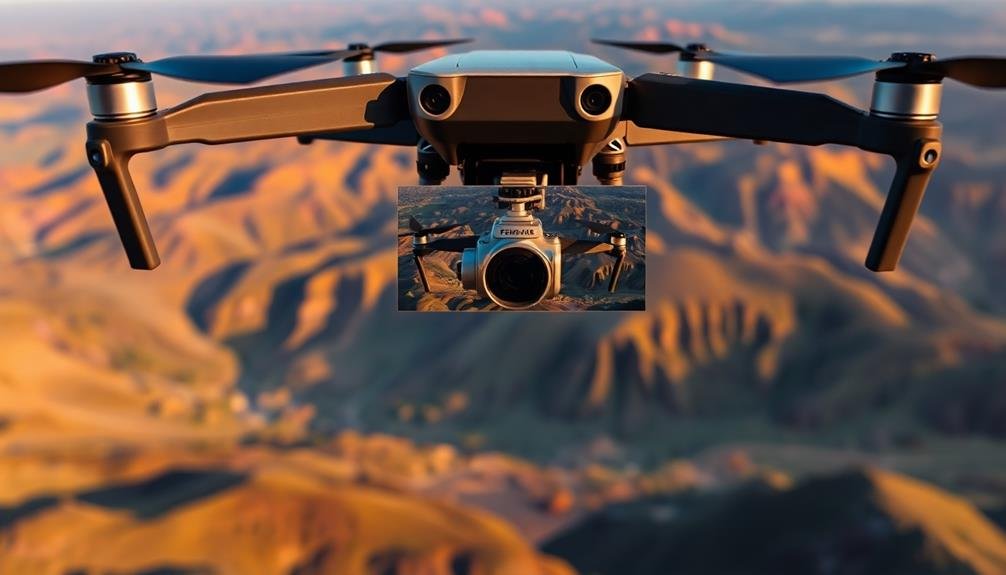
AE Lock is a powerful tool for creating stunning HDR (High Dynamic Range) drone photography.
When you're capturing multiple exposures for HDR, maintaining consistent settings across your shots is essential. By using AE Lock, you'll guarantee that your drone's camera doesn't readjust exposure between frames, resulting in seamless blending during post-processing.
To use AE Lock for HDR drone photography, first set your exposure for the mid-tones of your scene. Once you've found the ideal settings, engage the AE Lock feature. This will keep your exposure constant as you capture bracketed shots for your HDR image.
Remember to adjust your shutter speed or ISO to achieve the desired over and underexposed frames while keeping the aperture consistent.
Here are some key benefits of using AE Lock for HDR drone photography:
- Consistent exposure across all bracketed shots
- Reduced ghosting and artifacts in the final image
- More efficient post-processing workflow
- Better control over highlight and shadow details
- Improved overall image quality and dynamic range
Creative Applications of AE Lock

Beyond its technical applications, AE Lock opens up a world of creative possibilities for aerial photographers.
You can use it to create dramatic silhouettes by locking exposure on a bright sky, causing your subject to appear as a dark outline. This technique works particularly well for capturing landmarks or interesting architectural shapes against a vibrant sunset.
AE Lock also allows you to play with light trails. By locking exposure for a longer shutter speed, you can capture the movement of cars, boats, or even stars, adding a dynamic element to your aerial shots. It's especially effective when photographing cityscapes at night.
You can utilize AE Lock for creative panning shots, too. Lock your exposure on a moving subject, then follow its motion while capturing the image. This technique results in a sharp subject with a blurred background, conveying a sense of speed and movement.
Experiment with selective focus by using AE Lock in conjunction with manual focus. Lock exposure on your main subject, then adjust focus to create a dreamy, soft background effect. This approach adds depth and draws attention to specific elements in your aerial compositions.
Troubleshooting AE Lock Issues
Photographers may encounter occasional hiccups when using Auto-Exposure Lock in aerial photography. If you're experiencing issues, first confirm your camera's AE Lock function is properly activated. Check your camera's manual for specific instructions, as the process can vary between models.
If the function is active but not working as expected, consider the following troubleshooting steps:
- Clean your camera's metering sensor
- Update your camera's firmware
- Verify your chosen metering mode is suitable for aerial conditions
- Check if extreme lighting conditions are affecting the lock
- Confirm you're not accidentally releasing the AE Lock
If problems persist, try resetting your camera to its default settings. This can often resolve software-related issues.
Remember that rapidly changing light conditions in aerial photography can challenge AE Lock. In such cases, you might need to readjust frequently or switch to manual exposure mode.
If you're using a drone, confirm it's hovering steadily when engaging AE Lock, as movement can affect metering.
Frequently Asked Questions
Can AE Lock Be Used for Video Recording on Drones?
Yes, you can use AE lock for drone video recording. It'll help you maintain consistent exposure throughout your footage, especially when flying through areas with varying light conditions. You'll achieve more professional-looking results with this technique.
How Does AE Lock Affect Battery Life on My Drone?
AE lock won't greatly impact your drone's battery life. It's a software feature that doesn't require extra power. You'll only notice a slight difference if you're constantly adjusting exposure settings instead of using AE lock.
Is AE Lock Available on All Drone Models and Brands?
AE lock isn't universal on all drone models and brands. You'll find it on many higher-end drones, but it's not a standard feature. Check your drone's specifications or manual to see if it's available on your model.
Can AE Lock Be Combined With Other Camera Features Like ND Filters?
Yes, you can combine AE lock with ND filters. They work well together, allowing you to maintain exposure settings while reducing light. This combination's particularly useful in bright conditions, giving you more control over your drone shots.
Does Using AE Lock Impact the Drone's Overall Flight Performance?
No, using AE lock won't affect your drone's flight performance. It's a camera feature that doesn't impact the aircraft's motors, sensors, or battery. You can confidently use AE lock without worrying about your drone's flying capabilities.
In Summary
You've now activated the power of auto-exposure lock for your drone photography. By mastering AE lock, you'll capture more consistent and professional-looking aerial images. Don't be afraid to experiment with this technique in various lighting conditions. Remember, practice makes perfect. Keep pushing your creative boundaries, and you'll soon see a dramatic improvement in your aerial shots. AE lock is just one tool in your arsenal—use it wisely to elevate your drone photography game.

As educators and advocates for responsible drone use, we’re committed to sharing our knowledge and expertise with aspiring aerial photographers.


Leave a Reply