To capture stunning aerial shots with incredible dynamic range, try these five camera tricks: First, use HDR bracketing to merge multiple exposures. Second, apply exposure compensation to balance bright skies and darker landscapes. Third, utilize ND filters to tame harsh light and manage high-contrast scenes. Fourth, shoot in RAW format for maximum flexibility in post-processing. Finally, master post-processing techniques to fine-tune exposure, recover highlights and shadows, and enhance overall image quality. By implementing these strategies, you'll elevate your aerial photography to new heights. Discover how each technique can transform your images from ordinary to extraordinary.
Key Takeaways
- Use HDR bracketing to capture multiple exposures, ensuring details in both highlights and shadows.
- Apply exposure compensation to balance bright skies and darker landscapes.
- Utilize ND filters to manage high-contrast scenes and prevent overexposure of bright areas.
- Shoot in RAW format to preserve maximum data for post-processing flexibility.
- Employ graduated filters in post-processing to selectively adjust exposure across different image areas.
HDR Bracketing for Aerial Shots
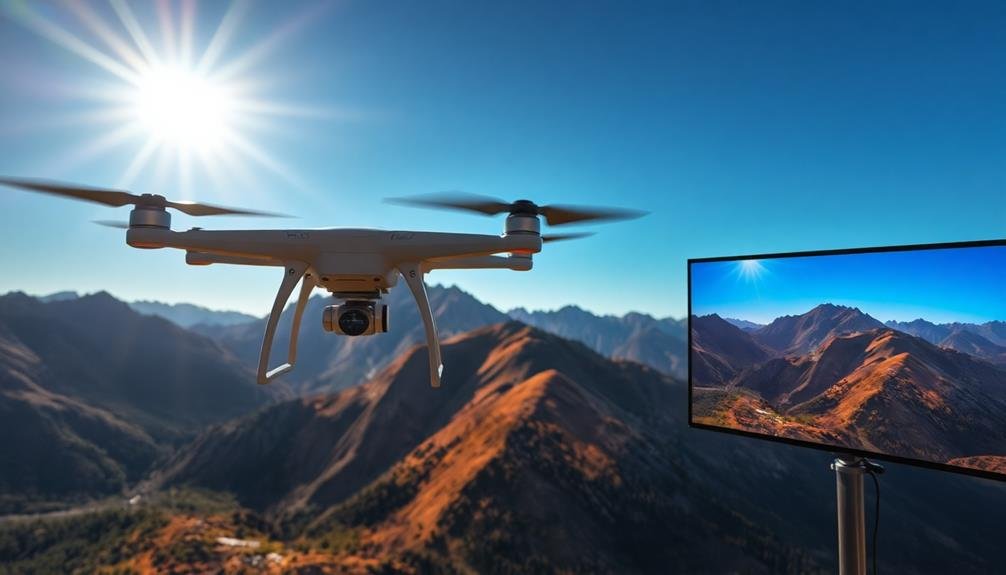
Mastering HDR bracketing for aerial shots can dramatically enhance the dynamic range of your airborne photography. To achieve this, you'll need to set up your camera to take multiple exposures of the same scene at different shutter speeds. Typically, you'll want to capture at least three images: one underexposed, one properly exposed, and one overexposed.
When shooting from the air, you'll face unique challenges. The constant motion of your aircraft or drone means you need to use faster shutter speeds to avoid motion blur. Set your camera to burst mode and use auto-exposure bracketing (AEB) if available. This allows you to capture your bracketed shots in quick succession.
Pay attention to your histogram to guarantee you're capturing the full range of tones in the scene. In post-processing, you'll merge these bracketed images to create a single HDR photo with enhanced detail in both highlights and shadows. Popular software options for this include Adobe Lightroom, Photomatix, and Aurora HDR.
Remember to keep your ISO low to minimize noise and use a wide-angle lens to capture expansive aerial views. With practice, you'll master this technique and produce stunning aerial images with incredible dynamic range.
Optimal Exposure Compensation Techniques
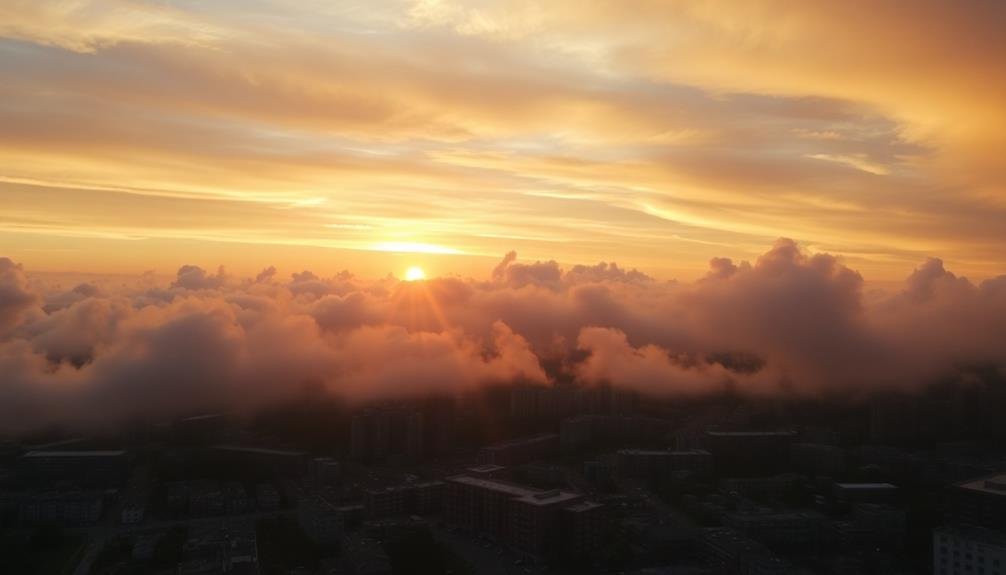
Exposure compensation's role in aerial photography can't be overstated, especially when dealing with challenging lighting conditions. When you're up in the air, you'll often encounter scenes with extreme contrasts between bright skies and darker landscapes. To capture these scenes effectively, you'll need to master exposure compensation techniques.
Start by understanding your camera's metering system. In aerial shots, the abundance of sky can trick your camera into underexposing the land. To counteract this, you'll typically need to apply positive exposure compensation. Begin with +0.7 to +1.0 EV and adjust as needed.
For scenes with bright, reflective surfaces like snow or water, you might need to use negative compensation to prevent overexposure. In these cases, try starting at -0.3 to -0.7 EV.
Don't forget to use your camera's histogram. It's an invaluable tool for ensuring you're not clipping highlights or shadows. If you're shooting in RAW, you'll have more flexibility to recover details in post-processing, but it's still vital to get the exposure as close to ideal as possible in-camera.
ND Filters for Balanced Skies
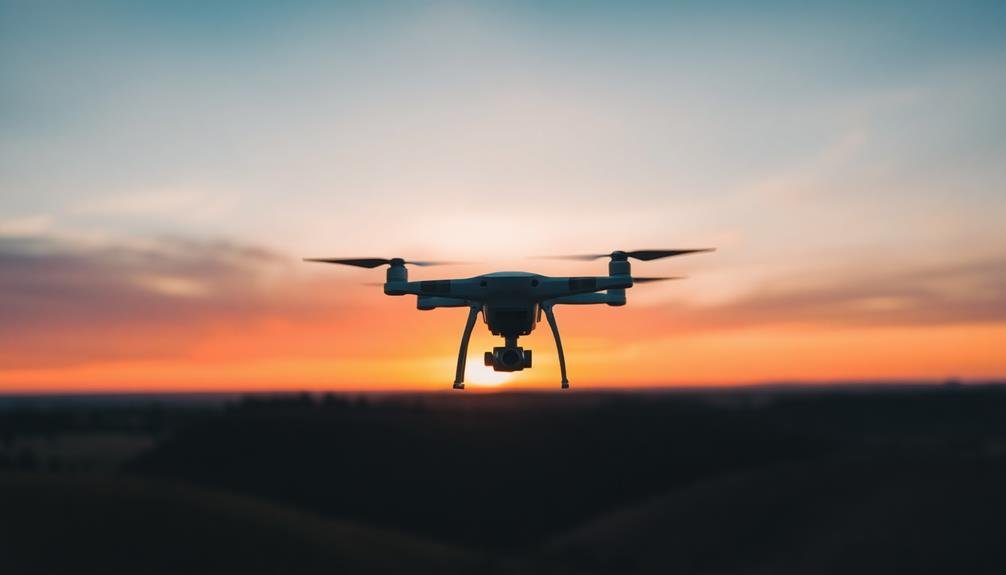
Neutral Density (ND) filters are essential tools for aerial photographers seeking to balance bright skies with darker landscapes. They reduce the amount of light entering your camera's lens, allowing you to use slower shutter speeds or wider apertures without overexposing your images.
When shooting from the air, you'll often encounter high-contrast scenes where the sky is much brighter than the ground. ND filters help you manage this disparity.
To use ND filters effectively, you'll need to choose the right strength for your conditions. A 3-stop ND filter is a good starting point for most aerial situations. It'll let you slow your shutter speed enough to capture motion blur in clouds or water while keeping the landscape properly exposed.
For even brighter conditions, consider a 6-stop or variable ND filter.
When mounting the filter, be careful to avoid introducing dust or scratches. You'll need to adjust your exposure settings to compensate for the reduced light.
It's best to compose and focus your shot before adding the filter, as it can make your viewfinder quite dark. With practice, you'll find ND filters invaluable for creating balanced, dynamic aerial images.
Raw Format Advantages
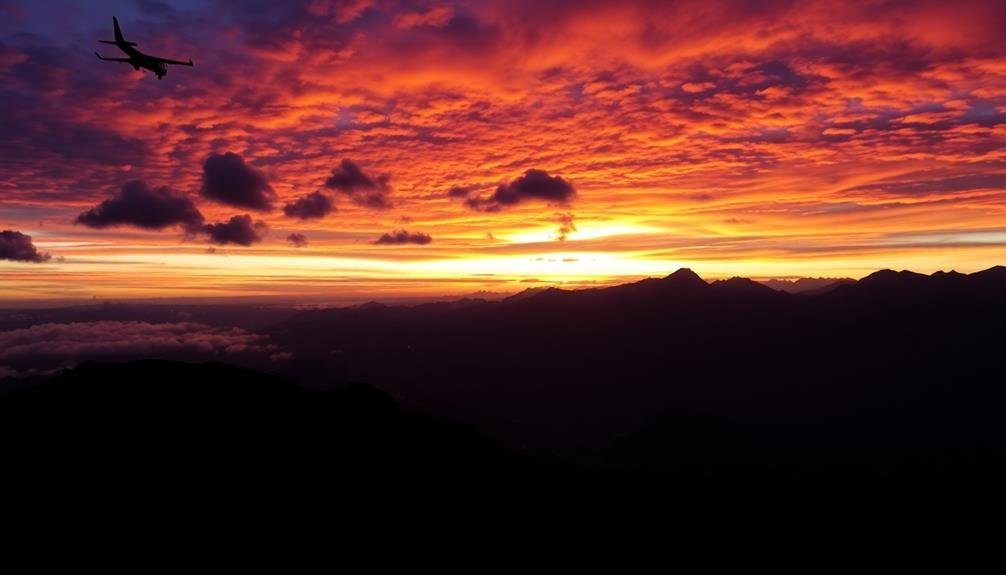
Release the full potential of your aerial photography by shooting in RAW format. This uncompressed file type captures all the data your camera's sensor detects, giving you unparalleled flexibility in post-processing.
When you're dealing with the challenging lighting conditions often encountered in aerial photography, RAW format becomes your secret weapon for achieving stunning dynamic range.
Unlike JPEG, which compresses and discards data, RAW preserves every detail. This means you'll have more latitude to:
- Adjust exposure without degrading image quality
- Recover highlights and shadows that might otherwise be lost
- Fine-tune white balance with precision
- Correct lens distortions and chromatic aberration
By shooting in RAW, you're future-proofing your work. As editing software improves, you can revisit your RAW files and apply new techniques to enhance your images further.
This is especially valuable for aerial photography, where you mightn't have the opportunity to reshoot.
Post-Processing Dynamic Range Enhancement
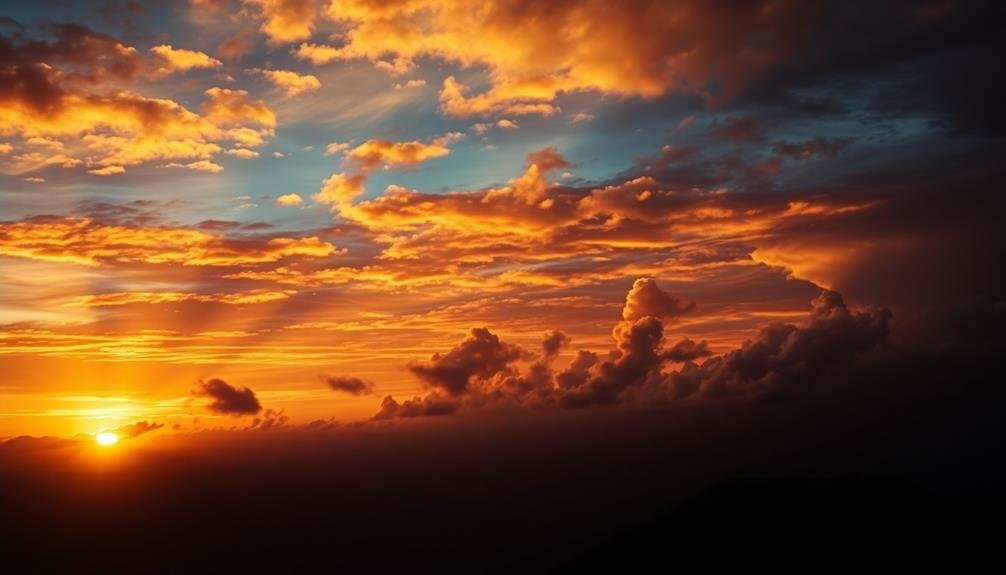
Once you've captured your aerial images in RAW format, it's time to release their full potential through post-processing.
Start by importing your RAW files into professional editing software like Adobe Lightroom or Capture One. These programs offer powerful tools to enhance dynamic range and recover lost details in shadows and highlights.
Begin by adjusting the exposure to balance the overall brightness. Then, use the highlights and shadows sliders to bring out details in bright skies and dark landscapes.
Don't be afraid to push these adjustments further than you normally would for ground-based photography.
Next, fine-tune the whites and blacks to extend the tonal range. Increase clarity and texture to add depth to your aerial shots.
Use the dehaze tool sparingly to cut through atmospheric haze without introducing artifacts.
Consider using graduated filters to selectively adjust exposure in different parts of the image. This technique is especially useful for balancing bright skies with darker ground elements.
Frequently Asked Questions
How Does Altitude Affect Dynamic Range in Aerial Photography?
As you increase altitude, you'll notice dynamic range often improves. Higher altitudes reduce atmospheric haze, allowing clearer contrasts between light and dark areas. You'll capture more details in both shadows and highlights, enhancing overall image quality.
What Camera Settings Work Best for Capturing Movement in Aerial Shots?
You'll want to use a fast shutter speed to freeze motion, typically 1/1000s or faster. Opt for continuous autofocus and burst mode. Adjust your ISO and aperture accordingly to maintain proper exposure in the air.
Are There Specific Weather Conditions That Enhance Dynamic Range in Aerial Photography?
You'll find overcast days ideal for enhancing dynamic range in aerial photography. They provide soft, diffused light that reduces harsh shadows and highlights. Early morning or late afternoon's golden hour can also boost contrast and color richness.
How Do Different Lens Choices Impact Dynamic Range in Aerial Images?
You'll find that wide-angle lenses capture more sky, increasing dynamic range. Telephoto lenses compress scenes, reducing contrast. Prime lenses often offer better light transmission, enhancing dynamic range. Consider using filters to balance exposure across your frame.
What Safety Precautions Should Be Taken When Photographing From Aircraft or Drones?
You'll want to secure your gear, follow aviation regulations, and maintain situational awareness. Don't obstruct the pilot's view or interfere with controls. For drones, check local laws, avoid no-fly zones, and keep your aircraft in sight.
In Summary
You've now got a toolkit of aerial photography tricks to capture stunning dynamic range. By combining HDR bracketing, exposure compensation, ND filters, RAW shooting, and post-processing techniques, you'll be able to create breathtaking images that showcase the full spectrum of light in your aerial scenes. Don't be afraid to experiment with these methods and find what works best for your style. With practice, you'll soon be capturing aerial shots that truly stand out from the crowd.

As educators and advocates for responsible drone use, we’re committed to sharing our knowledge and expertise with aspiring aerial photographers.


Leave a Reply