
Camera filters are your secret weapon for achieving pro-level shots. They enhance image quality by controlling light, reducing glare, and adding creative effects. With filters, you'll master exposure control, create cinematic color grading, and capture stunning long exposures. They're essential for balancing bright skies with darker foregrounds, protecting your lenses, and achieving smooth motion blur. In aerial photography, filters elevate your footage by reducing propeller visibility and enhancing color. Whether you're shooting landscapes, portraits, or low-light scenes, the right filter can transform your images. Dive deeper to reveal the full potential of these powerful photographic tools.
Key Takeaways
- Camera filters enhance image quality by controlling light, reducing glare, and adding creative effects.
- Polarizing filters improve color vibrancy and manage reflections, especially in landscape and portrait photography.
- Neutral Density filters enable longer exposures and wider apertures in bright conditions for creative control.
- Graduated filters balance exposure between bright skies and darker foregrounds, crucial for landscape photography.
- Filters protect lenses from scratches and environmental elements, prolonging the life of expensive camera equipment.
Enhancing Image Quality
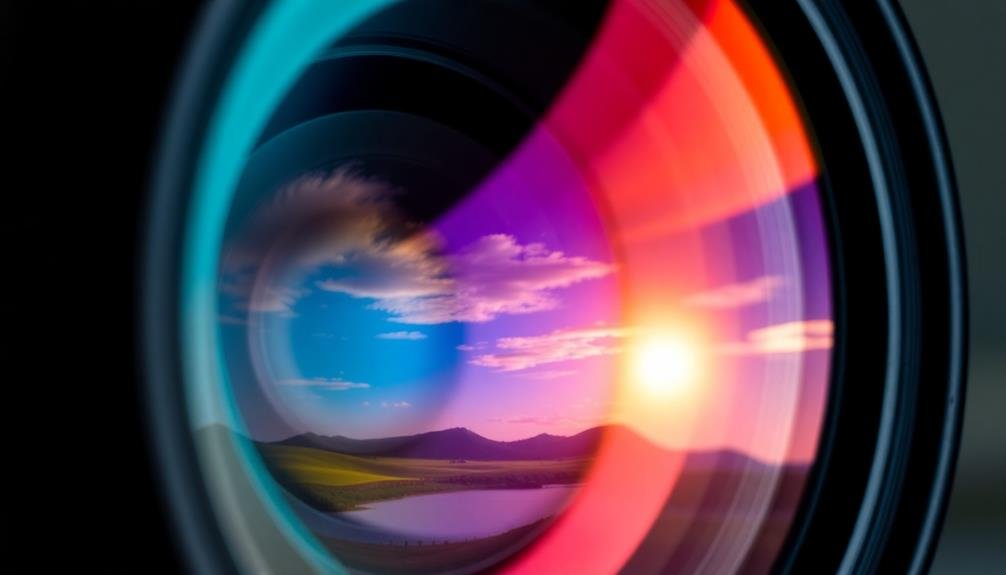
Camera filters are essential tools for enhancing image quality. They can dramatically improve your photos by controlling light, reducing glare, and adding creative effects.
When you use a polarizing filter, you'll cut through reflections on water or glass, making colors more vibrant and skies deeper blue. This filter also helps reduce atmospheric haze, resulting in clearer landscape shots.
Neutral density filters allow you to shoot with slower shutter speeds or wider apertures in bright conditions. You'll capture silky smooth waterfalls or create motion blur effects without overexposing your image.
For landscape photography, graduated neutral density filters help balance exposure between bright skies and darker foregrounds.
UV filters protect your lens from scratches and dust while minimizing ultraviolet light that can cause haziness in outdoor shots.
Color correction filters adjust the white balance in-camera, saving you time in post-processing.
Infrared filters let you explore the invisible spectrum, creating surreal, dreamlike images.
Controlling Light and Exposure

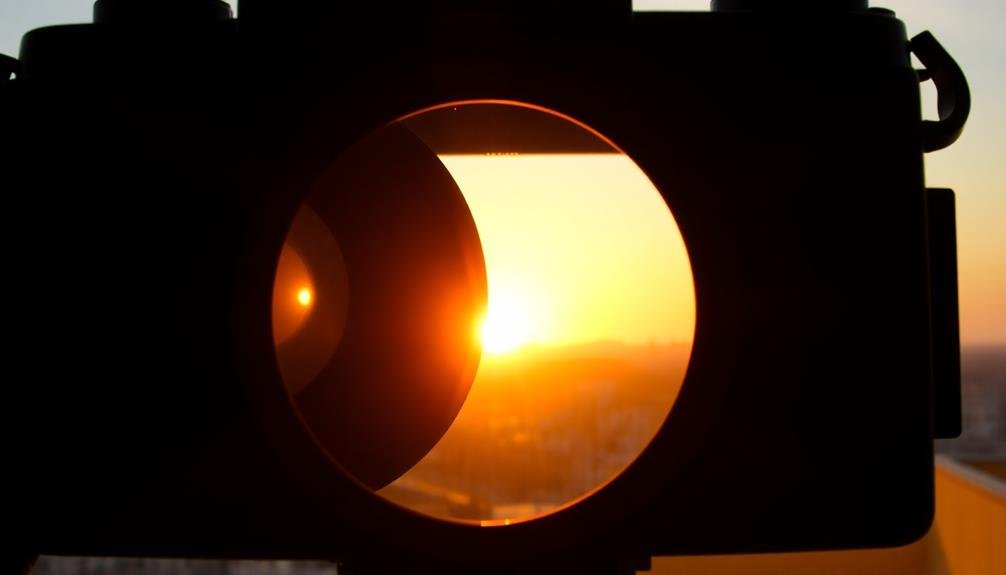
While enhancing image quality is important, mastering light and exposure control is fundamental to creating stunning photographs. Camera filters offer you powerful tools to manipulate these elements, allowing you to capture scenes exactly as you envision them.
Neutral density (ND) filters are essential for controlling exposure in bright conditions. They reduce the amount of light entering your lens, enabling longer shutter speeds or wider apertures without overexposure. This technique is particularly useful for creating silky water effects or capturing motion blur in daylight.
Polarizing filters help you manage reflections and enhance color saturation. They're invaluable when shooting landscapes, allowing you to deepen blue skies and reduce glare from water or glass surfaces.
| Filter Type | Primary Use | Effect on Image |
|---|---|---|
| ND | Reduce light | Longer exposures |
| Polarizing | Manage reflections | Enhanced colors |
| Graduated ND | Balance exposure | Even lighting |
Graduated ND filters are perfect for balancing exposure in high-contrast scenes, such as landscapes with bright skies and darker foregrounds. By selectively darkening portions of the image, you'll capture more detail across the entire frame, resulting in a more balanced and professional-looking photograph.
Achieving Cinematic Color Grading
A filmmaker's secret weapon for creating visually stunning footage lies in mastering cinematic color grading. With the right camera filters, you can achieve professional-level color grading that elevates your shots to cinematic heights.
Neutral density (ND) filters are essential for maintaining proper exposure while allowing you to use wider apertures, creating that coveted shallow depth of field. Polarizing filters enhance color saturation and reduce reflections, giving your footage a richer, more vibrant look.
To achieve a cinematic color palette, consider using color temperature filters. These allow you to adjust the warmth or coolness of your shots in-camera, saving time in post-production.
Graduated filters help balance exposure between bright skies and darker foregrounds, creating a more dynamic range in your footage. For a unique look, try using diffusion filters to soften harsh light and create a dreamy atmosphere.
Reducing Glare and Reflections
When you're aiming for professional-looking shots, eliminating glare and reflections can make a significant difference.
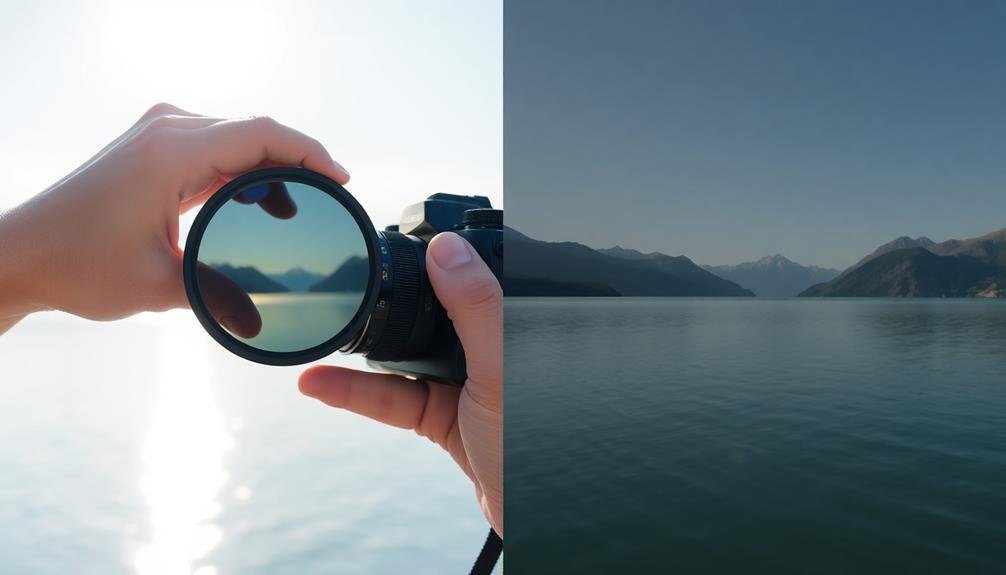
Polarizing filters are your go-to tool for reducing unwanted glare on water, glass, and other reflective surfaces, enhancing color saturation and contrast in your images.
If you're shooting through glass, such as from inside a car or building, these filters can also help minimize reflections, allowing you to capture clear, unobstructed views.
Polarizing Filters' Effect
Polarizing filters are the secret weapon of many professional photographers for creating stunning images with rich colors and enhanced clarity. When you attach a polarizing filter to your lens, you'll immediately notice a dramatic reduction in glare and reflections. This effect is particularly useful when shooting water, glass, or other reflective surfaces.
By rotating the filter, you can control the amount of polarization, allowing you to fine-tune the effect to suit your composition. You'll see deeper, more saturated colors in your images, especially in blue skies and foliage. The filter also helps to cut through haze, resulting in sharper, more defined landscapes.
In portrait photography, polarizing filters can reduce shine on skin and hair, creating a more natural look. They're also invaluable for architectural shots, eliminating unwanted reflections in windows and enhancing the overall contrast of buildings.
However, be aware that polarizing filters can reduce the amount of light reaching your sensor by up to two stops. You'll need to adjust your exposure settings accordingly, often using a slower shutter speed or higher ISO to compensate for the reduced light.
Shooting Through Glass
Photographers often face the challenge of shooting through glass, whether it's capturing cityscapes from a skyscraper or documenting aquarium life.
Glass surfaces can create unwanted reflections and glare, compromising the quality of your images. To overcome these obstacles, you'll need to employ specific techniques and tools.
Here are four essential tips for shooting through glass:
- Use a polarizing filter to reduce reflections and enhance color saturation.
- Position your lens close to the glass, ideally at a 90-degree angle.
- Shield your camera and lens with a dark cloth to minimize reflections.
- Shoot in RAW format for greater flexibility in post-processing.
Creating Long Exposure Effects
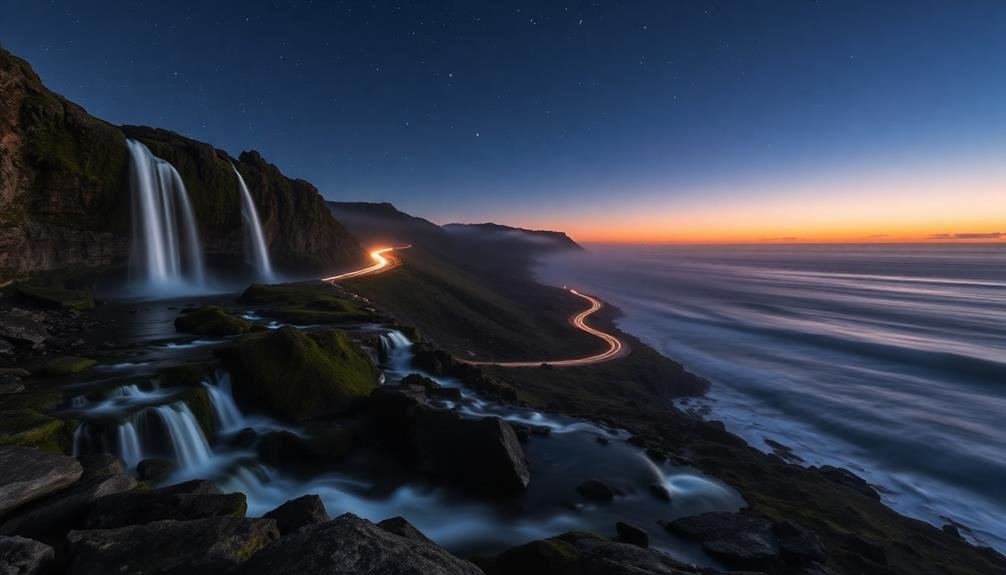
Long exposure effects can transform your images into stunning works of art.
You'll discover how to smooth water and clouds for dreamy landscapes, capture light trails from moving vehicles, and apply motion blur techniques to convey a sense of movement.
These creative approaches will elevate your photography, allowing you to produce professional-quality shots that stand out from the crowd.
Smoothing Water and Clouds
To create ethereal, dreamlike images of flowing water and drifting clouds, you'll want to master the art of long exposure photography. This technique uses neutral density (ND) filters to reduce the amount of light entering your camera, allowing for longer shutter speeds. The result is a smooth, silky effect on moving water and a streaky, soft appearance in cloud formations.
When shooting water scenes, aim for shutter speeds between 1 and 30 seconds, depending on the water's speed and the desired effect. For clouds, you might need exposures lasting several minutes to capture their movement effectively. Experiment with different ND filter strengths to achieve the perfect balance between exposure time and image quality.
To get started with smoothing water and clouds:
- Choose a stable tripod to eliminate camera shake
- Use a remote shutter release or timer to avoid triggering vibrations
- Start with a 6-stop ND filter for most daylight situations
- Shoot in RAW format for maximum flexibility in post-processing
Remember to compose your shot carefully, as the smoothing effect can dramatically alter the scene's mood and impact.
With practice, you'll be able to create stunning, professional-looking images that captivate viewers.
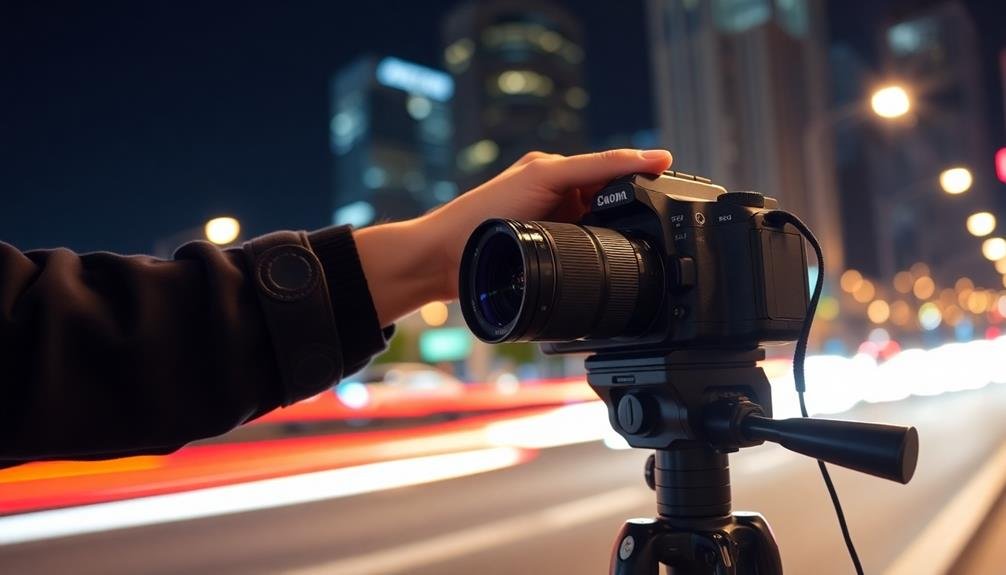
Light Trail Photography
Countless urban scenes come alive at night through the enchanting art of light trail photography. To capture these stunning effects, you'll need a neutral density (ND) filter and a sturdy tripod. ND filters reduce the amount of light entering your lens, allowing for longer exposure times without overexposing your image.
Start by setting up your camera on the tripod in a safe location with a clear view of moving traffic. Choose a low ISO (100-200) and a narrow aperture (f/8-f/16) to maximize depth of field. Attach your ND filter and adjust your shutter speed to several seconds or even minutes, depending on the desired effect.
As vehicles move through your frame, their lights will create streaks across the image, resulting in enchanting light trails. Experiment with different shutter speeds to achieve various effects. Longer exposures will produce longer, more continuous trails, while shorter exposures can create a staccato effect with breaks in the light paths.
Don't forget to include static elements in your composition to anchor the image and provide context for the light trails. Buildings, bridges, or street signs can add depth and interest to your final shot.
Motion Blur Techniques
Creating enchanting motion blur effects doesn't always require specialized filters. You can achieve stunning results with just your camera and some clever techniques.
Motion blur adds a sense of dynamism to your images, transforming static scenes into enthralling visual stories.
To master motion blur techniques, focus on these key elements:
- Shutter speed: Slow it down to capture movement. Start with 1/15th of a second and experiment from there.
- Camera stability: Use a tripod or stable surface to keep your camera steady while the subject moves.
- Subject selection: Choose subjects with predictable movement patterns, like flowing water or passing vehicles.
- Panning: Follow your moving subject with the camera to keep it sharp while blurring the background.
Balancing Sky and Landscape

Landscape photographers often struggle with balancing the exposure between bright skies and darker foregrounds. This challenge can lead to overexposed skies or underexposed landscapes, diminishing the overall impact of your shots. To overcome this issue, you'll want to contemplate using graduated neutral density (GND) filters.
GND filters are designed with a gradual shift from dark to clear, allowing you to darken the sky while maintaining proper exposure for the landscape. You'll place the darker portion over the sky, aligning the shift with the horizon. This technique helps you capture detail in both the sky and foreground in a single exposure.
When choosing a GND filter, you'll need to reflect on the strength (measured in stops) and the shift type (soft or hard edge). Soft-edge filters work well for irregular horizons, while hard-edge filters are ideal for straight horizons like seascapes.
You can also stack multiple GND filters for more dramatic effects or to handle extreme lighting situations. By mastering the use of GND filters, you'll greatly enhance your landscape photography, creating more balanced and professional-looking images.
Protecting Drone Camera Lenses
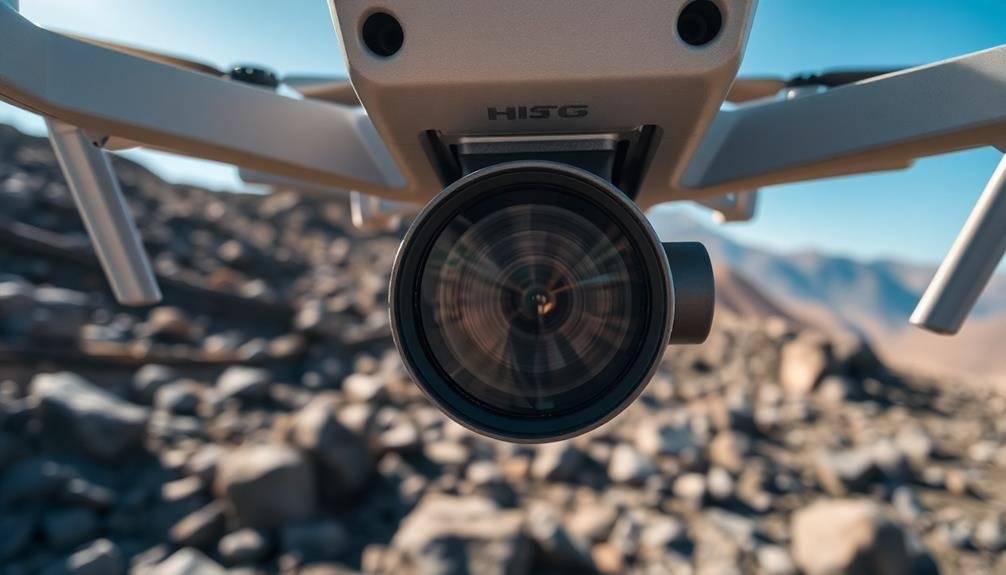
Drone photography enthusiasts know the importance of safeguarding their camera lenses. When you're capturing stunning aerial shots, you can't afford to have your lens damaged or compromised.
That's where protective filters come in handy. These specialized filters not only shield your drone's camera from potential harm but also enhance your image quality.
To protect your drone's camera lens effectively, consider these essential tips:
- Choose UV filters: They'll block harmful ultraviolet rays and protect against dust, scratches, and impacts.
- Opt for polarizing filters: These reduce glare and reflections, especially useful when shooting over water or in bright conditions.
- Use ND filters: They'll help you control exposure in bright daylight, allowing for slower shutter speeds and smoother video footage.
- Invest in multi-coated filters: These minimize lens flare and ghosting, ensuring clearer, more vibrant images.
Adjusting Shutter Speed Creatively
Mastering shutter speed opens up a world of creative possibilities for drone photographers. You'll be able to capture stunning effects that'll elevate your shots from amateur to professional. By adjusting your shutter speed, you can freeze action, create motion blur, or even paint with light.
For fast-moving subjects, use a quick shutter speed to freeze the moment. This technique's perfect for capturing birds in flight or waves crashing against rocks. Conversely, slow shutter speeds can create dreamy, ethereal effects. You'll love the silky smooth waterfalls or light trails from cars at night.
Here's a quick guide to shutter speed effects:
| Shutter Speed | Effect | Best For |
|---|---|---|
| 1/1000s or faster | Freeze action | Sports, wildlife |
| 1/60s – 1/250s | Standard | Everyday shots |
| 1/15s – 1s | Motion blur | Waterfalls, crowds |
Capturing Professional-Grade Aerial Footage
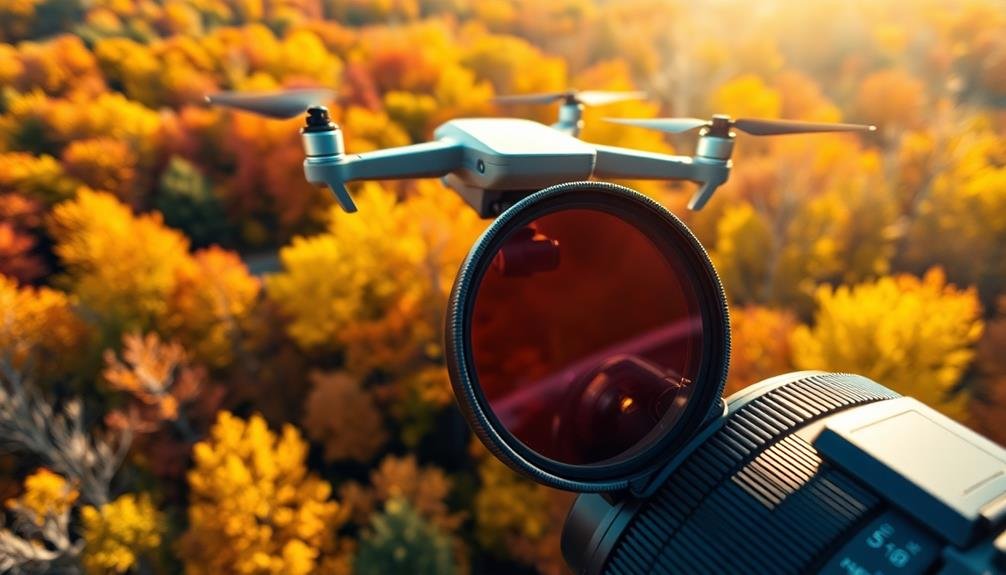
When shooting aerial footage, you'll want to contemplate using filters to enhance your color grading and achieve a more professional look.
ND filters can help you maintain control over your exposure settings, allowing for smoother footage even in bright conditions.
To minimize the visibility of propeller blades in your shots, try using a circular polarizing filter, which can reduce reflections and glare from shiny surfaces.
Enhance Aerial Color Grading
Elevating your aerial footage to professional standards requires mastering the art of color grading. When working with aerial shots, you'll face unique challenges like atmospheric haze, varying light conditions, and the need to maintain consistent color across different altitudes.
To enhance your aerial color grading, focus on these key aspects:
- Neutralize atmospheric haze: Use dehaze tools or adjust contrast and clarity to cut through the blue cast often present in aerial footage.
- Balance exposure: Correct for varying light conditions by carefully adjusting highlights, shadows, and midtones to create a balanced look across your entire sequence.
- Enhance saturation selectively: Boost colors in specific areas, like foliage or water bodies, without oversaturating the entire image.
- Create a consistent look: Develop a color preset that you can apply across all your aerial footage to maintain a cohesive style throughout your project.
Remember to work in a color-managed environment and use a calibrated monitor for accurate results.
Don't be afraid to experiment with different color grading techniques, but always aim for a natural, polished look that enhances rather than overpowers your aerial shots.
With practice, you'll develop a keen eye for color grading that elevates your aerial footage to professional levels.
Reduce Propeller Blade Visibility
One of the most frustrating challenges in aerial videography is the unwanted appearance of propeller blades in your footage. To combat this issue, you'll need to use specialized filters designed for drone cameras. These filters help reduce the visibility of propeller blades, ensuring your shots remain clean and professional.
When choosing a propeller blade reduction filter, consider the following options:
| Filter Type | Pros | Cons |
|---|---|---|
| ND (Neutral Density) | Reduces overall light, minimizing blade visibility | May require exposure adjustments |
| CPL (Circular Polarizer) | Cuts glare and enhances colors | Less effective in low-light conditions |
| UV (Ultraviolet) | Protects lens and reduces haze | Minimal impact on blade visibility |
| Variable ND | Adjustable light reduction | Can be more expensive |
To get the best results, you'll need to experiment with different filter types and strengths. Remember that weather conditions, time of day, and your drone's speed can all affect propeller blade visibility. By using the right filter and adjusting your shooting technique, you'll be able to capture stunning aerial footage without the distraction of visible propeller blades.
Mastering Low-Light Drone Photography
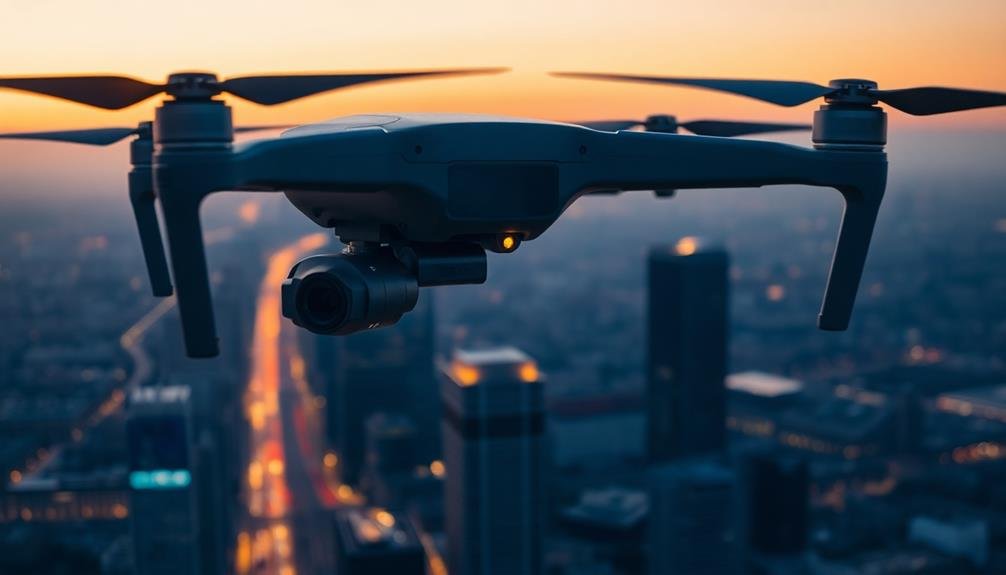
In the domain of aerial photography, mastering low-light drone shots can transform your nighttime images from grainy disappointments to stunning works of art.
You'll need to adapt your techniques and equipment to capture the subtle nuances of dimly lit landscapes. Start by investing in a drone with a larger sensor and wide aperture lens, as these are essential for gathering more light in challenging conditions.
To elevate your low-light drone photography, focus on these key aspects:
- Slow down your shutter speed to allow more light into the sensor, but be mindful of motion blur.
- Increase your ISO carefully, finding the sweet spot between brightness and noise.
- Use manual focus to guarantee sharp images, as autofocus may struggle in low light.
- Experiment with long exposure techniques to create light trails and capture city dynamics.
Don't forget to stabilize your drone using tripod mode or gimbal lock features.
Post-processing plays an important role in enhancing low-light shots, so shoot in RAW format to preserve maximum data.
With practice and patience, you'll soon be capturing breathtaking nighttime aerial images that stand out from the crowd.
Customizing Shots for Specific Environments
While mastering low-light drone photography opens up new creative possibilities, adapting your shots to specific environments can take your aerial imagery to the next level. When you're shooting in different settings, you'll need to adjust your approach to capture the best possible images.
For urban environments, consider using polarizing filters to reduce glare from reflective surfaces like glass buildings and water bodies. These filters also enhance contrast and color saturation, making cityscapes pop.
In natural settings, neutral density (ND) filters are your best friend. They allow you to use slower shutter speeds, creating dreamy effects for waterfalls or smoothing out choppy waters. For landscape photography, graduated ND filters help balance exposure between bright skies and darker foregrounds.
When shooting in harsh sunlight, UV filters can reduce haze and protect your lens.
Don't forget about color filters. They can enhance or alter the mood of your shots. For example, warming filters add a golden glow to sunset scenes, while cooling filters can create a crisp, clean look for winter landscapes.
Frequently Asked Questions
Are Camera Filters Compatible With All Types of Cameras?
Camera filters aren't universally compatible with all cameras. You'll need to check your camera's lens thread size and filter mount. Some compact or smartphone cameras may require special adapters or have limited filter options.
How Do You Clean and Maintain Camera Filters?
To clean your camera filters, use a microfiber cloth and gentle lens cleaner. Don't use harsh chemicals. Store them in protective cases when not in use. Regularly inspect for scratches or damage. Handle filters carefully to maintain their quality.
Can Filters Be Stacked for Combined Effects?
Yes, you can stack filters for combined effects. It's a common technique to enhance your photos. You'll want to be careful not to use too many, though, as it can reduce image quality or cause vignetting.
What's the Difference Between Screw-On and Square/Rectangular Filters?
You'll find screw-on filters attach directly to your lens, while square/rectangular filters slide into a holder. Screw-ons are more compact, but square filters allow for easier adjustments and stacking. Choose based on your shooting style and needs.
Do Digital Filters Provide the Same Results as Physical Camera Filters?
No, digital filters can't fully replicate physical camera filters. While they're convenient, you'll find that physical filters offer better light control and image quality. They also allow you to capture effects in-camera, saving post-processing time.
In Summary
You've now explored the power of camera filters for pro-level shots. They're essential tools to enhance your images, control light, and achieve cinematic looks. Don't underestimate their ability to reduce glare, create long exposures, and adjust shutter speed creatively. Whether you're shooting on the ground or in the air, filters can help you master various environments and lighting conditions. Embrace these techniques, and you'll elevate your photography to new heights.
As educators and advocates for responsible drone use, we’re committed to sharing our knowledge and expertise with aspiring aerial photographers.


Leave a Reply