To capture stunning aerial shots, start by mastering gimbal control sensitivity. Adjust settings gradually, focusing on smooth movements. Next, optimize yaw, pitch, and roll for multi-dimensional shots. Leverage automated flight modes like orbit and waypoint for pre-planned paths. Fine-tune gimbal follow speed to match your subject and shooting style. Finally, guarantee proper weight distribution by balancing each axis individually. Practice these techniques in various scenarios to improve your aerial cinematography skills. By implementing these gimbal stabilization tips, you'll elevate your drone footage from shaky to professional-grade. Discover how these strategies can transform your aerial filmmaking.
Key Takeaways
- Adjust gimbal sensitivity gradually, starting low and increasing for comfort and control.
- Master yaw, pitch, and roll movements for smooth, multi-dimensional shots.
- Utilize automated flight modes like orbit and waypoint for pre-planned cinematic sequences.
- Fine-tune gimbal follow speed to match the scene's pace and subject movement.
- Ensure proper weight distribution by balancing each axis individually for optimal stability.
Master Gimbal Control Sensitivity
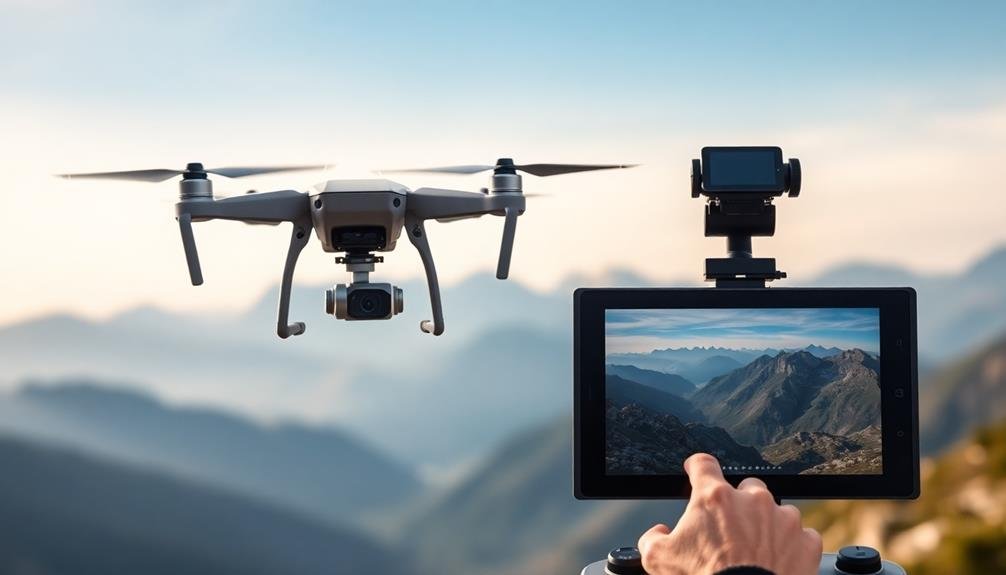
A gimbal's control sensitivity can make or break your footage. To master this significant aspect, start by adjusting your gimbal's settings to match your shooting style and environment. Experiment with different sensitivity levels, finding the sweet spot between responsiveness and smoothness.
Begin with lower sensitivity settings and gradually increase them as you become more comfortable. This approach allows you to develop muscle memory and precise control. Pay attention to your movements, aiming for gentle, fluid motions rather than abrupt changes.
Practice panning and tilting at various speeds, focusing on maintaining smooth shifts. Use visual markers or reference points to help guide your movements and maintain consistent speed.
Don't forget to customize your gimbal's deadband settings. This feature prevents unintentional movements caused by slight joystick inputs, ensuring smoother shots. Adjust it to your preference, balancing stability with responsiveness.
Remember that different shots may require different sensitivity levels. Fast-paced action scenes might benefit from higher sensitivity, while slow, cinematic shots often work better with lower settings.
Always test your settings before important shoots and be prepared to make on-the-fly adjustments as needed.
Optimize Yaw, Pitch, and Roll
Mastering yaw, pitch, and roll is essential for achieving professional-level gimbal shots. These three axes of rotation form the foundation of smooth, cinematic movements.
To optimize yaw, focus on controlled horizontal panning. Start with slow, deliberate movements and gradually increase speed as you gain confidence. Practice maintaining a consistent pace throughout the pan for seamless shots.
For pitch control, concentrate on vertical tilting motions. Experiment with different angles to add depth and perspective to your footage. When tilting up or down, use gentle, fluid movements to avoid jarring changes.
Combine pitch with forward or backward motion to create dynamic reveal shots.
Roll adjustments can add a unique flair to your footage. Use subtle roll movements to correct horizon lines or create intentional Dutch angle shots. Be cautious with roll, as excessive use can disorient viewers.
Practice shifting between different roll angles smoothly for more polished results.
Integrate all three axes in your movements to create complex, multi-dimensional shots. Start with simple combinations and progressively challenge yourself with more intricate patterns.
Remember to maintain balance and stability throughout your movements for the best results.
Leverage Automated Flight Modes
While manual control is essential, leveraging automated flight modes can greatly enhance your gimbal footage. Most modern drones offer a variety of automated flight modes that can help you achieve smooth, professional-looking shots with minimal effort. These modes are designed to handle complex flight patterns while allowing you to focus on camera control and composition.
Here's a table of common automated flight modes and their uses:
| Flight Mode | Best Used For |
|---|---|
| Orbit | Circular shots around a subject |
| Waypoint | Pre-planned flight paths |
| Follow Me | Tracking moving subjects |
| Cable Cam | Linear movements between points |
| Dronie | Dramatic reveal shots |
To make the most of these modes, practice them in a safe environment before using them on a shoot. Remember that while automated modes can produce stunning results, they're not foolproof. Always maintain situational awareness and be ready to take manual control if needed. Combine these modes with your manual flying skills and gimbal control techniques to create truly cinematic aerial footage. Experiment with different modes and settings to find what works best for your specific shooting style and subject matter.
Fine-tune Gimbal Follow Speed
Beyond automated flight modes, fine-tuning your gimbal's follow speed can greatly enhance the quality of your footage. This setting determines how quickly your camera responds to drone movements, affecting the smoothness of your shots. A slower follow speed creates more cinematic, gradual movements, while a faster speed allows for more responsive tracking.
To adjust your gimbal's follow speed, access your drone's settings through its app. You'll typically find options for pitch, roll, and yaw follow speeds. Start with slower speeds for sweeping landscape shots and faster speeds for action sequences. Experiment with different settings to find what works best for your shooting style and subject matter.
Consider the type of shot you're aiming for when adjusting follow speed. For reveal shots, use a slow follow speed to create a dramatic buildup. For tracking moving subjects, a faster speed guarantees your camera keeps up with the action.
Remember, you can always fine-tune these settings mid-flight if needed.
Practice adjusting your gimbal's follow speed in various scenarios to develop a feel for how it affects your footage. This will help you quickly select the best settings for each shot, improving your overall aerial cinematography skills.
Balance Weight Distribution Properly
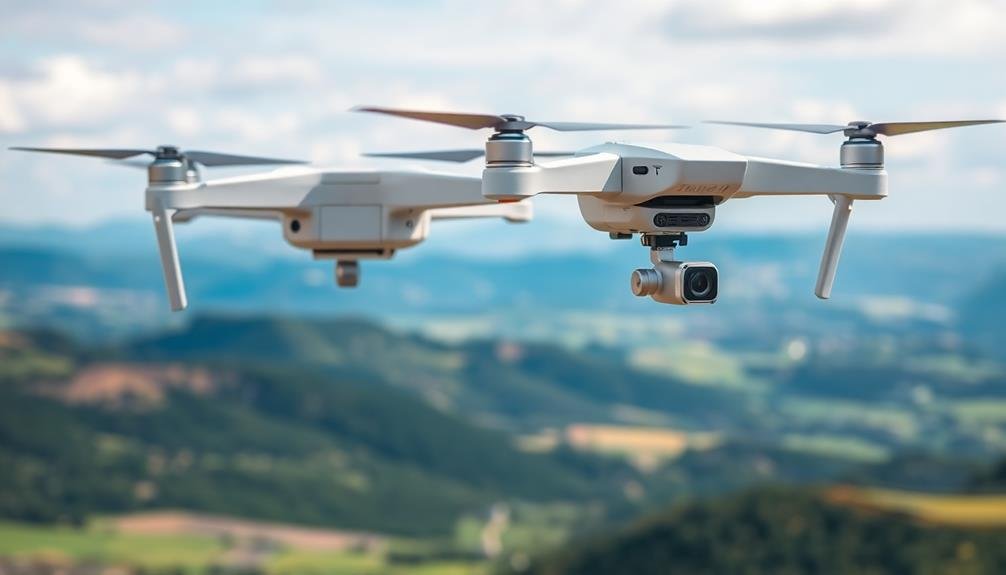
Proper weight distribution can make or break your gimbal's performance. To achieve ideal stability, you'll need to balance your camera setup meticulously. Start by mounting your camera and all accessories onto the gimbal, then adjust each axis individually.
Begin with the tilt axis, ensuring the camera remains level when you release it at any angle. Move on to the roll axis, verifying that the camera stays upright when rotated. Finally, balance the pan axis so the camera maintains its position when the gimbal is held horizontally.
If you're struggling to achieve balance, consider using counterweights or adjusting the position of heavier accessories like external monitors or batteries. Remember that even small changes in your setup, such as switching lenses or adding filters, can affect the balance. Always re-check and adjust as needed before each shoot.
A well-balanced gimbal not only produces smoother footage but also reduces motor strain, extending battery life and preventing overheating.
It'll also make your gimbal more responsive to intentional movements, giving you greater control over your shots. Take the time to master this essential step, and you'll see a significant improvement in your aerial cinematography.
Frequently Asked Questions
How Do Weather Conditions Affect Gimbal Stabilization During Aerial Shots?
Weather conditions greatly impact your gimbal stabilization. Wind can cause camera shake, while rain or snow might interfere with sensors. Extreme temperatures affect battery life and performance. You'll need to adjust settings and techniques for ideal results.
What Are the Best Camera Settings for Gimbal-Stabilized Aerial Photography?
You'll want to use a fast shutter speed, around 1/1000s, to freeze motion. Set your aperture to f/5.6-f/8 for sharpness, and keep ISO low. Use continuous autofocus and burst mode for the best results.
How Can I Reduce Propeller Visibility in Aerial Footage?
To reduce propeller visibility, you'll want to use a wider lens, lower your shutter speed, and fly slower. Try ND filters, adjust your gimbal's angle, and position your camera further from the propellers when possible.
Are There Specific Gimbal Models Recommended for Different Types of Drones?
You'll find specific gimbals for different drones. For DJI drones, try their proprietary gimbals. Freefly's MōVI Pro works well with larger drones. For smaller models, consider the Tarot T-3D or Zenmuse X5S. Always check compatibility before buying.
What Post-Processing Techniques Can Enhance Gimbal-Stabilized Aerial Footage?
You can enhance your gimbal-stabilized aerial footage by applying color correction, adjusting exposure, and fine-tuning stabilization in post. Don't forget to crop out any unwanted elements and add slow-motion effects for smoother results.
In Summary
You've now got the tools to take your aerial shots to the next level. Remember, practice makes perfect when it comes to gimbal control. Don't be afraid to experiment with different settings and techniques. As you master these five tips, you'll see a dramatic improvement in your footage. Keep pushing your skills, and soon you'll be capturing breathtaking aerial shots that'll leave viewers in awe. Happy flying and filming!

As educators and advocates for responsible drone use, we’re committed to sharing our knowledge and expertise with aspiring aerial photographers.


Leave a Reply