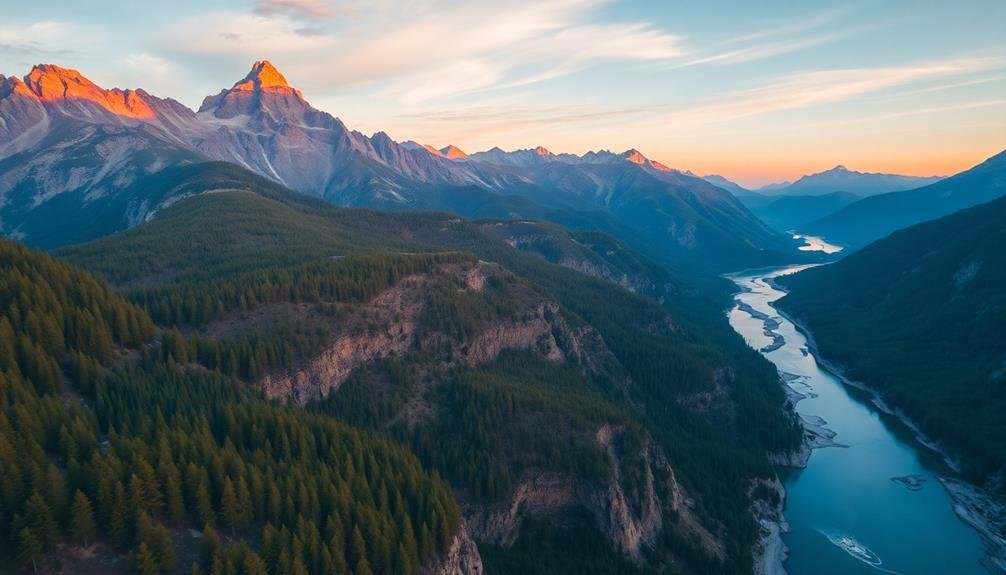
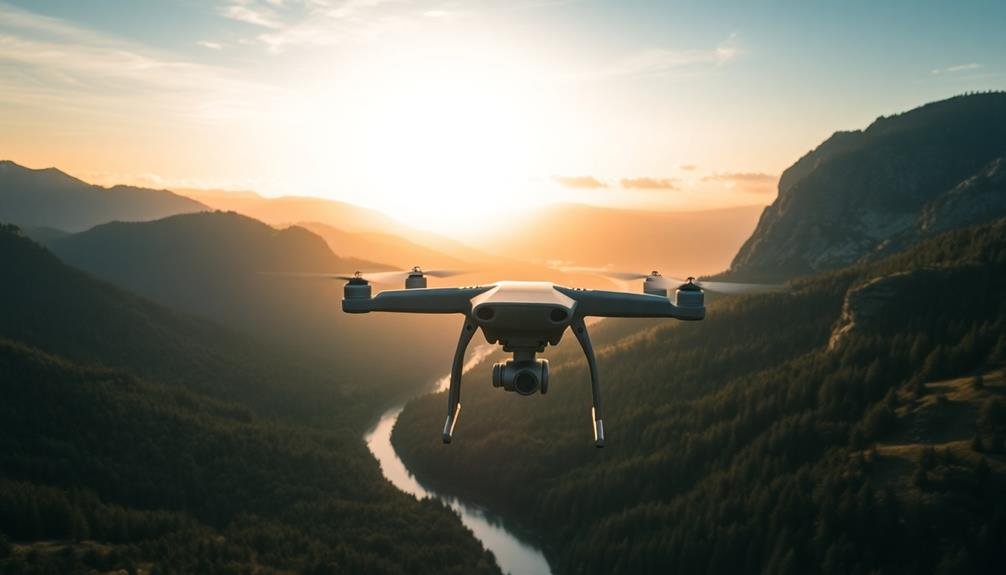
For aerial landscape photography with flying rigs, you'll need to adjust your camera settings for ideal results. Use a fast shutter speed of at least 1/500s to guarantee sharp images, and increase it in windy conditions. Set your aperture between f/8 and f/16 to maximize depth of field while avoiding diffraction. Adjust your ISO based on lighting conditions, starting low in bright sunlight and increasing as needed in darker situations. Fine-tune your white balance to capture natural colors, and consider manual focus for precise control. By mastering these settings, you'll be well-equipped to capture breathtaking aerial landscapes. Let's explore each aspect in more detail to elevate your flying rig photography.
Key Takeaways
- Use fast shutter speeds of 1/500s or higher to ensure sharp images during aerial movement.
- Set smaller apertures (f/8 to f/11) for increased depth of field in landscape shots.
- Adjust ISO based on lighting conditions, balancing image quality with necessary shutter speed.
- Opt for manual focus and set to infinity or slightly before for optimal sharpness.
- Use custom white balance settings to accurately capture natural colors in varying light conditions.
Optimal Shutter Speed for Aerial Shots
When capturing aerial landscapes, shutter speed plays an essential role in achieving sharp, well-defined images. You'll want to use a fast shutter speed to freeze motion and prevent camera shake, especially when shooting from a moving platform like a drone or helicopter.
For most aerial landscape shots, aim for a shutter speed of at least 1/500th of a second. This will help guarantee your images remain crisp, even with slight movements of your aircraft. If you're using a longer focal length lens or shooting in windy conditions, you might need to increase your shutter speed to 1/1000th or even 1/2000th of a second.
However, be mindful of your other exposure settings. To maintain a fast shutter speed, you may need to increase your ISO or open up your aperture. Balance these settings to achieve the desired depth of field and image quality while keeping your shutter speed high.
In low light situations, such as during golden hour or blue hour, you might need to compromise on shutter speed. In these cases, use image stabilization if available and take multiple shots to increase your chances of capturing a sharp image.
Aperture Settings for Landscape Depth

For landscape photography, aperture settings play an essential role in determining the depth of field and overall sharpness of your images. When shooting landscapes, you'll typically want to maximize the depth of field to guarantee both foreground and background elements are in focus. To achieve this, use smaller apertures (higher f-numbers) like f/11 or f/16.
However, keep in mind that extremely small apertures (f/22 and beyond) can introduce diffraction, slightly reducing overall image sharpness. It's often best to find a balance between depth of field and sharpness by using apertures in the f/8 to f/16 range.
Here's a quick reference guide for aperture settings in landscape photography:
| Aperture | Depth of Field | Use Case |
|---|---|---|
| f/8 | Moderate | General landscapes |
| f/11 | Large | Most landscapes |
| f/16 | Very large | Foreground emphasis |
Remember to adjust your shutter speed and ISO accordingly when changing aperture settings. If you're using a tripod, you can afford longer exposures to compensate for smaller apertures. In situations where you need faster shutter speeds, consider focus stacking techniques to achieve maximum depth of field while maintaining image sharpness.
ISO Considerations in Varying Light

ISO settings come into play considerably when you're dealing with varying light conditions in landscape photography. As you're shooting landscapes, you'll often encounter changing light throughout the day.
In bright sunlight, stick to lower ISO values like 100 or 200 to maintain image quality and minimize noise. However, as the light fades during golden hour or blue hour, you might need to increase your ISO to 400 or 800 to maintain a proper exposure without compromising shutter speed.
When shooting in low light conditions, such as during twilight or for night landscapes, you'll likely need to push your ISO even higher, potentially to 1600 or 3200. Be aware that higher ISO values introduce more digital noise, which can affect image quality. Modern cameras handle high ISO better than older models, but it's still essential to find the right balance between exposure and noise.
If you're using a flying rig for your landscape photography, consider the additional movement and vibration. You might need to increase your ISO slightly to allow for faster shutter speeds, ensuring sharp images despite the rig's motion.
Always test your settings and review your images to find the best ISO for each unique lighting situation.
White Balance for Sky-Ground Balance

Mastering white balance is essential for achieving a harmonious balance between the sky and the ground in landscape photography. When shooting with flying rigs, you'll often encounter varying light conditions that can affect the overall color temperature of your images. To guarantee your landscapes look natural and vibrant, you'll need to adjust your white balance settings accordingly.
Start by evaluating the scene's dominant light source. Is it warm sunlight, cool shade, or a mix of both? Use your camera's preset white balance options or set a custom Kelvin temperature to match the conditions. Remember, you can fine-tune these settings in post-processing, but getting it right in-camera will save you time and effort later.
| Light Condition | White Balance Setting | Kelvin Temperature |
|---|---|---|
| Direct Sunlight | Daylight | 5200-5500K |
| Cloudy Sky | Cloudy | 6000-6500K |
| Shade | Shade | 7000-8000K |
Don't be afraid to experiment with different white balance settings to achieve the desired mood in your landscape photos. You might find that a slightly warmer or cooler tone enhances the overall atmosphere of your image. Remember, the goal is to create a balanced, natural-looking scene that captures the beauty of the landscape as you see it.
Focusing Techniques for Aerial Landscapes
Achieving tack-sharp focus in aerial landscape photography presents unique challenges compared to ground-based shooting. When you're capturing landscapes from above, the entire scene is often at a similar distance from your camera, making traditional focusing techniques less effective.
To guarantee your aerial shots are crisp and clear, you'll need to adapt your focusing strategy. First, switch to manual focus mode. This gives you full control over your focal point and prevents the camera from hunting for focus mid-flight. Set your lens to infinity focus or just short of it to maximize sharpness across the frame. Use a smaller aperture, typically f/8 to f/11, to increase your depth of field and compensate for any slight focusing errors.
Consider these additional techniques to enhance your aerial focusing:
- Use focus peaking if your camera offers it
- Employ back-button focusing for quick adjustments
- Zoom in on your LCD screen to check critical focus
- Take multiple shots at slightly different focus points
Remember to always shoot in RAW format to give yourself more latitude in post-processing.
With practice and these techniques, you'll master the art of focusing in aerial landscape photography, capturing breathtaking images from above.
Frequently Asked Questions
What Safety Precautions Should I Take When Using a Flying Rig?
When using a flying rig, you'll need to prioritize safety. Always check your equipment, follow local regulations, and avoid crowded areas. Don't fly in harsh weather conditions, and maintain visual contact with your device at all times.
How Do Weather Conditions Affect Aerial Landscape Photography?
Weather greatly impacts your aerial shots. You'll need to adjust for changing light, wind, and visibility. Cloudy days can soften light, while sunny conditions create harsh shadows. Wind affects stability, and fog or rain can add atmosphere or hinder visibility.
What File Formats Are Best for Capturing Aerial Landscape Images?
For aerial landscapes, you'll want to use RAW format. It captures more data, giving you greater flexibility in post-processing. If storage is limited, you can opt for high-quality JPEG, but you'll sacrifice some editing potential.
Are There Legal Restrictions for Using Drones in Landscape Photography?
Yes, there are legal restrictions for drone use in photography. You'll need to follow local regulations, obtain necessary permits, and respect no-fly zones. Always check current laws, as they vary by location and can change frequently.
How Can I Stabilize My Camera on a Flying Rig for Sharper Images?
You'll want to use a gimbal for stabilization. Set a fast shutter speed, enable image stabilization, and use auto-focus. Consider a remote control for less vibration. Shoot in burst mode for more chances at sharp images.
In Summary
You've now got the key camera settings for stunning aerial landscape photography. Remember, it's all about balancing shutter speed, aperture, and ISO to capture sharp, well-exposed images. Don't forget to adjust your white balance and focus for the best results. With practice, you'll master these techniques and create breathtaking shots from above. Keep experimenting, and you'll soon be capturing landscapes from perspectives you've never imagined possible.
As educators and advocates for responsible drone use, we’re committed to sharing our knowledge and expertise with aspiring aerial photographers.


Leave a Reply