Elevate your cinematography with these top aerial crane shot techniques. Master vertical ascents and descents for dramatic reveals, and use circular orbit tracking to capture stunning 360-degree views. Try the sideways glide maneuver to add depth, or employ reveal shots to build suspense. Perfect dynamic follow shots to track subjects smoothly, and experiment with reverse reveals for intriguing landscape changes. Don't forget the spiral descent pattern for a mesmerizing downward journey. Adjust altitude to shift perspective and enhance emotional impact. By mastering these techniques, you'll create breathtaking footage that sets your work apart. Discover how to apply these methods for truly cinematic results.
Key Takeaways
- Master vertical ascent and descent for dramatic reveals, controlling speed for emotional impact.
- Utilize circular orbit tracking to create 360-degree views around a central subject.
- Implement smooth sideways glide maneuvers to add motion and depth to shots.
- Execute dynamic follow shots, maintaining consistent speed while tracking moving subjects.
- Employ reveal techniques to gradually disclose scenes, creating suspense and visual interest.
Vertical Ascent and Descent
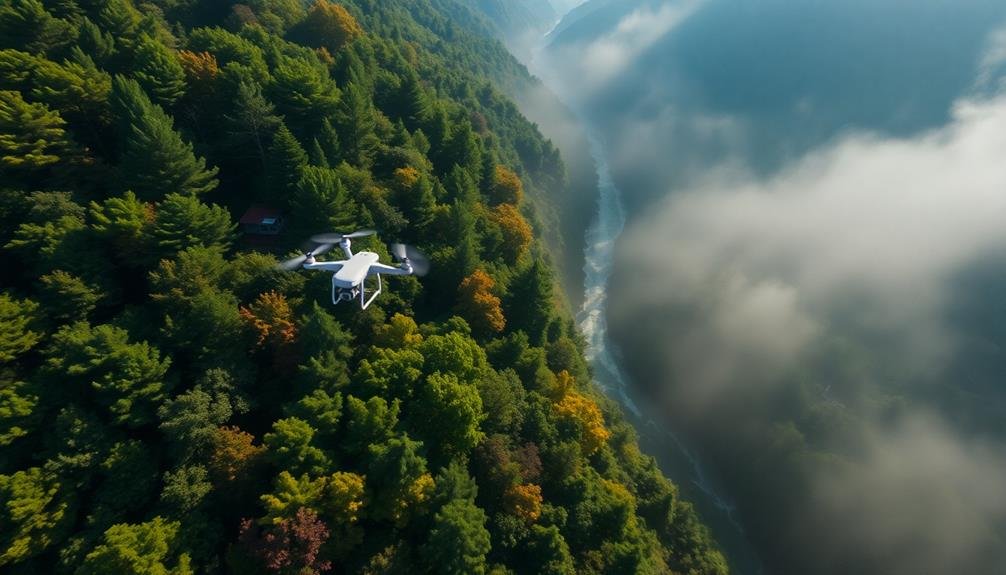
The vertical ascent and descent are fundamental techniques in aerial crane cinematography. You'll use these movements to create dramatic reveals or to gradually expose or conceal elements within your frame.
When executing a vertical ascent, start with your camera low, focusing on your subject. Slowly raise the crane arm, maintaining a steady pace to guarantee smooth footage. As you ascend, you'll disclose more of the surrounding environment, adding depth and context to your shot.
For a vertical descent, begin with your camera high, capturing a wide view of the scene. Gradually lower the crane arm, narrowing the frame and drawing attention to specific details. This technique is particularly effective for shifting from establishing shots to more intimate scenes.
To master these movements, practice maintaining a consistent speed throughout the shot. Use your crane's counterweight system to achieve fluid motion.
Experiment with different speeds to create varying emotional impacts. Slower movements tend to be more dramatic, while faster ones can add energy to your footage.
Remember to reflect on your subject's movement within the frame as you ascend or descend, adjusting your composition accordingly.
Circular Orbit Tracking
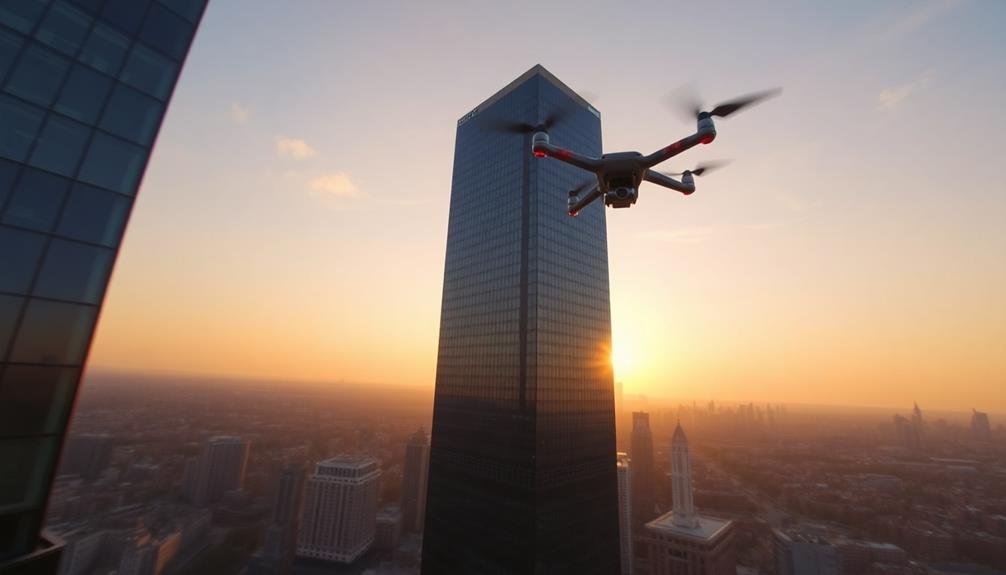
In addition to vertical movements, circular orbit tracking stands out as a dynamic technique in aerial crane cinematography. This method involves the camera moving in a circular path around a central subject, creating a fascinating 360-degree view.
To carry out this shot effectively, you'll need to maintain a consistent distance from your subject while smoothly rotating the crane arm. Start by positioning your crane at the desired radius from the subject. Verify your camera is level and pointed directly at the focal point.
As you begin the circular movement, coordinate the pan of the camera head with the rotation of the crane arm. This synchronization is essential for keeping your subject centered in the frame throughout the orbit.
You can vary the speed of your orbit to achieve different effects. A slow, steady rotation often creates a sense of grandeur, while a faster orbit can add excitement or urgency to a scene.
Remember to reflect on your subject's orientation relative to the sun or other light sources as you move, as this can dramatically affect the shot's mood and visual impact.
Parallax Push/Pull
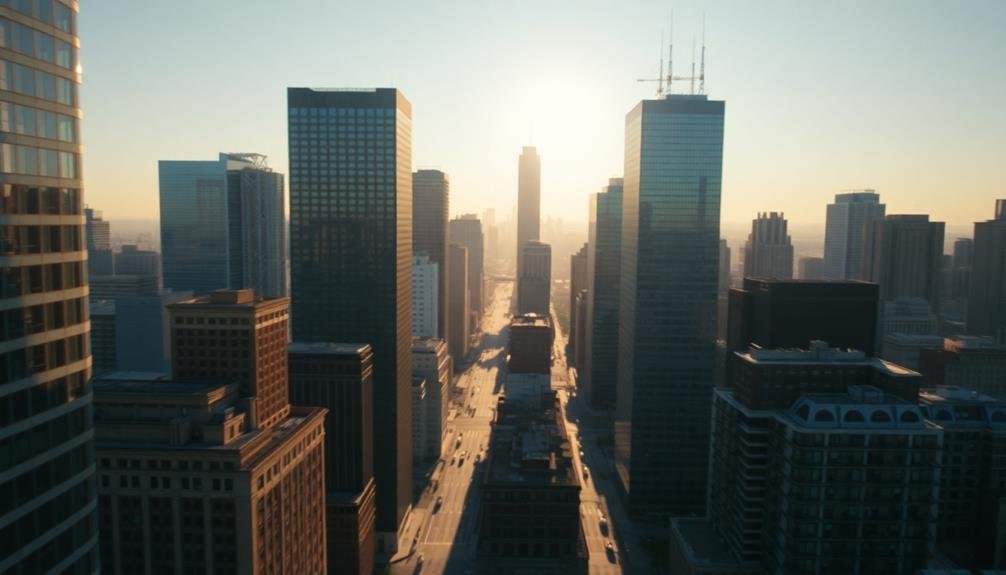
While circular orbit tracking offers a sweeping panoramic view, parallax push/pull techniques introduce a dynamic sense of depth to aerial crane shots. This method involves moving the camera towards or away from a subject while simultaneously adjusting the zoom to maintain a consistent frame size. The result is a compelling visual effect where the foreground and background appear to move at different speeds, creating a three-dimensional illusion.
To execute a parallax push/pull shot effectively, follow these steps:
- Choose a subject with distinct foreground and background elements
- Begin with a wide-angle view and slowly move the crane towards the subject
- As you move forward, gradually zoom out to keep the subject's size consistent
- Maintain a steady speed throughout the movement for a smooth effect
You'll find that parallax push/pull shots work particularly well in landscapes with layered elements, such as cityscapes or mountain ranges.
They're also effective for revealing important details or creating a sense of anticipation. By mastering this technique, you'll add a powerful tool to your aerial cinematography arsenal, capable of producing visually striking and emotionally engaging footage.
Reveal Shot Technique
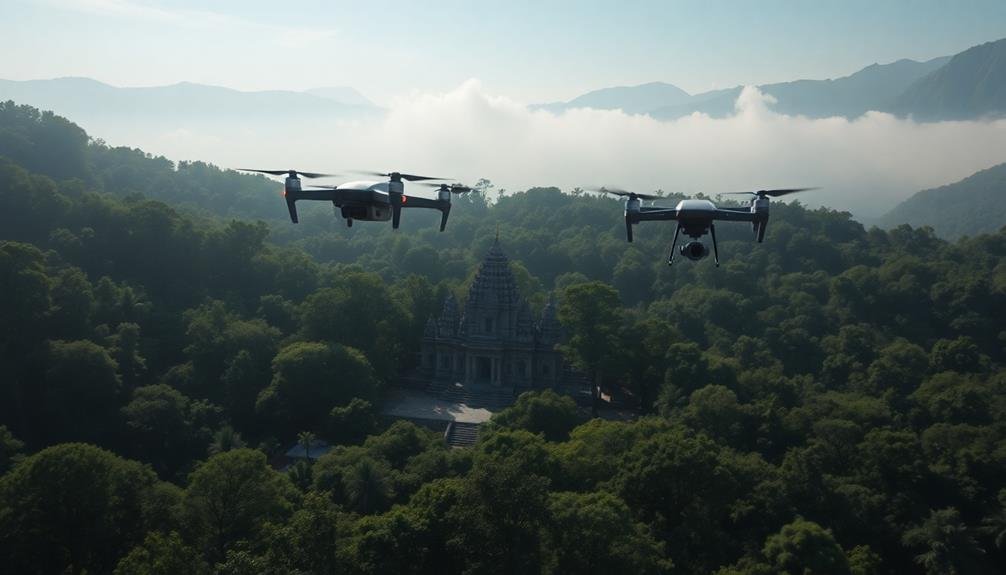
One of the most dramatic aerial crane shot techniques is the reveal shot. This technique involves gradually disclosing a scene or subject to create suspense and visual impact. You'll start with your camera focused on an object or area that obscures the main subject, then slowly move the crane to expose the hidden element.
To execute a reveal shot, you'll need to plan your movement carefully. Begin by positioning your crane so that the initial frame doesn't show your intended subject. As you operate the crane, move it smoothly and steadily to maintain a consistent pace. You can disclose your subject horizontally, vertically, or diagonally, depending on your creative vision and the scene's layout.
The key to a successful reveal shot is timing. You'll want to build anticipation by holding the initial shot long enough to create curiosity, but not so long that viewers lose interest.
As you disclose the subject, consider using other techniques like changing focus or adjusting the zoom to enhance the effect. Remember, the reveal shot is about creating a sense of discovery, so make sure your final frame delivers a powerful visual payoff.
Sideways Glide Maneuver
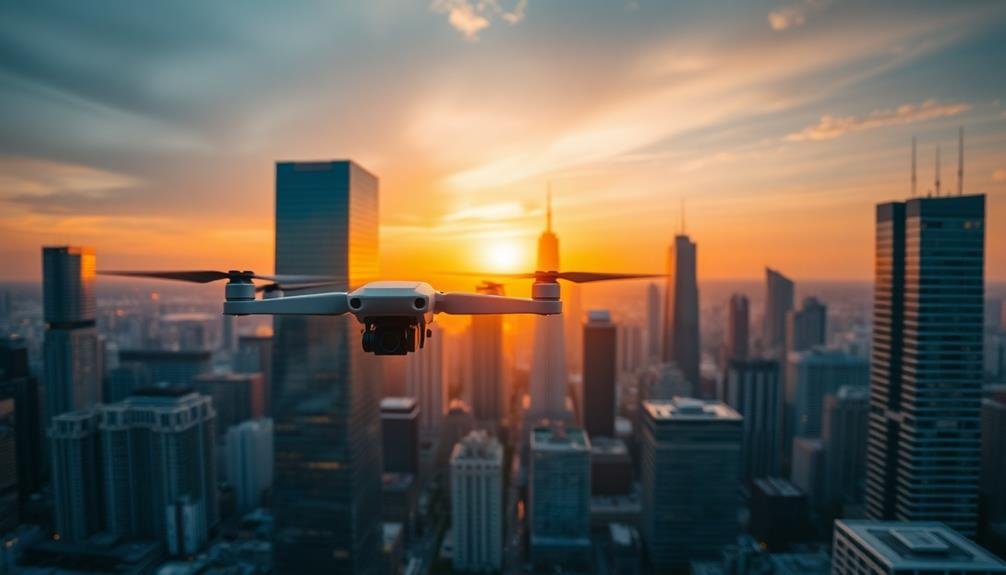
The sideways glide maneuver is a dynamic aerial crane technique that adds a sense of motion and depth to your shots. It involves moving the camera horizontally across a scene, maintaining a consistent height and speed. This technique is particularly effective for revealing landscapes, cityscapes, or following subjects in motion.
To execute a perfect sideways glide:
- Plan your flight path carefully, ensuring a clear line of sight and avoiding obstacles.
- Start with your camera facing the intended subject or scene.
- Begin moving sideways at a steady pace, keeping the camera locked on the subject.
- Adjust your speed to match the mood of the shot – slower for dramatic reveals, faster for energetic sequences.
You'll need to practice smooth control of your drone to achieve a fluid motion. Pay attention to wind conditions, as they can affect your glide's stability.
Consider using a gimbal to further stabilize your footage. The sideways glide works well when combined with other techniques, such as gradually changing altitude or adjusting focus.
Experiment with different angles and speeds to create unique perspectives that enhance your storytelling. Remember, the key is to maintain a smooth, consistent movement throughout the shot.
Establishing to Close-Up Transition
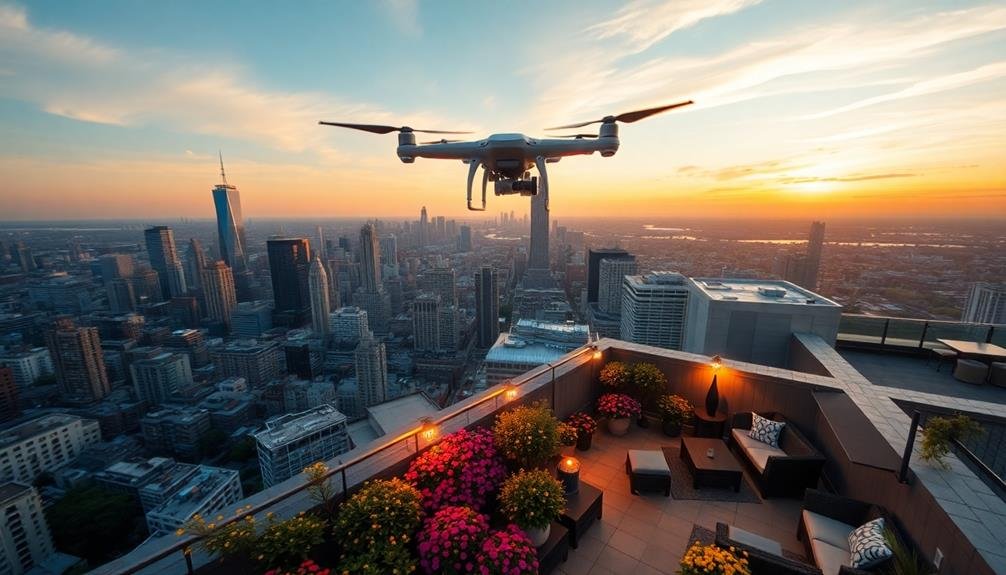
When executing an establishing to close-up shift, you'll need to meticulously plan your shot sequence.
You'll want to focus on maintaining a smooth altitude adjustment as you move from the wide view to your subject.
Timing the reveal is essential, so practice your approach to guarantee you capture the perfect moment when moving from the broad landscape to your specific point of interest.
Planning the Shot Sequence
Numerous aerial crane shots benefit from a well-planned sequence that shifts from establishing shots to close-ups. To create a compelling narrative flow, you'll need to carefully choreograph your shot progression.
Start by visualizing the entire sequence and how each shot will contribute to the overall story.
When planning your shot sequence, consider these key elements:
- Spatial orientation: Begin with a wide establishing shot to give viewers a sense of the location and context.
- Visual pacing: Gradually shift from wider shots to medium shots, building anticipation and guiding the viewer's eye.
- Subject reveal: Use the crane's movement to slowly disclose your main subject, creating intrigue and focus.
- Emotional impact: End with a dramatic close-up to emphasize important details or evoke a specific emotional response.
As you plan, think about the crane's speed, height, and angle for each shot. You'll want to guarantee smooth shifts between shots, maintaining a cohesive visual flow.
Don't forget to factor in any necessary camera adjustments, such as focus pulls or lens changes, that you'll need to execute during the sequence.
Smooth Altitude Adjustment
Smooth altitude adjustment forms the backbone of compelling aerial crane shots, especially when moving from establishing shots to close-ups. To master this technique, you'll need to practice precise control of your crane's vertical movement.
Start by setting your crane's speed to its slowest setting, allowing for gradual and controlled descent or ascent. As you shift from a wide shot to a close-up, maintain a steady pace throughout the movement. Avoid sudden jerks or changes in speed, which can disrupt the viewer's immersion.
Use visual markers in your frame to guide your descent, ensuring you're maintaining the desired composition as you move closer to your subject. Consider the parallax effect as you adjust altitude. Objects at different distances will appear to move at varying speeds, adding depth to your shot.
Capitalize on this by including foreground elements that enhance the sense of movement. When approaching your subject, gradually decrease your speed to achieve a smooth deceleration. This creates a more natural and less disorienting shift for the viewer.
Remember to account for wind conditions, as they can affect your crane's stability during altitude changes.
Timing the Reveal
Shifting from an establishing shot to a close-up, timing the disclosure is essential for creating impact and maintaining viewer engagement. You'll want to master this technique to create memorable aerial crane shots that captivate your audience.
Start by planning your shot's trajectory and identifying the key elements you want to reveal. Consider the pacing of your scene and how the disclosure will fit into the overall narrative.
To execute a well-timed disclosure:
- Begin with a wide establishing shot to set the scene
- Gradually move the camera closer to your subject
- Adjust speed and altitude as you approach the focal point
- Time the final disclosure to coincide with a dramatic moment or musical cue
As you practice, you'll develop a sense for the perfect moment to shift from the wide shot to the close-up. Pay attention to the rhythm of your footage and how it aligns with your story or message.
Remember that timing is vital – revealing too soon can diminish impact, while waiting too long might bore your viewers. Experiment with different speeds and angles to find the most effective approach for each unique shot.
Dynamic Follow Shot

When executing a dynamic follow shot with an aerial crane, you'll need to master smooth tracking movements to keep your subject in frame.
Consider the subject-to-background ratio carefully, ensuring your target remains prominent while showcasing the surrounding environment.
Maintain a consistent flight speed to create a stable and professional-looking shot that enhances the viewer's experience.
Mastering Smooth Tracking Movements
How can you elevate your aerial cinematography with dynamic follow shots? Mastering smooth tracking movements is key to capturing stunning footage that keeps your audience engaged. To achieve seamless follow shots, you'll need to combine precise drone control with careful planning and execution.
Start by practicing these essential techniques:
- Maintain a consistent speed: Keep your drone's velocity steady throughout the shot to avoid jarring movements or sudden accelerations.
- Use gentle stick movements: Make small, gradual adjustments to your drone's controls for smoother shifts and pans.
- Anticipate your subject's path: Predict where your subject will move and position your drone accordingly to capture the best angles.
- Utilize obstacle avoidance systems: Enable these features to help prevent collisions while focusing on your subject.
When executing a follow shot, start wide and gradually move closer to your subject. This creates a sense of intimacy and draws viewers into the scene.
Pay attention to your framing, ensuring your subject remains properly positioned within the shot. Consider using a gimbal to further stabilize your camera and reduce unwanted vibrations.
With practice and patience, you'll soon be capturing professional-quality follow shots that add depth and excitement to your aerial cinematography.
Subject-To-Background Ratio Considerations
As you master dynamic follow shots, it's crucial to take into account the subject-to-background ratio in your aerial cinematography. This ratio refers to the relative size of your main subject compared to its surroundings in the frame. When executing a dynamic follow shot, you'll need to adjust this ratio continuously to maintain visual interest and narrative focus.
Start by determining the ideal subject size for your shot. For close-ups, aim for the subject to occupy 50-70% of the frame. For medium shots, 30-50% is typically effective, while wide shots may have the subject taking up only 10-30% of the frame.
As you follow your subject, constantly adjust your drone's position and camera angle to maintain the desired ratio. Consider the background's complexity when choosing your ratio. A busier background may require a larger subject to maintain focus, while a simpler backdrop allows for a smaller subject.
Use the rule of thirds to position your subject effectively within the frame, and experiment with leading lines in the background to draw attention to your subject. Remember, the subject-to-background ratio is a powerful tool for guiding the viewer's eye and enhancing your storytelling.
Maintaining Consistent Flight Speed
Maintaining consistent flight speed is one of the most essential aspects of executing a successful dynamic follow shot. When you're operating an aerial crane, even slight variations in speed can disrupt the smooth flow of your footage. To achieve that cinematic quality, you'll need to master the art of steady movement.
To maintain consistent flight speed during your dynamic follow shots:
- Practice smooth acceleration and deceleration
- Use a speed controller or governor on your drone
- Employ GPS-assisted flight modes when available
- Monitor your drone's telemetry data in real-time
Start by familiarizing yourself with your drone's controls and response times. Gradual, deliberate movements will help you avoid sudden jerks or changes in speed. Many modern drones come equipped with intelligent flight modes that can assist in maintaining a set speed. Take advantage of these features, but don't rely on them entirely. It's vital to develop your own skills and instincts.
Keep an eye on environmental factors like wind speed and direction, as they can greatly impact your drone's movement. By anticipating and compensating for these external forces, you'll be able to capture smoother, more professional-looking dynamic follow shots that will elevate your aerial cinematography.
Reverse Reveal Technique
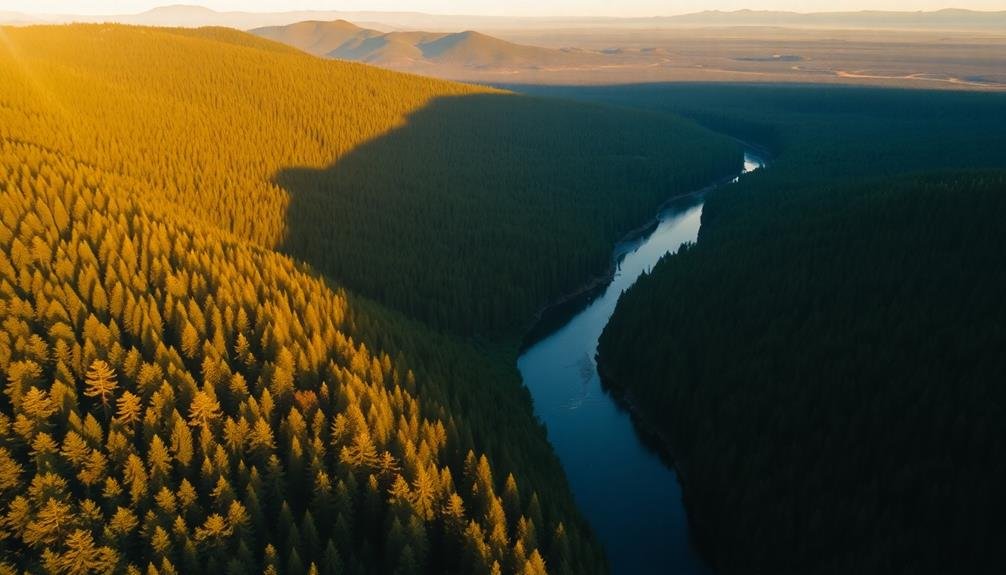
The reverse reveal technique is a powerful aerial crane shot method that captivates viewers by gradually disclosing a scene.
You'll start with your drone close to a subject or obstacle, then slowly move backward and upward to disclose the broader landscape. This creates suspense and intrigue as the audience's perspective expands.
To execute this technique, begin by positioning your drone near your focal point. Confirm you've scouted the area thoroughly and planned your flight path to avoid obstacles.
As you start recording, slowly increase altitude while moving backward. Maintain a steady speed and smooth motion throughout the shot.
You can enhance the impact by choosing subjects that contrast with their surroundings. For example, reveal a bustling city beyond a quiet forest or a modern structure amidst historical architecture.
Pay attention to your composition as the shot progresses, keeping key elements balanced within the frame.
Consider the lighting conditions and time of day to maximize the visual appeal of your reveal. Golden hour can add warmth and depth to your shot, while dramatic cloud formations can create a more dynamic sky as you ascend.
Spiral Descent Pattern
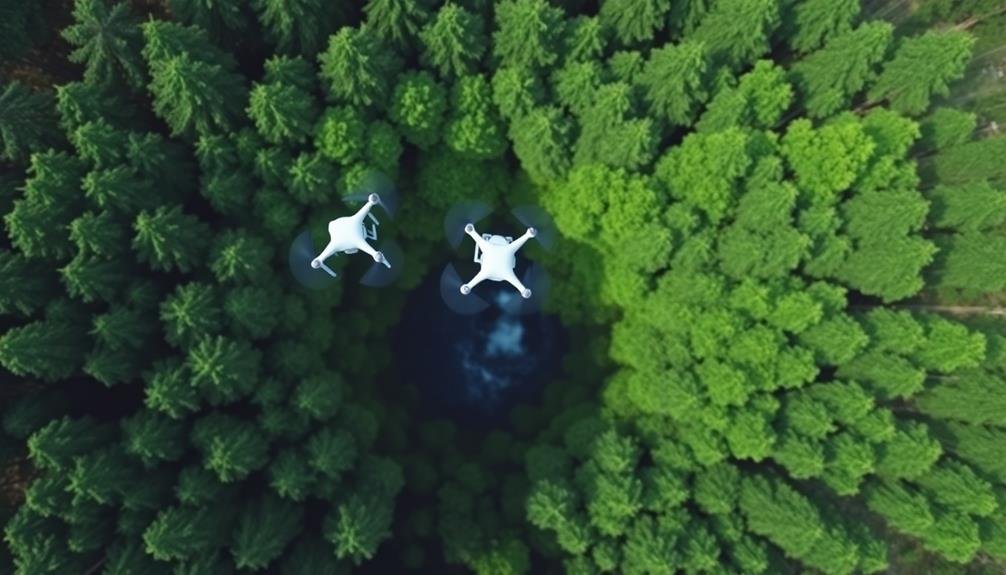
While the reverse reveal technique expands the viewer's perspective, the spiral descent pattern offers a dizzying, enthralling journey downward.
You'll create a mesmerizing shot that gradually discloses details of your subject as you spiral closer. This technique works exceptionally well for tall structures, natural landmarks, or crowded events.
To execute a perfect spiral descent:
- Begin high above your subject, capturing a wide aerial view.
- Slowly descend while moving in a circular pattern around the focal point.
- Gradually tighten your spiral as you get closer to the ground.
- Maintain a consistent speed and smooth movement throughout the shot.
As you descend, you'll provide your audience with an ever-changing perspective, revealing new layers and details of your subject.
This dynamic movement creates a sense of anticipation and keeps viewers engaged. You can adjust the speed of your descent and the tightness of your spiral to suit your specific subject and desired effect.
Remember to practice this technique in a safe, open area before attempting it in more challenging environments.
With mastery, you'll add a powerful, cinematic tool to your aerial cinematography arsenal.
Altitude Shift Perspective
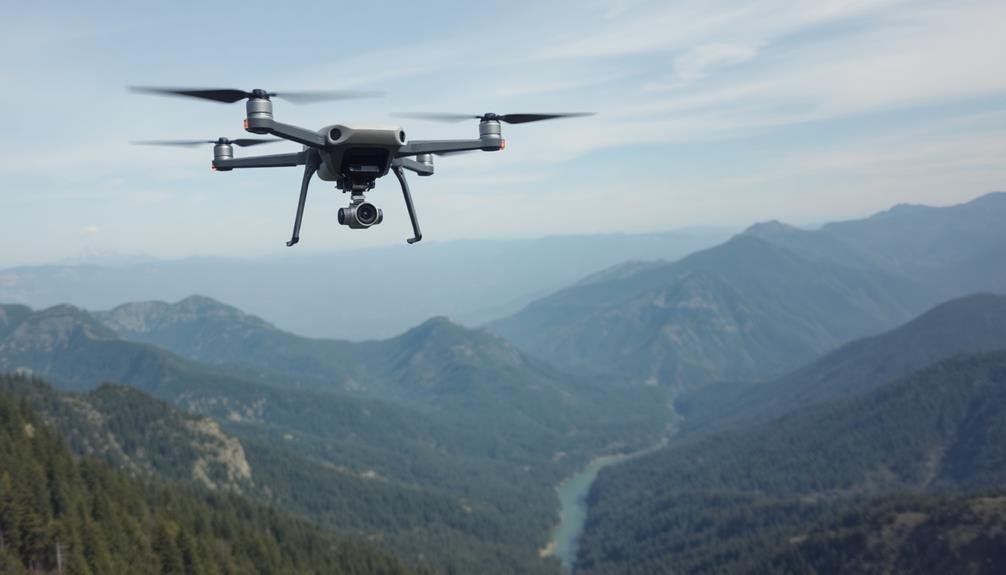
Shifting altitude during a shot can dramatically alter the perspective and emotional impact of your aerial footage. As you change elevation, you'll reveal new layers of the landscape, creating depth and visual interest.
Start high to establish the overall scene, then gradually descend to focus on specific details. This technique works particularly well when showcasing urban environments or natural landscapes with varied terrain.
To execute an effective altitude shift, maintain a smooth and steady descent or ascent. Use your drone's gimbal to keep the camera angle consistent as you change height.
Experiment with different speeds of altitude change to achieve various effects. A slow descent can build anticipation, while a rapid ascent can create a sense of exhilaration.
Consider combining altitude shifts with other movements, such as forward motion or panning. This adds complexity to your shot and can result in stunning cinematic sequences.
Pay attention to your surroundings and maintain safe flying practices as you change altitude. Always be aware of obstacles and adhere to local regulations regarding maximum flight heights.
With practice, you'll master the art of using altitude shifts to create enthralling aerial compositions.
Frequently Asked Questions
What Drone Models Are Best Suited for Aerial Crane Shots?
You'll want to contemplate drones like the DJI Inspire 2, Mavic 3 Pro, or Autel EVO II Pro. They offer excellent stability, high-quality cameras, and smooth flight controls essential for capturing professional-level aerial crane shots. Don't forget to practice!
How Do Weather Conditions Affect Aerial Crane Shot Techniques?
You'll need to adapt your aerial crane shots to weather conditions. Wind can disrupt stability, so fly slower and lower. Rain affects visibility and equipment safety. Sunlight impacts exposure. Always prioritize safety and check forecasts before filming.
What Are the Legal Restrictions for Using Drones in Aerial Cinematography?
You'll need to follow strict regulations when using drones for aerial cinematography. You must register your drone, obtain proper licenses, respect no-fly zones, maintain visual line of sight, and adhere to altitude and weight restrictions.
How Can I Improve Stabilization in Aerial Crane Shots?
To improve stabilization in aerial crane shots, you'll want to use a gimbal, balance your camera properly, employ smooth movements, and adjust your drone's settings. Don't forget to practice and consider using post-production stabilization software too.
What Post-Production Techniques Enhance Aerial Crane Shot Footage?
You can enhance aerial crane shot footage in post-production by color grading, applying stabilization filters, adjusting speed, adding motion blur, and using keyframes for dynamic movements. Don't forget to fine-tune audio and add subtle visual effects.
In Summary
You've now got a toolkit of impressive aerial crane shot techniques at your disposal. Don't be afraid to experiment and combine these methods to create truly unique footage. Remember, practice makes perfect, so get out there and start flying! With these skills, you'll elevate your cinematography to new heights. Keep pushing creative boundaries, and soon you'll be capturing breathtaking aerial shots that'll leave viewers in awe.

As educators and advocates for responsible drone use, we’re committed to sharing our knowledge and expertise with aspiring aerial photographers.


Leave a Reply