To elevate your travel drone videos, start by planning shots strategically and mastering smooth camera movements. Optimize exposure and color balance, incorporating dynamic range techniques for depth. Edit to music's rhythm, applying cinematic color grading to set the mood. Stabilize shaky footage in post-production and add location-specific text overlays for context. Blend aerial and ground perspectives to create a thorough narrative. Don't forget to utilize speed ramping effects for visual impact and highlight landmark names accurately. By implementing these pro tips, you'll transform your ordinary footage into stunning visual stories that captivate viewers. Discover how to bring these techniques to life in your next project.
Plan Your Shots Strategically
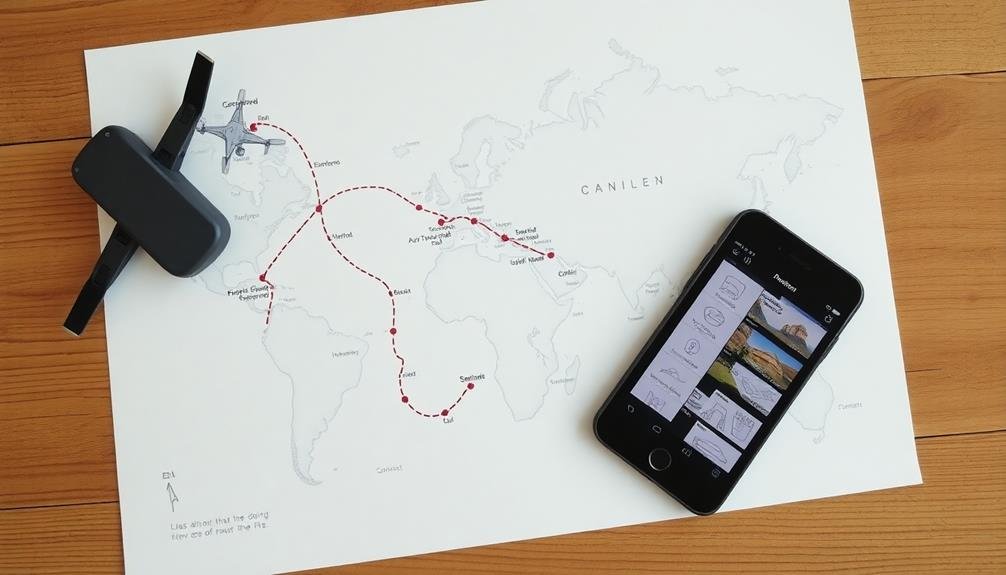
Storyboards are your secret weapon for creating enchanting travel drone videos. Before you even take off, sketch out the key shots you want to capture. This pre-planning will help you maximize your flight time and guarantee you don't miss any vital moments.
Consider the location's unique features and how you can showcase them from above. Think about incorporating a variety of shot types. Mix wide establishing shots with close-ups of interesting details. Plan for dynamic movements like reveals, orbits, and fly-throughs to add excitement to your footage.
Don't forget to capture shifts that will help your video flow smoothly from one scene to the next. Take into account the time of day and lighting conditions. Golden hour can transform an ordinary landscape into a breathtaking vista.
If you're shooting in a popular tourist spot, plan to fly early in the morning to avoid crowds and capture pristine scenes. Always check local regulations and obtain necessary permits before flying.
Master Smooth Camera Movements
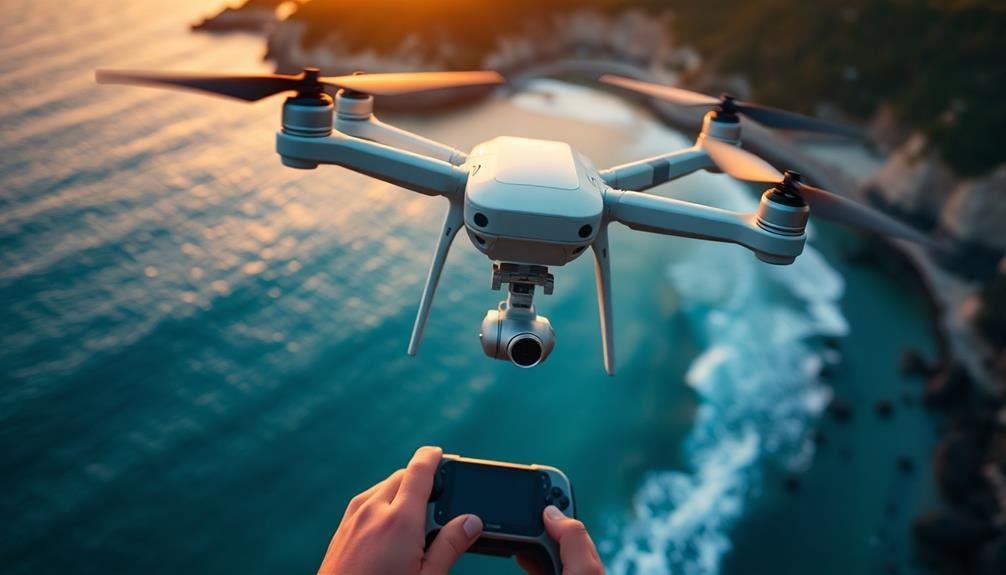
Smooth camera movements are the cornerstone of professional-looking drone footage. To master this skill, start by practicing basic maneuvers like panning, tilting, and tracking. Use your drone's intelligent flight modes, such as orbit or cable cam, to create consistent, fluid motions.
When flying manually, make gentle, gradual adjustments to your controls to avoid jerky movements. Experiment with different speeds for your shots. Slow, sweeping movements can create a sense of grandeur, while faster passes can add excitement. Always maintain a steady pace throughout each shot for a polished look.
Consider using a neutral density filter to achieve a cinematic motion blur, especially in bright conditions. Pay attention to your start and end points. Begin your movement before the main action and continue slightly past it to give yourself editing flexibility.
Use the rule of thirds to compose dynamic shots as you move. Practice flying backwards for reveal shots, but always be mindful of obstacles. Lastly, don't forget post-production. Use video stabilization software to smooth out any remaining bumps. Trim the beginning and end of your clips to showcase only the smoothest portions of your movements.
Optimize Exposure and Color Balance
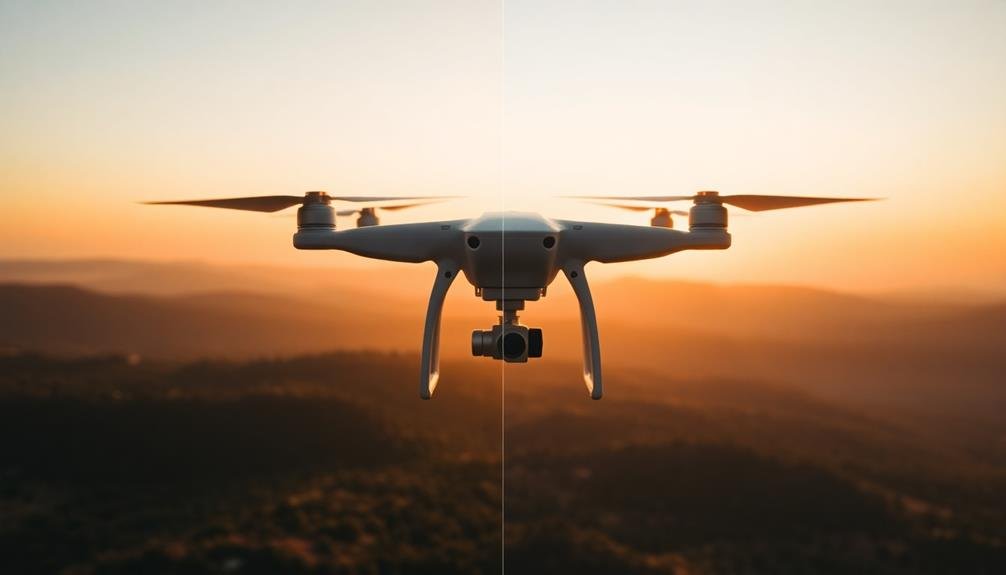
Proper exposure and color balance are essential for creating stunning drone footage. To optimize exposure, use your drone's histogram to guarantee you're capturing the full range of tones without clipping highlights or losing shadow detail. Adjust your camera's ISO, shutter speed, and aperture settings to achieve the desired exposure for your scene.
For perfect color balance, start by setting your drone's white balance to match the lighting conditions. You can use presets like "sunny" or "cloudy," or set a custom white balance using a gray card. If you're shooting in changing light conditions, consider using auto white balance and adjusting in post-production.
When editing your footage, use color correction tools to fine-tune exposure and color. Adjust contrast, highlights, shadows, and saturation to enhance the overall look of your video. Apply LUTs (Look-Up Tables) to achieve a specific cinematic style or to match your footage with other shots in your project.
Remember to maintain consistency in exposure and color across all your shots. This will help create a cohesive and professional-looking final product.
If you're struggling with exposure or color issues, consider shooting in a flat color profile or RAW format for more flexibility in post-production.
Incorporate Dynamic Range Techniques
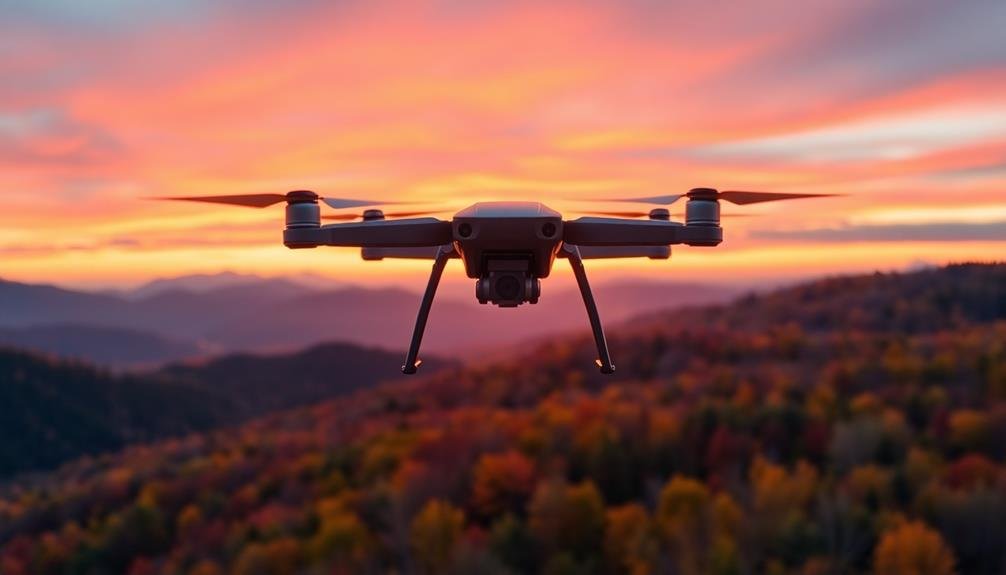
Mastering dynamic range techniques is essential for creating visually stunning drone videos. You'll need to capture and preserve details in both the brightest highlights and darkest shadows of your footage.
Start by shooting in a log or flat color profile, which retains more information across the tonal range. This gives you greater flexibility during post-processing.
When editing, use tools like curves, levels, and selective color adjustments to enhance the dynamic range. Apply subtle HDR effects to bring out details in shadows and highlights without creating an unrealistic look.
Experiment with graduated filters to balance exposure between bright skies and darker landscapes.
Don't shy away from high-contrast scenes; they can add drama to your footage. Instead, learn to work with them by using techniques like exposing for the highlights and recovering shadow details in post.
Consider using multiple exposures and blending them in post-production for challenging lighting situations.
Remember to maintain a natural look unless you're going for a stylized effect. Subtle adjustments often yield the best results.
Edit to Music's Rhythm
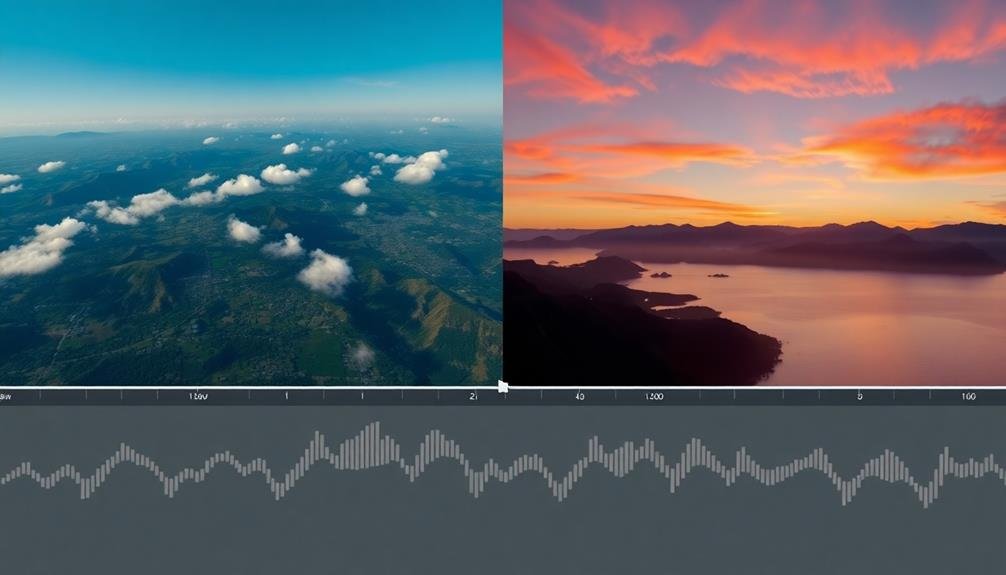
Syncing your drone footage to the rhythm of your chosen music can transform an ordinary travel video into a mesmerizing visual experience. Start by selecting a track that complements your footage and sets the desired mood. Listen carefully to identify the beat, tempo, and key moments in the song.
As you begin editing, align your cuts with the music's rhythm. Shift between shots on the beat to create a seamless flow. For slower sections, use longer, sweeping shots to match the pace. During more energetic parts, incorporate quick cuts and dynamic movements.
Pay attention to the song's structure, such as verses and choruses. Use these natural divisions to organize your footage into coherent segments. Highlight dramatic moments in your video to coincide with crescendos or drops in the music.
Experiment with speed ramping to emphasize certain drone movements. Slow down footage for a dreamy effect during mellow sections, then speed it up to match faster tempos.
Don't forget to adjust your clip durations to fit the music's timing precisely.
Utilize Speed Ramping Effects
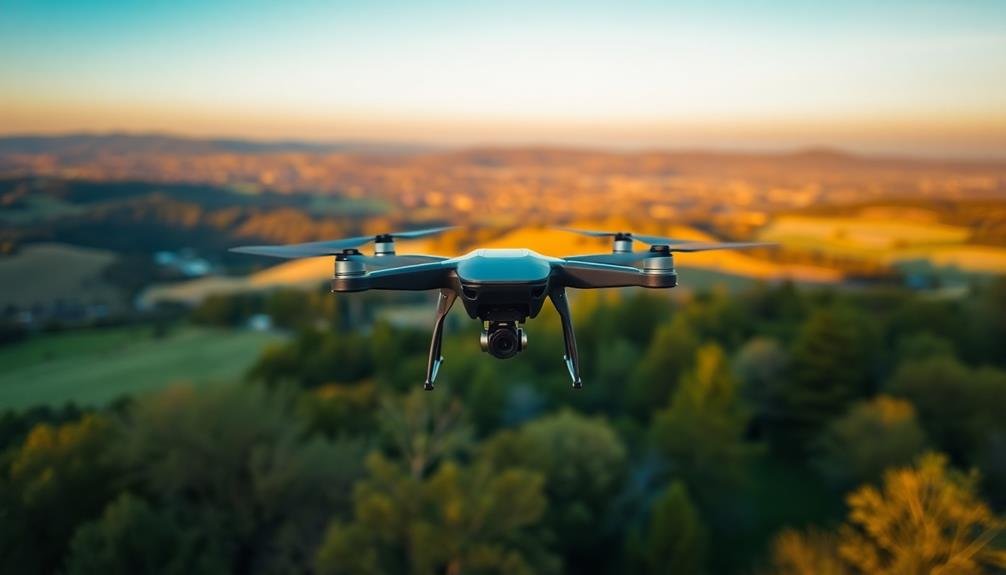
Speed ramping is a powerful technique that can elevate your drone footage from ordinary to extraordinary. This effect involves dynamically changing the playback speed of your video, creating a sense of energy and movement that captivates viewers.
To utilize speed ramping effectively, start by identifying key moments in your footage where changing speeds can enhance the visual impact. Begin with normal speed, then gradually increase or decrease it to highlight specific elements or create dramatic shifts. For example, you might slow down as you approach a stunning landscape feature, then speed up as you pass over it.
Experiment with different speed variations to find what works best for each shot. Many video editing software programs offer built-in speed ramping tools, making it easy to apply this effect. Pay attention to the smoothness of your shifts between speeds to avoid jarring changes.
You can also combine speed ramping with other effects like zooms or pans for added visual interest. Remember to use this technique judiciously – overusing it can diminish its impact and distract from your footage's natural beauty.
With practice, you'll develop an intuitive sense of when and how to apply speed ramping for maximum effect in your travel drone videos.
Apply Cinematic Color Grading
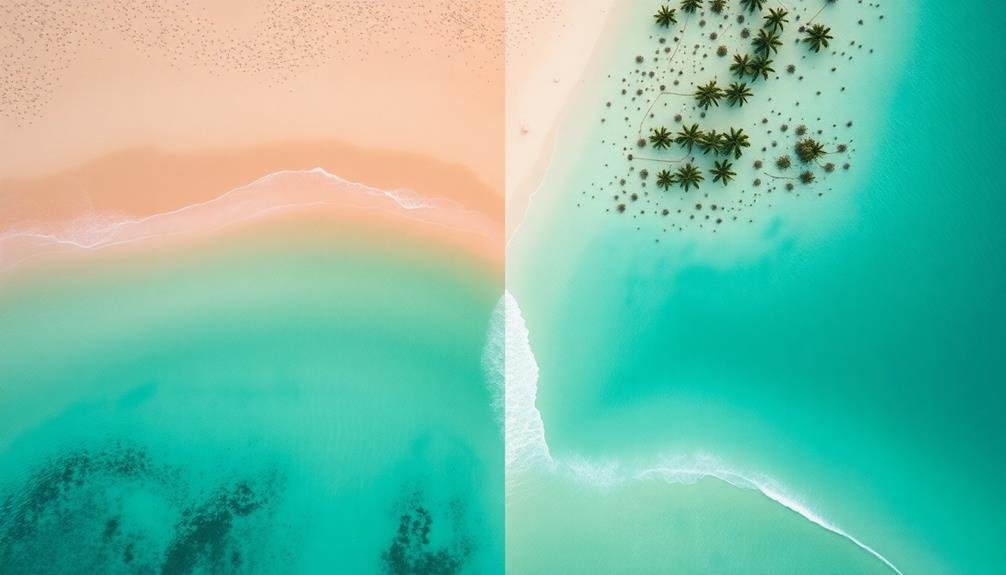
Color grading is the secret weapon that can transform your drone footage from good to breathtaking. It's the process of adjusting the colors and tones in your video to create a specific mood or style. When applied correctly, color grading can make your travel drone videos look cinematic and professional.
To get started with color grading, you'll need video editing software that offers color correction tools. Popular options include DaVinci Resolve, Adobe Premiere Pro, and Final Cut Pro. Begin by adjusting the basic settings like exposure, contrast, and white balance to guarantee your footage has a solid foundation.
Next, focus on creating a cohesive look across your entire video. This might involve:
- Developing a color palette that complements your location
- Adjusting highlights and shadows to enhance depth
- Fine-tuning saturation to achieve the desired vibrancy
Don't be afraid to experiment with different looks, but remember that subtlety is key. Overly stylized color grading can distract from your footage's natural beauty.
Aim for a balance that enhances your visuals without overpowering them. With practice, you'll develop an eye for color grading that elevates your travel drone videos to cinematic heights.
Stabilize Shaky Footage in Post
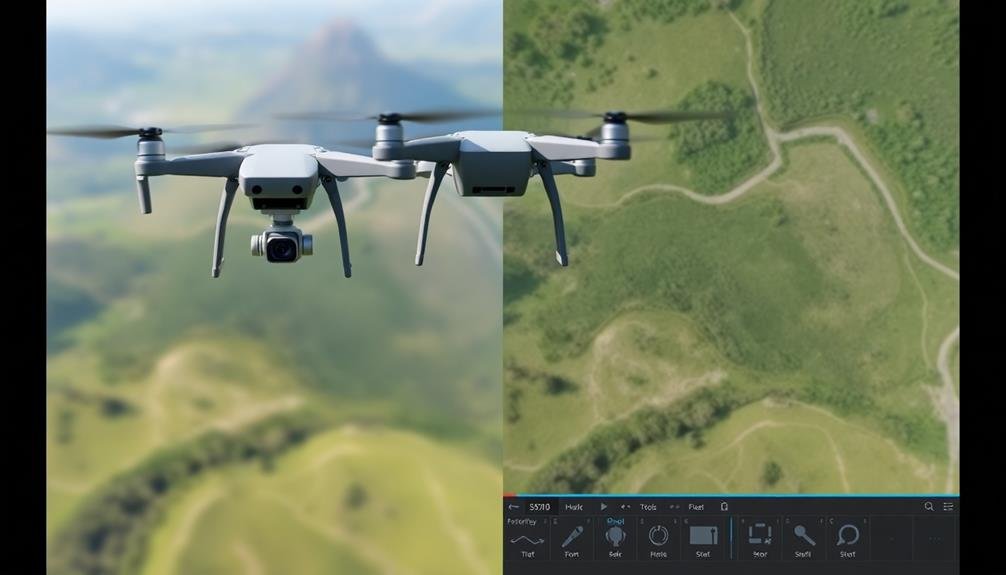
Even with a drone's built-in stabilization, you'll often need to smooth out shaky footage in post-production.
You've got several software stabilization options at your disposal, including the powerful Warp Stabilizer in Adobe Premiere Pro.
Software Stabilization Options
Software stabilization serves as a powerful tool for smoothing out shaky drone footage in post-production. You'll find various options available, ranging from built-in features in editing software to dedicated stabilization plugins.
Adobe Premiere Pro and Final Cut Pro X offer robust warp stabilizer tools that can work wonders on moderately shaky footage. For more advanced stabilization, consider third-party plugins like ReelSteady GO or Mercalli V4 SAL+.
When using software stabilization, keep these tips in mind:
- Analyze your footage before applying stabilization to determine the best settings.
- Use a combination of stabilization methods for ideal results.
- Be cautious of over-stabilizing, which can create an unnatural "floating" effect.
Remember that software stabilization works best on footage that's already relatively stable. It's not a magic fix for extremely shaky videos.
Always aim to capture smooth footage in-camera first, then use software stabilization as a refinement tool. Experiment with different stabilization settings and compare the results to find the perfect balance between smoothness and maintaining the original shot's dynamics.
Warp Stabilizer Techniques
Delving into the world of warp stabilizer techniques, you'll find powerful tools to rescue shaky drone footage in post-production. Adobe Premiere Pro and After Effects offer robust warp stabilizers that can work wonders on your travel videos. To use these effectively, start by applying the effect to your clip and adjusting the smoothness setting. Higher values create a more stable result but may introduce unwanted distortions.
Pay attention to the method setting, choosing between position, position/scale/rotation, or perspective. Each option offers different levels of correction, with perspective being the most aggressive. Don't forget to experiment with the framing options to minimize cropping.
Here's a quick guide to common warp stabilizer settings:
| Setting | Purpose | Typical Range | Tips |
|---|---|---|---|
| Smoothness | Controls stabilization | 5-50% | Start low, increase slowly |
| Method | Determines correction type | N/A | Try each for best results |
| Crop Less <> Smooth More | Balances cropping and smoothness | 50-100% | Adjust based on footage |
| Auto-scale | Minimizes black borders | 100-110% | Use sparingly to avoid blur |
Smooth Motion Control
While warp stabilizers offer powerful correction, smooth motion control provides another layer of finesse for stabilizing shaky footage in post-production. This technique allows you to refine your drone footage by manually adjusting the movement and speed of your shots.
By using keyframes and motion paths, you'll create a more polished and professional look for your travel videos.
To achieve smooth motion control:
- Set keyframes at the beginning and end of your clip
- Adjust the position, scale, and rotation of your footage
- Use easing to create natural-looking shifts between keyframes
Start by identifying the most stable parts of your footage and use them as anchor points.
Then, gradually adjust the position and rotation of your clip to eliminate unwanted jitters and wobbles.
Don't forget to experiment with different interpolation methods to find the perfect balance between smoothness and natural movement.
Add Location-specific Text Overlays
When adding location-specific text overlays to your travel drone videos, you'll want to choose font styles that complement your footage and convey the right atmosphere.
You can incorporate elements of the local language to add authenticity and cultural flair to your video.
Don't forget to highlight the names of key landmarks or destinations to provide context and information for your viewers.
Choose Appropriate Font Styles
Adding location-specific text overlays to your travel drone videos can instantly elevate their visual appeal and informative value. However, the impact of these overlays largely depends on your choice of font styles.
When selecting fonts for your travel drone videos, you'll want to take into account readability, aesthetic appeal, and how well they complement your footage. Choose fonts that are easy to read against various backgrounds, as your drone footage will likely include diverse landscapes and lighting conditions.
Opt for clean, sans-serif fonts for a modern look, or serif fonts for a more classic feel. Remember that simplicity often works best in video contexts.
Here are three key factors when choosing font styles for your travel drone videos:
- Contrast: Confirm your chosen font contrasts well with the background footage.
- Consistency: Use no more than two font styles throughout your video for a cohesive look.
- Character: Select fonts that reflect the mood and destination of your travel footage.
Don't forget to adjust font size and weight to maintain legibility across different screen sizes.
Incorporate Local Language Elements
Incorporating local language elements into your travel drone videos can greatly enhance their authenticity and cultural appeal. You can achieve this by adding location-specific text overlays that feature local phrases, place names, or greetings.
Start by researching common expressions or words in the local language of the area you're filming. Consider including translations alongside the local text to make your video more accessible to a wider audience.
When adding these elements, be mindful of placement and timing. Overlay text during slower-paced shots or shifts to avoid cluttering fast-moving scenes. Use subtle animations to introduce and remove text smoothly, guaranteeing it doesn't distract from your stunning drone footage.
Choose fonts that complement the local aesthetic, such as script-style fonts for romantic locations or bold, angular typefaces for urban environments.
Don't overdo it – a few well-placed local language elements can go a long way. Focus on key phrases or landmark names that add value to your video's narrative. If possible, consult with a native speaker to verify accuracy and appropriate usage of the language.
Highlight Landmark Names
Location-specific text overlays can transform your travel drone videos by highlighting important landmarks and points of interest. They provide context and information to your viewers, making your footage more engaging and educational.
When adding these overlays, choose a font that's easy to read and contrasts well with the background. Consider using subtle animations to make the text appear and disappear smoothly, enhancing the overall viewing experience.
To effectively highlight landmark names in your drone videos:
- Research the correct names and spellings of landmarks before adding text overlays. This guarantees accuracy and credibility in your content.
- Time the appearance of text overlays to coincide with the landmark's visibility in the frame. This helps viewers connect the information with the visuals.
- Use consistent styling for all text overlays throughout your video to maintain a professional look. This includes font, size, color, and animation style.
Remember to keep the text concise and relevant. Don't overload your footage with too many overlays, as this can distract from the beautiful visuals you've captured.
Instead, focus on key landmarks that add value to your narrative and enhance the viewer's understanding of the location you're showcasing.
Blend Aerial and Ground Perspectives
To create truly enchanting travel drone videos, you'll want to blend aerial and ground perspectives seamlessly. This technique adds depth and context to your footage, immersing viewers in the complete travel experience. Start by planning your shots to include both aerial and ground-level footage of the same location.
Use connections to smoothly connect these perspectives:
| Connection Type | Aerial to Ground | Ground to Aerial |
|---|---|---|
| Match Cut | Focus on a detail | Zoom out from detail |
| Wipe | Descending motion | Ascending motion |
| Fade | Fade to black | Fade from black |
| Zoom | Zoom in on object | Zoom out from object |
| Pan | Follow moving subject | Continue following |
When editing, alternate between perspectives to maintain visual interest. Use aerial shots to establish the location's grandeur, then cut to ground-level footage for intimate details. Consider using a gimbal for stabilized ground shots that complement your smooth drone footage. Remember to match color grading and white balance across all shots for a cohesive look. By skillfully blending aerial and ground perspectives, you'll craft a more engaging and immersive travel video that captures the essence of your destination.
Frequently Asked Questions
How Can I Legally Fly My Drone in Different Countries?
You'll need to research each country's specific drone laws before flying. Register your drone, obtain necessary permits, and follow local regulations on altitude limits, no-fly zones, and privacy. Always prioritize safety and respect local customs when operating your drone.
What Are the Best Drones for Travel Videography on a Budget?
You'll find great budget options for travel videography in the DJI Mini series, Hubsan Zino, or Parrot Anafi. They're lightweight, portable, and offer good image quality. Consider battery life, camera specs, and flight time when choosing.
How Do I Protect My Drone During Transport and Travel?
You'll want to invest in a sturdy, padded case for your drone. Always remove propellers and batteries before packing. Use lens covers and wrap your drone in protective foam. Don't forget to secure loose cables and accessories.
What Software Is Best for Editing Travel Drone Footage?
For editing travel drone footage, you'll find great options in Adobe Premiere Pro, DaVinci Resolve, and Final Cut Pro X. They offer powerful tools for color grading, stabilization, and effects. Choose based on your skill level and budget.
How Can I Extend My Drone's Battery Life While Traveling?
To extend your drone's battery life while traveling, you'll want to pack extra batteries, fly in ideal conditions, use power-saving modes, and avoid unnecessary features. Don't forget to fully charge before flights and store batteries properly.
In Summary
You've now got the tools to elevate your travel drone videos. Remember, it's not just about capturing footage; it's about crafting a story. Keep practicing these techniques, and you'll soon be creating stunning aerial masterpieces. Don't be afraid to experiment and develop your unique style. With time and dedication, you'll be producing professional-quality travel drone videos that captivate your audience and transport them to far-off destinations. Happy flying and editing!

As educators and advocates for responsible drone use, we’re committed to sharing our knowledge and expertise with aspiring aerial photographers.


Leave a Reply