
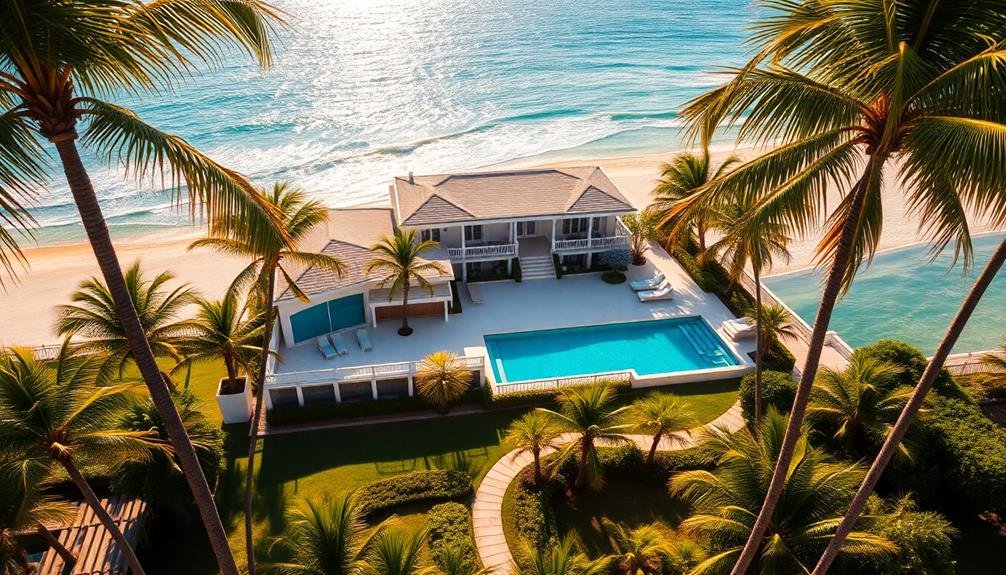
To capture eye-catching aerial property photos, start by choosing the right time of day, typically during the golden hour for soft, warm light. Plan your flight path carefully, considering obstacles and ideal angles. Highlight the property's best features, focusing on unique selling points and outdoor amenities. Capture different angles, including front-facing shots and side views to showcase depth and width. Finally, edit your images for maximum impact by adjusting exposure, correcting distortion, and enhancing colors. These tips will help you create stunning aerial shots that stand out in property listings. Dive deeper to reveal the full potential of your drone photography skills.
Key Takeaways
- Choose optimal lighting conditions, typically early morning or late afternoon, to capture the property in its best light.
- Plan your flight path in advance, considering obstacles, angles, and battery life for efficient and safe shooting.
- Highlight the property's unique features and selling points, including outdoor amenities and surrounding context.
- Capture a variety of angles and heights to showcase the property's full scope and layout.
- Edit photos professionally, adjusting exposure, color, and composition to create visually striking, polished images.
Choose the Right Time
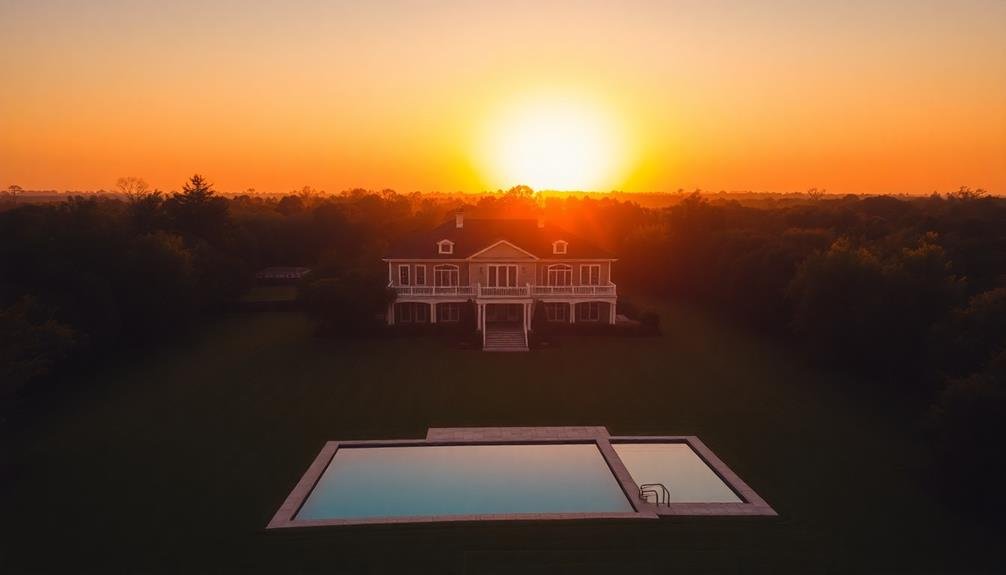
Timing is essential when it comes to aerial photography for property listings. You'll want to take into account both the time of day and the season to capture the most appealing images. Early morning or late afternoon, during the "golden hour," provides soft, warm light that enhances the property's features. Avoid midday shoots when harsh shadows can detract from the overall appearance.
Consider the property's surroundings and orientation. If it faces east, morning light might be best; for west-facing properties, opt for afternoon shots.
Seasonal changes can dramatically affect a property's look. Spring and summer often showcase lush landscapes, while fall can offer stunning foliage colors. Winter shots can be striking for properties in snowy regions or those with evergreen surroundings.
Weather conditions play a vital role too. Clear, sunny days are ideal, but overcast skies can provide soft, even lighting. Avoid rainy or extremely windy days, as they can compromise image quality and drone stability.
You'll also need to be mindful of local regulations regarding drone flights and respect any time restrictions in residential areas. By carefully selecting the right time for your aerial shoot, you'll maximize the property's visual appeal and create standout listings.
Plan Your Flight Path
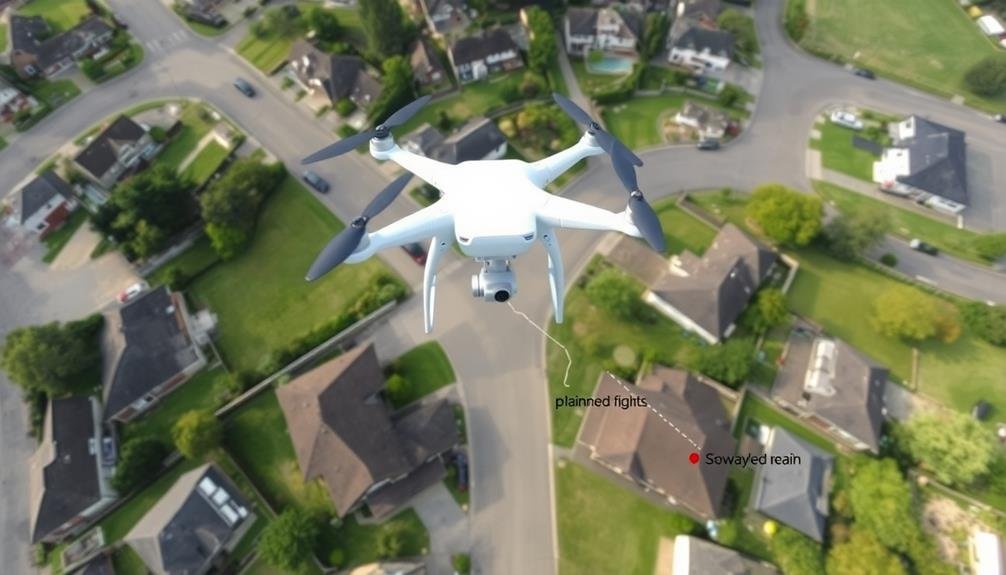
Three key steps are vital when planning your flight path for aerial property photography. First, scout the location beforehand to identify potential obstacles and determine the best angles. Second, create a detailed flight plan that outlines your intended route, altitude changes, and camera positions. Finally, consider the property's best features and how you'll showcase them from above.
When planning your flight path, keep these significant factors in mind:
| Factor | Consideration |
|---|---|
| Safety | Avoid power lines, trees, and restricted areas |
| Lighting | Plan shots based on sun position and shadows |
| Property Size | Adjust altitude for ideal coverage |
| Key Features | Highlight unique selling points |
| Composition | Plan for varied angles and perspectives |
Remember to comply with local regulations and obtain necessary permissions before flying. Use GPS waypoints to guarantee precise and repeatable flights, allowing for consistent results across multiple properties. Don't forget to factor in battery life and wind conditions when planning your route. By carefully planning your flight path, you'll capture stunning aerial images that showcase properties in their best light, giving potential buyers a thorough view of the listing.
Highlight Property's Best Features
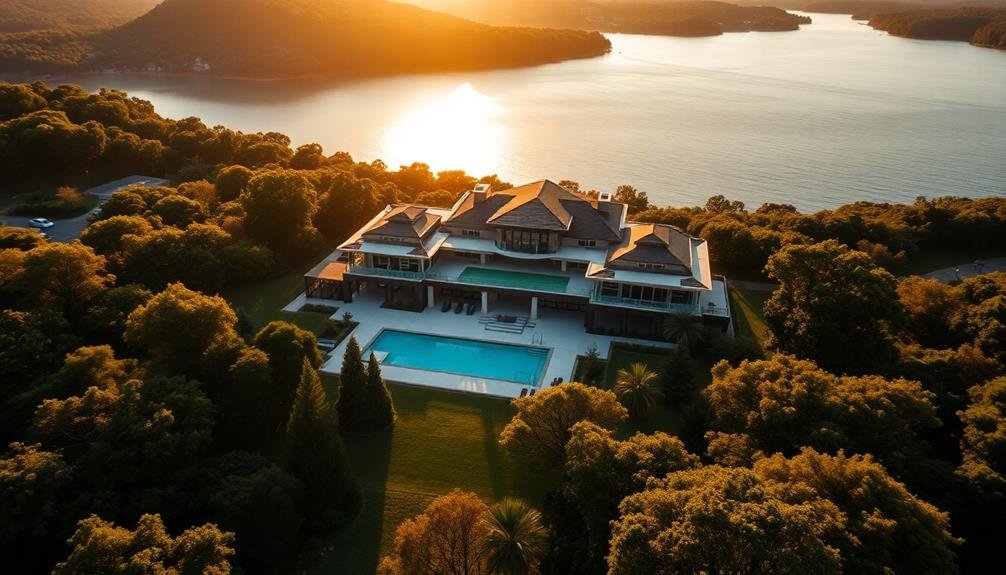
Showcasing a property's best features from above is essential for creating compelling aerial listings. You'll want to capture angles that highlight the property's unique selling points and give potential buyers a thorough view of the entire estate.
Focus on elements that aren't easily visible from ground level, such as the overall layout, landscaping, and proximity to amenities.
When planning your shots, consider these key aspects:
- The property's size and shape
- Surrounding landscape and natural features
- Outdoor amenities like pools, gardens, or patios
- Neighboring properties and local attractions
Adjust your altitude and angle to emphasize the most attractive features. For larger properties, capture wide shots that showcase the entire estate, then zoom in on specific areas of interest.
Use the golden hour lighting to your advantage, as it can make even ordinary features look extraordinary.
Don't forget to highlight the property's context within the neighborhood. Capture nearby parks, schools, or shopping centers to give potential buyers a sense of the area's lifestyle.
Capture Different Angles
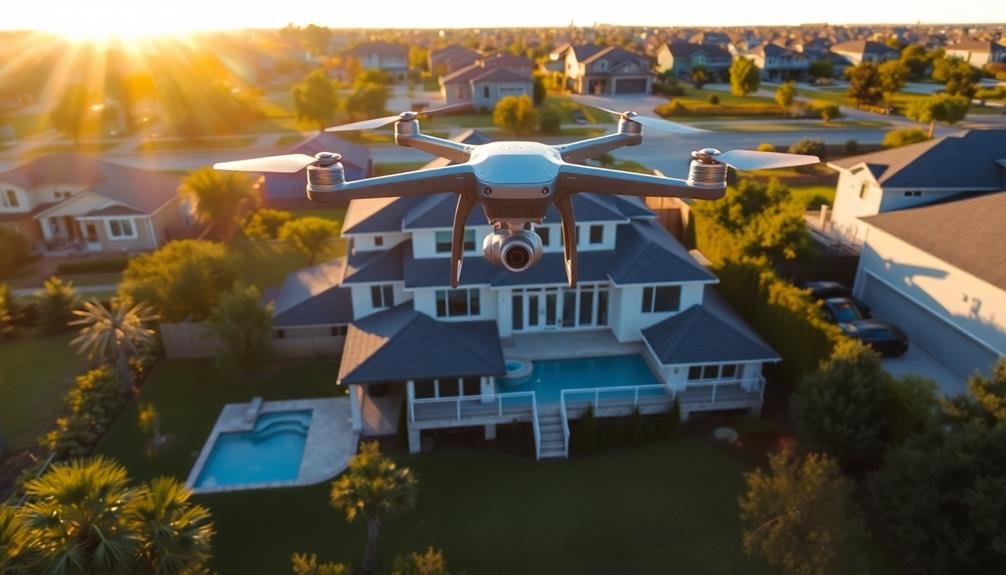
While highlighting a property's best features is important, capturing various angles is key to providing a detailed view. Don't limit yourself to just one or two shots. Instead, aim to showcase the property from multiple perspectives to give potential buyers a complete understanding of the layout and surroundings.
Start with a front-facing shot that captures the entire property, then move to side angles that reveal the depth and width of the land. Capture the backyard and any outdoor amenities from different heights and directions. If there's a pool or landscaping feature, get shots from various elevations to showcase its full impact.
For multi-story properties, consider shots that highlight each level separately. Capture roof angles and chimney details if they're notable features.
Don't forget to include wider shots that show the property in context with its neighborhood or natural surroundings.
Edit for Maximum Impact
Once you've captured your aerial shots, it's time to enhance them through editing. Your goal is to make the property stand out while maintaining a realistic representation.
Start by adjusting the exposure and contrast to guarantee the image is well-balanced. Correct any lens distortion to straighten lines and improve perspective. Pay special attention to the colors, enhancing the vibrancy of green lawns and blue skies without overdoing it.
Consider these key editing techniques to maximize impact:
- Crop strategically to focus on the property's best features
- Use selective adjustments to highlight specific areas
- Remove distracting elements like power lines or vehicles
- Apply subtle vignetting to draw the eye to the center
Frequently Asked Questions
What Drone Equipment Is Best for Real Estate Aerial Photography?
For real estate aerial photography, you'll want a high-quality drone with a 4K camera, such as the DJI Mavic 3 or Autel EVO II Pro. Don't forget extra batteries, ND filters, and a sturdy carrying case for your equipment.
Are There Legal Restrictions on Using Drones for Property Photography?
Yes, there are legal restrictions on using drones for property photography. You'll need to register your drone with the FAA, follow local laws, and obtain necessary permits. Don't fly in restricted areas or violate privacy rights.
How Do Weather Conditions Affect Aerial Property Shots?
Weather greatly impacts your aerial shots. You'll get the best results on clear, calm days. Overcast skies can create flat lighting, while strong winds make flying tricky. Rain and fog will obscure views and damage equipment.
What Insurance Is Required for Drone Photography in Real Estate?
You'll need liability insurance to protect against potential damages or injuries. Check if your existing business policy covers drone use. If not, invest in specific drone insurance. Don't forget to obtain proper FAA licensing too.
How Can I Ensure Privacy When Capturing Aerial Images of Properties?
To guarantee privacy in aerial property images, you'll want to:
1) Obtain consent from property owners
2) Avoid capturing neighboring properties
3) Blur or remove identifiable individuals
4) Follow local drone regulations
5) Be mindful of sensitive areas
In Summary
You've now got the tools to create stunning aerial property photos. Remember, timing is everything, so choose the golden hour for the best light. Plan your flight path carefully, showcase the property's highlights, and experiment with various angles. Don't forget to polish your images in post-processing. With these tips, you'll capture attention-grabbing aerial shots that'll make your listings stand out. Get out there and start flying – your next incredible property photo awaits!
As educators and advocates for responsible drone use, we’re committed to sharing our knowledge and expertise with aspiring aerial photographers.


Leave a Reply