Key techniques for drone footage keyframe animation include mastering smooth camera movements, creating dynamic zoom effects, and enhancing depth and perspective. You'll need to choose appropriate editing software with robust keyframe tools. Focus on creating seamless shifts between keyframes using easing functions and motion blur. Implement time-lapse techniques for engaging sequences, and adjust speed and timing to maintain viewer engagement. Don't forget to apply color grading to enhance the overall aesthetic. Optimizing render settings guarantees your final output maintains quality. By combining these techniques, you'll elevate your drone footage animations to new heights. There's much more to explore in the world of keyframe animation.
Key Takeaways
- Master position, rotation, and scale keyframes to control footage placement, orientation, and zoom effects.
- Create smooth camera movements using keyframes with proper ease settings for natural acceleration and deceleration.
- Implement dynamic zoom effects by combining zoom and pan techniques for engaging visual storytelling.
- Utilize time-lapse techniques with appropriate interval settings to capture slow or fast-moving subjects effectively.
- Apply color grading techniques to enhance aesthetics and improve overall drone footage quality.
Understanding Keyframe Animation Basics
Three fundamental concepts form the backbone of keyframe animation: position, rotation, and scale. When working with drone footage, you'll need to master these elements to create smooth, professional-looking animations.
Position keyframes allow you to control where your footage appears within the frame. You can create dynamic movements by setting keyframes at different points in your timeline and adjusting the footage's X, Y, and Z coordinates. This technique is particularly useful for simulating flight paths or creating dramatic reveal shots.
Rotation keyframes enable you to change the orientation of your footage over time. You can use this to create sweeping panoramas, simulate drone turns, or add subtle motion to static shots. By carefully adjusting rotation values, you'll achieve more natural-looking movements that mimic real-world drone flight.
Scale keyframes let you zoom in or out of your footage. This technique is invaluable for creating the illusion of altitude changes or focusing on specific details within your shot.
Combine scale adjustments with position and rotation keyframes to craft complex, multi-dimensional animations that truly capture the essence of drone flight.
Selecting Appropriate Editing Software
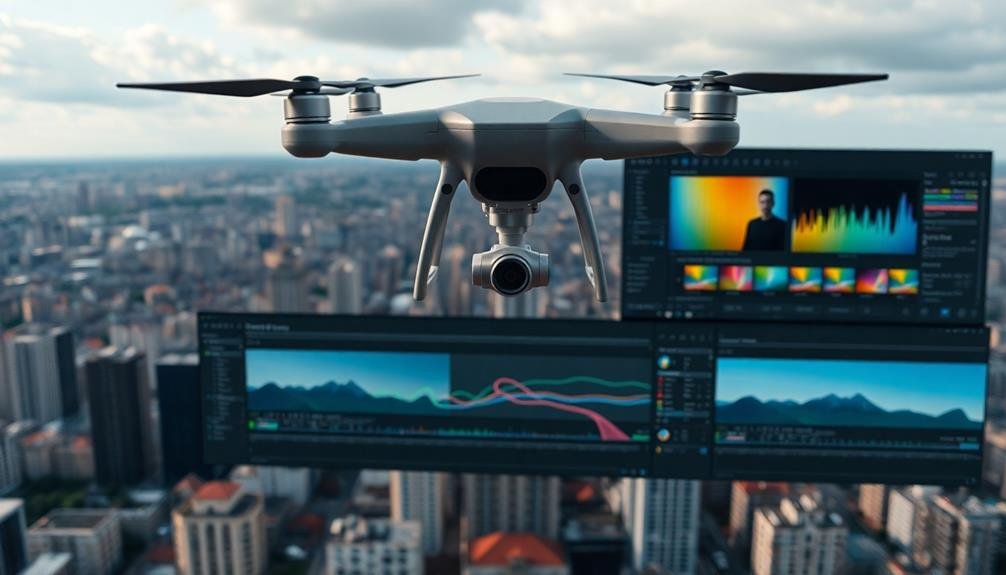
When it comes to animating drone footage, choosing the right editing software is essential for achieving professional results. You'll want to select a program that offers robust keyframe animation tools and supports high-resolution video formats. Popular options include Adobe After Effects, DaVinci Resolve, and Final Cut Pro X.
Consider your skill level and budget when making your choice. After Effects is industry-standard but has a steeper learning curve. DaVinci Resolve offers a free version with powerful features, making it an excellent option for beginners. Final Cut Pro X is user-friendly and optimized for Mac users.
Look for software that provides smooth interpolation between keyframes, motion tracking capabilities, and advanced compositing tools. These features will help you create more dynamic and polished animations with your drone footage.
Don't overlook the importance of color grading tools. Many editing programs offer built-in color correction features that can enhance the visual appeal of your drone shots.
Lastly, verify the software you choose can handle the specific file formats produced by your drone. This will streamline your workflow and prevent compatibility issues during the editing process.
Mastering Smooth Camera Movements
With your editing software selected, it's time to focus on creating fluid camera movements in your drone footage animation. Smooth shifts are essential for maintaining viewer engagement and professional-looking results. Start by using keyframes to mark the beginning and end points of each movement. Then, adjust the ease-in and ease-out settings to create natural acceleration and deceleration.
Experiment with different camera movements to add dynamism to your footage:
| Movement Type | Description |
|---|---|
| Pan | Horizontal camera rotation |
| Tilt | Vertical camera rotation |
| Dolly | Camera moves towards or away from the subject |
| Truck | Lateral camera movement |
| Pedestal | Vertical camera movement |
Combine these movements to create complex sequences that guide the viewer's attention. Use the rule of thirds to frame your shots effectively, and maintain a consistent speed throughout each movement. If your footage is shaky, apply stabilization effects to smooth out unwanted vibrations. Remember to keep your movements purposeful and avoid excessive motion that might disorient viewers. With practice, you'll develop an intuitive sense for creating engaging, cinematic drone animations that elevate your project's visual appeal.
Creating Dynamic Zoom Effects
To create dynamic zoom effects in your drone footage, start by mastering the dolly zoom illusion, which combines forward movement with a zoom out (or vice versa).
You'll want to experiment with keyframe speed variations to add drama and impact to your zooms.
For an even more enthralling effect, try combining zoom techniques with panning movements to guide viewers' attention and create a sense of depth in your animated sequences.
Dolly Zoom Illusion
One of the most mesmerizing effects you can create with drone footage is the dolly zoom illusion, also known as the "Vertigo effect." This dynamic zoom technique simultaneously adjusts the camera's focal length while moving the drone, creating a disorienting visual where the subject appears to stay the same size while the background dramatically changes.
To achieve this effect in post-production, you'll need to manipulate your footage using keyframe animation. Start by selecting a focal point in your shot, typically a stationary object.
Next, set keyframes for both the scale and position of your footage. As you move forward in time, increase the scale while adjusting the position to keep your focal point centered and maintaining its size.
The key is to balance the zoom and movement rates. You'll want to experiment with different speeds to find the perfect combination for your desired effect.
Remember, subtle changes can create a more natural look, while dramatic shifts result in a more intense, surreal experience.
Practice this technique with various types of drone footage to master the dolly zoom illusion and add a powerful storytelling tool to your video editing arsenal.
Keyframe Speed Variations
Beyond simple linear zooms, keyframe speed variations allow you to create dynamic and engaging zoom effects in your drone footage. By adjusting the speed and acceleration of your keyframes, you can add excitement and drama to your shots.
Start by setting keyframes at the beginning and end of your zoom, then add intermediate keyframes to control the speed. To create a slow-fast-slow effect, place keyframes closer together at the start and end of the zoom, with a larger gap in the middle. This creates a gradual acceleration and deceleration.
For a sudden, impactful zoom, place keyframes very close together at the point of change. You can also use ease-in and ease-out functions to smooth the shifts between keyframes.
Experiment with different combinations of linear and curved keyframe interpolations to achieve the desired effect. Don't forget to reflect on the content of your shot when adjusting speeds – sync your zoom variations with on-screen action or music for maximum impact.
Combining Zoom With Pan
Building on the dynamic zoom techniques, you can elevate your drone footage animation by combining zoom with pan movements. This combination creates a more immersive and engaging visual experience for your audience. To achieve this effect, start by setting keyframes for both zoom and pan simultaneously.
Begin with a wide shot, then gradually zoom in while panning across the scene. This technique works particularly well for revealing landscapes or introducing new elements in your footage. You'll want to guarantee that the speed and direction of both the zoom and pan are complementary, creating a smooth and cohesive movement.
Here's a quick guide to help you balance zoom and pan speeds:
| Zoom Speed | Pan Speed | Effect |
|---|---|---|
| Slow | Slow | Subtle, gradual reveal |
| Fast | Fast | Dynamic, intense focus |
| Slow | Fast | Disorienting contrast |
Experiment with different combinations to find the perfect balance for your specific footage. Remember to keep your subject in frame throughout the movement, adjusting your keyframes as necessary. By mastering the art of combining zoom with pan, you'll create more dynamic and professional-looking drone animations that captivate your viewers.
Implementing Time-Lapse Techniques
When implementing time-lapse techniques in drone footage, you'll need to master interval setting strategies.
You can create stunning effects by carefully choosing the time between shots based on your subject's movement speed and desired final video length.
To achieve smooth motion shifts, you'll want to use consistent drone movements and consider post-processing techniques like frame blending or motion interpolation.
Interval Setting Strategies
Interval setting strategies play an essential role in creating compelling time-lapse drone footage. You'll need to evaluate several factors when determining the ideal interval between shots.
First, assess the speed of movement in your scene. For slow-moving subjects like clouds or shadows, longer intervals of 5-10 seconds work well. For faster-moving elements like traffic or people, shorter intervals of 1-3 seconds are more appropriate.
Next, factor in your desired final video length. If you're aiming for a 30-second clip, you'll need to capture enough frames to achieve smooth motion. Calculate the number of frames needed based on your target frame rate (usually 24-30 fps) and adjust your interval accordingly.
Examine the available light and battery life of your drone. Longer intervals conserve battery but may result in choppy footage if the scene changes rapidly. Shorter intervals provide smoother motion but drain the battery faster. Find the right balance for your specific shoot.
Experiment with different intervals to achieve various effects. Extremely short intervals can create a frenetic, high-speed look, while longer intervals produce a more serene, dreamy atmosphere.
Always test your settings before committing to a full shoot.
Smoothing Motion Transitions
Once you've mastered interval settings, it's time to focus on smoothing motion changes in your time-lapse drone footage. To achieve fluid changes, use easing functions in your animation software. These functions gradually accelerate or decelerate keyframes, creating natural-looking movement. Apply ease-in and ease-out to the beginning and end of your flight path, respectively.
Experiment with different curve types, such as exponential or cubic, to find the best fit for your footage. Bezier curves offer precise control over the rate of change between keyframes. Adjust the curve handles to fine-tune the motion's speed and direction.
Consider implementing motion blur to enhance the sense of movement. This technique simulates the blur that occurs in real-time footage, making your time-lapse appear more realistic. Adjust the shutter speed or use post-processing effects to achieve the desired blur amount.
To further smooth changes, try adding intermediate keyframes between major position changes. These subtle adjustments can help eliminate abrupt shifts in direction or speed.
Crafting Cinematic Transitions
Three key elements elevate drone footage from ordinary to cinematic: smooth movement, dynamic composition, and seamless shifts. To craft cinematic changes, you'll need to master these elements and blend them seamlessly.
Start by planning your shots. Consider the story you're telling and how each change contributes to the narrative. Use a variety of change types to keep your audience engaged:
| Change Type | Description | Best Used For |
|---|---|---|
| Whip Pan | Fast camera movement | Energetic scenes |
| Fade to Black | Gradual darkening | Scene changes |
| Match Cut | Visual similarity | Connecting ideas |
| Zoom Change | Gradual zoom in/out | Revealing details |
Implement these changes in post-production using keyframe animation. Begin with subtle movements, then gradually increase complexity. Pay attention to the speed and timing of your changes; they should feel natural and unobtrusive.
Adjusting Speed and Timing
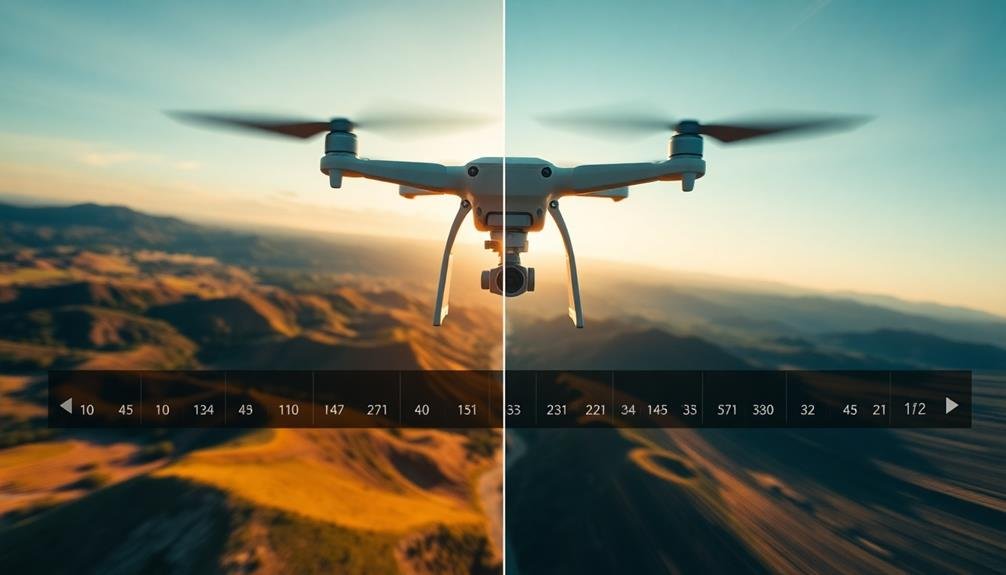
Speed and timing are essential elements in creating compelling drone footage animations. You'll need to master these aspects to give your animations a professional, polished look.
Start by analyzing your raw footage and identifying key moments that could benefit from speed adjustments. Use time remapping in your editing software to slow down or speed up specific sections of your animation.
When slowing down footage, aim for a smooth, dreamy effect that enhances the viewer's ability to appreciate intricate details. Conversely, speeding up certain parts can create a sense of urgency or excitement.
Pay attention to the pacing of your entire animation, ensuring that changes in speed feel natural and purposeful. Experiment with varying speeds within a single shot to add visual interest.
For instance, you might start slow, gradually increase speed, and then decelerate towards the end. This technique can create a sense of dynamic movement and keep your audience engaged.
Remember to adjust your keyframes accordingly when changing speeds to maintain smooth shifts between different paces. By mastering speed and timing adjustments, you'll elevate your drone footage animations to a new level of professionalism and creativity.
Enhancing Depth and Perspective
When animating drone footage, you'll want to enhance depth and perspective to create a more immersive experience.
Parallax and motion effects can greatly improve the sense of space and movement in your scenes.
Parallax and Motion Effects
Depth perception breathes life into drone footage animation, and parallax effects are key to achieving this illusion. By manipulating the relative movement of foreground and background elements, you can create a convincing sense of three-dimensionality.
To implement parallax, separate your footage into layers based on distance from the camera. Animate closer objects to move faster than distant ones, mimicking real-world perspective.
Motion effects further enhance the dynamism of your drone footage. Incorporate gentle camera movements like pans, tilts, and zooms to add cinematic flair. You can achieve this by keyframing position, rotation, and scale properties.
Don't overdo it; subtle movements often yield the most professional results.
Consider using motion blur to simulate the natural blurring that occurs during fast camera movements. This technique adds realism and smoothness to your animation.
Additionally, experiment with speed ramping – varying the playback speed of your footage – to create dramatic emphasis or dreamy slow-motion sequences.
Foreground-Background Interplay Techniques
Mastery of foreground-background interplay is essential for creating stunning drone footage animations. By manipulating the relationship between foreground and background elements, you'll enhance depth and perspective in your animations, making them more visually engaging.
Start by identifying key elements in your footage that can serve as foreground objects. These could be trees, buildings, or landscape features. Animate these elements to move at a different pace than the background, creating a sense of parallax. You can achieve this by using separate layers for foreground and background elements, adjusting their movement speeds independently.
Experiment with opacity changes to create atmospheric effects. Gradually fading in foreground elements as the camera moves closer can add a sense of discovery and depth to your animation. Use masks to reveal or hide portions of the foreground, simulating the drone's movement through obstacles.
Consider adding subtle camera shake or movement to foreground elements while keeping the background stable. This technique can create a more immersive experience, mimicking the slight instability of a real drone flight.
Combine these techniques with careful timing and easing to create smooth, natural-looking shifts between foreground and background elements.
Applying Color Grading Techniques
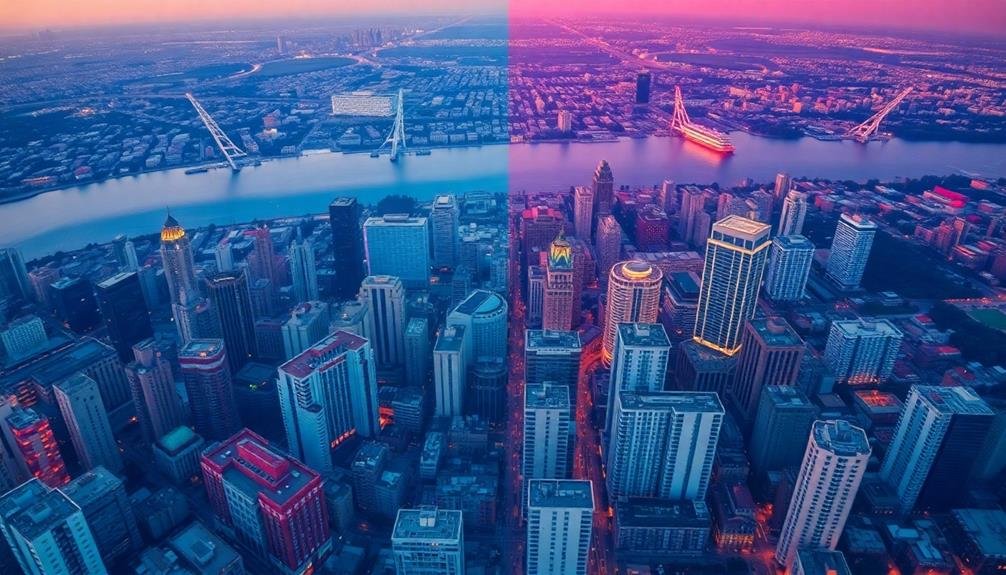
Color grading is an essential step in enhancing your drone footage animation. It allows you to create a specific mood, emphasize certain elements, and maintain visual consistency throughout your project. You'll want to start by adjusting the basic parameters like exposure, contrast, and saturation. Then, move on to more advanced techniques such as color balance, curves, and selective color adjustments.
When applying color grading to your drone footage, consider the following techniques:
| Technique | Purpose |
|---|---|
| LUTs | Apply preset color looks |
| Split-toning | Add different hues to highlights and shadows |
| Vignetting | Draw attention to the center of the frame |
| Color isolation | Emphasize specific colors or objects |
Remember to keep your color grading consistent with the overall theme of your animation. You can create a cinematic look by lowering the saturation and adding a slight blue tint to the shadows. For a warm, summer feel, boost the orange and yellow tones. Don't forget to use scopes like waveforms and vectorscopes to guarantee your colors are balanced and within safe broadcast levels. Experiment with different color grading styles to find the one that best complements your drone footage animation.
Optimizing Render Settings
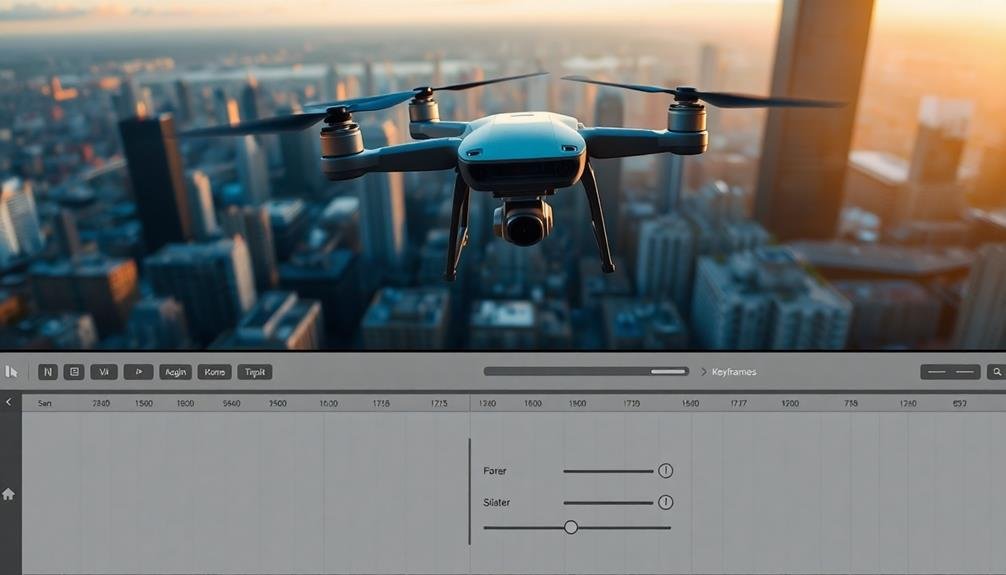
With your color grading complete, it's time to focus on optimizing your render settings for the final output.
Start by selecting the appropriate output format for your project, such as MP4 or ProRes, depending on your delivery requirements. Choose a resolution that matches your project settings, typically 1080p or 4K for drone footage.
Set your frame rate to match your source footage, usually 24, 30, or 60 fps. For bitrate, aim for a balance between file size and quality. Higher bitrates result in better quality but larger files. Use two-pass encoding for improved compression efficiency.
Consider using hardware acceleration if your system supports it, as this can considerably reduce render times. Enable maximum render quality to guarantee the best possible output, but be aware that this may increase render times.
If your drone footage contains complex motion, enable motion blur in your render settings to create a more natural look.
Frequently Asked Questions
How Do Weather Conditions Affect Drone Footage Keyframe Animation?
Weather conditions greatly impact your drone footage keyframe animation. Wind can cause jerky movements, rain affects visibility, and lighting changes alter exposure. You'll need to adjust your keyframes and timing to compensate for these environmental factors.
What Are the Legal Considerations for Using Drone Footage in Animations?
You'll need to contemplate privacy laws, airspace restrictions, and licensing requirements. Obtain necessary permits and releases. Don't use footage of restricted areas or private property without permission. Always follow local drone regulations when capturing and using footage.
Can Keyframe Animation Techniques Be Applied to Underwater Drone Footage?
Yes, you can apply keyframe animation techniques to underwater drone footage. You'll need to take into account water's effects on movement and color. Adjust your keyframes for slower, fluid motions and use color correction to enhance visibility underwater.
How to Incorporate 360-Degree Drone Footage Into Keyframe Animations?
To incorporate 360-degree drone footage into keyframe animations, you'll need to choose key viewpoints, set markers for shifts, and use equirectangular projection. You can then animate camera movements within the spherical environment for immersive results.
What Are Best Practices for Syncing Audio With Drone Footage Keyframe Animations?
To sync audio with drone footage keyframe animations, you'll want to:
- Match key audio beats to visual shifts
- Use sound effects for movement
- Layer ambient audio
- Adjust timing in your editing software
In Summary
You've now got the essential techniques for creating stunning drone footage keyframe animations. Remember to practice smooth movements, experiment with zooms and time-lapses, and fine-tune your timing. Don't forget to enhance depth and apply color grading for that professional touch. As you refine your skills, you'll be able to produce increasingly mesmerizing aerial sequences. Keep pushing your creative boundaries and you'll soon master the art of drone footage animation.

As educators and advocates for responsible drone use, we’re committed to sharing our knowledge and expertise with aspiring aerial photographers.


Leave a Reply