To capture stunning footage with minimal noise, shoot in RAW format for maximum post-processing flexibility. Adjust your ISO settings carefully, using the lowest possible value for clean images. Employ ND filters in bright conditions to maintain ideal shutter speeds. Stabilize your drone for smooth aerial shots. Optimize shutter speed following the 180-degree rule. In post-production, apply selective noise reduction, followed by gentle sharpening. Color grade with caution to avoid amplifying noise. Utilize frame blending techniques for smoother results. Finally, experiment with different blending modes and intensities to find the perfect balance between noise reduction and detail preservation. These techniques will elevate your footage to new heights.
Key Takeaways
- Shoot in RAW format to maximize post-production flexibility and access advanced noise reduction tools.
- Optimize ISO settings by using the lowest possible value while maintaining proper exposure.
- Apply selective noise reduction in post-production to target specific problem areas while preserving important details.
- Balance detail and smoothness carefully, gradually applying noise reduction to find the right equilibrium.
- Implement careful color grading techniques, making subtle adjustments to avoid exacerbating noise in the footage.
Shoot in RAW Format
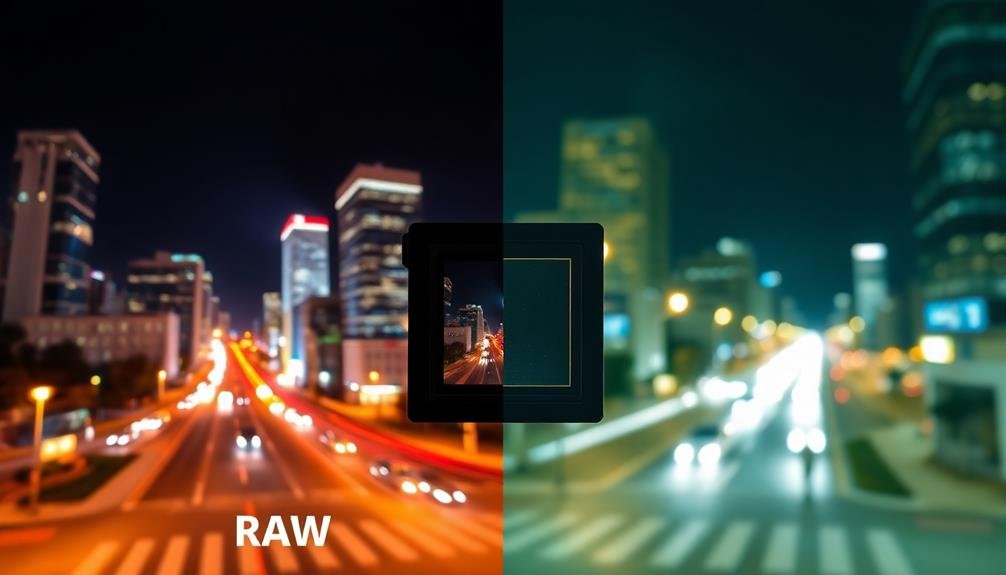
When it comes to reducing noise in your footage, shooting in RAW format is a game-changer. RAW files contain unprocessed data directly from your camera's sensor, giving you more flexibility in post-production. Unlike compressed formats like JPEG, RAW preserves all the information captured by your camera, including a wider dynamic range and color depth.
By shooting in RAW, you'll have greater control over noise reduction during editing. You can adjust exposure, white balance, and color grading without degrading image quality. This format also allows you to recover details in shadows and highlights, which is essential for reducing noise in low-light situations.
When editing RAW footage, you'll have access to advanced noise reduction tools that work more effectively on uncompressed data. You can fine-tune luminance and color noise independently, achieving a better balance between noise reduction and detail preservation.
Keep in mind that RAW files are larger and require more storage space. They also need specialized software for processing. However, the benefits in noise reduction and overall image quality far outweigh these minor inconveniences.
If your camera supports it, always opt for RAW when shooting in challenging lighting conditions or when you anticipate the need for extensive post-processing.
Adjust ISO Settings
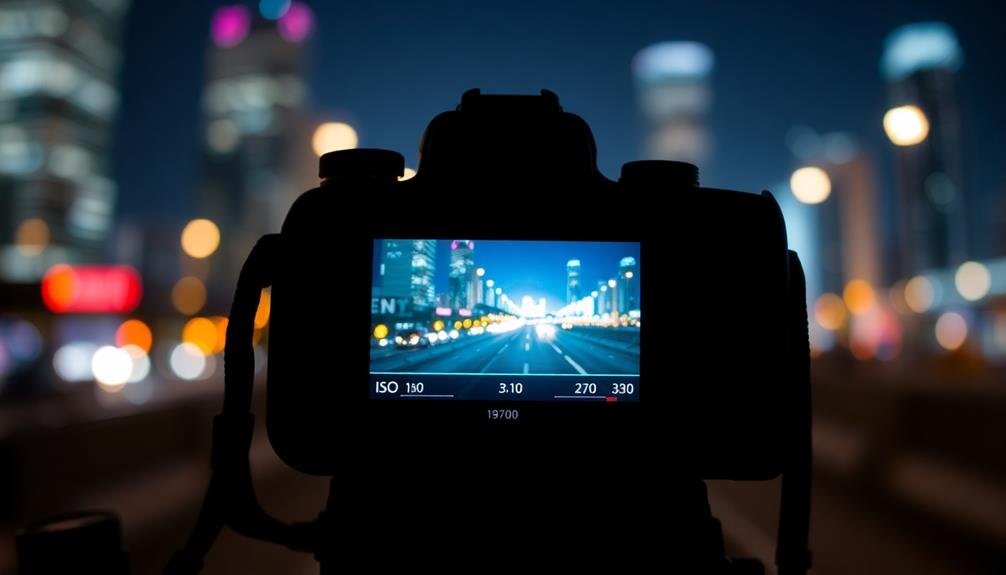
While shooting in RAW format provides extensive post-processing flexibility, adjusting your camera's ISO settings is a proactive step to minimize noise at the source. ISO determines your camera's sensitivity to light, with higher values increasing sensitivity but also introducing more noise. To achieve the cleanest footage possible, always use the lowest ISO setting that allows for proper exposure.
Start by setting your ISO to its base value, typically 100 or 200. If you're shooting in low light conditions, gradually increase the ISO, but be mindful of the noise threshold for your specific camera model. Modern cameras often perform well up to ISO 3200 or even 6400, but beyond that, noise becomes more noticeable.
To compensate for lower ISO settings in dim environments, consider using a wider aperture or slower shutter speed. If possible, add external lighting to your scene.
When you must use higher ISO values, try to overexpose slightly, as noise is more visible in darker areas of the image. Remember, it's always easier to reduce exposure in post-production than to eliminate noise from underexposed footage.
Use ND Filters
ND filters are your secret weapon for taming bright outdoor scenes and creating stunning footage.
By reducing the amount of light entering your camera, you'll ease the strain on your sensor and minimize noise in high-contrast situations.
You'll also gain the ability to use slower shutter speeds in bright conditions, allowing you to capture that coveted cinematic motion blur for more professional-looking results.
Smoothing Bright Outdoor Scenes
Bright outdoor scenes can be a nightmare for videographers seeking smooth, noise-free footage. The intense sunlight can cause overexposure, harsh shadows, and unwanted noise in your video.
To combat these issues, you'll need to master the use of Neutral Density (ND) filters. ND filters act like sunglasses for your camera lens, reducing the amount of light that enters without affecting the color.
By using an ND filter, you can maintain a wider aperture and slower shutter speed even in bright conditions. This allows you to achieve a shallower depth of field and smoother motion blur, resulting in more cinematic footage.
When shooting outdoors, start with a variable ND filter, which lets you adjust the light reduction on the fly. For scenes with changing light, this flexibility is invaluable.
If you're working in consistent lighting, fixed ND filters offer superior optical quality. Remember to choose the right strength of filter based on your shooting conditions and desired effect.
Reducing Camera Sensor Strain
Camera sensors can easily become overwhelmed in bright conditions, leading to noisy footage and potential long-term damage. To protect your camera and improve image quality, you'll want to use Neutral Density (ND) filters. These filters reduce the amount of light entering the lens, allowing you to maintain ideal exposure settings without straining the sensor.
When using ND filters to reduce camera sensor strain:
- Choose the right strength: Select an ND filter that matches your shooting conditions, ranging from ND2 (1-stop reduction) to ND1000 (10-stop reduction).
- Adjust your settings: With an ND filter in place, you'll need to compensate by adjusting your aperture, shutter speed, or ISO.
- Consider variable ND filters: These allow you to adjust light reduction on the fly, giving you more flexibility in changing lighting conditions.
- Stack filters carefully: You can combine multiple ND filters for greater light reduction, but be aware of potential vignetting or image softness.
Achieving Cinematic Motion Blur
Beyond protecting your camera sensor, ND filters play a key role in achieving that coveted cinematic look. They allow you to maintain a slower shutter speed in bright conditions, creating natural-looking motion blur that mimics the way our eyes perceive movement. This effect is essential for smooth, professional-looking footage.
To achieve cinematic motion blur, follow the 180-degree shutter rule: set your shutter speed to double your frame rate. For example, if you're shooting at 24fps, use a 1/48 shutter speed. In bright daylight, this can lead to overexposure. That's where ND filters come in. They reduce the amount of light entering your lens, allowing you to keep your desired shutter speed and aperture settings.
Start with a variable ND filter for flexibility. As you become more comfortable, invest in a set of fixed ND filters for better image quality. Experiment with different strengths to find the right balance for your scenes.
Stabilize Your Drone
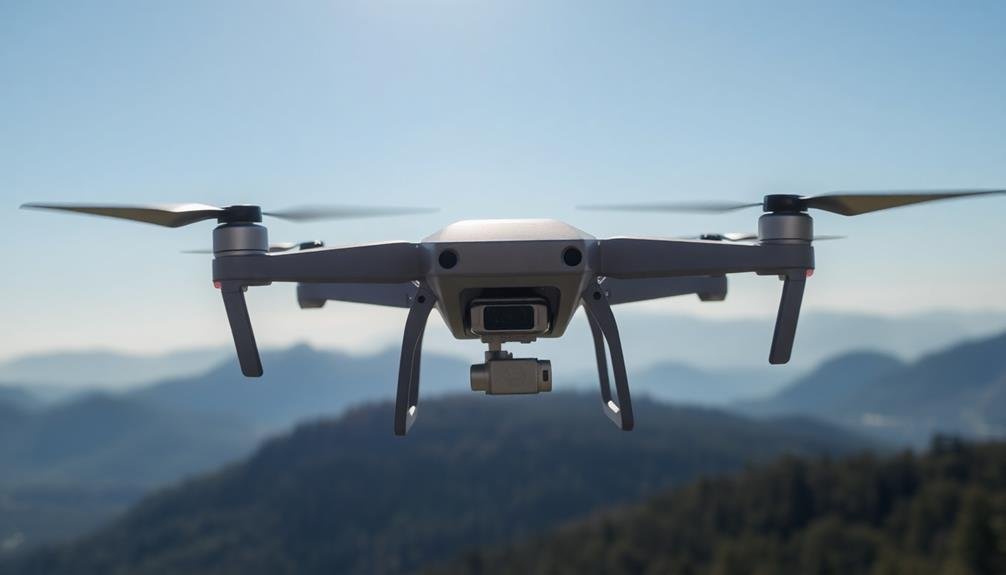
When it comes to aerial footage, a stable drone is paramount for capturing crisp, noise-free shots. Stabilizing your drone isn't just about having steady hands; it's about understanding and implementing various techniques to minimize vibrations and unwanted movement.
To achieve ideal stability and reduce noise in your drone footage:
- Use a high-quality gimbal to counteract sudden movements and vibrations.
- Fly in calm weather conditions, avoiding strong winds that can destabilize your drone.
- Verify your drone's propellers are balanced and in good condition.
- Adjust your camera settings, using a faster shutter speed to minimize motion blur.
You'll also want to master smooth flying techniques. Practice gradual acceleration and deceleration, and avoid abrupt changes in direction.
When panning or tilting, move slowly and deliberately to maintain stability. If your drone has intelligent flight modes like tripod mode or cinematic mode, utilize these features for enhanced stability.
Remember to keep your drone's firmware up to date, as manufacturers often release updates that improve flight stability and camera performance.
Optimize Shutter Speed
How does shutter speed impact noise in your footage? Faster shutter speeds reduce motion blur but require more light, potentially increasing noise. Slower shutter speeds allow more light but can introduce unwanted blur.
To optimize shutter speed for noise reduction, follow the 180-degree shutter rule: set your shutter speed to double your frame rate. For example, if you're shooting at 24fps, use a 1/48 second shutter speed.
In low-light conditions, you might be tempted to use slower shutter speeds to capture more light. However, this can result in excessive motion blur. Instead, maintain the 180-degree rule and compensate with other settings. Increase your ISO slightly or open your aperture wider. If possible, add more light to your scene.
For fast-moving subjects, you may need to break the 180-degree rule and use a faster shutter speed to freeze motion. In these cases, be prepared to increase your ISO or lighting to compensate.
Apply Noise Reduction Software
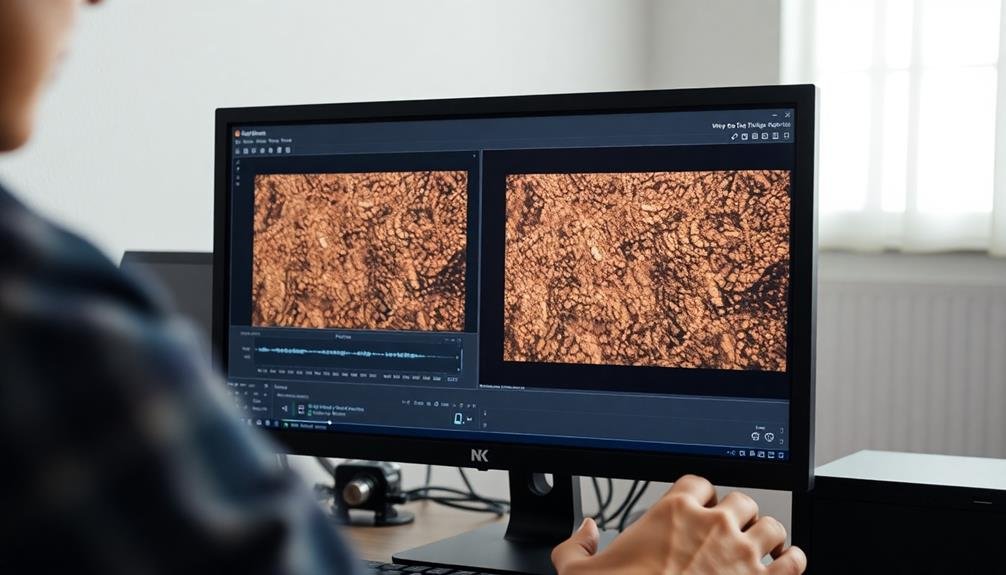
Noise reduction software's capabilities have become increasingly sophisticated, offering powerful tools to clean up grainy footage. When you're faced with noisy video, these programs can be a lifesaver. They use advanced algorithms to analyze your footage and reduce unwanted visual artifacts while preserving important details.
To get the most out of noise reduction software, follow these key steps:
- Choose the right software for your needs, considering factors like compatibility, user interface, and specific features tailored to your type of footage.
- Start with a light touch, gradually increasing the strength of noise reduction until you achieve the desired balance between smoothness and detail retention.
- Use selective noise reduction to target specific areas of your frame, preserving important textures and fine details in other regions.
- Experiment with different noise reduction methods, such as temporal noise reduction for moving subjects or spatial noise reduction for static scenes.
Utilize Selective Noise Reduction
When applying noise reduction, you don't have to treat your entire image equally.
Focus on specific areas that need the most attention, such as shadows or low-contrast regions.
Target Specific Image Areas
One powerful technique for effective noise reduction is targeting specific areas of your footage. Instead of applying noise reduction uniformly across the entire frame, focus on the areas that need it most. This approach allows you to preserve detail in clean areas while addressing problematic regions.
To target specific image areas effectively:
- Identify noisy regions: Carefully examine your footage to pinpoint areas with the most visible noise, such as shadows or low-contrast sections.
- Create masks: Use masking tools in your editing software to isolate the noisy areas. This allows you to apply noise reduction selectively without affecting the rest of the image.
- Adjust parameters for each area: Tailor your noise reduction settings to suit the specific characteristics of each masked region. You might need stronger reduction in some areas and gentler treatment in others.
- Blend seamlessly: Guarantee smooth changes between treated and untreated areas by feathering mask edges and fine-tuning your adjustments.
Balance Detail and Smoothness
Achieving the perfect balance between detail preservation and noise reduction lies at the heart of effective noise management. As you work on your footage, you'll need to find the sweet spot where noise is minimized without sacrificing important image details.
Start by applying noise reduction gradually, increasing the strength incrementally until you reach a satisfactory result.
Pay close attention to areas with fine textures, such as hair, grass, or fabric. These regions are particularly susceptible to detail loss during noise reduction. Use masking techniques to isolate these areas and apply a lighter touch of noise reduction to preserve their integrity.
Don't forget to take into account the viewing conditions of your final output. Footage intended for large screens may require more aggressive noise reduction, while content for smaller displays can often retain more detail.
Always preview your work on a calibrated monitor and at the intended viewing size to guarantee ideal results.
Experiment with different noise reduction algorithms and software to find the approach that works best for your specific footage. Some tools offer advanced features like edge detection and texture preservation, which can help maintain a natural look while reducing noise effectively.
Sharpen After Noise Reduction
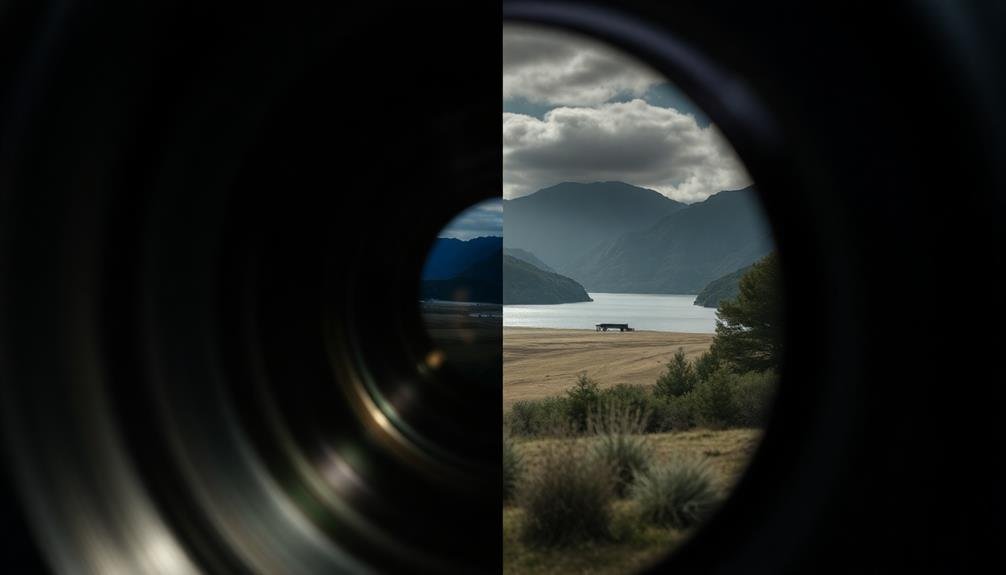
Why should you sharpen your footage after noise reduction? Noise reduction algorithms can soften your image, resulting in a loss of detail and clarity. Sharpening after noise reduction helps restore some of the lost detail and creates a crisper, more visually appealing final product.
It's an essential step in achieving professional-looking footage.
When sharpening your noise-reduced footage, keep these tips in mind:
- Use a light touch: Over-sharpening can introduce new artifacts and make noise more noticeable.
- Apply sharpening selectively: Focus on edges and areas with important details rather than applying it uniformly.
- Experiment with different sharpening methods: Try unsharp mask, high pass filter, or smart sharpen to find what works best for your footage.
- Preview at 100% zoom: This allows you to accurately assess the sharpening effect and avoid overdoing it.
Remember that sharpening is a balancing act. You'll want to enhance detail without exaggerating noise or creating halos around edges.
It's often better to err on the side of caution and apply less sharpening than to overdo it. With practice, you'll develop an eye for achieving the perfect balance between noise reduction and sharpening.
Color Grade Carefully
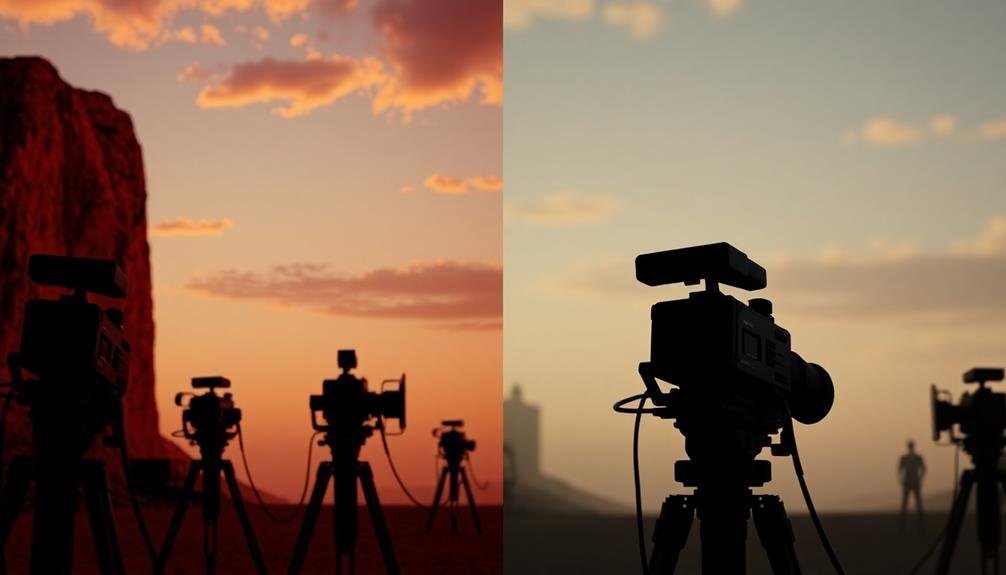
Color grading is a powerful tool in your noise reduction arsenal, but it requires a delicate touch. When working with noisy footage, you'll want to approach color grading with caution.
Start by making subtle adjustments to contrast and saturation, as aggressive changes can exacerbate existing noise issues. Pay close attention to your shadows and dark areas, where noise is often most visible.
Avoid crushing the blacks too much, as this can make noise more pronounced. Instead, try lifting the shadows slightly to minimize the appearance of grain. When adjusting highlights, be careful not to blow them out, as this can create harsh edges that emphasize noise.
Work with color temperature and tint adjustments conservatively. Extreme shifts in these areas can introduce color noise that wasn't present before. If you're using LUTs, choose ones designed for noise-reduced footage or apply them at reduced opacity.
Consider using masks or gradients to selectively apply color grading to different parts of your image. This allows you to treat noisy areas with more care while enhancing cleaner sections of your footage.
Always review your work at 100% zoom to guarantee you're not inadvertently amplifying noise through your color choices.
Employ Frame Blending Techniques

Frame blending techniques can considerably reduce noise in your footage by combining information from multiple frames.
You'll want to understand the basics of frame blending, including how it smooths out motion and reduces graininess.
Choose the right blending mode for your specific footage and adjust the blending intensity to strike the perfect balance between noise reduction and maintaining sharpness.
Understand Frame Blending Basics
Many videographers turn to frame blending techniques when faced with noisy footage. Frame blending is a powerful tool that can help smooth out visual noise by combining multiple frames into a single, cleaner image. It's particularly effective for reducing grain in low-light situations or when dealing with high ISO footage.
To understand frame blending basics, you'll need to grasp these key concepts:
- Temporal averaging: Frame blending works by averaging pixel values across multiple frames, reducing random noise variations.
- Motion handling: The technique must account for movement between frames to avoid introducing motion blur.
- Blending modes: Different modes (e.g., average, median, or weighted) can be used to combine frames, each with unique properties.
- Frame selection: Choosing the right number of frames to blend is essential for balancing noise reduction and preserving detail.
When you're implementing frame blending, start with a small number of frames and gradually increase until you achieve the desired result.
Be aware that excessive blending can lead to a loss of sharpness or create ghosting effects. You'll need to find the sweet spot where noise is reduced without compromising the overall image quality.
Experiment with different settings and preview your results to master this technique.
Choose Appropriate Blending Modes
Building on your understanding of frame blending basics, it's time to explore the various blending modes available for noise reduction. Each mode offers unique advantages for different types of footage and noise patterns.
The most common blending modes are Average, Overlay, and Motion-Weighted. Average mode combines pixel values from multiple frames, effectively reducing random noise. Overlay mode is ideal for preserving motion while reducing noise in static areas. Motion-Weighted mode analyzes movement between frames and applies blending accordingly, maintaining sharpness in moving objects.
Consider the following table to help you choose the appropriate blending mode:
| Blending Mode | Best For | Drawbacks |
|---|---|---|
| Average | Static scenes | Motion blur |
| Overlay | Mixed motion | Potential artifacts |
| Motion-Weighted | Dynamic scenes | Computationally intensive |
When selecting a blending mode, analyze your footage carefully. For landscapes or still subjects, Average mode works well. If you're dealing with a mix of static and moving elements, try Overlay. For action-packed scenes, Motion-Weighted mode can produce excellent results. Experiment with different modes and settings to find the ideal balance between noise reduction and image quality for your specific footage.
Adjust Blending Intensity
Once you've chosen the appropriate blending mode, it's time to fine-tune your noise reduction by adjusting the blending intensity. This step allows you to control how much the blended frames affect your final image.
Start with a low intensity and gradually increase it until you find the sweet spot between noise reduction and maintaining image detail.
When adjusting blending intensity, keep these key points in mind:
- Balance: Aim for a balance between noise reduction and preserving original image details.
- Experimentation: Don't be afraid to experiment with different intensity levels to find what works best for your footage.
- Scene-specific: Different scenes may require varying levels of intensity, so adjust accordingly.
- Preview: Always preview your changes in real-time to confirm you're not over-processing the image.
Remember that higher blending intensities can result in smoother footage but may also introduce motion blur or loss of fine details.
It's essential to find the right balance for your specific content. As you become more familiar with the process, you'll develop an intuition for selecting the best blending intensity, resulting in cleaner, more professional-looking footage.
Frequently Asked Questions
How Does Lighting Affect Noise Levels in Drone Footage?
You'll find that better lighting greatly reduces noise in your drone footage. When you're shooting in low light, your camera's sensor struggles, creating more grain. Brighter conditions allow for lower ISO settings, resulting in cleaner images.
Can Weather Conditions Impact Noise in Aerial Shots?
Yes, weather can greatly impact noise in your aerial shots. Wind, rain, and temperature fluctuations can increase image noise. You'll notice more graininess in low light conditions, fog, or when filming through clouds. Always check the forecast before flying.
What's the Best Drone Model for Low-Noise Videography?
You'll find the DJI Mavic 3 Pro is exceptional for low-noise videography. It's got advanced noise reduction tech and a powerful camera. However, don't overlook the Autel EVO Lite+ for its quiet operation too.
How Does Sensor Size Influence Noise in Drone Cameras?
You'll find larger sensors in drone cameras capture more light, reducing noise in your footage. They're especially helpful in low-light conditions. With a bigger sensor, you'll get cleaner images and better dynamic range overall.
Are There Specific Editing Techniques for Reducing Noise in Low-Light Drone Footage?
You can reduce noise in low-light drone footage by using noise reduction software, adjusting exposure in post-processing, and applying selective sharpening. Don't forget to experiment with color grading and contrast to enhance the overall image quality.
In Summary
You've now got a powerful toolkit to combat noise in your drone footage. Remember, it's all about balancing these techniques to achieve the best results. Don't be afraid to experiment and find what works best for your style. With practice, you'll be capturing stunning, noise-free shots that'll wow your audience. Keep pushing your limits, and you'll soon master the art of crisp, clean drone cinematography.

As educators and advocates for responsible drone use, we’re committed to sharing our knowledge and expertise with aspiring aerial photographers.


Leave a Reply