
To create cinematic hyperlapse shots, start by choosing a dynamic location with interesting visuals. Plan your flight path carefully, considering speed and obstacles. Set up your camera in manual mode, adjusting shutter speed and aperture for ideal exposure. Maintain consistent movement throughout the shoot, using a stable platform or drone. Manage your drone's speed to match the scene and desired effect. Capture more frames than you think you'll need, providing flexibility in post-production. Finally, use post-processing techniques like warp stabilization and color grading to polish your hyperlapse. By mastering these steps, you'll reveal the secrets to creating mesmerizing time-lapse sequences that captivate your audience.
Choose the Right Location
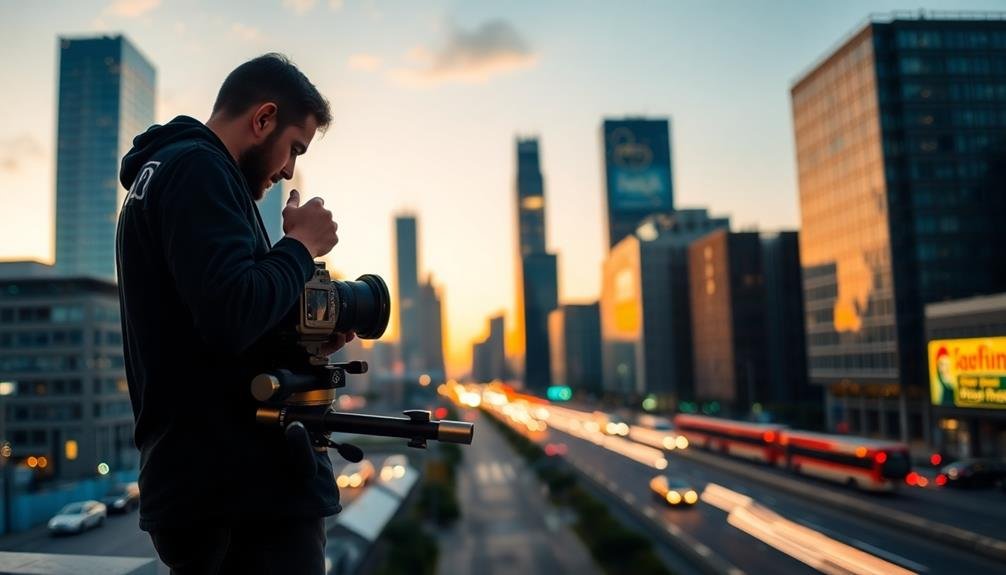
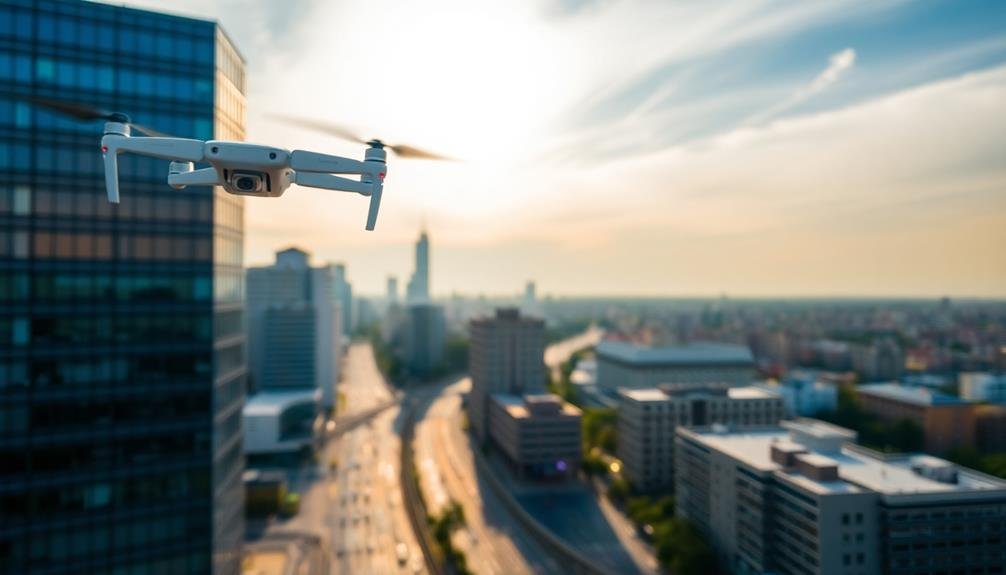
Location scouting is vital for creating stunning hyperlapse shots. You'll want to find a spot that offers dynamic movement or interesting changes over time. Look for places with a mix of stationary and moving elements, like busy city intersections, bustling train stations, or construction sites. These locations provide visual interest and showcase the passage of time effectively.
Consider the lighting conditions at your chosen location. Golden hour or blue hour can add a magical quality to your hyperlapse, while dramatic cloud movements can create an intriguing backdrop.
Don't forget to factor in the sun's position throughout the day to avoid unwanted shadows or glare.
Accessibility is essential. Make sure you have a stable platform to set up your camera and enough space to move around safely.
Scout for potential obstacles that might interfere with your shot, such as pedestrians or vehicles. If you're shooting in a public space, check if you need any permits or permissions.
Plan Your Flight Path
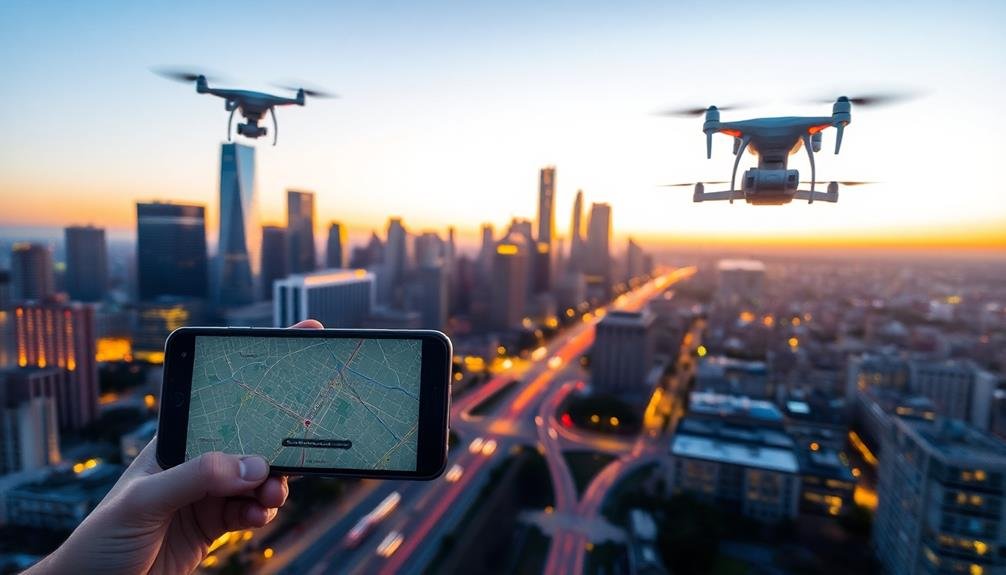
How will you create a smooth and enchanting hyperlapse? Planning your flight path is essential. Start by visualizing your desired end result and work backward. Map out your route, considering the subject's movement and the background elements you want to capture.
Begin with a simple path, such as a straight line or gentle curve. As you gain experience, you can experiment with more complex trajectories. Consider the speed of your hyperlapse – slower movements allow for more detail, while faster ones create a more dramatic effect.
Factor in obstacles and potential hazards along your route. Make sure you have enough space to maneuver your drone safely. If you're shooting in a busy area, plan for alternative paths in case of unexpected interruptions.
Use waypoints to mark key positions along your flight path. This will help you maintain consistency in your movements and framing.
Remember to adjust your camera settings as you move, accounting for changes in lighting and perspective.
Set Up Camera Settings
Having planned your flight path, it's crucial to configure your camera settings for ideal hyperlapse results.
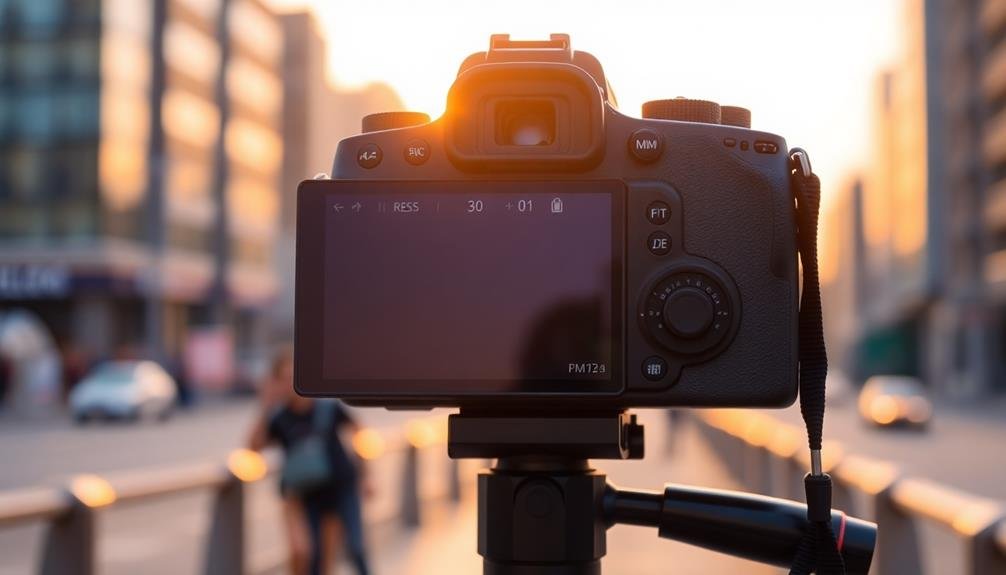
Start by setting your camera to manual mode, which gives you full control over exposure settings. Choose a shutter speed that's fast enough to freeze motion, typically 1/60th to 1/250th of a second, depending on your drone's speed and altitude. Select an appropriate aperture to maintain a consistent depth of field throughout your shot, usually between f/4 and f/8.
Next, focus on your intervalometer settings. For smooth hyperlapse footage, you'll want to capture images at regular intervals. The exact timing depends on your drone's speed and the desired length of your final video. A good rule of thumb is to take a photo every 2-5 seconds.
Finally, consider these additional tips for optimal results:
- Use a neutral density filter to maintain slower shutter speeds in bright conditions
- Set your ISO as low as possible to minimize noise
- Shoot in RAW format for greater flexibility in post-processing
Establish Consistent Movement
To create a compelling hyperlapse, you'll need to plan your path meticulously before starting.
Map out your route and identify potential obstacles or changes in terrain that could affect your movement.
As you shoot, focus on maintaining a smooth and consistent motion, keeping your camera as steady as possible to guarantee fluid shifts between frames.
Plan Your Path Carefully
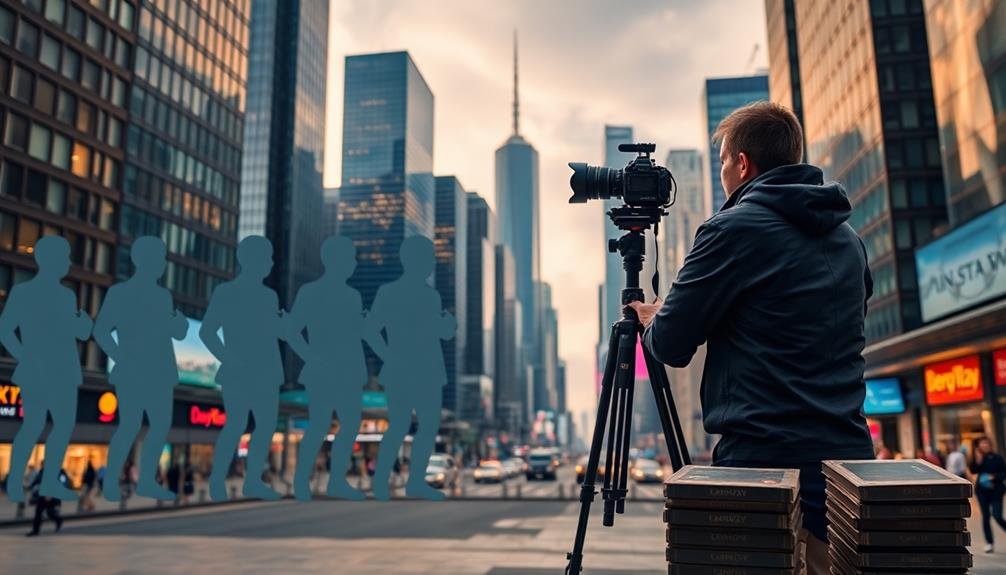
When creating cinematic hyperlapse shots, planning your path carefully is vital for establishing consistent movement. You'll want to scout your location beforehand, identifying potential obstacles and interesting visual elements along the way.
Consider the direction of light and how it might change during your shoot, as this can greatly impact the final result. Think about the story you're trying to tell with your hyperlapse. Are you showcasing a bustling cityscape or revealing the passage of time in a natural setting? Your path should complement this narrative.
It's also essential to map out your route precisely, ensuring you have enough space to move smoothly between each shot. To help you plan effectively, follow these steps:
- Use a GPS app or physical map to mark your starting point, endpoints, and key waypoints.
- Estimate the total distance and time required for your shoot, factoring in breaks and potential reshoots.
- Practice walking the route at a steady pace, noting any areas that might require special attention or equipment.
Maintain Steady Camera Motion
Steady camera motion is the cornerstone of a successful hyperlapse shot. To achieve this, you'll need to maintain a consistent pace and direction throughout your sequence. Use a sturdy tripod or stabilizer to minimize camera shake and guarantee smooth changes between frames.
As you move, keep your camera level and aligned with your subject. It's essential to maintain the same height and angle for each shot. Consider using a bubble level or your camera's built-in level indicator to help you stay on track.
When walking, take measured steps and try to keep your body as stable as possible. If you're using a slider or dolly, make sure it's on a smooth surface and move it at a constant speed.
For more complex movements, practice your path several times before shooting to develop muscle memory.
Remember that small inconsistencies can be magnified in the final hyperlapse, so pay attention to details. Take more frames than you think you'll need, as this will give you flexibility in post-production to smooth out any minor irregularities in camera motion.
Maintain Proper Drone Speed
Maintaining proper drone speed is essential for achieving smooth and professional-looking hyperlapse shots. When flying your drone for hyperlapse footage, you'll need to find the right balance between speed and stability. Flying too fast can result in blurry or choppy footage, while moving too slowly mightn't create the desired time-lapse effect.
To maintain proper drone speed, consider these key factors:
- Wind conditions: Adjust your speed based on wind strength and direction. In stronger winds, you may need to fly slower to maintain stability.
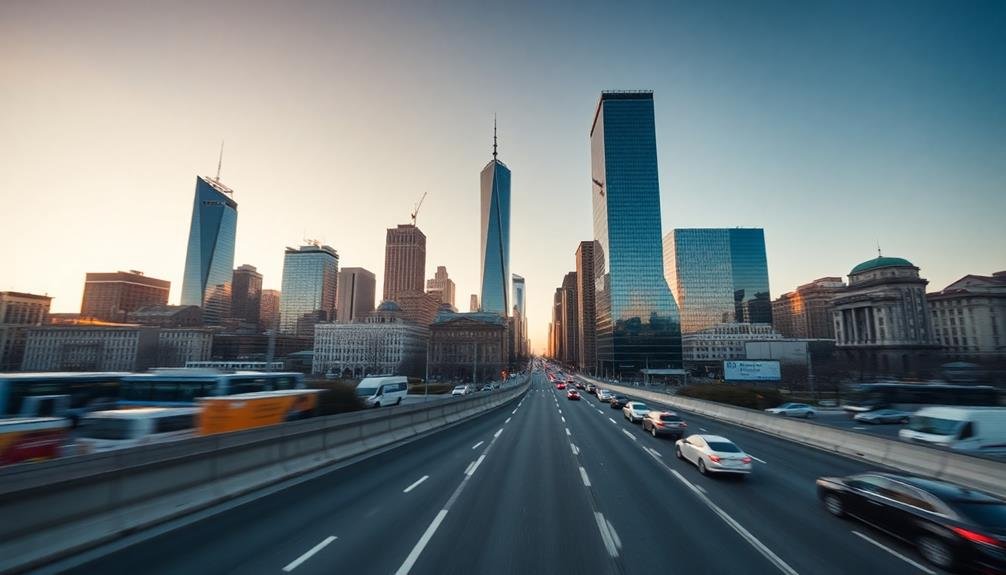
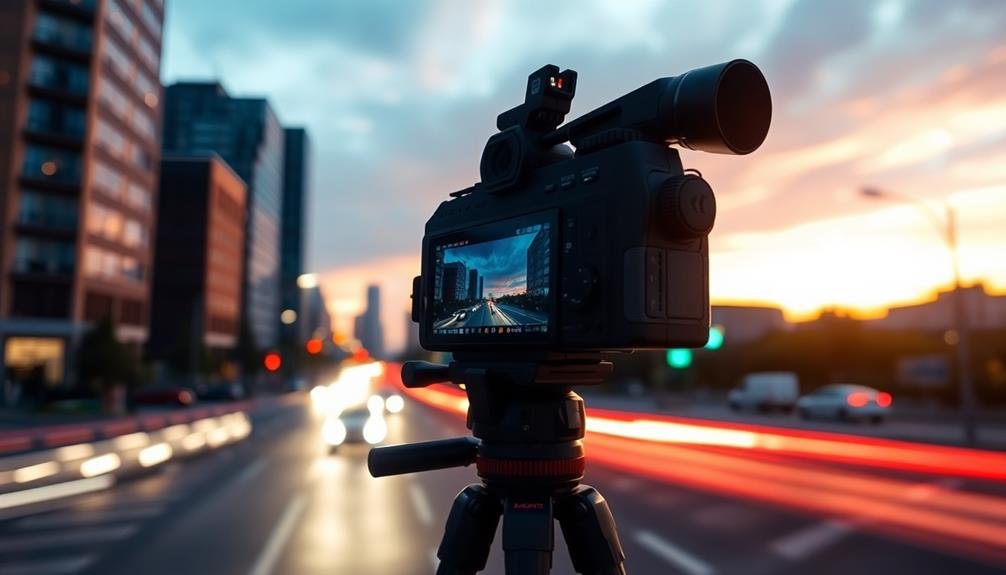
- Subject matter: The speed of your drone should complement the movement in your scene. For cityscapes or traffic, a faster speed can work well, while natural landscapes often benefit from a slower pace.
- Camera settings: Your drone's speed should align with your camera's shutter speed and frame rate to guarantee smooth motion blur.
Start with a moderate speed and make adjustments as needed. Practice flying at different speeds to get a feel for what works best in various scenarios.
Capture More Frames Than Needed
When capturing hyperlapse footage, you'll want to shoot more frames than you think you'll need.
This oversampling approach will increase the motion smoothness of your final product and give you more flexibility in post-production.
Increase Motion Smoothness
To achieve silky-smooth motion in your hyperlapse shots, capture more frames than you'll actually need for your final video. This technique allows you to create a buffer, giving you more flexibility in post-production and ensuring seamless movement throughout your sequence.
When shooting your hyperlapse, aim to capture at least 25% more frames than your intended final shot length. This extra footage provides you with options during editing, allowing you to select the best frames and create a more fluid motion. Remember, it's always better to have too much footage than not enough.
To maximize the smoothness of your hyperlapse, follow these key steps:
- Use a stable tripod or slider to minimize camera shake.
- Maintain consistent intervals between shots, using an intervalometer if possible.
- Choose a focal point and keep it centered throughout the sequence.
Allow Post-Production Flexibility
Capturing more frames than needed for your hyperlapse doesn't just improve motion smoothness—it also gives you greater flexibility in post-production. By shooting more frames than you'll ultimately use, you're creating a buffer that allows for various creative decisions later on.
This excess footage enables you to experiment with different frame rates and speeds. You can slow down or speed up sections of your hyperlapse without compromising quality, creating dynamic pacing within a single shot.
It also provides room for error correction, allowing you to remove any frames that might've slight imperfections or unwanted elements.
Additionally, extra frames give you the freedom to adjust your hyperlapse's duration. You can create shorter, punchier sequences or extend them for a more leisurely pace, depending on your project's needs.
This flexibility is particularly valuable when syncing your hyperlapse to music or fitting it into a specific time slot.
Compensate for Mistakes
Throughout your hyperlapse journey, mistakes are inevitable. That's why it's essential to capture more frames than you think you'll need. This extra footage acts as a safety net, allowing you to compensate for errors and maintain the smooth flow of your final product.
By shooting additional frames, you'll have the flexibility to:
- Remove blurry or misaligned shots without compromising your sequence
- Adjust the playback speed of your hyperlapse without sacrificing quality
- Extend or shorten your sequence to fit perfectly with your project's timing
When you're in the field, aim to capture at least 25% more frames than your planned final shot count. This buffer will give you ample room to work with during post-production.
If you encounter challenging conditions or are attempting a complex movement, consider increasing this buffer to 50% or more.
Post-Processing and Stabilization Techniques
In light of the raw footage captured during your hyperlapse shoot, post-processing and stabilization techniques become essential for achieving that cinematic look. Start by importing your sequence into your preferred editing software. Use warp stabilizer or similar tools to smooth out any unwanted camera shake. Adjust the smoothness settings to find the right balance between stability and natural movement.
Next, focus on color grading to enhance the visual appeal of your hyperlapse. Apply LUTs or create custom color profiles to achieve your desired aesthetic. Don't forget to fine-tune exposure, contrast, and saturation for a polished look.
| Technique | Purpose | Software |
|---|---|---|
| Warp Stabilizer | Reduce shake | Adobe Premiere |
| Color Grading | Enhance visuals | DaVinci Resolve |
| Frame Blending | Smooth transitions | After Effects |
Frequently Asked Questions
What Equipment Is Essential for Creating Cinematic Hyperlapse Shots With Drones?
You'll need a high-quality drone with a stable gimbal and 4K camera. Don't forget extra batteries, ND filters, and a reliable controller. A powerful editing software and a sturdy tripod are also essential for post-production.
How Long Should a Typical Cinematic Hyperlapse Shot Last?
You'll want to keep your cinematic hyperlapse shots between 5-15 seconds long. It's enough time to capture the essence of movement without boring viewers. Longer shots can work, but they're often less impactful and may lose audience interest.
Can Hyperlapse Techniques Be Combined With Other Drone Filming Styles?
Yes, you can combine hyperlapse with other drone filming styles. You'll create unique, dynamic shots by merging hyperlapse with techniques like reveal shots, tracking shots, or orbits. Experiment to find exciting combinations that enhance your storytelling.
What Weather Conditions Are Ideal for Capturing Cinematic Hyperlapse Footage?
You'll want clear, calm days for cinematic hyperlapse footage. Avoid rain, strong winds, or harsh sunlight. Overcast conditions can provide soft, even lighting. Early morning or late afternoon often offer the best natural light for stunning results.
Are There Any Legal Restrictions for Filming Hyperlapse Shots With Drones?
You'll need to check local drone laws before filming hyperlapse shots. Many areas restrict drone use near airports, crowds, and sensitive locations. Don't forget to register your drone and obtain necessary permits for commercial use.
In Summary
You've now got the tools to create stunning cinematic hyperlapse shots with your drone. Remember, practice makes perfect. Don't be discouraged if your first attempts aren't flawless. Keep experimenting with different locations, flight paths, and camera settings. As you refine your technique, you'll soon be capturing breathtaking hyperlapse footage that'll elevate your films to new heights. Embrace the learning process, and you'll be amazed at the cinematic quality you can achieve.
As educators and advocates for responsible drone use, we’re committed to sharing our knowledge and expertise with aspiring aerial photographers.


Leave a Reply