To create stunning sky-high images, focus on these seven color grading tips: Boost sky contrast by adjusting highlights and shadows, enhance cloud definition with targeted adjustments, balance highlights and shadows for ideal exposure, fine-tune white balance for the desired mood, create color harmony using complementary hues, apply selective color grading to isolate specific areas, and carefully adjust saturation levels for natural-looking results. Remember to use masks and gradient filters for precise control. By mastering these techniques, you'll transform your aerial photography from ordinary to extraordinary. Discover how these tips can elevate your images to new heights and captivate your audience.
Key Takeaways
- Boost sky contrast by adjusting highlights, shadows, and blue channel saturation for a dramatic effect.
- Enhance cloud definition using targeted contrast adjustments and white balance tweaks.
- Balance highlights and shadows to preserve detail across the image's dynamic range.
- Adjust white balance and eliminate color casts for natural-looking skies that match the scene.
- Apply selective color grading and targeted sharpening to enhance specific areas of the sky.
Boost Sky Contrast

One of the most effective ways to enhance your images is by boosting sky contrast. This technique can transform a dull, flat sky into a dramatic and visually striking element of your composition.
To achieve this, start by adjusting the highlights and shadows in your image. Increase the highlights to brighten the lighter areas of the sky, while simultaneously lowering the shadows to deepen the darker tones.
Next, focus on the blue channel in your color grading software. Boost the saturation of the blues to intensify the sky's color, but be careful not to overdo it. You'll want to maintain a natural look.
Experiment with the luminance of the blue channel to further enhance the sky's depth and texture.
Consider using graduated filters or masks to selectively apply these adjustments to the sky area only. This allows you to maintain the integrity of other elements in your image while dramatically improving the sky's appearance.
Don't forget to fine-tune the white balance to make sure the sky color looks authentic.
Enhance Cloud Definition
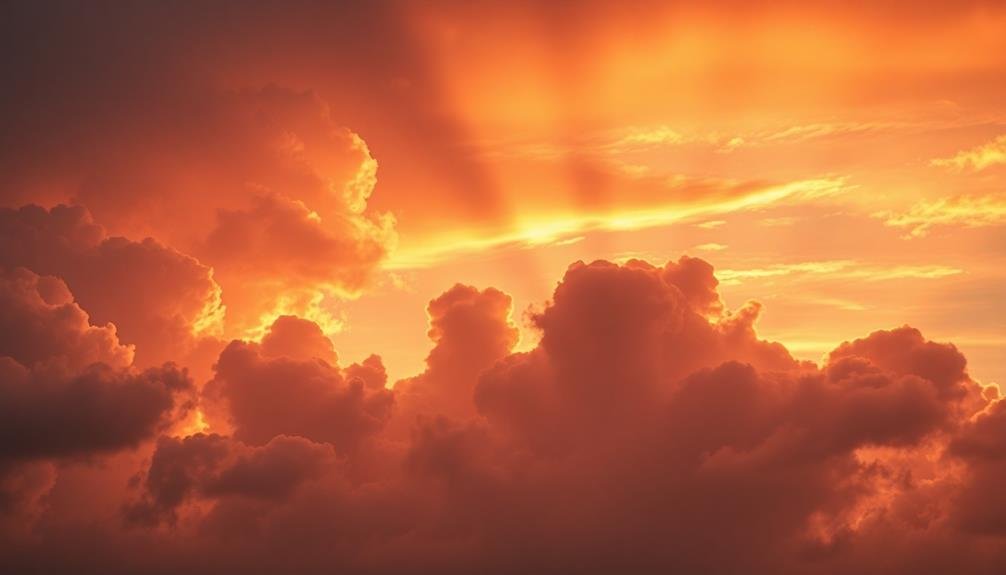
To enhance cloud definition in your images, you'll want to focus on three key techniques.
Start by boosting contrast selectively, targeting the clouds to make them stand out against the sky.
Next, adjust the white balance to bring out the natural colors and textures of the clouds.
Boost Contrast Selectively
A powerful technique for enhancing cloud definition in your images is to boost contrast selectively. This method allows you to emphasize the texture and depth of clouds without affecting other parts of the sky or landscape. Start by creating a selection of the clouds using tools like the lasso or quick selection in your editing software. Then, apply a targeted contrast adjustment to this selection.
You can use curves, levels, or contrast sliders to increase the difference between light and dark areas within the clouds. Be careful not to overdo it, as excessive contrast can lead to unnatural-looking results. Experiment with different levels of adjustment to find the sweet spot that enhances cloud definition while maintaining a realistic appearance.
Here's a quick guide to selective contrast boosting techniques:
| Technique | Pros | Cons | Best For | Difficulty |
|---|---|---|---|---|
| Curves | Precise control | Steep learning curve | Fine-tuning | High |
| Levels | Easy to understand | Less nuanced control | Quick adjustments | Medium |
| Contrast Slider | Simple and fast | Limited flexibility | Subtle enhancements | Low |
| Dodge and Burn | Highly targeted | Time-consuming | Detailed cloud work | High |
| Luminosity Mask | Preserves highlights | Complex setup | Professional editing | Very High |
Remember to blend your adjustments seamlessly with the rest of the image for a natural, eye-catching result.
Adjust White Balance
While selective contrast adjustments can greatly enhance cloud definition, adjusting the white balance offers another powerful tool for cloud enhancement. By fine-tuning the color temperature and tint of your sky-high images, you'll bring out subtle nuances in cloud formations and create a more dramatic atmosphere.
Start by evaluating the overall mood you want to convey. For a warmer, golden-hour feel, shift the white balance towards the yellow end of the spectrum. This will give your clouds a soft, ethereal glow.
Conversely, for a cooler, more dramatic look, push the white balance towards the blue end. This can make clouds appear more defined and crisp against a deep blue sky.
Don't forget to adjust the tint as well. A slight magenta tint can add depth to sunset clouds, while a green tint can create an otherworldly atmosphere. Use these adjustments sparingly, as too much tint can make your image look unnatural.
Experiment with different white balance settings to find the perfect balance for your sky-high shots. You'll be amazed at how these subtle adjustments can transform ordinary clouds into stunning, eye-catching elements in your images.
Apply Targeted Sharpening
Sharpening is a powerful tool for enhancing cloud definition in your sky images. When applied selectively, it can bring out intricate details and textures in clouds, making them appear more dramatic and visually striking.
To achieve the best results, focus on applying sharpening to specific areas of your image rather than using a global adjustment. Start by identifying the areas of your sky that would benefit most from increased definition. Use a mask or brush tool to isolate these regions, then apply sharpening adjustments carefully.
Pay attention to the edges of clouds, where increased contrast can create a more defined look. Be cautious not to overdo it, as excessive sharpening can introduce artifacts and make your image appear unnatural.
Consider these techniques for targeted sharpening:
- Use high-pass sharpening for fine details in wispy clouds
- Apply clarity adjustment to enhance mid-tone contrast in cloud formations
- Utilize local contrast enhancement to bring out texture in larger cloud masses
Experiment with different sharpening methods and intensities to find the right balance for your image. Remember that the goal is to enhance the natural beauty of the sky, not to create an artificial look.
Balance Highlights and Shadows

Balancing highlights and shadows is essential for creating visually striking images. When color grading sky-high photos, you'll often encounter scenes with extreme contrasts between bright skies and darker landscapes. To achieve a balanced look, start by adjusting the overall exposure to a middle ground that preserves detail in both highlights and shadows.
Use the highlights slider to recover blown-out areas in the sky, being careful not to overdo it and create an unnatural look. Then, lift the shadows to reveal details in darker areas without introducing excessive noise. The key is to maintain a natural contrast while ensuring that both bright and dark areas contain visible information.
Consider using graduated filters or masks to selectively adjust different parts of the image. This technique allows you to fine-tune the balance between sky and land independently.
Don't forget to pay attention to midtones, as they play a vital role in connecting highlights and shadows smoothly.
Experiment with the tone curve to add depth and dimension to your image. By carefully adjusting the highlights, lights, darks, and shadows points on the curve, you can create a more dynamic range while maintaining a balanced overall look.
Adjust White Balance
When adjusting white balance, you'll want to focus on correcting the temperature and tint of your image.
Pay close attention to the sky, ensuring it matches the overall scene and mood you're aiming to convey.
Correct Temperature and Tint
At the heart of color grading lies the essential step of correcting temperature and tint. These two elements are vital in setting the overall mood and atmosphere of your sky-high images.
Temperature adjusts the warmth or coolness of your photo, while tint balances the green and magenta hues.
To correct temperature and tint effectively, you'll want to:
- Analyze the light source in your image
- Use a neutral reference point, like clouds or white objects
- Fine-tune adjustments based on the desired emotional impact
Start by identifying the primary light source in your aerial shot. Is it warm sunlight or cool overcast conditions? Adjust the temperature slider accordingly, making the image appear more golden for warmth or blue for coolness.
Next, tackle the tint to eliminate any unwanted color casts. If your sky appears too green, move the tint slider towards magenta, and vice versa.
Match Sky to Scene
Matching the sky to the scene is an essential step in creating cohesive and realistic aerial images. When you're color grading sky-high shots, you'll often find that the sky doesn't quite match the mood or lighting of the ground elements. To fix this, you'll need to adjust the sky's white balance to seamlessly blend with the rest of your image.
Start by analyzing the overall color temperature of your scene. Is it warm and golden, or cool and bluish? Adjust the sky's temperature slider to match this tone. Next, fine-tune the tint to eliminate any unnatural color casts.
Pay close attention to the horizon line, where the sky meets the landscape, as this area often reveals mismatches. Use gradient filters or masks to isolate the sky for precise adjustments. This allows you to tweak the sky without affecting the ground.
Don't forget to take into account the time of day and weather conditions in your image. A sunset sky will have warmer tones, while an overcast day calls for cooler, more neutral colors.
Create Color Harmony
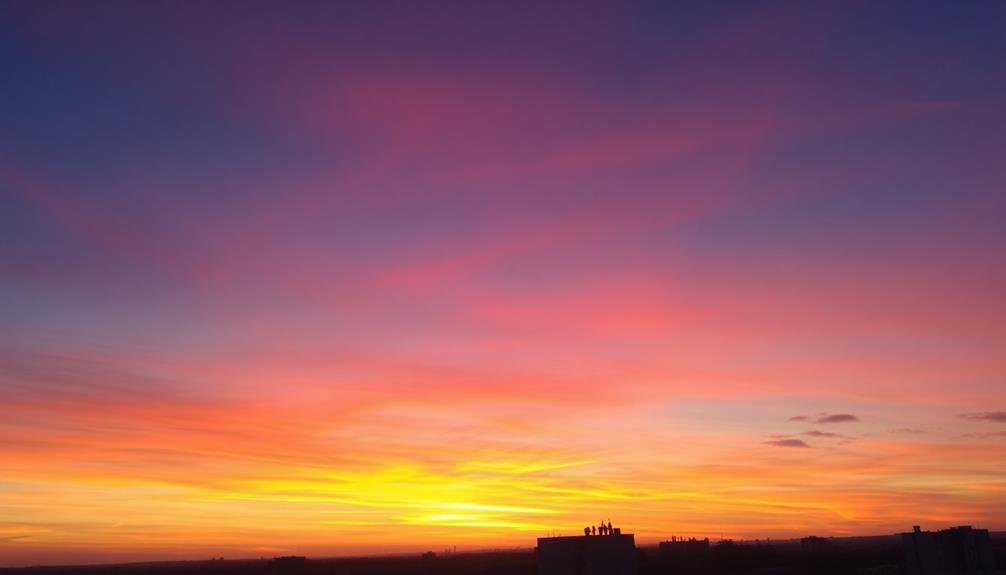
Color harmony is the secret sauce that elevates your images from good to great. When you're color grading sky-high images, creating a cohesive palette that complements your subject matter is essential. Start by identifying the dominant colors in your scene and build your palette around them. Use the color wheel as a guide to select complementary or analogous hues that work well together.
To achieve color harmony in your sky-high images:
- Adjust the hue, saturation, and luminance of individual colors
- Experiment with split-toning to add depth and dimension
- Apply selective color adjustments to enhance specific elements
Don't be afraid to push the boundaries and create a unique look for your images. However, always keep in mind the mood and atmosphere you want to convey. Subtle adjustments often yield the most natural-looking results.
Pay attention to the relationship between warm and cool tones, as this can dramatically impact the overall feel of your image.
Remember that color harmony isn't about using every color in the spectrum. Sometimes, limiting your palette to just a few well-chosen hues can create a more powerful and cohesive image.
Trust your instincts and keep refining your grading until you achieve the perfect balance.
Apply Selective Color Grading
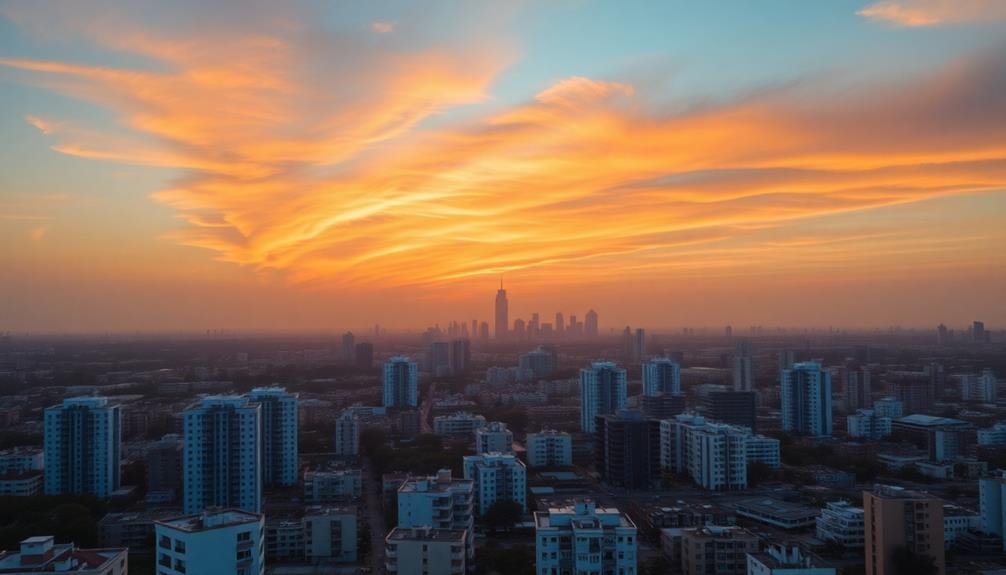
Selective color grading is a powerful technique that allows you to target specific areas or colors in your image for precise adjustments. By isolating particular hues or regions, you can enhance certain elements without affecting the entire image. This approach gives you greater control over the final look of your sky-high photographs.
To apply selective color grading, start by identifying the areas you want to modify. Use tools like masks, color range selectors, or adjustment brushes to isolate these regions. Once you've defined your selection, adjust the color, saturation, and luminance to achieve the desired effect.
For sky-high images, you might focus on enhancing the blues of the sky, warming up the sunlight, or adding depth to cloud formations.
Don't be afraid to experiment with different color combinations. You can create striking contrasts by cooling down shadows while warming up highlights, or by adjusting complementary colors to make specific elements pop.
Remember to use a light touch; subtle adjustments often yield the most natural-looking results. As you refine your selective color grading skills, you'll be able to create more dynamic and visually appealing sky-high images that captivate viewers and convey the mood you're aiming for.
Fine-tune Saturation Levels
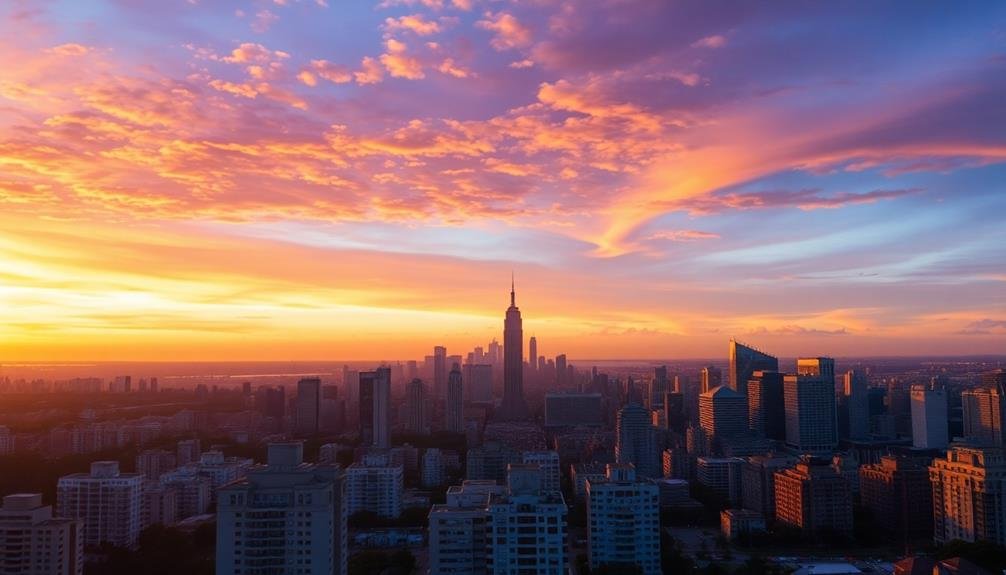
To achieve a balanced and visually appealing image, fine-tuning saturation levels is essential. You'll need to adjust the intensity of colors in your sky-high images to create the desired mood and impact. Start by evaluating the overall saturation of your photo, then focus on specific areas that may need more or less color intensity.
When fine-tuning saturation levels, consider these key points:
- Avoid oversaturation, which can make your image look unnatural and garish.
- Pay attention to skin tones, ensuring they remain realistic and flattering.
- Use masks or adjustment layers to target specific areas of your image.
Remember that different elements in your photo may require varying levels of saturation. For instance, you might want to boost the vibrancy of a sunset sky while keeping the foreground elements more subdued.
Experiment with saturation sliders in your editing software, and don't be afraid to make subtle adjustments to achieve the perfect balance.
As you fine-tune saturation levels, keep an eye on the overall harmony of your image. Too much saturation in one area can throw off the entire composition, so step back and evaluate the photo as a whole.
With practice, you'll develop an intuitive sense of how to adjust saturation for stunning sky-high images.
Frequently Asked Questions
How Do I Create a Cinematic Look for Aerial Footage?
To create a cinematic look for aerial footage, you'll want to adjust color grading, contrast, and saturation. Use wide-angle shots, smooth shifts, and slow-motion effects. Don't forget to stabilize your footage and add cinematic letterboxing for impact.
What Software Is Best for Color Grading Drone Images?
You'll find several excellent options for color grading drone images. Popular choices include DaVinci Resolve, Adobe Premiere Pro, and Final Cut Pro X. Each offers powerful tools, but your choice depends on your experience level and specific needs.
Can I Use LUTS for Sky Color Grading?
Yes, you can use LUTs for sky color grading. They're a quick and effective way to enhance your sky's colors. You'll find many pre-made LUTs designed specifically for skies, or you can create custom ones for your needs.
How Do I Maintain Natural-Looking Colors in Sky Photographs?
To maintain natural-looking colors in sky photographs, you'll want to use a light touch. Don't oversaturate or apply extreme adjustments. Instead, focus on subtle white balance tweaks, gentle contrast enhancements, and preserving the sky's original tones.
What's the Ideal Export Format for Color-Graded Aerial Images?
For color-graded aerial images, you'll want to export in TIFF or high-quality JPEG formats. They'll preserve your color work best. If you're sharing online, use sRGB color space. For print, consider ProPhoto RGB or Adobe RGB.
In Summary
You've now got the tools to take your aerial photography to new heights. By applying these color grading techniques, you'll transform ordinary sky shots into breathtaking masterpieces. Remember, it's all about balance and subtlety. Don't overdo it; let the natural beauty of the sky shine through. With practice, you'll develop an eye for the perfect adjustments. So grab your camera, head outdoors, and start creating stunning sky-high images that'll leave viewers in awe.

As educators and advocates for responsible drone use, we’re committed to sharing our knowledge and expertise with aspiring aerial photographers.



Leave a Reply