To guarantee aerial photo shoot success, you'll need to master these 10 key maintenance tips. Start with a thorough pre-flight checklist, including battery care and propeller inspection. Keep your camera lens clean and update firmware regularly. Don't forget sensor cleaning and motor maintenance for peak performance. Proper storage and transportation protect your equipment between shoots. Weather-proof your drone to handle various conditions. By following these essential steps, you'll maximize your drone's lifespan and capture stunning aerial shots. Dive deeper into each tip to elevate your aerial photography game and avoid common pitfalls.
Key Takeaways
- Perform a thorough pre-flight checklist, including drone inspection, battery check, and camera/gimbal testing.
- Maintain proper battery care, including correct charging techniques and regular health monitoring.
- Inspect and replace propellers as needed, clean camera lenses, and calibrate gimbals regularly.
- Keep drone firmware up-to-date for optimal performance, stability, and new features.
- Conduct routine motor maintenance, including cleaning and lubrication, to ensure longevity and performance.
Pre-Flight Checklist
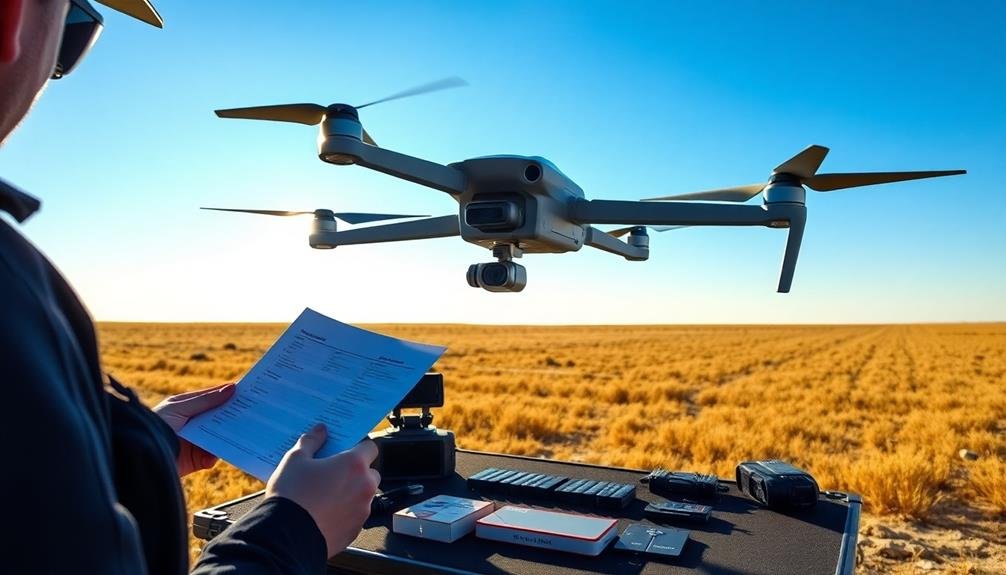
Before taking off for your aerial photo shoot, go through a thorough pre-flight checklist. This vital step guarantees your equipment is ready and minimizes the risk of issues during the flight.
Start by inspecting your drone's physical condition. Check for any visible damage, loose parts, or signs of wear. Confirm all propellers are securely attached and undamaged. Examine the landing gear for stability and proper alignment.
Next, focus on the battery. Verify it's fully charged and properly inserted. Bring spare batteries for longer shoots. Test the camera and gimbal, confirming smooth movement and proper calibration. Clean the lens and check memory card capacity.
Review your flight controls and settings. Verify the drone is in the correct flight mode and all parameters are set for your specific shoot. Calibrate the compass and GPS if needed.
Check weather conditions, including wind speed and direction. Familiarize yourself with local regulations and no-fly zones. Have your permits and documentation ready.
Lastly, double-check your remote controller's battery level and connection to the drone. With this thorough pre-flight checklist complete, you'll be well-prepared for a successful aerial photo shoot.
Battery Care and Management
To guarantee your aerial photo shoot goes smoothly, you'll need to master battery care and management.
Start by learning proper charging techniques to maximize battery life and performance.
You should also focus on storage and temperature control, as well as regularly monitoring your battery's health to prevent unexpected power loss during flights.
Proper Charging Techniques
How you charge your drone's batteries can greatly impact their lifespan and performance. Always use the manufacturer-approved charger and follow their specific guidelines. Avoid charging batteries immediately after use; let them cool down to room temperature first.
Don't overcharge your batteries or leave them plugged in for extended periods after reaching full capacity. Maintain a consistent charging routine. It's best to charge batteries to around 80% for storage and only charge them to 100% just before your aerial shoot.
When charging, place batteries on a non-conductive, fireproof surface away from flammable materials. Monitor the charging process and never leave batteries unattended. If your drone uses smart batteries, regularly calibrate them to verify accurate power readings.
For long-term storage, discharge batteries to about 50% capacity. Store them in a cool, dry place, and check their charge levels every few weeks, recharging if necessary to maintain the prime storage level.
Before each flight, confirm your batteries are adequately charged and perform a quick health check. Replace any batteries showing signs of swelling, damage, or significant performance degradation to maintain safety and reliability during your aerial photo shoots.
Storage and Temperature Control
Proper storage and temperature control are essential aspects of battery care and management for aerial photography drones. When you're not using your drone, store the batteries in a cool, dry place away from direct sunlight and heat sources. Aim for a temperature range between 60°F and 80°F (15°C to 27°C) to maintain peak battery health.
Avoid leaving batteries in your drone or charger for extended periods, as this can lead to overcharging and reduce their lifespan. Before long-term storage, verify your batteries are at about 50% charge. This helps prevent over-discharge and protects the cells from degradation.
Check your batteries periodically during storage and recharge them to 50% if the charge drops below 20%. When transporting your drone and batteries, use a protective case to shield them from extreme temperatures and physical damage.
Consider these additional tips for peak battery care:
- Use battery-specific storage bags to protect against fire hazards
- Keep batteries away from metal objects to prevent short circuits
- Regularly inspect batteries for signs of swelling or damage
- Rotate your battery stock to verify even usage across all units
Battery Health Monitoring
Monitoring your drone's battery health is crucial for maintaining ideal performance and extending its lifespan. Keep track of your battery's charge cycles and replace it when it reaches the manufacturer's recommended limit. Use a battery management system to monitor voltage levels, capacity, and overall health.
Always charge your batteries to the recommended level before flights, and avoid completely draining them. Store batteries at about 50% charge when not in use for extended periods. Don't leave them fully charged or depleted for long, as this can degrade their capacity.
Inspect your batteries regularly for signs of damage, such as swelling or leaking. If you notice any abnormalities, discontinue use immediately and dispose of the battery safely. Clean the battery contacts periodically to guarantee proper connection and prevent corrosion.
When flying in cold conditions, keep your batteries warm before use and monitor their performance closely, as cold temperatures can greatly reduce their efficiency.
After flights in humid environments, allow batteries to dry completely before storage or recharging.
Propeller Inspection and Replacement
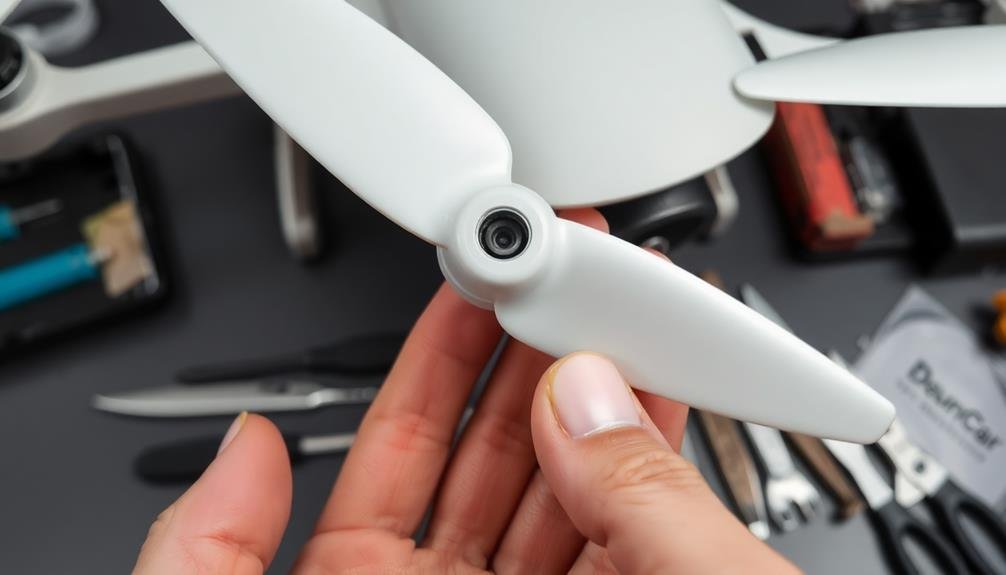
Safety and performance hinge on the condition of your drone's propellers. Regular inspection and timely replacement are essential for maintaining ideal flight characteristics and preventing accidents.
Before each flight, carefully examine your propellers for signs of wear, damage, or imbalance. Look for nicks, cracks, or bends that could compromise their integrity. If you notice any issues, replace the propellers immediately.
Don't forget to clean your propellers after each flight, removing any debris or residue that might affect their performance. When it's time for replacement, make sure you're using the correct propellers for your specific drone model. Improper propellers can lead to instability and potential crashes.
Here are key points to remember for propeller maintenance:
- Always carry spare propellers during photo shoots
- Replace propellers in pairs to maintain balance
- Follow the manufacturer's guidelines for replacement intervals
- Use a propeller balancer to check for any imbalances after installation
Camera Lens Cleaning

Maintaining a crystal-clear lens is essential for capturing stunning aerial photographs. To guarantee your camera lens stays in top condition, start by gently blowing off any loose dust or debris using a blower or compressed air.
Next, use a soft-bristled brush to remove any stubborn particles that didn't come off with air alone.
For more thorough cleaning, use a microfiber cloth or lens tissue with a small amount of lens cleaning solution. Apply the solution to the cloth, not directly to the lens. Gently wipe the lens surface in a circular motion, starting from the center and moving outward.
Be careful not to apply too much pressure, as this can damage the lens coating.
Don't forget to clean the lens cap and filter as well. These can accumulate dust and transfer it back to your lens.
For hard-to-reach areas, use lens cleaning swabs. Always carry a cleaning kit with you during shoots to address any unexpected smudges or dirt.
Finally, store your camera in a clean, dry environment when not in use to minimize the need for frequent cleaning.
Firmware Updates
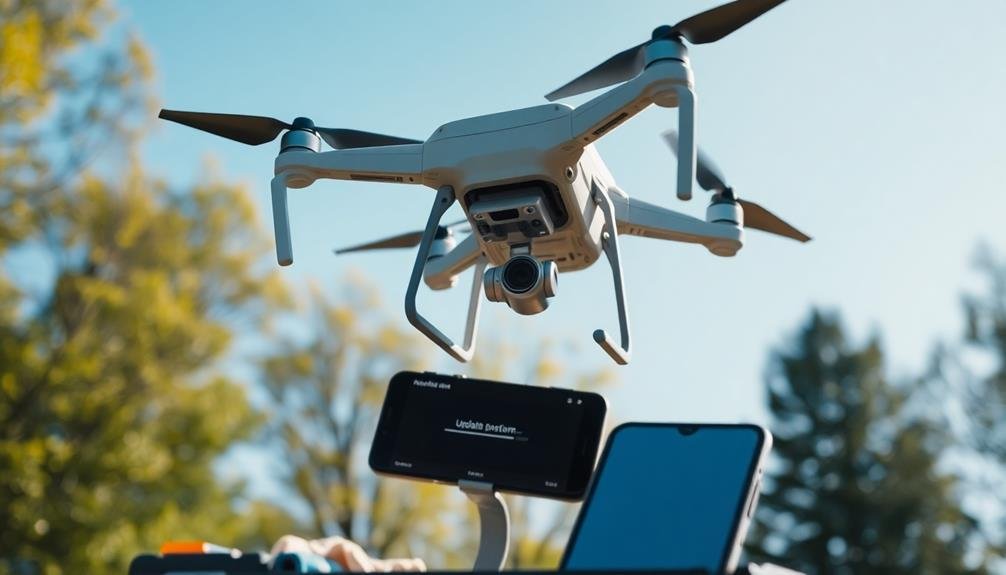
Keeping your drone's firmware up-to-date is essential for peak performance during aerial photo shoots.
Regular updates often bring performance enhancements and stability improvements, ensuring your equipment operates at its best.
Additionally, firmware updates can improve compatibility with accessories, allowing you to expand your drone's capabilities and capture even more stunning shots.
Importance of Regular Updates
Staying on top of firmware updates is essential for peak drone performance during aerial photo shoots. Regular updates guarantee your drone operates at its best, incorporating the latest features, bug fixes, and safety improvements.
You'll benefit from enhanced stability, improved image quality, and smoother flight controls, all of which contribute to better aerial photography results.
Don't overlook the importance of updating your remote controller and camera firmware as well. These components work together with your drone, and keeping them all up-to-date guarantees maximum compatibility and performance.
Set reminders to check for updates regularly, preferably before each photo shoot, to avoid any last-minute complications.
Updating your drone's firmware offers several key advantages:
- Improved flight safety features
- Enhanced camera functionality and image processing
- Better obstacle avoidance and intelligent flight modes
- Increased overall system stability
Performance and Stability Improvements
Firmware updates do more than just add new features; they greatly boost your drone's performance and stability. By regularly updating your drone's firmware, you'll enhance its flight capabilities, improve battery efficiency, and reduce the risk of crashes or malfunctions during aerial photo shoots.
To maximize the benefits of firmware updates, follow these best practices:
| Update Procedure | Benefits |
|---|---|
| Check regularly | Stay current with improvements |
| Read release notes | Understand new features and fixes |
| Backup settings | Preserve custom configurations |
| Update in a safe area | Avoid interruptions or accidents |
| Test after updating | Verify proper functionality |
Don't skip updates, as they often include critical bug fixes and performance enhancements. Before each photo shoot, verify that your drone is running the latest firmware version. This guarantees you're working with the most stable and capable equipment possible.
Compatibility With Accessories
When you update your drone's firmware, it's crucial to look out for potential compatibility issues with your accessories. Firmware updates often introduce new features and improvements, but they can sometimes affect how your drone interacts with various add-ons.
Before updating, check the manufacturer's release notes to see if any known compatibility issues exist with your current accessories.
After updating, test each accessory individually to verify it still functions properly with your drone. Pay close attention to camera gimbals, propeller guards, and any third-party software you use for flight planning or image processing.
If you encounter any issues, try resetting both the drone and the accessory to their default settings. Sometimes, a simple recalibration can resolve compatibility problems.
To maintain ideal compatibility:
- Keep a log of firmware versions and corresponding accessory performance
- Join online forums or user groups to stay informed about potential issues
- Consider waiting a few weeks after a new firmware release before updating
- Always backup your drone's settings before performing any updates
Gimbal Calibration
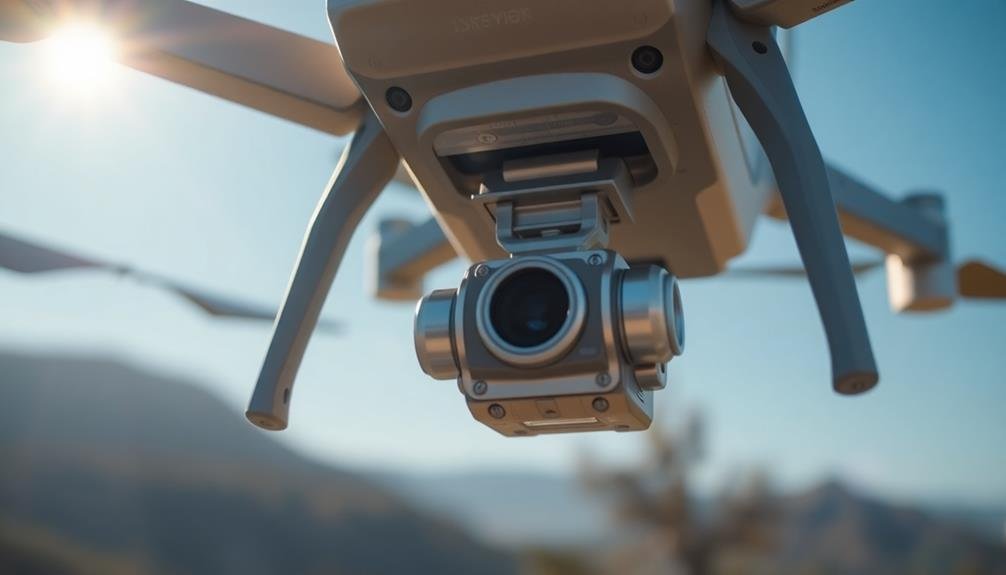
Verifying your gimbal is properly calibrated is vital for capturing smooth, stable footage during aerial photo shoots. Regular calibration helps maintain the gimbal's accuracy and responsiveness, preventing jerky movements or unwanted vibrations in your footage.
To calibrate your gimbal, start by placing your drone on a level surface and powering it on. Access the calibration settings through your drone's app or controller. Follow the on-screen instructions, which typically involve rotating the drone in various directions. This process allows the gimbal to recalibrate its sensors and adjust to any changes in its alignment.
Pay attention to any error messages during calibration and address them promptly. If you're experiencing persistent issues, consult your drone's manual or contact the manufacturer's support team for guidance.
It's important to calibrate your gimbal before each photo shoot, especially if you've transported your drone or experienced any impacts.
Additionally, calibrate after firmware updates or when you notice any instability in your footage. By maintaining a well-calibrated gimbal, you'll guarantee your aerial photos and videos remain professional-quality and visually appealing.
Sensor Cleaning
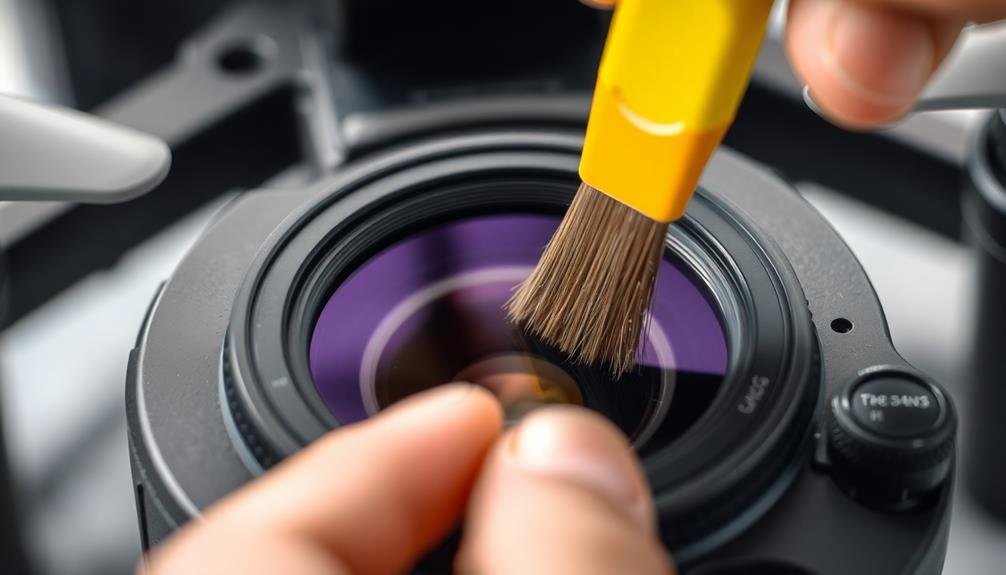
For ideal image quality and sensor performance, regular cleaning of your drone's camera sensor is crucial. Dust, dirt, and other particles can accumulate on the sensor, leading to spots or blemishes in your aerial photos.
You'll need to clean your sensor carefully to avoid damaging it. Before cleaning, power off your drone and remove the camera lens. Use a blower to gently remove loose particles from the sensor surface.
For stubborn spots, use a specialized sensor cleaning swab and solution designed for camera sensors. Swipe the swab across the sensor in one smooth motion, then discard it. Repeat if necessary, but don't oversaturate the sensor.
After cleaning, reattach the lens and test your camera to verify there are no remaining spots. Regular maintenance will help you capture stunning aerial photos without post-processing hassles.
- Always clean in a dust-free environment
- Use only cleaning products designed for camera sensors
- Never touch the sensor directly with your fingers
- Clean before important shoots to avoid on-site issues
Motor Maintenance
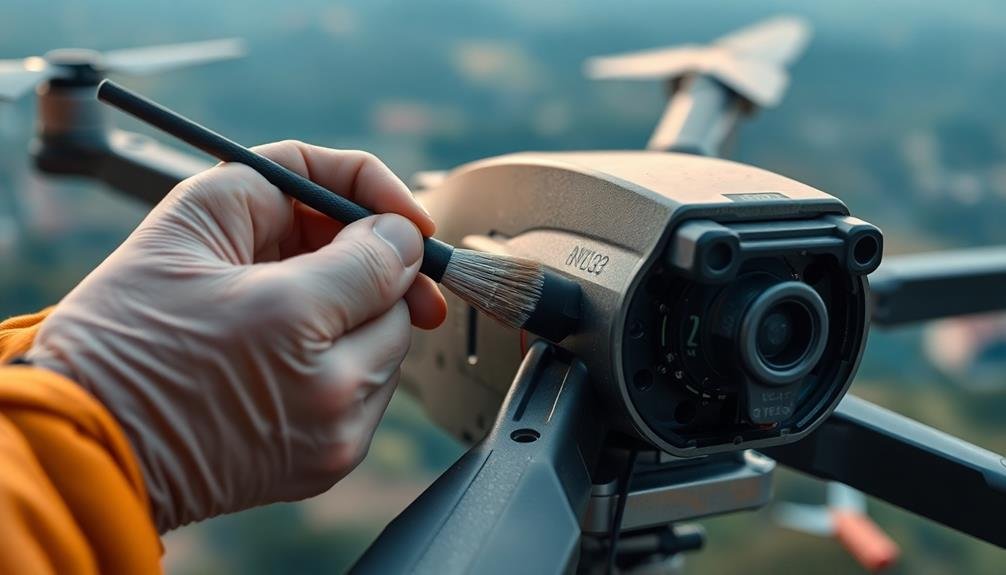
You'll want to keep a close eye on your drone's motors to guarantee peak performance during aerial photo shoots.
Start by conducting regular inspections, looking for any signs of wear or damage.
Clean the motors carefully to remove debris, and apply appropriate lubricants to keep them running smoothly.
Regular Motor Inspections
Vigilance is key when it comes to motor maintenance for aerial photography drones. Regular motor inspections are essential to guarantee your drone's performance and longevity.
You'll want to establish a routine inspection schedule, ideally before and after each flight. Check for any visible damage, loose connections, or signs of wear on the motor's exterior.
Listen carefully to the motor's sound during operation. Any unusual noises, such as grinding or whining, could indicate potential issues. Pay attention to vibrations as well; excessive shaking might signal an imbalance or damaged components.
Don't forget to examine the propellers, as they're directly connected to the motors and can impact their performance.
Here's a quick checklist for your regular motor inspections:
- Check for debris or foreign objects around the motor and propellers
- Inspect motor bearings for smooth rotation and proper lubrication
- Examine motor windings for signs of overheating or discoloration
- Verify that all mounting screws and connections are tight and secure
Cleaning and Lubrication
While regular inspections are essential, keeping your drone's motors clean and properly lubricated is equally important for peak performance. After each flight, gently wipe down the motors with a clean, dry microfiber cloth to remove dust and debris. For stubborn dirt, use a soft-bristled brush or compressed air, being careful not to damage delicate components.
Proper lubrication is vital for reducing friction and preventing wear. Apply a small amount of high-quality, drone-specific lubricant to the motor bearings every 20-30 flight hours or as recommended by your drone's manufacturer. Be cautious not to over-lubricate, as excess oil can attract dirt and cause performance issues.
Here's a quick guide to motor cleaning and lubrication:
| Frequency | Cleaning Method | Lubrication |
|---|---|---|
| After each flight | Dry microfiber cloth | Not needed |
| Weekly | Soft brush or compressed air | Check bearings |
| Monthly | Isopropyl alcohol wipe | Apply lubricant |
| Quarterly | Deep clean with solvent | Replace if necessary |
Storage and Transportation
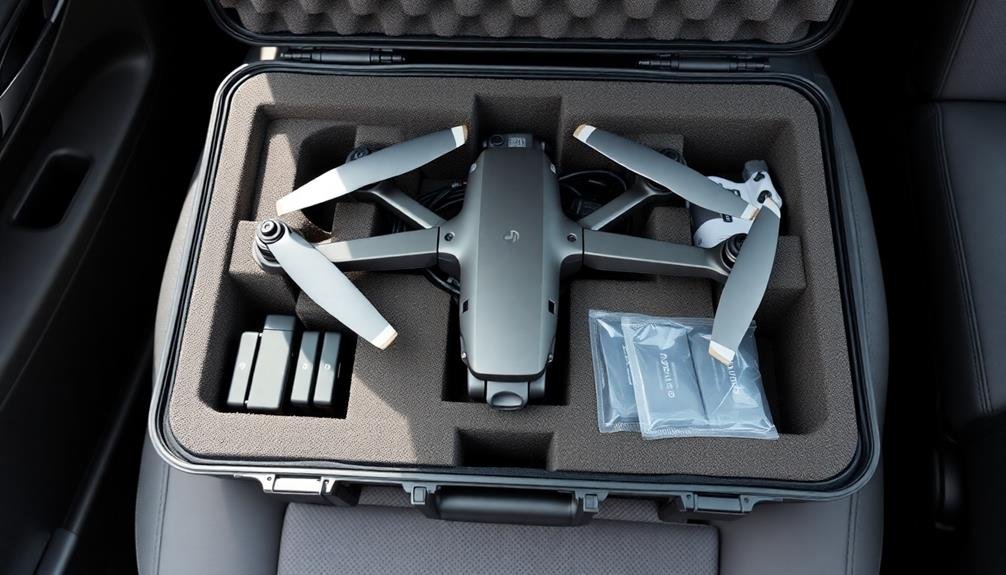
Proper storage and transportation of aerial photography equipment are vital for maintaining its longevity and performance. When you're not using your gear, store it in a cool, dry place away from direct sunlight and extreme temperatures. Use airtight, moisture-resistant cases to protect your equipment from dust, humidity, and potential impacts.
For drones, remove the batteries and store them separately to prevent drain and potential fire hazards.
When transporting your equipment, always use padded cases designed for your specific gear. Organize your equipment systematically, making certain everything has its designated spot. This not only protects your gear but also makes it easier to set up quickly on location.
Don't forget to secure loose items and use dividers to prevent items from rubbing against each other during transit.
Consider these additional tips for efficient storage and transportation:
- Use silica gel packets in your storage cases to absorb moisture
- Label your cases and equipment for easy identification
- Keep a checklist to make sure you don't forget any essential items
- Invest in TSA-approved cases if you frequently travel by air
Weather-Proofing Your Drone
Weather-proofing your drone is a key aspect of aerial photo shoot maintenance. To protect your equipment from the elements, start by applying a waterproof sealant to exposed joints and seams. This will help prevent moisture from seeping into sensitive electronic components.
Next, invest in high-quality silicone conformal coating for your drone's circuit boards. This thin, protective layer will shield against humidity and light rain without affecting performance.
Don't forget to safeguard your drone's camera. Use a UV filter to protect the lens from dust and moisture, and consider a hydrophobic coating to repel water droplets. For added protection, outfit your drone with propeller guards that double as splash shields.
When flying in dusty environments, use compressed air to clean your drone's motors and vents regularly. Consider purchasing a dedicated drone carrying case with a waterproof exterior and customizable foam interior to protect your equipment during transport.
Lastly, always check weather forecasts before your shoot and avoid flying in extreme conditions. If you must operate in challenging weather, use a drone designed for such environments and follow manufacturer guidelines for peak performance and safety.
Frequently Asked Questions
How Often Should I Replace My Drone's Landing Gear?
You should replace your drone's landing gear when it shows signs of wear or damage. There's no fixed schedule, but inspect it regularly. If you notice cracks, bends, or instability during landings, it's time for a replacement.
Can I Use Third-Party Batteries for My Drone?
You can use third-party batteries, but it's risky. They may not meet safety standards or provide peak performance. Stick with manufacturer-approved batteries to guarantee your drone's safety, longevity, and warranty coverage. Don't compromise on quality for cost savings.
What's the Best Way to Clean the Drone's Body and Frame?
To clean your drone's body and frame, you'll want to use a soft, lint-free cloth. Gently wipe away dirt and debris. For stubborn spots, lightly dampen the cloth with water. Avoid harsh chemicals or excessive moisture.
How Do I Troubleshoot GPS Signal Issues on My Drone?
To troubleshoot GPS signal issues, you'll want to check for obstructions, update firmware, calibrate the compass, and guarantee you're in an open area. If problems persist, try resetting the drone or contacting the manufacturer's support team.
Are There Specific Insurance Options for Professional Aerial Photography Drones?
Yes, there are specialized insurance options for professional aerial photography drones. You'll want to look into liability coverage, equipment protection, and payload insurance. Don't forget to check for policies that cover commercial drone operations specifically.
In Summary
You've now got the essential maintenance tips for aerial photography success. Remember, it's not just about flying skills – proper care of your equipment is vital. By following these guidelines, you'll extend your drone's lifespan, guarantee safer flights, and capture stunning images. Don't skimp on maintenance; it's the foundation of great aerial photography. Stay vigilant, keep your gear in top shape, and you'll be ready to soar and capture breathtaking shots on every flight.

As educators and advocates for responsible drone use, we’re committed to sharing our knowledge and expertise with aspiring aerial photographers.


Leave a Reply