To boost your aerial mapping resolution, start by selecting a drone with a high-quality camera and advanced stabilization. Optimize your flight altitude for the best ground sampling distance, and adjust camera settings for sharp, clear images. Choose the right lens, maintaining consistent overlap between shots. Consider weather conditions, aiming for calm, overcast days. Stabilize your drone during flight with smooth control inputs. Use post-processing techniques to enhance image quality and remove distortions. Implement ground control points for improved accuracy. By applying these tips, you'll greatly improve the resolution and detail of your aerial maps. Discover more strategies to take your mapping to the next level.
Key Takeaways
- Choose a drone with a high-quality camera (20+ megapixels) and advanced stabilization features for detailed, blur-free imagery.
- Optimize flight altitude to achieve the ideal ground sampling distance (GSD) for your specific mapping application.
- Use appropriate camera settings: low ISO, moderate aperture (f/5.6-f/8), and fast shutter speed (1/1000s+) for sharp, noise-free images.
- Maintain at least 75% forward overlap and 60% side overlap in images to ensure proper stitching and coverage.
- Implement post-processing techniques like color correction, artifact removal, and georeferencing with ground control points for accurate, high-resolution maps.
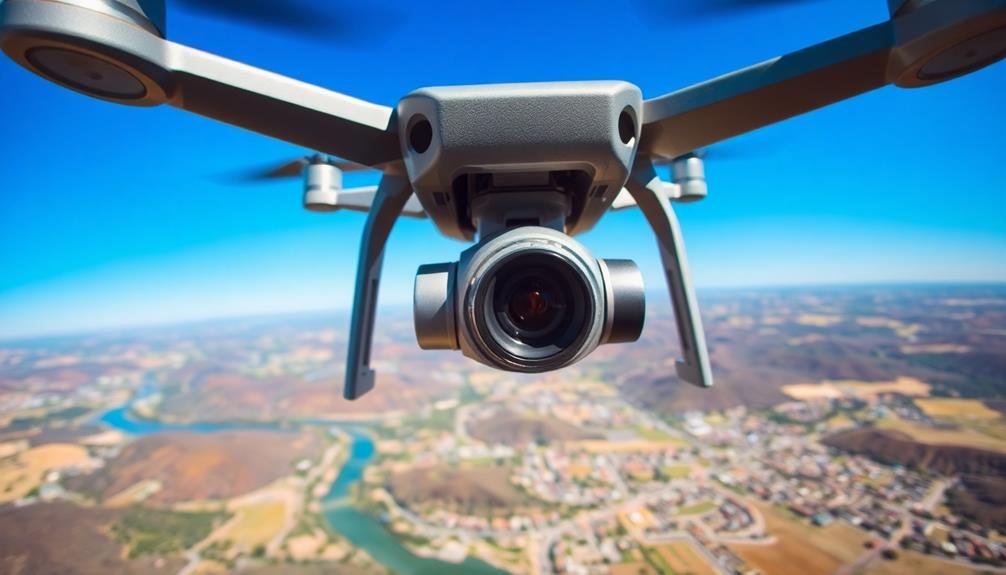
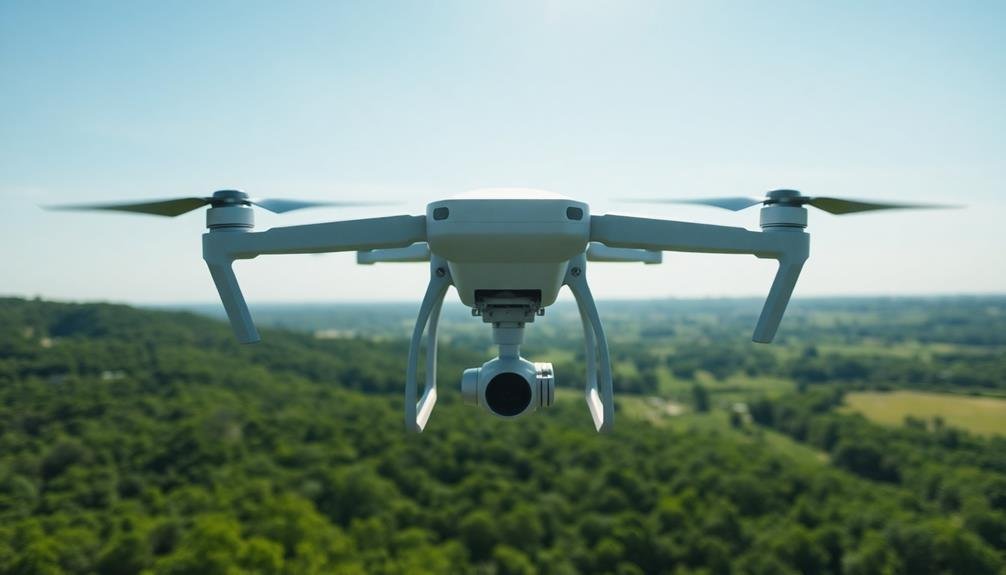
Choose the Right Drone
Selecting the right drone is vital for successful aerial mapping. You'll want to take into account several factors when choosing your aerial mapping platform.
First, look for a drone with a high-quality camera capable of capturing detailed images. A resolution of at least 20 megapixels is ideal for creating detailed maps and 3D models.
Next, think about the drone's flight time and range. Longer flight times allow you to cover larger areas without interruption, while extended range guarantees you can map remote locations. Look for drones with at least 30 minutes of flight time and a range of 5-7 kilometers.
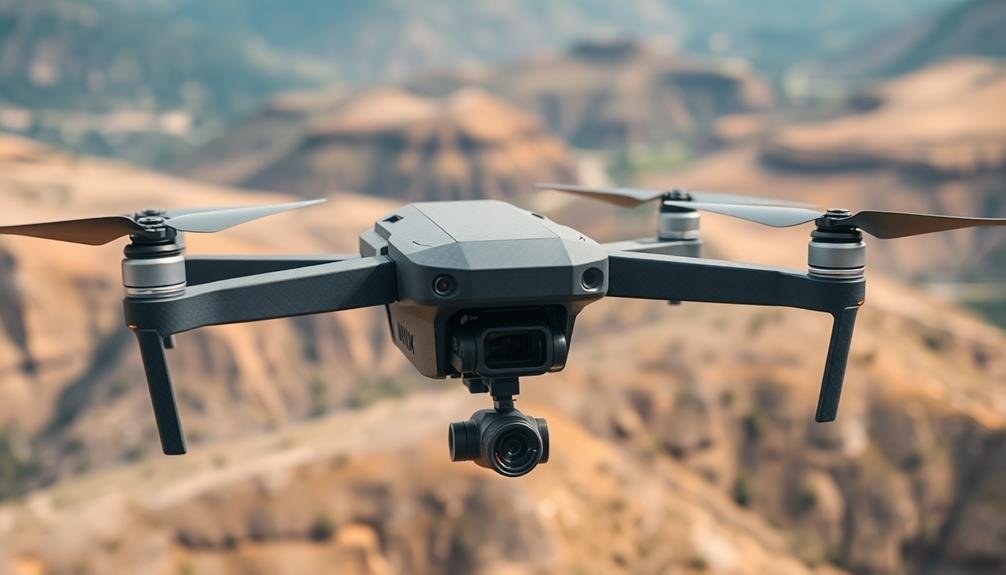
Stability is essential for capturing clear, consistent images. Choose a drone with advanced stabilization features, such as a 3-axis gimbal, to minimize blur and distortion. GPS capabilities are also important for accurate georeferencing and flight planning.
Finally, take into account the drone's payload capacity if you plan to use additional sensors or equipment. Some mapping projects may require multispectral or thermal cameras, so make sure your drone can handle the extra weight.
Don't forget to check local regulations and obtain necessary permits before flying.
With the right drone, you'll be well-equipped to capture high-quality aerial data for your mapping projects.
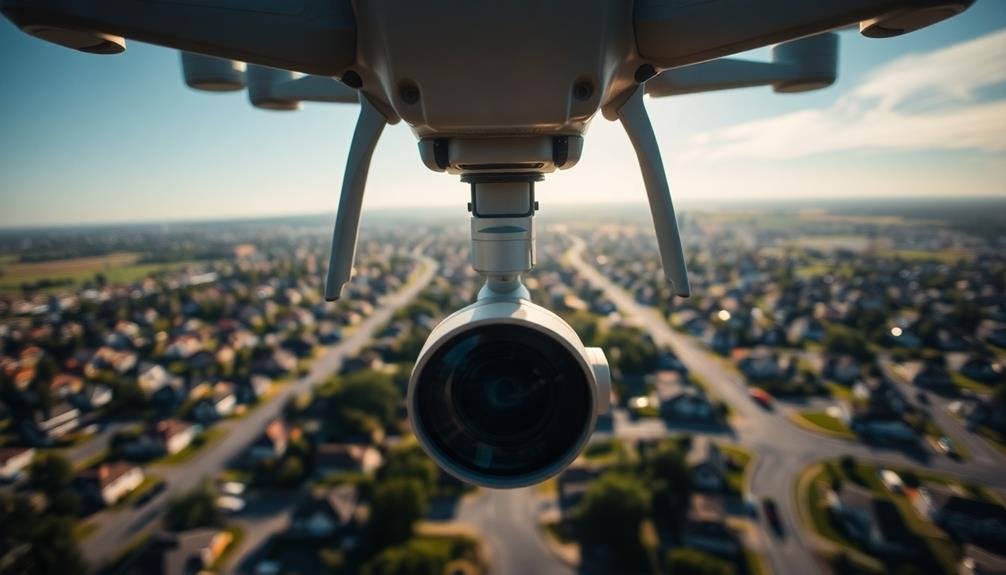
Optimize Flight Altitude
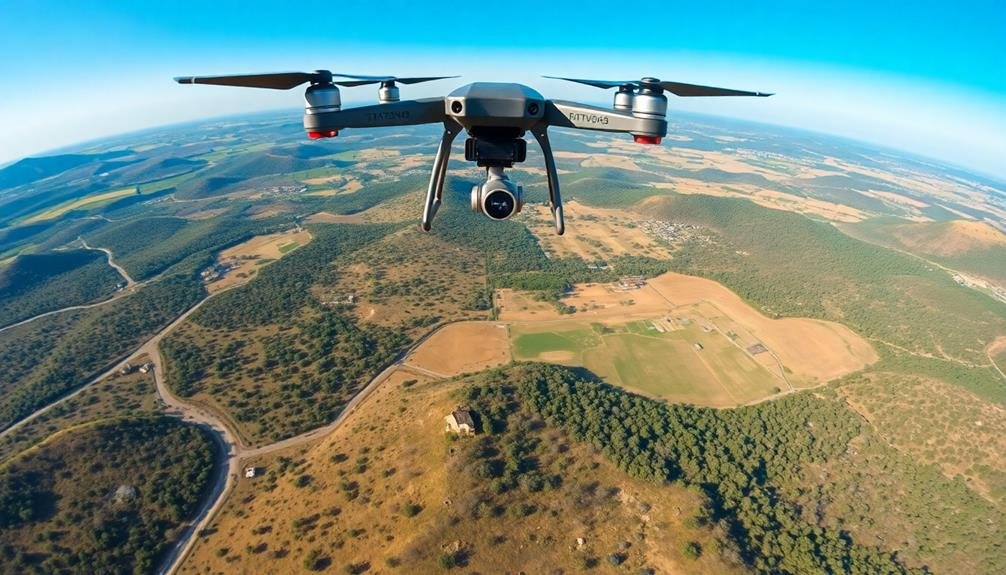
The ideal flight altitude is essential for capturing high-quality aerial imagery for mapping. You'll need to balance resolution and coverage area to achieve best results. Lower altitudes provide higher resolution but cover less ground, while higher altitudes offer broader coverage at the expense of detail.
Consider your project requirements and drone capabilities when selecting your flight altitude. For most mapping applications, aim for a ground sampling distance (GSD) between 1-5 cm/pixel. Use this formula to calculate your GSD:
GSD = (Sensor height x Flight altitude) / (Focal length x Image height)
Here's a quick reference table for common mapping scenarios:
| Application | Recommended Altitude | Typical GSD |
|---|---|---|
| Agriculture | 60-120 m | 2-5 cm/pixel |
| Construction | 30-60 m | 1-2 cm/pixel |
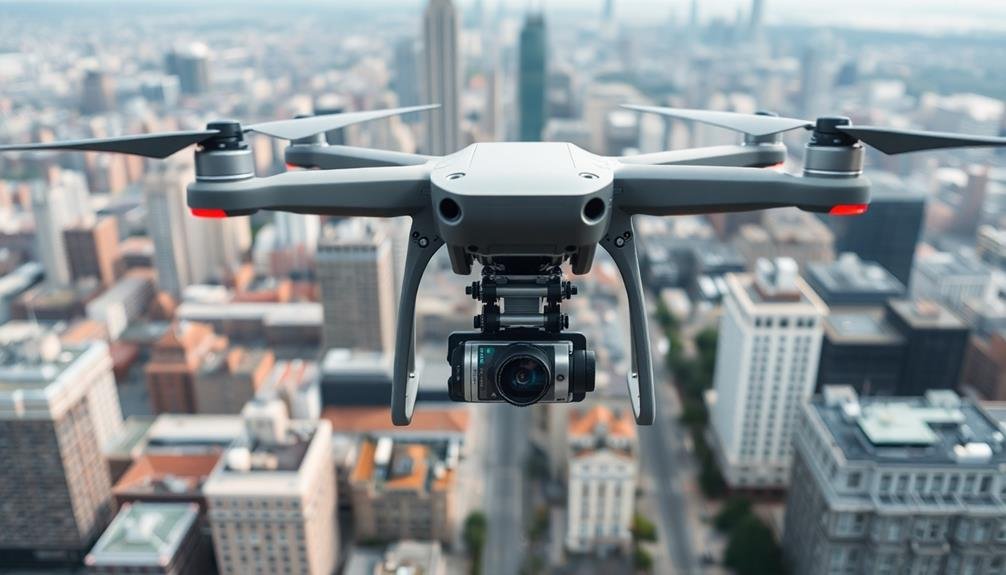
| Urban Planning | 80-150 m | 3-6 cm/pixel |
| Forestry | 100-200 m | 4-8 cm/pixel |
Remember to account for local regulations and airspace restrictions when planning your flight altitude. Always prioritize safety and comply with aviation authorities' guidelines. Experiment with different altitudes to find the sweet spot for your specific project needs, balancing resolution, coverage, and efficiency.
Adjust Camera Settings

When adjusting your camera settings for aerial mapping, you'll need to focus on optimizing ISO and aperture for the best image quality.
Set your ISO as low as possible while maintaining sufficient light sensitivity, and choose an aperture that balances depth of field with overall sharpness.
Optimize ISO and Aperture
Camera settings play an essential role in aerial mapping quality. When refining ISO and aperture for aerial photography, you'll need to strike a balance between image clarity and light sensitivity.
For ISO, start with the lowest possible setting to minimize noise. In bright daylight, ISO 100-200 often works well. If you're flying in lower light conditions, you may need to increase the ISO, but try to keep it below 800 to maintain image quality.
For aperture, aim for a setting between f/5.6 and f/8. This range typically provides the best balance between depth of field and overall sharpness. A smaller aperture (higher f-number) will increase your depth of field, ensuring more of your image is in focus.
However, don't go too small, as this can introduce diffraction and reduce overall image sharpness. Remember to adjust these settings based on your specific drone, camera, and flying conditions.
Test different combinations before your actual mapping flight to find the ideal settings. You'll also want to take into account shutter speed, aiming for at least 1/1000s to minimize motion blur.
Set Appropriate Shutter Speed
Considering the essential role of shutter speed in aerial mapping, you'll need to set it appropriately to capture sharp, clear images. Start by determining your drone's speed and altitude. As a general rule, set your shutter speed to at least 1/focal length to minimize motion blur. For example, if you're using a 35mm lens, aim for a shutter speed of 1/35 second or faster.
However, aerial mapping often requires faster speeds due to the drone's movement. Try starting with 1/500 second and adjust as needed. If you're flying at higher altitudes or slower speeds, you might get away with 1/250 second. For faster flights or lower altitudes, you may need to increase to 1/1000 second or even 1/2000 second.
Remember that faster shutter speeds reduce light intake, so you'll need to compensate by adjusting your ISO or aperture. Balancing these settings is vital for maintaining image quality.
If possible, conduct test flights to fine-tune your shutter speed for best results. Always review your images after each flight and make necessary adjustments. By mastering shutter speed control, you'll greatly improve the resolution and clarity of your aerial maps.
Use Proper Lens Selection
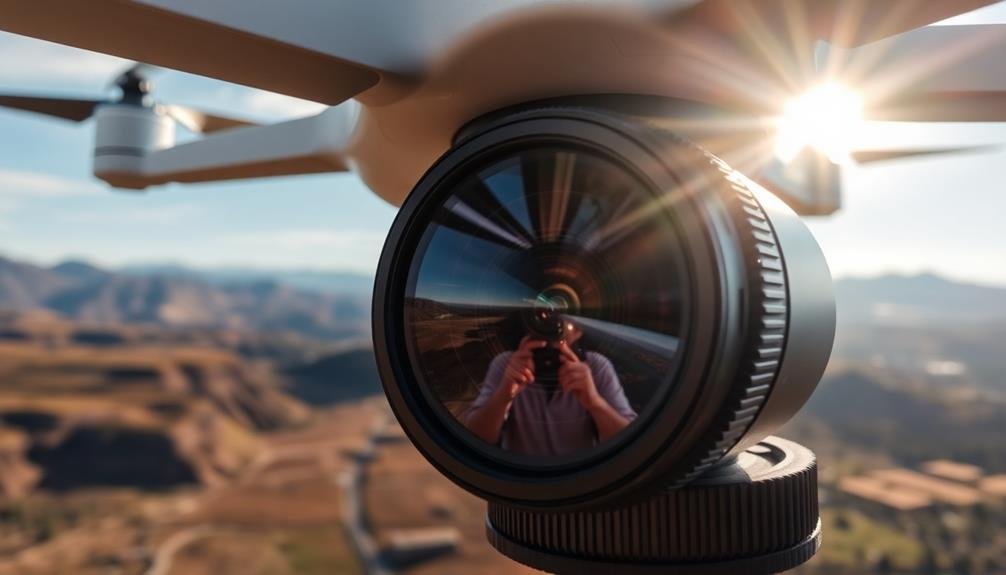
Selecting the right lens can make or break your aerial mapping project. When choosing a lens for aerial mapping, you'll want to take into account factors like focal length, aperture, and image quality. A wide-angle lens is often preferred for its ability to capture a larger area in a single frame, reducing the number of images needed for your mapping project.
For most aerial mapping applications, prime lenses with fixed focal lengths offer superior image quality and sharpness compared to zoom lenses. They're typically lighter, which is beneficial for drone payload considerations.
When selecting a lens, keep these key points in mind:
- Focal length: Choose a focal length that provides the desired ground sampling distance (GSD) for your project's requirements.
- Aperture: Opt for a lens with a wide aperture to allow for faster shutter speeds, reducing motion blur.
- Distortion: Look for lenses with minimal distortion to guarantee accurate mapping results.
Maintain Consistent Overlap
Once you've selected the right lens, your next focus should be on maintaining consistent overlap in your aerial imagery. Consistent overlap is essential for creating accurate, high-resolution maps and 3D models. Aim for at least 75% forward overlap and 60% side overlap between consecutive images. This level of overlap guarantees that each point on the ground is captured from multiple angles, improving the quality of your final product.
To achieve consistent overlap, plan your flight path carefully. Use automated flight planning software to calculate the ideal flight altitude, speed, and image capture intervals. These tools consider your camera's specifications and desired ground sampling distance to determine the best settings.
During the flight, monitor your drone's progress and be prepared to make adjustments if necessary. Wind or other environmental factors can affect your drone's speed and trajectory, potentially compromising overlap consistency. If possible, use a drone with RTK (Real-Time Kinematic) positioning for more precise flight control.
After the flight, review your captured images to verify proper overlap. If you notice gaps or inconsistencies, you may need to re-fly certain areas to fill in missing data and maintain the quality of your aerial mapping project.
Plan Efficient Flight Patterns
For successful aerial mapping, planning efficient flight patterns is essential. You'll want to design your flight path to cover the entire area of interest while minimizing unnecessary overlaps and wasted flight time. Start by considering the shape and size of your target area, then determine the most logical route to cover it completely.
When planning your flight pattern, keep these key factors in mind:
- Wind direction and speed
- Obstacles and no-fly zones
- Battery life and drone capabilities
Choose a pattern that suits your specific needs. Grid patterns work well for rectangular areas, while circular patterns are better for radial mapping. For irregular shapes, you might need to combine multiple patterns.
Don't forget to account for takeoff and landing locations in your plan.
Use flight planning software to optimize your route. These tools can help you calculate the most efficient path, considering factors like altitude, camera settings, and desired overlap.
They'll also estimate flight time and battery usage, ensuring you don't overextend your drone's capabilities.
Consider Weather Conditions

Weather conditions play an essential role in aerial mapping success. You'll need to carefully consider factors like wind speed, cloud cover, and precipitation before launching your drone. Strong winds can destabilize your aircraft, leading to blurry images and inconsistent data. Aim to fly on days with wind speeds below 15 mph for best results.
Cloud cover affects lighting conditions and can cast shadows on your survey area. Overcast days often provide even lighting, reducing harsh contrasts and shadows in your imagery. However, thick cloud cover may limit visibility and reduce image quality.
Clear, sunny days are ideal for capturing high-resolution data, but be mindful of glare and reflections. Avoid flying in rain or snow, as moisture can damage your equipment and interfere with sensor readings.
Temperature extremes can also impact battery life and sensor performance. Schedule your flights during the most stable weather conditions, typically in the morning or late afternoon when winds are calmer and lighting is softer.
Always check local weather forecasts and use real-time weather apps to guarantee safe and effective aerial mapping missions.
Stabilize Your Drone
Stabilizing your drone is essential for capturing high-quality aerial imagery. A steady drone guarantees sharp, clear photos and reduces blurring or distortion in your mapping data. To achieve peak stability, invest in a drone with built-in gimbal technology. This feature compensates for slight movements and vibrations, keeping your camera level and steady throughout the flight.
When flying, maintain a consistent speed and altitude to minimize sudden movements that can affect image quality. Wind can be a major factor in drone stability, so choose calm days for mapping missions whenever possible. If you must fly in light winds, use your drone's wind resistance features and adjust your flight path accordingly.
To further enhance stability:
- Calibrate your drone's sensors before each flight
- Use GPS-assisted hover mode when capturing images
- Verify your drone's propellers are in good condition and properly balanced
Remember to practice smooth control inputs when maneuvering your drone. Abrupt movements can introduce unwanted motion blur into your images.
Post-Processing Techniques
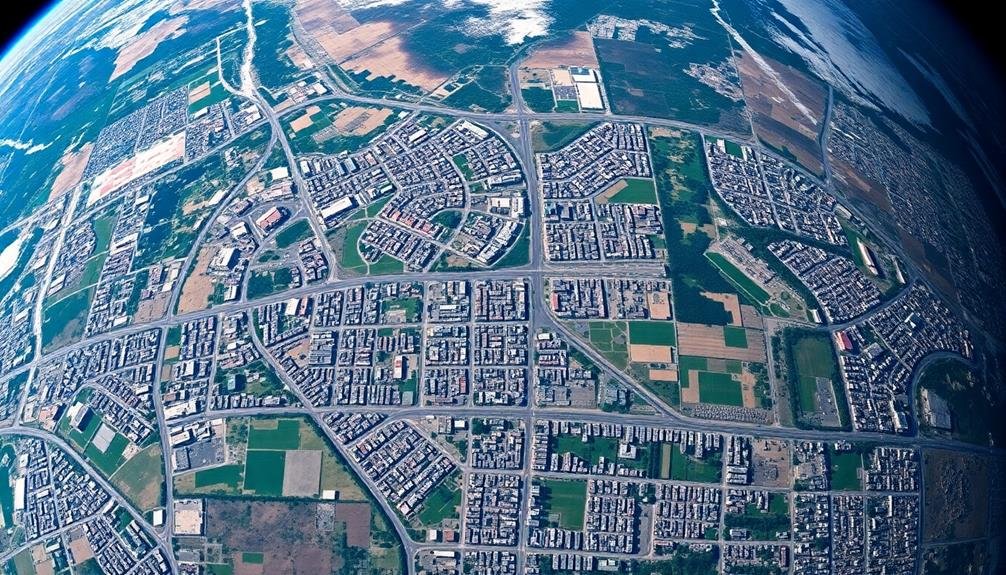
Processing your aerial imagery is an vital step in creating accurate and valuable maps. After capturing your data, you'll need to employ various post-processing techniques to enhance the quality and usability of your aerial maps.
Start by importing your raw images into specialized photogrammetry software. These tools will help you stitch together individual photos to create a cohesive orthomosaic map.
Next, apply color correction and balancing to guarantee consistent tones across your entire map. You'll want to adjust exposure, contrast, and saturation to bring out the best details in your imagery.
Don't forget to remove any unwanted artifacts or distortions that may have occurred during the flight.
Georeferencing is essential for aligning your map with real-world coordinates. Use ground control points or RTK data to guarantee precise positioning.
Once your map is properly aligned, you can generate digital elevation models (DEMs) and 3D point clouds for enhanced visualization and analysis.
Implement Ground Control Points
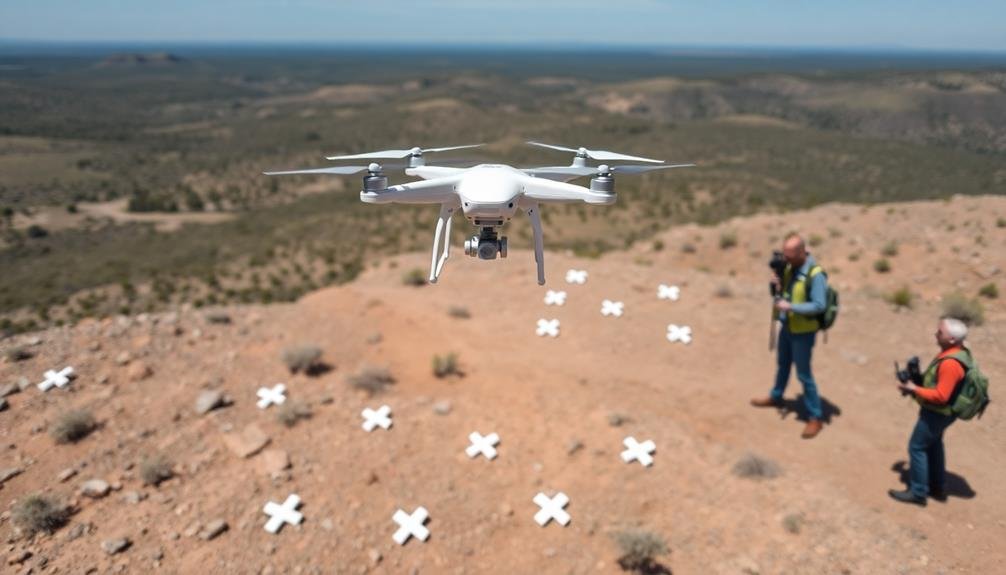
Ground control points (GCPs) are vital for guaranteeing the accuracy of your aerial maps. These visible markers on the ground serve as reference points for your mapping software, allowing it to align and calibrate your aerial imagery with real-world coordinates.
To implement GCPs effectively, you'll need to strategically place them across your survey area before flight.
When setting up your GCPs, consider the following tips:
- Distribute evenly: Spread your GCPs across the entire survey area, paying special attention to the corners and edges. This distribution helps maintain accuracy throughout the map.
- Use contrasting colors: Choose GCP markers that stand out against the surrounding terrain. High-contrast colors like black and white or fluorescent orange work well.
- Record precise coordinates: Use a high-accuracy GPS device to record the exact location of each GCP. This data will be essential during post-processing.
Remember to capture clear images of your GCPs during your flight. Fly at an altitude that guarantees each GCP is visible in multiple overlapping photos.
This redundancy helps your mapping software accurately place and orient your aerial imagery. By implementing GCPs correctly, you'll greatly enhance the geometric accuracy and overall quality of your final map product.
Frequently Asked Questions
How Does Image Compression Affect Aerial Mapping Resolution?
Image compression can considerably impact your aerial mapping resolution. When you compress images, you'll lose detail and clarity. This reduction in quality affects the accuracy of your maps, potentially obscuring important features or measurements you're trying to capture.
What Role Does Sensor Size Play in Aerial Mapping Quality?
Sensor size greatly impacts your aerial mapping quality. You'll get better resolution and light sensitivity with larger sensors. They'll capture more detail and perform better in low-light conditions, enhancing overall image quality for your mapping projects.
Can Drone Payload Weight Impact Mapping Resolution?
Yes, drone payload weight can affect mapping resolution. If you're carrying heavier sensors, you'll need a more powerful drone. This could limit flight time and altitude, potentially impacting the detail and coverage of your aerial maps.
How Do Different Mapping Software Options Compare for Processing Aerial Data?
You'll find various mapping software options with different strengths. Pix4D excels in accuracy, while DroneDeploy offers user-friendly interfaces. Agisoft Metashape provides advanced features, and OpenDroneMap is a free, open-source alternative. Compare their processing speeds and output quality.
What Are the Legal Restrictions for High-Resolution Aerial Mapping in Urban Areas?
You'll need to check local regulations, as legal restrictions vary. Generally, you can't fly over people or private property without permission. Height limits, no-fly zones, and privacy laws also apply to high-resolution urban aerial mapping.
In Summary
You've now got the tools to elevate your aerial mapping game. Remember, it's all about the details – from choosing the right drone to perfecting your post-processing. Don't forget to implement ground control points for added accuracy. As you apply these tips, you'll see a noticeable improvement in your mapping resolution. Keep practicing, experimenting, and refining your technique. With time and patience, you'll be capturing crystal-clear aerial maps like a pro.
As educators and advocates for responsible drone use, we’re committed to sharing our knowledge and expertise with aspiring aerial photographers.


Leave a Reply