To capture stunning orbit shots, you'll want to master five key camera settings. Start with a shutter speed between 1/60th and 1/125th for smooth motion. Set your aperture to f/8 or f/11 for a good depth of field. Keep your ISO low, around 100 or 200, for clarity. Use auto white balance as a starting point, but adjust for accurate colors. Opt for continuous autofocus to keep moving subjects sharp. Remember, these settings are just a foundation; experimenting with each will help you find the perfect balance for your unique orbit shots. Dive deeper to reveal the full potential of your camera's capabilities.
Key Takeaways
- Set shutter speed between 1/60th to 1/125th second for smooth motion in orbit shots.
- Use aperture settings of f/8 to f/11 for a large depth of field and overall sharpness.
- Keep ISO low (100-200) for clarity, adjusting incrementally in darker conditions.
- Utilize continuous autofocus (AF-C) with center focus point or dynamic-area AF mode.
- Start with auto white balance, adjusting to daylight or cloudy settings for outdoor shots.
Shutter Speed for Smooth Motion

The key to achieving smooth motion in orbit shots lies in selecting the right shutter speed.
You'll want to strike a balance between capturing movement and avoiding motion blur. For most orbit shots, start with a shutter speed of 1/60th to 1/125th of a second. This range often provides enough motion blur to convey movement while keeping your subject sharp.
If you're shooting in brighter conditions or want to freeze more action, try increasing your shutter speed to 1/250th or even 1/500th of a second.
However, be cautious not to go too fast, as this can make your orbit shot appear choppy or stilted.
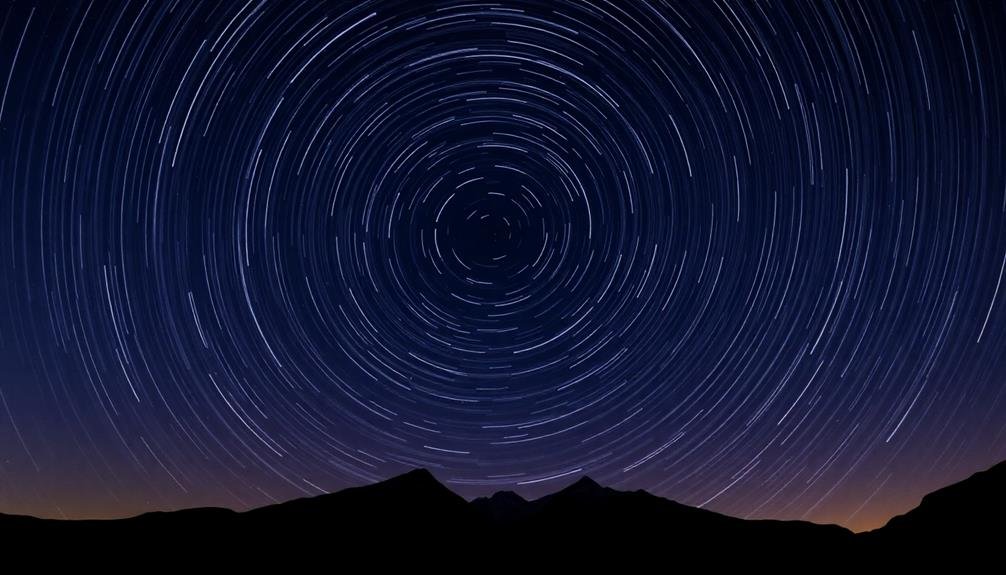
For a more dramatic effect, experiment with slower shutter speeds like 1/30th or even 1/15th of a second.
These can create beautiful light trails and a stronger sense of motion, but they'll require a steady hand or stabilization equipment to avoid unwanted blur.
Aperture for Depth of Field

Once you've nailed your shutter speed, it's time to contemplate your aperture setting for orbit shots. The aperture you choose will greatly impact the depth of field in your images, affecting how much of your subject and background appear in focus.
For orbit shots, you'll typically want a larger depth of field to keep both your subject and the surrounding environment sharp. This means using a smaller aperture (higher f-number). Start with f/8 or f/11 and adjust as needed based on your specific scene and creative vision.
Here's a quick reference guide for aperture settings in orbit photography:
| Aperture | Depth of Field | Best Use Case |
|---|---|---|
| f/2.8 | Shallow | Isolating subject |
| f/5.6 | Medium | Balancing subject and background |
| f/8 | Large | General orbit shots |
| f/11 | Very large | Landscape-style orbit shots |
| f/16 | Maximum | Ensuring everything is in focus |
ISO Settings for Exposure Balance
After setting your shutter speed and aperture, you'll need to choose the right ISO to balance your exposure for orbit shots. ISO determines your camera's sensitivity to light, affecting both brightness and image quality.
For orbit shots, you'll want to keep your ISO as low as possible to maintain image clarity, but high enough to achieve proper exposure. Start with the lowest ISO setting, typically 100 or 200, and adjust upward if needed. If your image is too dark, increase the ISO incrementally until you reach the desired exposure.
Remember that higher ISO values can introduce digital noise, so aim for the sweet spot between proper exposure and minimal noise.
Consider these factors when setting your ISO for orbit shots:
- Available light: Brighter conditions allow for lower ISO settings.
- Subject movement: Faster-moving subjects may require higher ISO to maintain shutter speed.
- Camera stabilization: If using a tripod, you can opt for lower ISO values.
Don't be afraid to experiment with different ISO settings to find the perfect balance for your orbit shots. With practice, you'll develop an intuition for selecting the ideal ISO in various lighting conditions.
White Balance for Color Accuracy

Color accuracy is essential for capturing stunning orbit shots, and white balance plays a key role in achieving true-to-life colors. When shooting orbits, you'll often encounter various light sources, each with its own color temperature. To guarantee your images accurately represent the scene, you'll need to adjust your camera's white balance settings.
Start by using your camera's auto white balance (AWB) feature as a baseline. However, don't rely on it entirely, as it can sometimes struggle with mixed lighting conditions. Instead, consider using a custom white balance or one of the preset options based on your shooting environment:
| White Balance Setting | Color Temperature (K) | Best Used For | Effect on Image |
|---|---|---|---|
| Daylight | 5200-5500 | Outdoor shots | Natural, warm tones |
| Cloudy | 6000-6500 | Overcast days | Adds warmth to cool scenes |
| Tungsten | 2800-3200 | Indoor lighting | Corrects orange cast |
| Fluorescent | 3800-4500 | Office lighting | Balances green tint |
You can also use a gray card or white balance tool to set a custom white balance for more precise results. Remember to check your white balance frequently as lighting conditions change during your orbit shoot. By mastering white balance, you'll guarantee your orbit shots maintain accurate colors and professional quality.
Focus Mode for Sharp Imagery

Sharpness is essential for capturing stunning orbit shots, and selecting the right focus mode can make all the difference. When shooting orbits, you'll want to guarantee your subject remains crisp throughout the circular motion. To achieve this, it's best to use continuous autofocus (AF-C) mode, which allows your camera to track and adjust focus as your subject moves.
Set your camera's focus point to the center or use a dynamic-area AF mode to maintain focus on your orbiting subject. This will help your lens continuously refocus as the distance between the camera and subject changes during the orbit.
For even better results, consider these additional tips:
- Use back-button focusing to separate focus and shutter release functions
- Increase your depth of field by using a smaller aperture (higher f-number)
- Experiment with manual focus if you're comfortable with it and can predict your subject's movement
Remember to review your images frequently during the shoot to guarantee you're achieving the desired sharpness.
If you're still struggling with focus, try adjusting your shutter speed or increasing your ISO to compensate for any motion blur.
Frequently Asked Questions
What Equipment Is Essential for Capturing Orbit Shots?
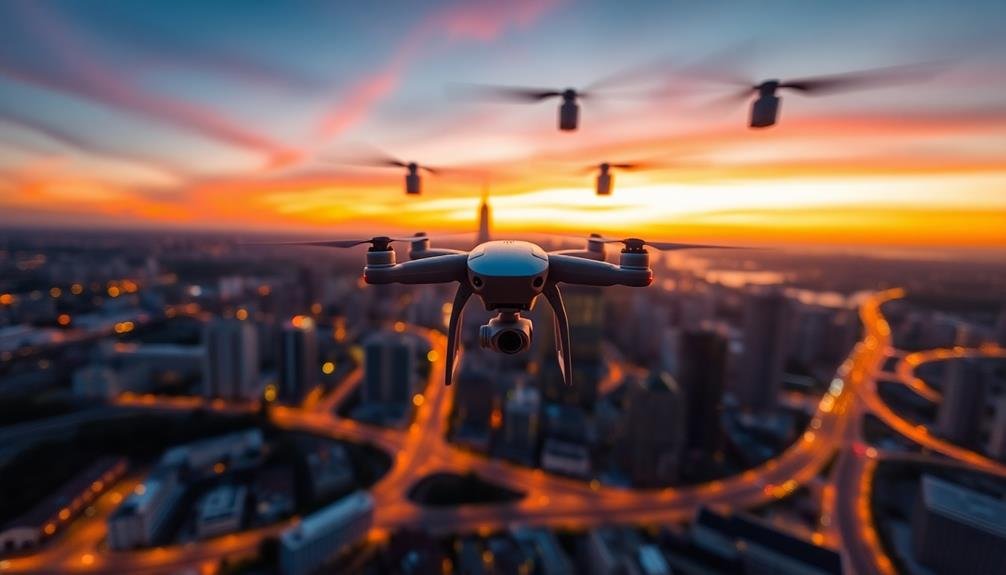
You'll need a reliable drone with a high-quality camera, extra batteries, and a controller. Don't forget ND filters, a smartphone or tablet for monitoring, and a sturdy case for transport. A gimbal's also essential for smooth footage.
How Do You Plan the Trajectory of Your Orbit Shot?
To plan your orbit shot trajectory, you'll need to choose a focal point, determine your movement path, and set key positions. Consider the subject's placement, background elements, and desired speed. Practice your movements for smooth execution.
Are There Specific Locations Better Suited for Orbit Photography?
You'll find great orbit shots in open spaces with interesting focal points. Try urban areas with tall buildings, natural landscapes with unique formations, or coastlines with contrasting land and sea. Don't forget to scout locations beforehand.
What Post-Processing Techniques Can Enhance Orbit Shots?
You'll want to enhance your orbit shots with post-processing techniques. Try adjusting contrast, sharpening details, and correcting lens distortion. Don't forget to experiment with color grading and selective editing to make your images truly pop.
How Do You Maintain Subject Visibility Throughout the Circular Motion?
To keep your subject visible during circular motion, you'll want to maintain focus, use a wide aperture, and adjust your shutter speed. Don't forget to track your subject smoothly and consider using continuous autofocus for better results.
In Summary
You've now got the key camera settings for capturing mesmerizing orbit shots. Remember, practice makes perfect, so don't be afraid to experiment. Adjust your shutter speed, aperture, ISO, white balance, and focus mode to suit your specific scene and vision. As you fine-tune these settings, you'll see your orbit shots transform from good to breathtaking. Keep pushing your boundaries, and soon you'll be creating stunning orbital imagery that stops viewers in their tracks.
As educators and advocates for responsible drone use, we’re committed to sharing our knowledge and expertise with aspiring aerial photographers.


Leave a Reply