For sky-high photography, you'll want to master various sharpening techniques. Start with the Unsharp Mask Filter and Smart Sharpen Tool for basic enhancements. The High Pass Filter and Edge-Aware techniques offer more precise control. Don't forget Clarity Adjustments in raw processing and Local Contrast Enhancement for depth. Always apply Noise Reduction before sharpening. For aerial shots, try Focus Stacking and Auto-Blend Layers to combat shake. Advanced methods like Frequency Separation and Deconvolution can take your images to the next level. Selective Sharpening with Masks allows for targeted improvements. Dive deeper to reveal the full potential of these powerful tools.
Key Takeaways
- Utilize the Unsharp Mask Filter with appropriate Amount, Radius, and Threshold settings to enhance aerial landscapes without creating artifacts.
- Apply Smart Sharpen Tool in Adobe Photoshop for precise control over sharpening processes, particularly for cloud detail.
- Implement Edge-Aware Sharpening Techniques to enhance specific areas while maintaining smooth regions in sky photography.
- Use Frequency Separation Sharpening Method to separately sharpen fine details without affecting overall tonal values in landscapes.
- Employ Focus Stacking for Aerial Shots to achieve sharp images across vast landscapes, addressing depth of field challenges.
Unsharp Mask Filter
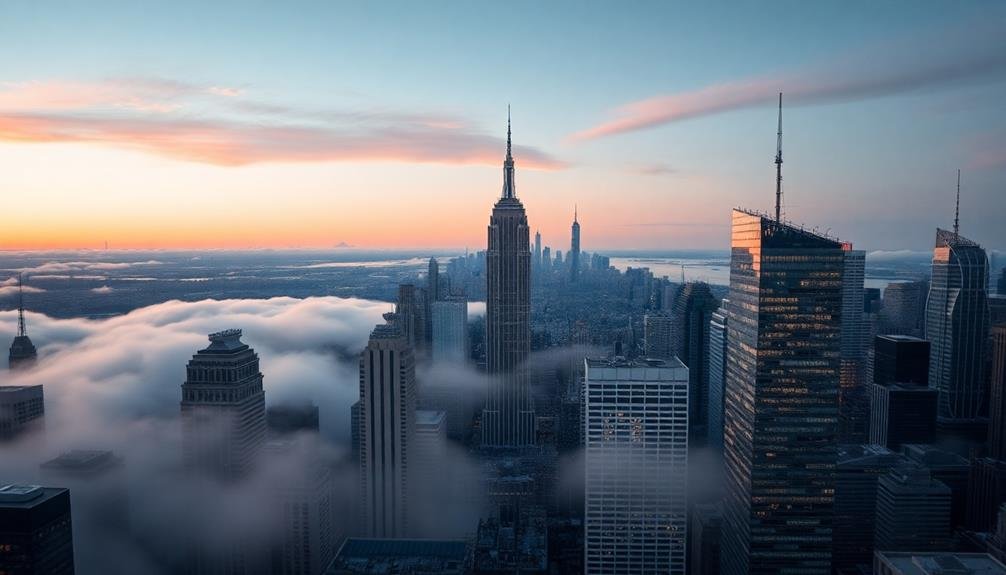
Mastering the Unsharp Mask filter is essential for photographers looking to enhance image sharpness. This powerful tool, available in most editing software, works by increasing contrast along edges within an image. Despite its counterintuitive name, it actually sharpens your photos by creating the illusion of increased detail.
To use the Unsharp Mask filter effectively, you'll need to adjust three key parameters: Amount, Radius, and Threshold. The Amount determines the intensity of the sharpening effect, typically ranging from 50% to 150%.
Radius controls how far from the edge the sharpening is applied, usually between 0.5 and 2 pixels. Threshold sets the minimum brightness difference required for sharpening, helping to avoid enhancing noise in smooth areas.
Start with conservative settings and gradually increase them until you achieve the desired result. Be cautious not to over-sharpen, as this can lead to unnatural-looking images with halos around edges.
For aerial photography, pay special attention to sharpening clouds and landscape features without introducing artifacts. Remember, sharpening should enhance the existing details in your image, not create new ones artificially.
High Pass Filter Technique

While the Unsharp Mask filter is widely used, another powerful sharpening technique is the High Pass Filter. This method allows you to selectively sharpen edges in your sky-high photographs without affecting smoother areas.
To use this technique, you'll create a new layer, apply the High Pass filter, and then blend it with the original image. Start by duplicating your background layer and setting the blend mode to Overlay or Soft Light.
Next, apply the High Pass filter to this new layer. Adjust the radius setting to determine the strength of the sharpening effect. Lower values sharpen fine details, while higher values enhance broader edges. You can fine-tune the effect by adjusting the layer's opacity.
The High Pass Filter technique offers greater control over sharpening than the Unsharp Mask. It's particularly effective for aerial photography, as it can bring out texture in clouds and landscape features without introducing noise in smoother areas like the sky.
You can also apply it selectively using layer masks, allowing you to sharpen specific parts of your image while leaving others untouched.
Smart Sharpen Tool
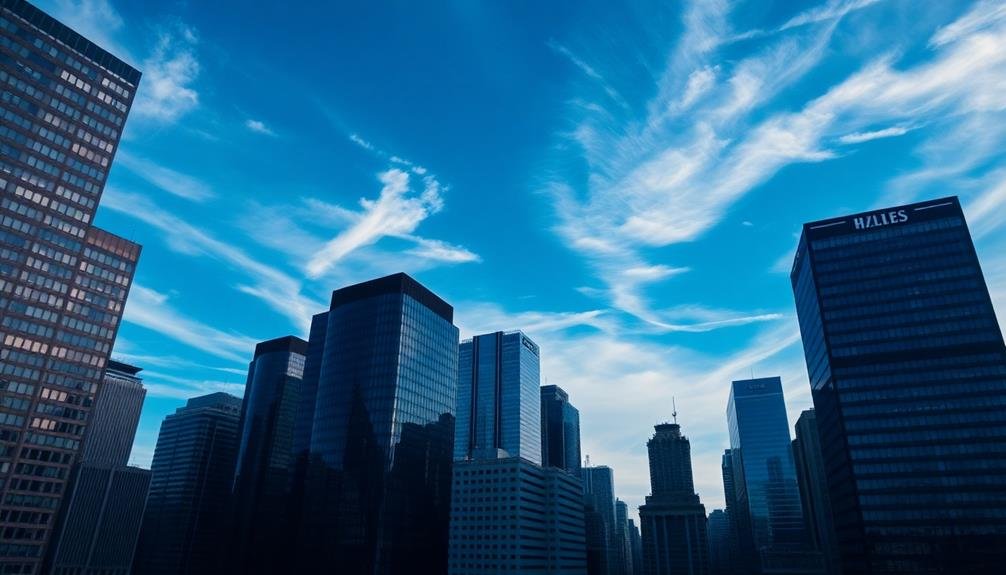
Many photographers consider the Smart Sharpen tool to be the most versatile sharpening option in Adobe Photoshop.
It's an advanced feature that gives you precise control over the sharpening process, allowing you to enhance details without introducing unwanted artifacts.
To use the Smart Sharpen tool, you'll find it under the Filter menu. Once selected, you'll see a dialog box with various options. You can adjust the amount of sharpening, choose the radius (which determines how many pixels surrounding the edges are affected), and select the algorithm (Gaussian Blur, Lens Blur, or Motion Blur).
What sets Smart Sharpen apart is its ability to reduce noise while sharpening. You can use the "Reduce Noise" slider to minimize graininess in your sky photos.
The tool also offers shadow and highlight controls, letting you target specific tonal ranges for sharpening.
For sky photography, you'll want to be careful not to over-sharpen clouds, as this can create an unnatural look. Instead, focus on enhancing the edges of landscape elements against the sky.
Experiment with different settings to find the right balance for your image.
Clarity Adjustment in Raw Processing
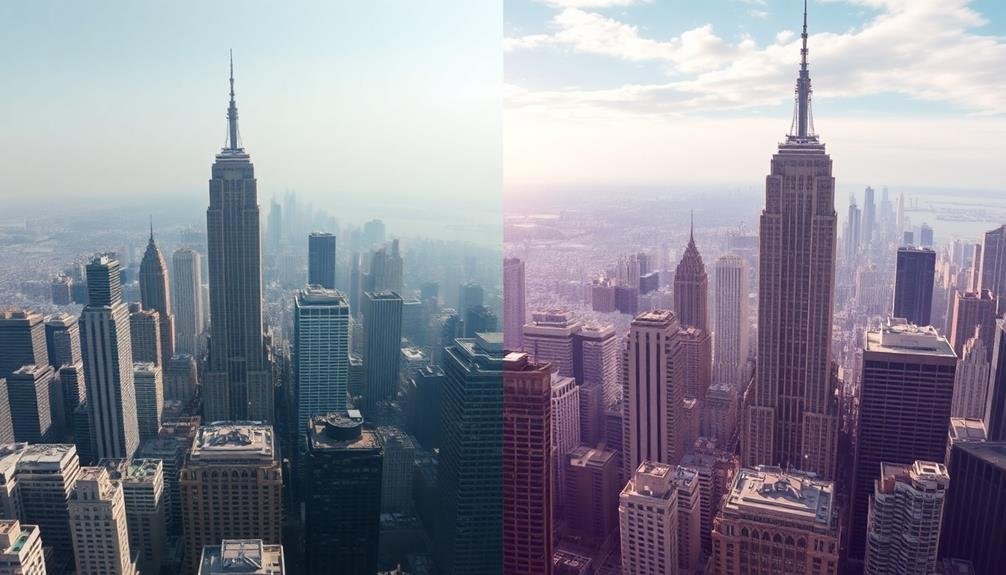
Raw processing's clarity adjustment is a powerful tool for enhancing the mid-tone contrast in your sky photographs. Unlike sharpening, which affects edge details, clarity targets larger areas, bringing out texture and definition in clouds, mountains, and other landscape features.
When you're working with sky images, clarity can make a dramatic difference, revealing intricate cloud formations and atmospheric layers that might otherwise go unnoticed.
To effectively use clarity in raw processing:
- Start with a subtle adjustment and increase gradually
- Pay attention to how it affects different areas of your image
- Use local adjustments to apply clarity selectively
- Combine clarity with other tools like dehaze for enhanced results
- Be cautious of overdoing it, as excessive clarity can look unnatural
Noise Reduction Before Sharpening
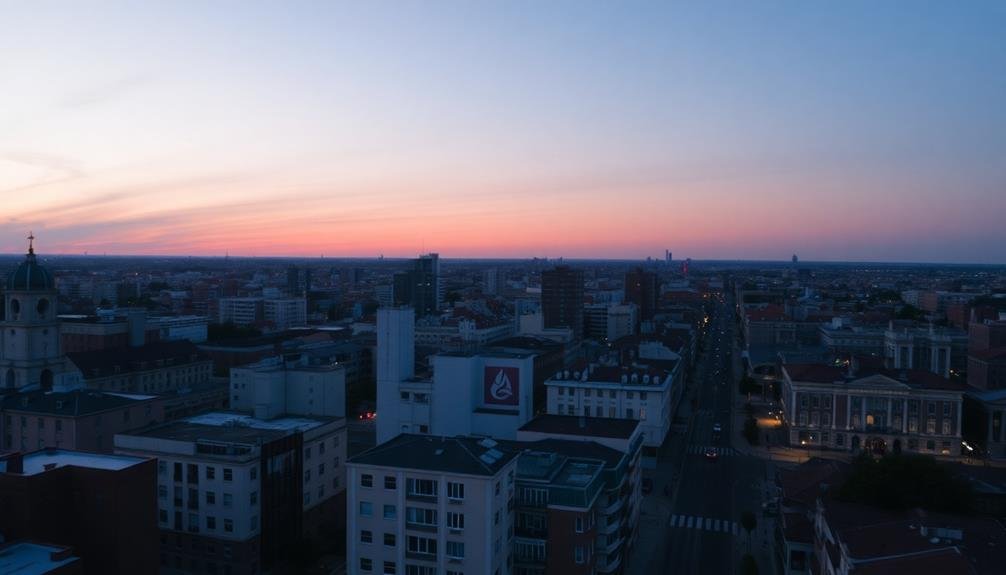
Noise reduction is an essential step that should precede sharpening in your image editing workflow. When you're working with sky-high photography, you'll often encounter digital noise, especially in low-light conditions or when using high ISO settings. This noise can become more pronounced when you apply sharpening, potentially degrading your image quality.
To combat this, start by applying noise reduction to your raw files. Most editing software offers noise reduction tools that target both luminance and color noise. Focus on reducing luminance noise first, as it's typically more noticeable. Adjust the strength and detail preservation settings to find the right balance between noise reduction and maintaining image detail.
Don't overdo it, though. Excessive noise reduction can lead to a loss of fine detail and texture, resulting in an overly smooth, artificial look. It's better to leave some noise than to lose critical image information.
After applying noise reduction, zoom in to 100% to check the results. Look for areas where noise has been reduced without sacrificing important details. Once you're satisfied with the noise reduction, you can move on to sharpening your image with confidence.
Local Contrast Enhancement
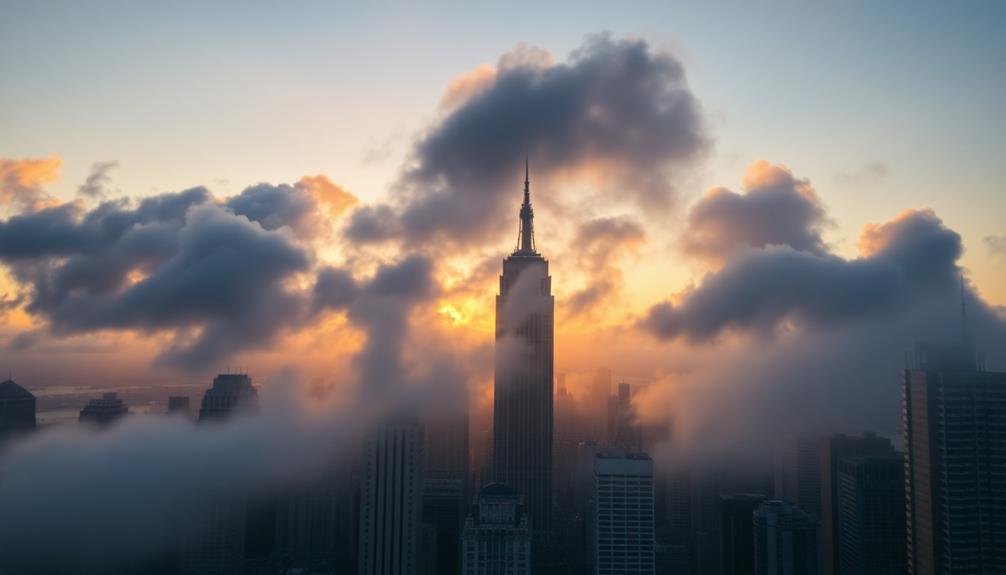
After noise reduction, local contrast enhancement is a powerful technique to make your images pop. It involves selectively increasing the contrast in specific areas of your photo, particularly around edges and textures. This process helps bring out details and gives your image more depth and dimension.
To effectively use local contrast enhancement:
- Adjust the radius setting to control the size of the areas affected
- Experiment with the amount or strength of the effect
- Focus on enhancing mid-tone contrast for natural-looking results
- Use masks or brushes to target specific areas of your image
- Pay attention to potential artifacts and avoid over-processing
You'll find that local contrast enhancement works particularly well for landscape and architectural photography, where you want to emphasize textures and details. It can make clouds more dramatic, bring out the intricacies in rock formations, or highlight the subtle textures in building materials.
When applying this technique, remember that subtlety is key. Overdoing local contrast enhancement can lead to an unnatural, "HDR-like" look.
Always compare your edited image to the original to guarantee you're maintaining a realistic appearance while still improving the overall impact of your photo.
Focus Stacking for Aerial Shots
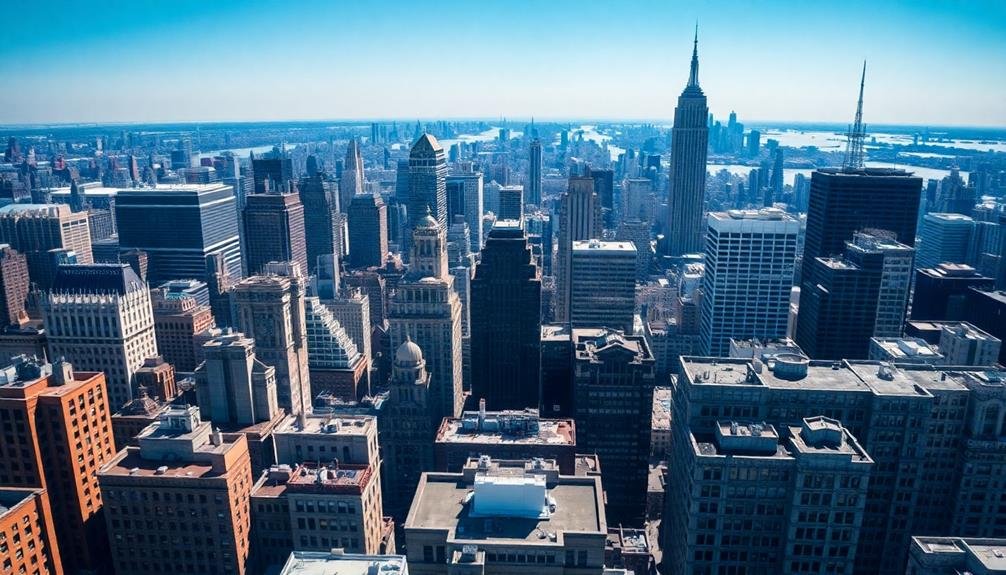
Focus stacking has become an essential technique for aerial photographers seeking tack-sharp images across vast landscapes. When you're capturing scenes from high altitudes, depth of field becomes a significant challenge. Even with narrow apertures, it's often impossible to get everything in focus in a single shot.
To overcome this, you'll need to take multiple images at different focus points. Start by focusing on the nearest element in your composition, then gradually adjust your focus to the farthest point. Make sure there's sufficient overlap between each shot to guarantee a seamless blend.
Once you've captured your series, you'll use specialized software to combine these images. Programs like Helicon Focus or Photoshop's auto-blend layers feature can automatically align and merge your shots, creating a final image that's sharp from foreground to background.
When shooting, consider using a drone or helicopter with stabilization to minimize camera shake. If possible, use a remote trigger to avoid introducing vibrations.
Selective Sharpening With Masks
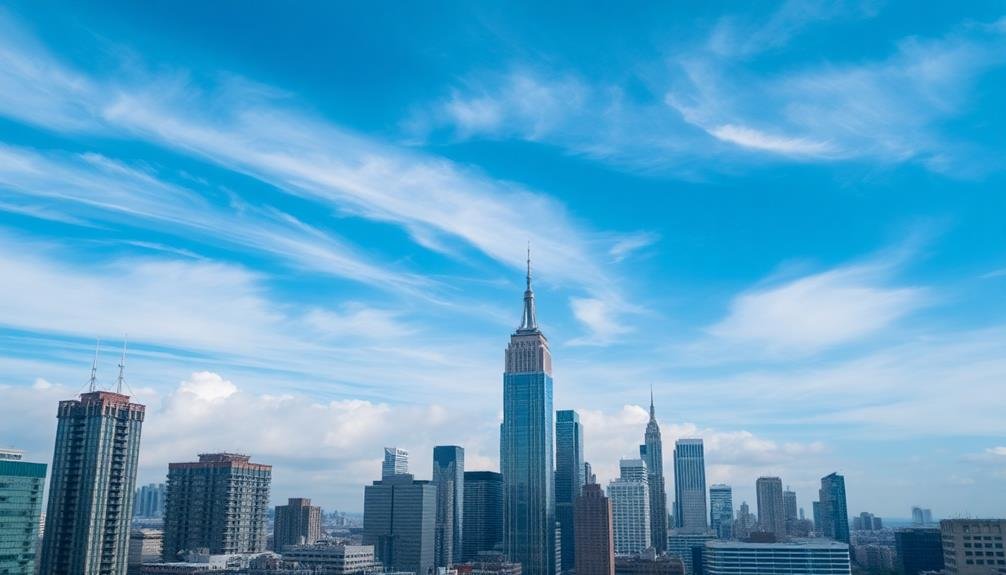
When using selective sharpening with masks, you'll need to master creating effective layer masks to target specific areas of your image.
You can employ edge-aware sharpening techniques to enhance details while preserving smooth shifts between sharpened and unsharpened regions.
As you apply these methods, you'll need to carefully balance sharpness and noise to achieve a polished, professional look without introducing unwanted artifacts.
Creating Effective Layer Masks
Layer masks are a photographer's secret weapon for selective sharpening. They allow you to apply sharpening effects to specific areas of your image while leaving others untouched.
To create effective layer masks, you'll need to understand the basics of masking techniques and how they interact with sharpening tools.
Start by creating a new layer and using the brush tool to paint over the areas you want to sharpen. Use a soft-edged brush for smoother gradients between sharpened and unsharpened areas. Adjust the brush's opacity to control the intensity of the sharpening effect.
Remember, you can always refine your mask later by painting with black to hide effects or white to reveal them.
Here are five key tips for creating effective layer masks:
- Use the gradient tool for smooth gradients
- Utilize the quick selection tool for complex shapes
- Invert your selection to sharpen everything except specific areas
- Feather mask edges to blend sharpening naturally
- Experiment with different blending modes for unique effects
Edge-Aware Sharpening Techniques
Building on our masking techniques, edge-aware sharpening takes selective sharpening to the next level. This method focuses on enhancing the edges of subjects while preserving smooth areas, resulting in a more natural-looking image.
You'll find this particularly useful in sky photography, where you want to sharpen cloud formations without introducing noise in the clear blue areas.
To apply edge-aware sharpening, start by duplicating your image layer. Use the High Pass filter on this new layer, adjusting the radius to capture the desired level of detail. Change the layer blend mode to Overlay or Soft Light, depending on the intensity you're after.
Now, create a layer mask and use the Find Edges filter to isolate the edge information. Invert the mask and adjust its levels to fine-tune the edge detection.
You can further refine your sharpening by painting on the mask with a soft brush, emphasizing specific areas like cloud outlines or distant landscape features.
This technique allows you to maintain a balance between sharpness and softness, enhancing the overall impact of your sky photographs without compromising their natural beauty.
Balancing Sharpness and Noise
A delicate balance exists between achieving sharpness and controlling noise in digital photography. When you're working with sky-high images, this balance becomes even more vital.
Selective sharpening with masks allows you to enhance specific areas of your photo without amplifying noise across the entire image.
To effectively balance sharpness and noise using selective sharpening:
- Create a duplicate layer of your image
- Apply a sharpening filter to the duplicate layer
- Add a layer mask to the sharpened layer
- Paint black on the mask to hide sharpening in noise-prone areas
- Fine-tune the mask's opacity to control the effect's intensity
You'll find that this technique works particularly well for aerial photography, where different elements of the image may require varying levels of sharpening.
Frequency Separation Sharpening Method
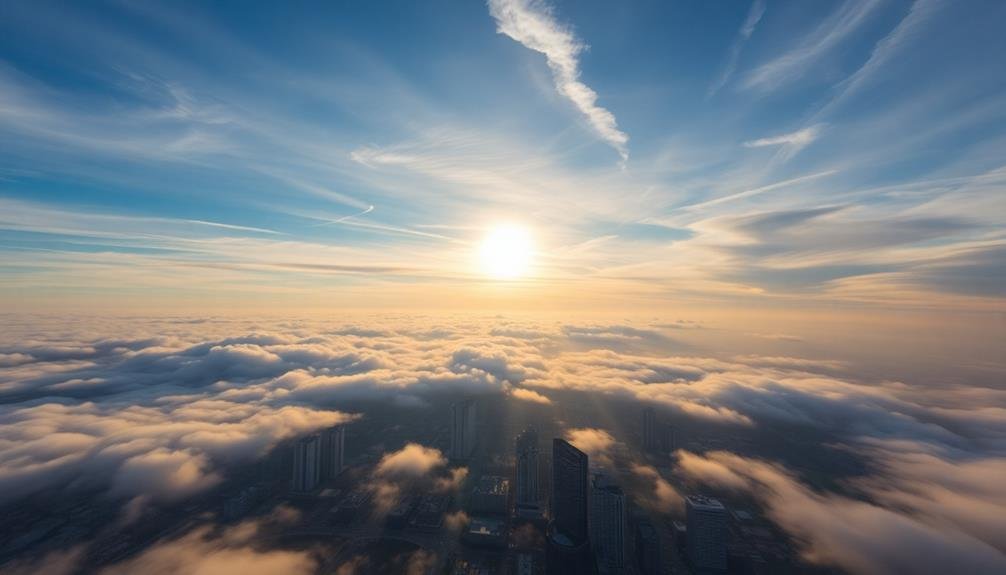
Photographers seeking advanced sharpening techniques often turn to the frequency separation method. This approach divides your image into high and low-frequency layers, allowing you to sharpen details without affecting the overall tonal values.
To use this method, you'll first duplicate your image layer twice. Convert the top layer to a high-frequency layer by applying a high-pass filter. Set this layer's blending mode to Linear Light.
Next, apply a Gaussian blur to the middle layer, creating a low-frequency layer that contains the image's color and tone information.
Now you can sharpen the high-frequency layer using tools like Unsharp Mask or Smart Sharpen without affecting the underlying colors and tones. This separation gives you precise control over which elements of your image are sharpened.
You'll find this technique particularly useful for portraits and landscapes, where you want to enhance fine details without exaggerating skin textures or creating halos around high-contrast edges.
Experiment with different blur radii and sharpening settings to achieve the best results for your specific image. Remember, subtlety is key – overuse of this technique can lead to an unnatural, overly processed look.
Deconvolution Sharpening Technique
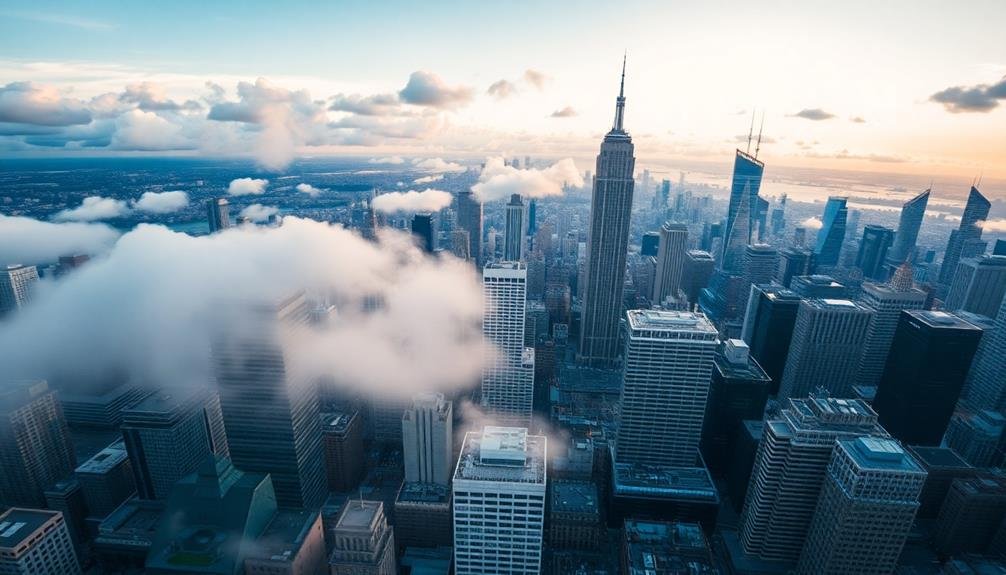
The deconvolution sharpening technique stands out as a powerful method for recovering lost detail in digital images. It works by reversing the blurring process that occurs during image capture, effectively restoring sharpness and clarity to your photos.
Unlike other sharpening methods, deconvolution aims to address the root cause of blur rather than simply enhancing edges.
When you're using deconvolution sharpening, you'll need to take into account several factors:
- The point spread function (PSF) of your lens
- The amount of noise in your image
- The strength of the deconvolution effect
- The number of iterations required
- The potential for artifact introduction
You'll find that deconvolution is particularly effective for aerial and astronomical photography, where atmospheric distortion can greatly impact image quality.
It's also useful for correcting motion blur and out-of-focus areas in your shots.
However, be aware that this technique can be computationally intensive and may require specialized software.
While it's a powerful tool, you'll need to use it judiciously to avoid over-sharpening or introducing unwanted artifacts.
With practice, you'll be able to leverage deconvolution sharpening to dramatically improve the clarity and detail in your sky-high photography.
Frequently Asked Questions
How Does Altitude Affect Image Sharpness in Sky-High Photography?
You'll notice altitude affects image sharpness in sky-high photography. Higher altitudes mean thinner air, reducing atmospheric distortion. However, you'll face challenges like camera shake and temperature fluctuations. Adjust your settings and techniques accordingly for crisp shots.
What Camera Settings Are Optimal for Capturing Sharp Aerial Images?
For sharp aerial images, you'll want to use a fast shutter speed (1/1000s or faster), a medium aperture (f/8-f/11), and low ISO. Don't forget to enable vibration reduction and use continuous autofocus for moving subjects.
Can Atmospheric Conditions Impact the Effectiveness of Sharpening Techniques?
Yes, atmospheric conditions can greatly affect your sharpening techniques. You'll find that haze, humidity, and air turbulence can blur your images, making sharpening less effective. You'll need to adjust your approach based on these factors.
Are There Specific Lens Recommendations for Achieving Sharp Sky-High Photographs?
For sharp sky-high photos, you'll want to contemplate wide-angle lenses with low distortion. Prime lenses often offer better sharpness. Don't forget to look for lenses with excellent edge-to-edge clarity and minimal chromatic aberration.
How Do Vibrations From Aircraft Affect Image Sharpness and Sharpening Processes?
Vibrations from aircraft can blur your photos, making sharpening more challenging. You'll need to use faster shutter speeds and image stabilization. Post-processing techniques like deconvolution sharpening can help, but they won't fully correct severe motion blur.
In Summary
You've now got a powerful toolkit to elevate your aerial photography. Remember, sharpening isn't just about cranking up sliders; it's an art that requires finesse. Experiment with these techniques, but don't overdo it. Your goal is to enhance details without creating artificial-looking images. With practice, you'll develop an eye for just the right amount of sharpening. Keep shooting, keep refining, and watch your sky-high photos soar to new heights.

As educators and advocates for responsible drone use, we’re committed to sharing our knowledge and expertise with aspiring aerial photographers.


Leave a Reply