Drone photogrammetry combines aerial technology with mapping principles to create accurate 3D models and maps. You'll need a reliable drone with a high-resolution camera, powerful processing software, and a capable computer. Start by planning your mission, considering objectives, terrain, and regulations. Execute your flight following predetermined parameters, capturing overlapping images at the right altitude. After landing, process your data using specialized software to generate point clouds, meshes, and orthomosaics. Analyze your results for accuracy and extract valuable measurements. By mastering these steps, you'll reveal the full potential of aerial mapping and elevate your surveying capabilities.
Key Takeaways
- Understand the basics of drone photogrammetry, including flight planning, image acquisition, and data processing techniques.
- Select appropriate equipment, including a reliable drone with GPS capabilities and powerful photogrammetry software.
- Plan your aerial mapping mission by defining objectives, determining flight parameters, and ensuring regulatory compliance.
- Execute the flight mission, capturing high-resolution georeferenced images with proper overlap for accurate 3D reconstruction.
- Process and analyze photogrammetry results using specialized software to create 3D models, orthomosaic maps, and extract measurements.
Understanding Drone Photogrammetry Basics
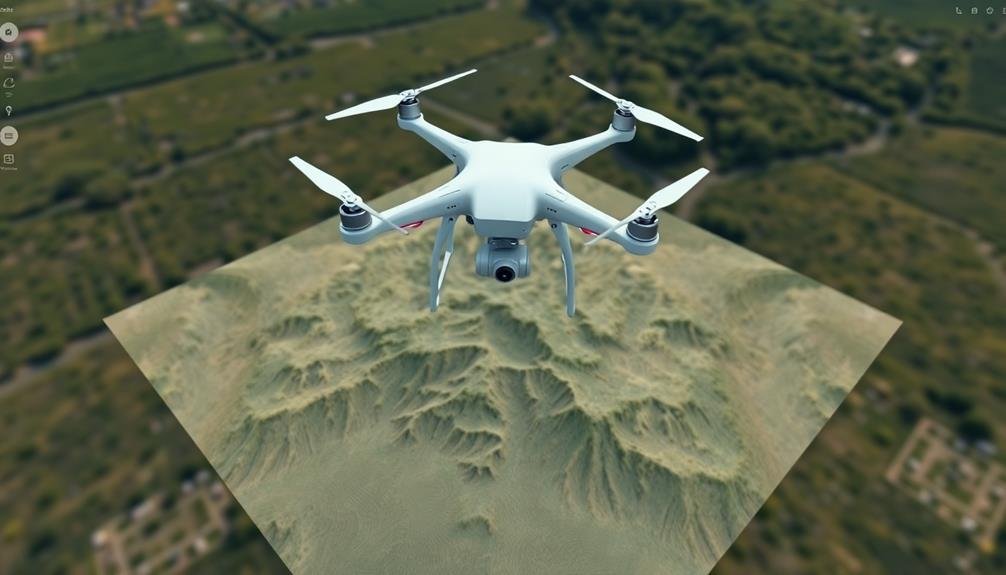
Drone photogrammetry is a powerful technique for capturing and analyzing aerial imagery. It combines drone technology with photogrammetric principles to create accurate 3D models, maps, and measurements of terrain and structures. You'll use a drone equipped with a high-resolution camera to capture overlapping images of an area from various angles and altitudes.
The process involves flight planning, image acquisition, and data processing. You'll need to determine the best flight path, altitude, and camera settings to guarantee sufficient image overlap and ground resolution. During the flight, the drone captures hundreds or thousands of georeferenced images.
After data collection, specialized software processes these images using complex algorithms. It identifies common points in overlapping photos, calculates camera positions, and generates a dense point cloud. This point cloud is then used to create digital surface models, orthomosaics, and 3D meshes.
Key factors affecting the accuracy of your drone photogrammetry include image quality, ground control points, and processing parameters.
Essential Equipment and Software
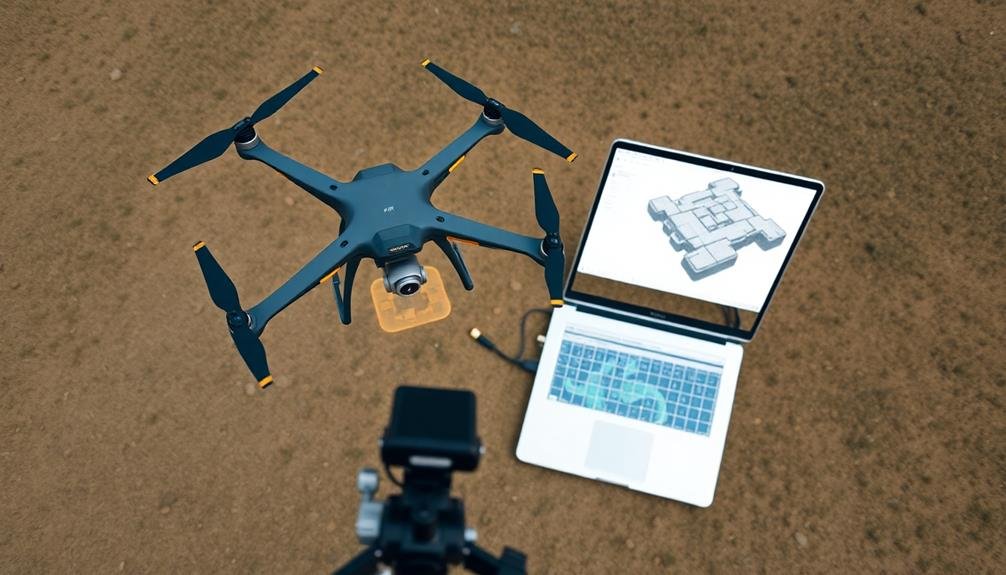
Success in drone photogrammetry hinges on having the right tools for the job. You'll need a reliable drone equipped with a high-resolution camera, ideally with GPS capabilities for accurate geotagging. Popular models include the DJI Phantom 4 Pro and the Autel EVO II Pro. Verify your drone has sufficient flight time to cover your mapping area.
For data processing, you'll require powerful photogrammetry software. Industry standards include Pix4D, Agisoft Metashape, and DroneDeploy. These programs convert your aerial images into 3D models and orthomosaic maps. A high-performance computer with ample RAM and a dedicated graphics card is essential for efficient processing.
Don't forget essential accessories like spare batteries, memory cards, and a rugged carrying case. A tablet or smartphone for flight control and mission planning is also necessary. Consider investing in a ground control point (GCP) kit for enhanced accuracy.
Lastly, familiarize yourself with flight planning apps like DJI GS Pro or Litchi. These tools help you design efficient flight paths and guarantee consistent image overlap, which is vital for successful photogrammetry.
With this equipment and software, you'll be well-prepared to tackle your drone photogrammetry projects.
Planning Your Aerial Mapping Mission
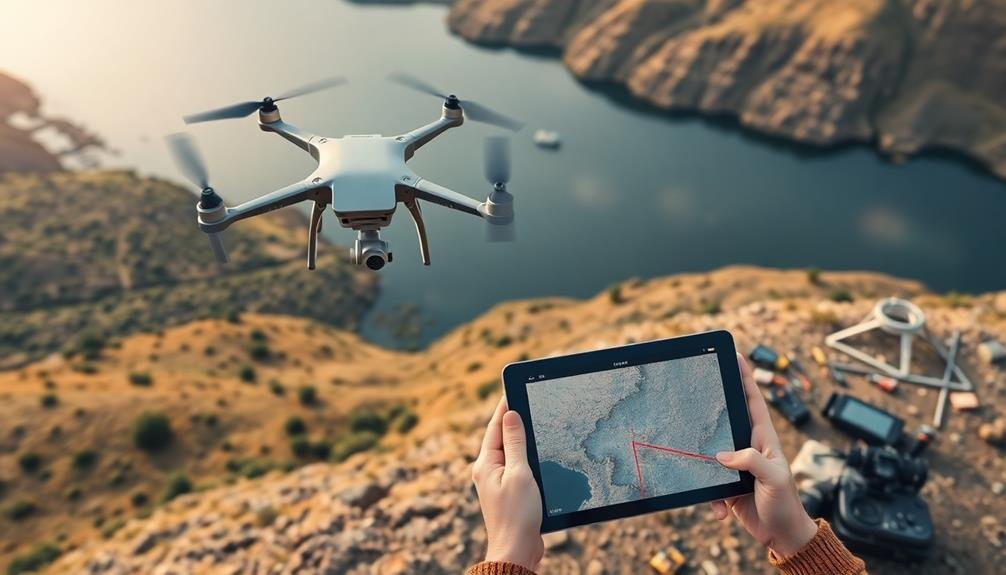
Before you launch your drone, it's crucial to meticulously plan your aerial mapping mission. Start by defining your project's objectives and the area you'll be mapping. Consider factors like terrain, obstacles, and weather conditions that might affect your flight.
Next, determine the ideal flight altitude and camera settings to achieve your desired ground sampling distance (GSD). Calculate the number of flight lines and image overlaps needed for accurate 3D reconstruction. Use mission planning software to create an efficient flight path that covers your entire area of interest.
Don't forget to check local regulations and obtain necessary permissions for your flight. Assess potential safety risks and plan emergency procedures. Choose an appropriate takeoff and landing site, ensuring it's clear of obstacles.
Prepare your equipment by charging batteries, formatting memory cards, and calibrating your drone's sensors. Double-check that your software is up-to-date and your GPS is functioning correctly.
Executing the Flight and Capturing Data
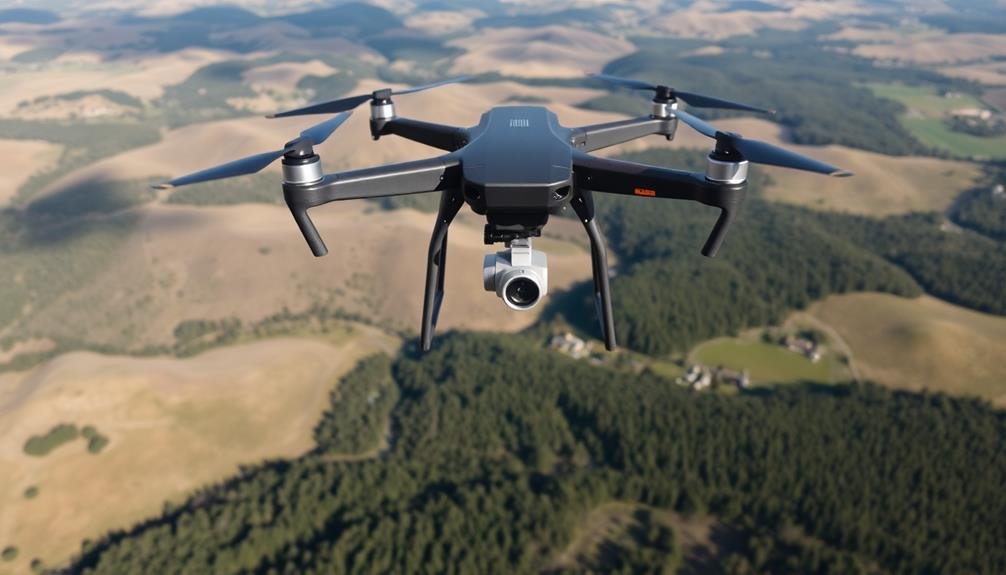
With your mission plan in place, it's time to put your drone in the air and start collecting data. Begin by performing a pre-flight checklist, ensuring your drone's battery is fully charged and all components are secure. Launch your drone and initiate the automated flight plan.
During the flight, monitor your drone's progress and be prepared to take manual control if necessary. Keep an eye on battery levels and weather conditions. The drone will capture images at predetermined intervals, ensuring proper overlap for photogrammetry processing.
| Flight Parameters | Recommended Settings |
|---|---|
| Altitude | 100-400 feet |
| Overlap | 70-80% front, 60-70% side |
| Image Resolution | Highest available |
| Flight Speed | 10-15 mph |
Once the flight is complete, land your drone safely and immediately back up the collected data. Review the images for quality and coverage, ensuring no areas were missed. If needed, plan and execute additional flights to fill any gaps in your data set.
Processing and Analyzing Photogrammetry Results
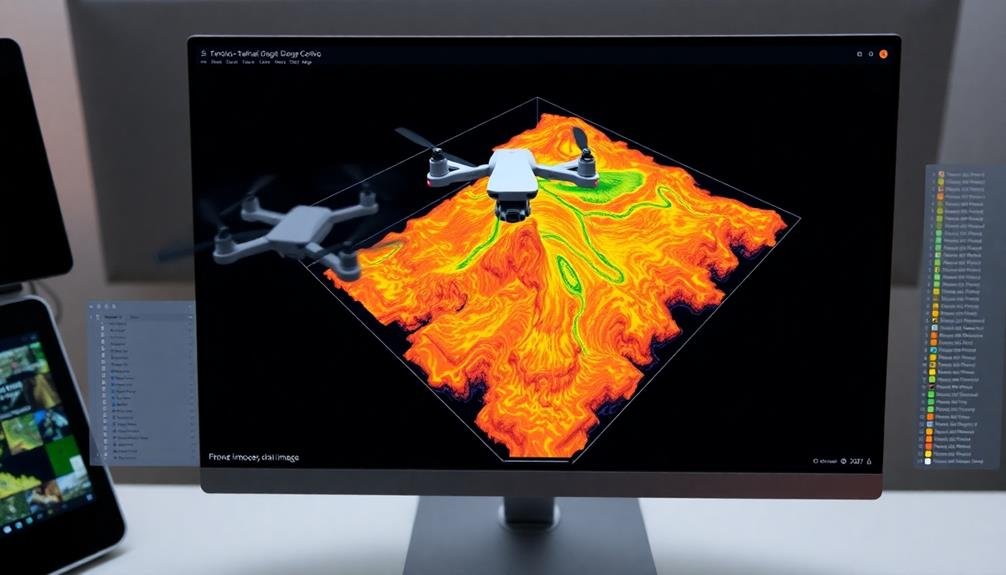
After completing your drone flights and gathering raw imagery, it's time to transform that data into usable 3D models and maps.
Begin by importing your photos into specialized photogrammetry software like Pix4D, Agisoft Metashape, or DroneDeploy. These programs will align your images and create a sparse point cloud, which serves as the foundation for your 3D model.
Next, generate a dense point cloud by adding more detail to the initial structure. From this, you'll create a mesh that forms the surface of your 3D model. Apply textures to the mesh for a more realistic appearance.
If you're creating orthomosaic maps, the software will stitch your images together and georeference them.
Once processing is complete, analyze your results. Check for accuracy by comparing known ground control points to your model. Look for areas of distortion or missing data, which may require additional flights or manual editing.
Use measurement tools to extract valuable information like distances, volumes, and elevations. Finally, export your data in appropriate formats for your intended use, such as 3D models for visualization or GeoTIFF files for GIS applications.
Frequently Asked Questions
How Does Weather Affect Drone Photogrammetry Accuracy?
Weather greatly impacts your drone photogrammetry accuracy. Wind can cause image blur, while rain or snow obscures visibility. Sunlight affects shadows and exposure. You'll get the best results on clear, calm days with consistent lighting conditions.
Can Photogrammetry Drones Be Used for Indoor Mapping Projects?
Yes, you can use photogrammetry drones for indoor mapping projects. However, you'll face challenges like limited GPS, confined spaces, and lighting issues. Consider using specialized indoor drones or alternative methods for better results in enclosed environments.
What Are the Legal Restrictions for Using Drones in Photogrammetry?
You'll face legal restrictions when using drones for photogrammetry. You must follow airspace regulations, obtain necessary licenses, respect privacy laws, and adhere to local drone ordinances. Don't fly in restricted areas or over certain properties without permission.
How Does Photogrammetry Compare to Lidar for Aerial Mapping?
You'll find photogrammetry's cheaper and easier to use than LiDAR for aerial mapping. It's great for visual data but less accurate for dense vegetation. LiDAR's more precise and works better in low-light conditions.
Are There Any Health or Environmental Risks Associated With Drone Photogrammetry?
You'll find drone photogrammetry poses minimal health or environmental risks. It's non-invasive and doesn't emit harmful radiation. However, be mindful of wildlife disturbance and respect privacy laws when flying. Always follow local regulations for safe operation.
In Summary
You've now got the knowledge to commence your drone photogrammetry journey. Remember, practice makes perfect. Don't be discouraged if your first attempts aren't flawless. Keep refining your skills, stay updated with the latest tech, and always prioritize safety. As you gain experience, you'll create increasingly accurate and detailed aerial maps. The sky's the limit – so get out there, fly your drone, and start mapping!

As educators and advocates for responsible drone use, we’re committed to sharing our knowledge and expertise with aspiring aerial photographers.


Leave a Reply