To achieve precise volumetric measurements with photogrammetry, you'll need to master seven key techniques. Start by optimizing your camera settings for maximum depth of field and data capture. Plan effective flight patterns that guarantee thorough coverage with consistent overlap. Establish accurate ground control points for real-world reference. Maintain proper image overlap during capture to create a seamless 3D model. Use high-quality processing software with robust algorithms for accurate calculations. Calibrate your equipment for environmental factors like temperature and humidity. Finally, validate your results with field measurements to verify reliability. By following these tips, you'll be well on your way to producing highly accurate volumetric data.
Key Takeaways
- Ensure consistent image overlap of 70-80% and use a narrow aperture for maximum depth of field.
- Strategically place and accurately measure ground control points throughout the survey area.
- Calibrate equipment for environmental factors like temperature, humidity, and atmospheric pressure.
- Use high-quality processing software with robust algorithms for accurate 3D model generation and volume calculations.
- Validate photogrammetry results with physical measurements using precise tools like laser distance meters.
Choose Optimal Camera Settings
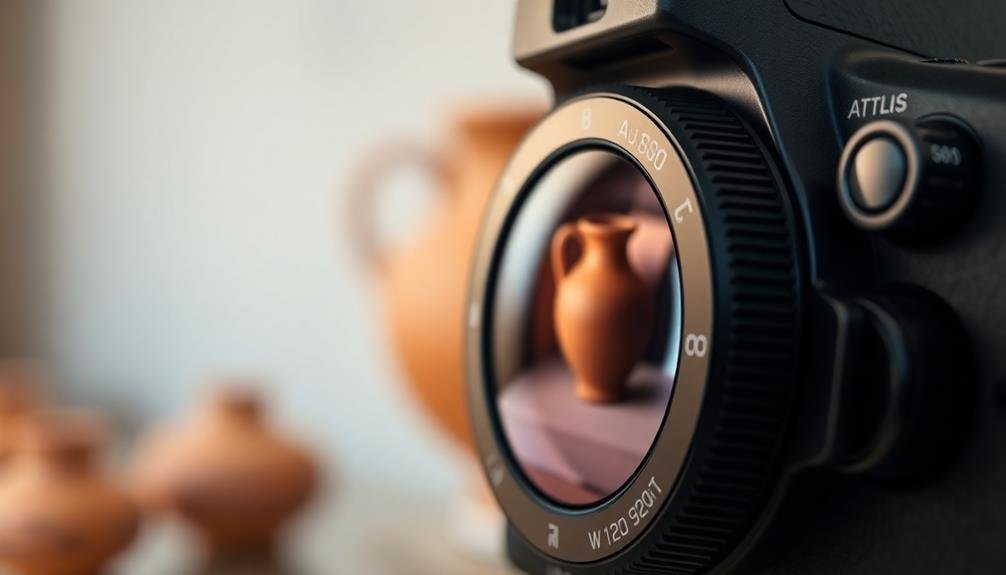
In light of achieving precise volumetric measurements, selecting the right camera settings is essential. Start by setting your camera to manual mode, giving you full control over exposure parameters. Choose a narrow aperture (high f-number) to maximize depth of field, guaranteeing all parts of the subject are in focus. A typical range is f/8 to f/16, depending on your camera and lens.
Set your ISO as low as possible, typically 100 or 200, to minimize noise and preserve image quality. Adjust your shutter speed to maintain proper exposure, using a tripod if it falls below 1/60th of a second to prevent camera shake.
Shoot in RAW format to capture the most data and allow for post-processing adjustments. Use a fixed focal length lens to maintain consistent perspective across all images. If you're using a zoom lens, tape it at a specific focal length.
Set your white balance manually to guarantee consistency across all photos. Finally, disable any image stabilization features, as they can introduce subtle shifts in perspective when the camera is stationary on a tripod.
Plan Effective Flight Patterns
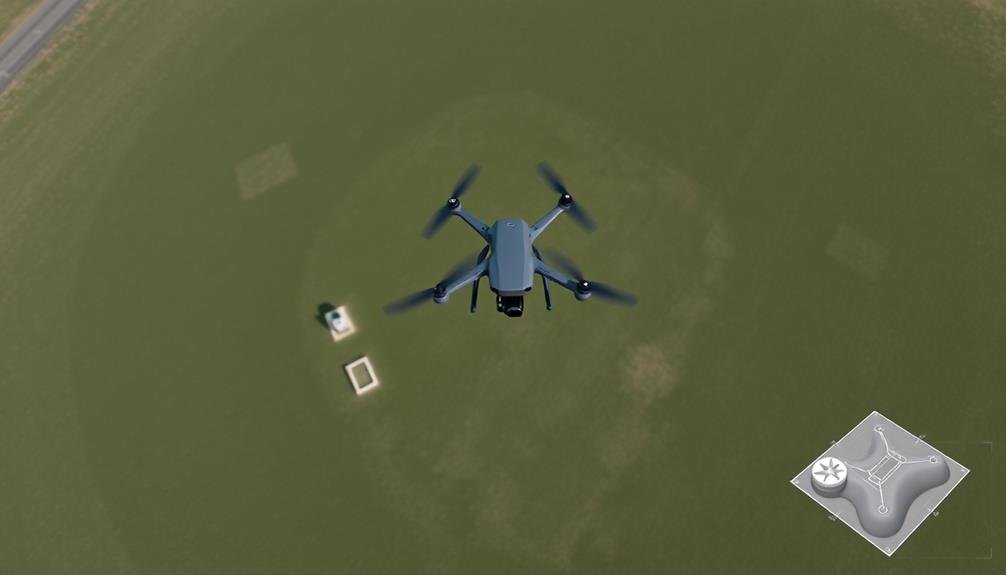
With your camera settings optimized, it's time to map out your flight patterns for capturing extensive photogrammetry data. Effective flight planning guarantees thorough coverage and minimizes data gaps. Start by dividing your target area into grids, considering the terrain and object complexity.
For large-scale surveys, employ a combination of nadir (straight down) and oblique angles. Fly in parallel lines with 60-80% overlap between images, adjusting based on terrain variations. Incorporate cross-hatching patterns to capture different perspectives and reduce potential blind spots.
| Flight Pattern | Advantages | Best Use Cases |
|---|---|---|
| Grid | Systematic coverage | Flat terrain |
| Circular | Captures all angles | Isolated objects |
| Double Grid | Enhances accuracy | Complex structures |
When dealing with vertical surfaces or tall objects, plan additional flights at varying altitudes. For stockpiles or irregular shapes, consider a circular flight path around the object, maintaining a consistent distance and angle.
Remember to adjust your flight speed based on light conditions and shutter speed to avoid motion blur. Always comply with local drone regulations and obtain necessary permissions before flying. By carefully planning your flight patterns, you'll greatly improve the quality and precision of your volumetric measurements.
Establish Accurate Ground Control Points
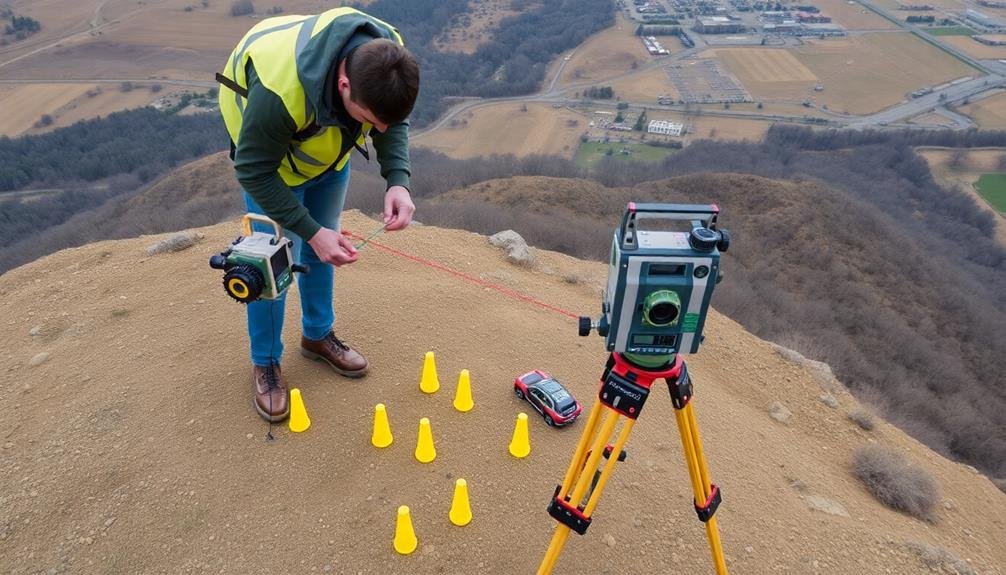
To establish accurate ground control points, you'll need to strategically place them throughout your survey area.
Use high-precision surveying equipment, such as RTK GNSS receivers or total stations, to guarantee the utmost accuracy in your control point coordinates.
Distribute these points evenly across your site, paying special attention to elevation changes and areas of interest, to create a robust foundation for your photogrammetric model.
Strategically Place Control Points
Strategically placing control points is an essential step in achieving precise volumetric measurements with photogrammetry. You'll need to distribute these points evenly across your survey area, guaranteeing they're visible in multiple images. Aim for a minimum of three control points per image, with more complex terrains requiring additional points.
Place control points at the edges and corners of your survey area to define its boundaries accurately. For large or irregularly shaped areas, add control points in the center to improve overall accuracy. If you're measuring stockpiles or other elevated features, position control points at various elevations to capture height differences effectively.
Consider the line of sight when placing control points. Avoid obstructions that might block the camera's view, and make sure each point is visible from multiple angles. For best results, use a combination of horizontal and vertical control points, especially in areas with significant elevation changes.
Remember to document the exact coordinates of each control point using high-precision GPS equipment. This data will be fundamental during the photogrammetry processing stage, allowing you to align and scale your 3D model accurately for precise volumetric calculations.
Use High-Precision Surveying Equipment
Employing high-precision surveying equipment is vital for establishing accurate ground control points (GCPs) in your photogrammetry project. To achieve the best results, use a total station or real-time kinematic (RTK) GPS system. These tools provide centimeter-level accuracy, which is essential for precise volumetric measurements.
When setting up your equipment, make sure it's properly calibrated and positioned over a known reference point. Take multiple readings at each GCP to minimize errors and increase reliability. Record the coordinates (X, Y, Z) and any additional metadata for each point.
Don't forget to take into account the site's topography when placing your GCPs. Distribute them evenly across the area, including high and low points, to capture the full range of elevation changes. This will greatly improve the accuracy of your 3D model and subsequent volume calculations.
If you're working on a large-scale project, think about using a combination of GPS and total station measurements. This approach can help you overcome limitations in GPS coverage while maintaining high accuracy across the entire site.
Distribute Points Evenly
Numerous factors contribute to the accuracy of your photogrammetry project, but few are as essential as the even distribution of ground control points (GCPs). When you're setting up your GCPs, aim to spread them uniformly across the entire area you're mapping. This approach guarantees that your model has consistent accuracy throughout, rather than being more precise in some areas and less in others.
Start by placing GCPs around the perimeter of your project area, then fill in the interior. You'll want to maintain a relatively consistent distance between points, adjusting for terrain features as necessary.
Don't forget to include GCPs at different elevations if you're working in a three-dimensional space.
For best results, use at least five GCPs, but more complex projects may require dozens. As you increase the number of GCPs, you'll improve the overall accuracy of your measurements. However, there's a point of diminishing returns, so balance the number of GCPs with the time and resources required to set them up.
Ensure Proper Image Overlap
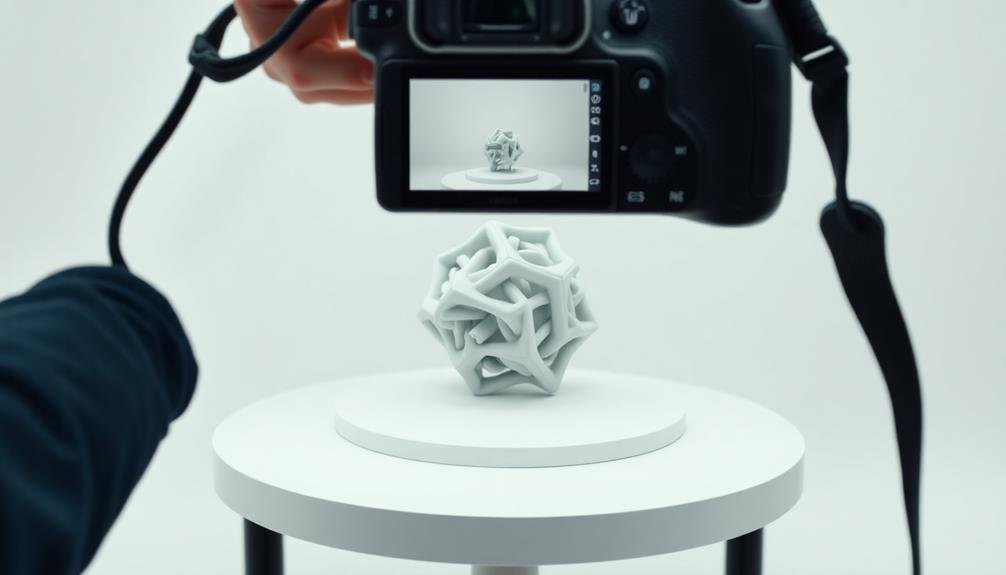
To guarantee proper image overlap in photogrammetry, you'll need to capture 60-80% overlap between adjacent photos.
You should maintain consistent image spacing throughout your survey to achieve uniform coverage.
Carefully plan your flight path or walking route to systematically cover the entire area of interest while maintaining the required overlap.
Capture 60-80% Overlap
Image overlap is an essential factor in photogrammetry's success. When capturing images for volumetric measurements, you'll need to guarantee each photo overlaps with adjacent ones by 60-80%. This overlap allows the photogrammetry software to identify common points between images and accurately reconstruct the 3D model.
To achieve the ideal overlap, plan your shooting pattern carefully. Move around the object in a circular or grid-like pattern, taking photos at regular intervals. For complex objects, you may need to capture multiple angles and elevations. As you move, maintain a consistent distance from the subject to guarantee uniform image scale.
Remember that more overlap is generally better than less. While 60% is the minimum, aiming for 70-80% overlap will provide better results and reduce the risk of gaps in your 3D model. However, excessive overlap (beyond 80%) can lead to unnecessary processing time without significant improvements in accuracy.
Use visual markers or grid lines to help you estimate overlap as you shoot. Many modern cameras offer grid overlays in their viewfinders, which can assist in maintaining consistent framing and overlap between shots.
Use Consistent Image Spacing
Once you've established the necessary overlap percentage, maintaining consistent image spacing becomes crucial for accurate volumetric measurements. To achieve this, you'll need to plan your photo capture strategy carefully.
Start by determining the ideal distance between each image based on your camera's field of view and the required overlap percentage. Use physical markers or grid patterns on the ground to guide your movements and guarantee uniform spacing.
If you're using a drone, program waypoints to maintain consistent intervals between shots. For handheld cameras, consider using a tripod with measured increments or a slider system to maintain precise positioning.
Pay attention to your subject's geometry and adjust your spacing accordingly. Complex shapes may require closer spacing in certain areas to capture all details. In contrast, simpler geometries might allow for slightly wider spacing without compromising accuracy.
Remember that consistent image spacing isn't just about horizontal movement. Maintain uniform vertical spacing as well, especially when capturing tall objects or structures. This approach will help create a more complete and accurate 3D model, resulting in precise volumetric measurements.
Plan Flight Path Carefully
Careful planning lies at the heart of successful photogrammetry flights for volumetric measurements. You'll need to design a flight path that guarantees thorough coverage of your target area while maintaining consistent image overlap. Aim for at least 75% forward overlap and 60% side overlap between images to achieve accurate 3D reconstruction.
Start by mapping out the area you're surveying and identifying any potential obstacles or challenging terrain. Use this information to determine the ideal flight altitude and camera settings. Consider the shape and size of your subject when planning your flight pattern. For irregular or complex shapes, you may need to incorporate multiple flight paths at different altitudes or angles.
Don't forget to account for environmental factors like wind speed and direction, which can affect your drone's stability and image quality. Plan your flight during ideal lighting conditions to guarantee consistent exposure across all images.
If you're working with a large area, consider breaking it into smaller sections and conducting multiple flights to maintain battery life and data quality. By carefully planning your flight path, you'll maximize the accuracy of your volumetric measurements and minimize the need for time-consuming reshoots or data corrections.
Use High-Quality Processing Software
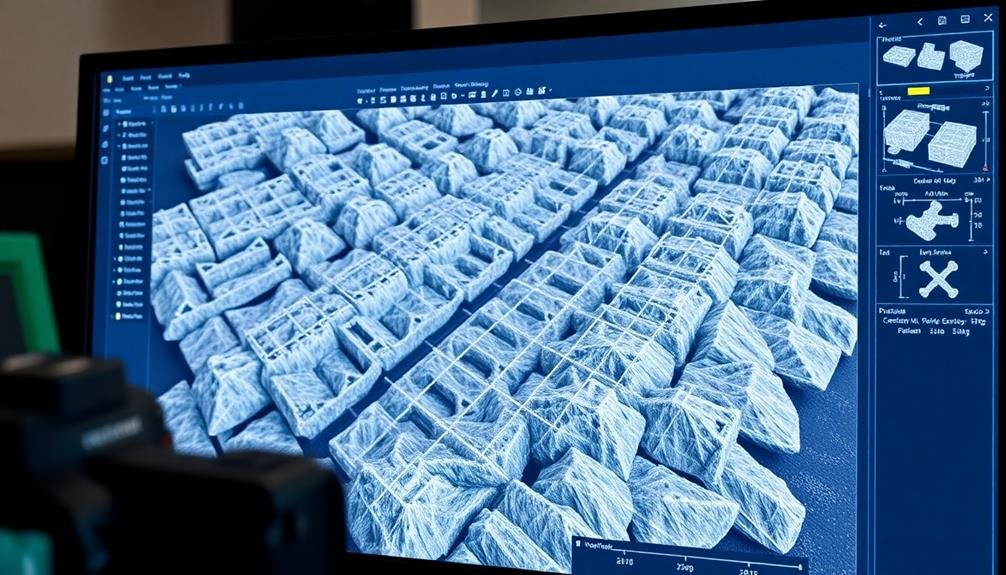
The choice of processing software plays a essential role in achieving precise volumetric measurements with photogrammetry. You'll want to invest in high-quality software that can handle complex calculations and produce accurate 3D models.
Look for programs with robust algorithms for point cloud generation, mesh creation, and volume calculation. Ensure your chosen software supports the specific camera and drone models you're using. It should be able to process various image formats and handle large datasets efficiently.
Features like automatic camera calibration, ground control point integration, and error detection will considerably improve your results. Consider software that offers cloud processing capabilities, which can speed up computations for large projects.
Pay attention to the software's ability to export in industry-standard formats, allowing for seamless integration with other tools in your workflow. Don't skimp on training and familiarization with the software. Many providers offer tutorials and support resources.
Take advantage of these to master the software's features and optimize your workflow. Regular updates are essential, so choose a provider committed to continuous improvement and bug fixes.
Calibrate for Environmental Factors
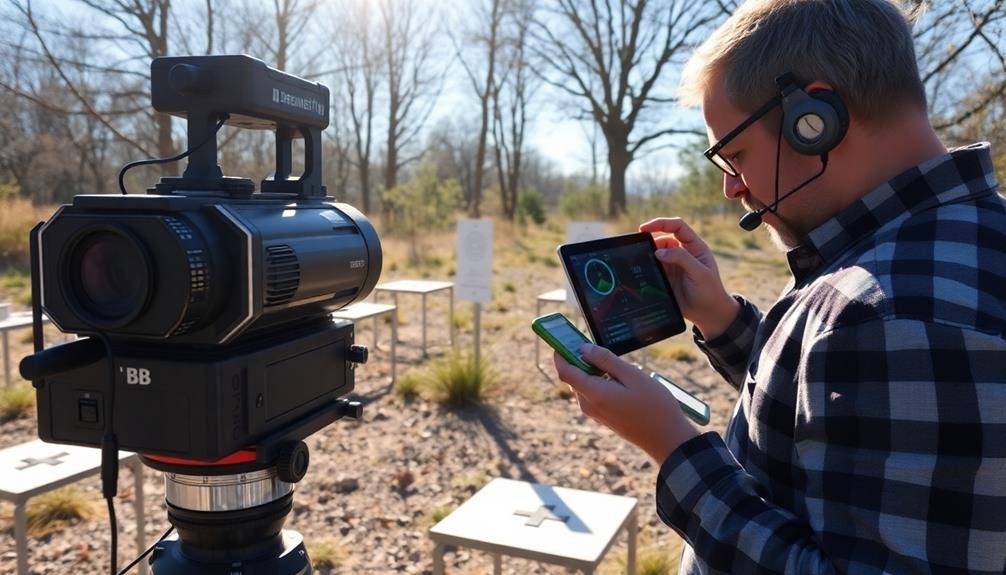
Environmental factors can considerably impact the accuracy of photogrammetry measurements, so it's vital to calibrate your equipment accordingly. Temperature fluctuations, humidity, and atmospheric pressure can affect both your camera and the object you're measuring. To mitigate these issues, you'll need to adjust your setup and calibrate your equipment.
Start by stabilizing the temperature in your working area. Use climate control systems to maintain a consistent environment throughout the photogrammetry process. For outdoor measurements, consider using a portable weather station to monitor conditions and make necessary adjustments.
Humidity can cause lens fogging and affect the surface properties of your subject. Use dehumidifiers in high-moisture environments and allow your equipment to acclimate before starting.
For pressure changes, especially in altitude-variable locations, recalibrate your camera's internal sensors.
Light conditions also play an important role. Calibrate your white balance and exposure settings to match the ambient light. Use color charts and known-size reference objects in your scenes to guarantee accurate color reproduction and scale.
Lastly, account for any vibrations or movement in your environment. Use sturdy tripods and remote shutter releases to minimize camera shake, guaranteeing sharp, precise images for volumetric calculations.
Validate Results With Field Measurements
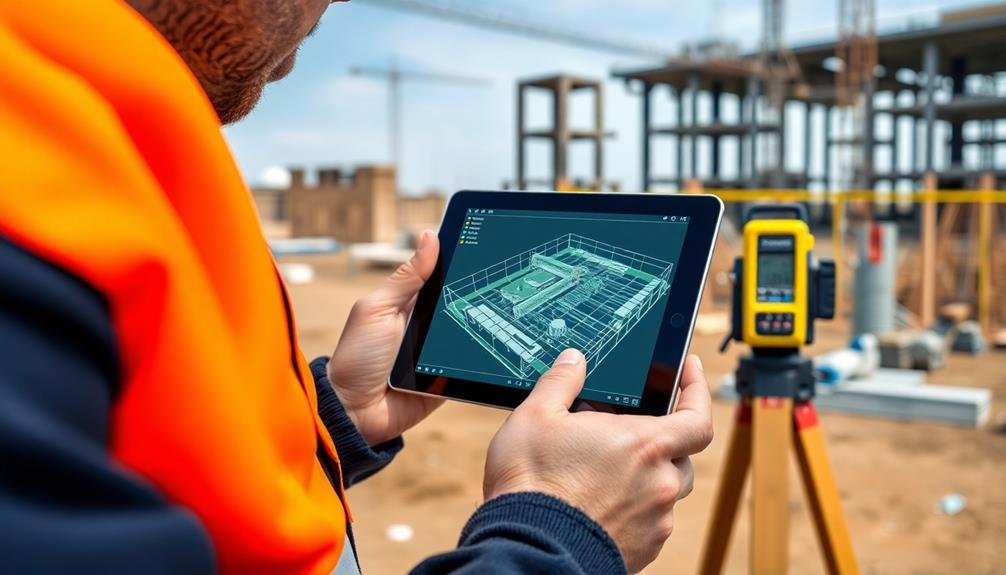
After calibrating for environmental factors, it's time to guarantee your photogrammetry measurements are accurate. Validating your results with field measurements is essential for ensuring the reliability of your volumetric data.
Start by selecting key points or areas within your photogrammetry model to compare with physical measurements on-site. Use precise measuring tools like laser distance meters, tape measures, or total stations to obtain accurate field measurements. Compare these real-world measurements to the corresponding dimensions in your photogrammetry model. Look for any discrepancies and analyze their potential causes.
To enhance your validation process:
- Take multiple measurements of the same feature to account for human error
- Use control points with known coordinates for reference
- Compare volumes of smaller, measurable objects within the larger area
If you find significant differences between field measurements and your photogrammetry results, revisit your calibration and data collection processes. Adjust your workflow as needed to improve accuracy.
Frequently Asked Questions
How Does Photogrammetry Compare to Lidar for Volumetric Measurements?
You'll find photogrammetry's more cost-effective and flexible than LiDAR for volumetric measurements. While LiDAR's often more accurate, especially for large areas, photogrammetry can provide detailed 3D models with high-resolution textures using standard cameras.
What Are the Legal Requirements for Using Drones in Photogrammetric Surveys?
You'll need to follow drone regulations set by your country's aviation authority. Typically, you'll register your drone, obtain a license, follow flight restrictions, and get permission for commercial use. Always check local laws before flying.
Can Photogrammetry Be Used for Underwater Volumetric Measurements?
Yes, you can use photogrammetry for underwater volumetric measurements. You'll need specialized waterproof cameras and lighting. It's effective for measuring coral reefs, shipwrecks, and underwater structures. You'll face challenges like refraction and visibility, but it's doable.
How Often Should Photogrammetric Equipment Be Calibrated for Optimal Accuracy?
You should calibrate your photogrammetric equipment regularly, at least before each major project. It's also wise to recalibrate after any transport or environmental changes. Don't forget to check your camera's settings and lens cleanliness too.
What Are the Limitations of Photogrammetry for Measuring Highly Reflective Surfaces?
You'll face challenges with highly reflective surfaces in photogrammetry. They can cause glare, distort images, and create inaccurate 3D models. You're likely to encounter missing data and poor texture mapping on shiny objects.
In Summary
You've now got the tools to master volumetric measurements using photogrammetry. Remember, it's all about precision at every step. From your camera settings to your flight patterns, ground control points to image overlap, software choice to environmental calibration – each element plays a vital role. Don't forget to validate your results in the field. With practice and attention to detail, you'll be creating highly accurate 3D models and volumetric calculations in no time. Keep refining your technique!

As educators and advocates for responsible drone use, we’re committed to sharing our knowledge and expertise with aspiring aerial photographers.


Leave a Reply