To capture stunning sky-high images, master these seven composition rules: Rule of Thirds, Leading Lines, Symmetry and Patterns, Framing the Subject, Negative Space, Golden Ratio, and Contrasting Colors. Use the Rule of Thirds to balance your shots, and incorporate Leading Lines to guide the viewer's eye. Explore Symmetry and Patterns for visually striking compositions, while Framing the Subject adds depth. Utilize Negative Space to create impact, and apply the Golden Ratio for harmonious layouts. Finally, leverage Contrasting Colors to make your images pop. By understanding these principles, you'll transform your aerial photography from ordinary to extraordinary.
Key Takeaways
- Apply the Rule of Thirds or Golden Ratio for balanced compositions, placing key elements along grid lines or intersections.
- Utilize leading lines from skylines, clouds, or architecture to guide the viewer's eye through the image.
- Incorporate symmetry and patterns in aerial shots, emphasizing geometric shapes or introducing contrasting elements for visual interest.
- Leverage negative space to create a sense of scale, isolation, or tranquility, drawing attention to the main subject.
- Employ color theory by seeking complementary colors and timing shoots during golden hour for enhanced warm-cool interplay.
Rule of Thirds
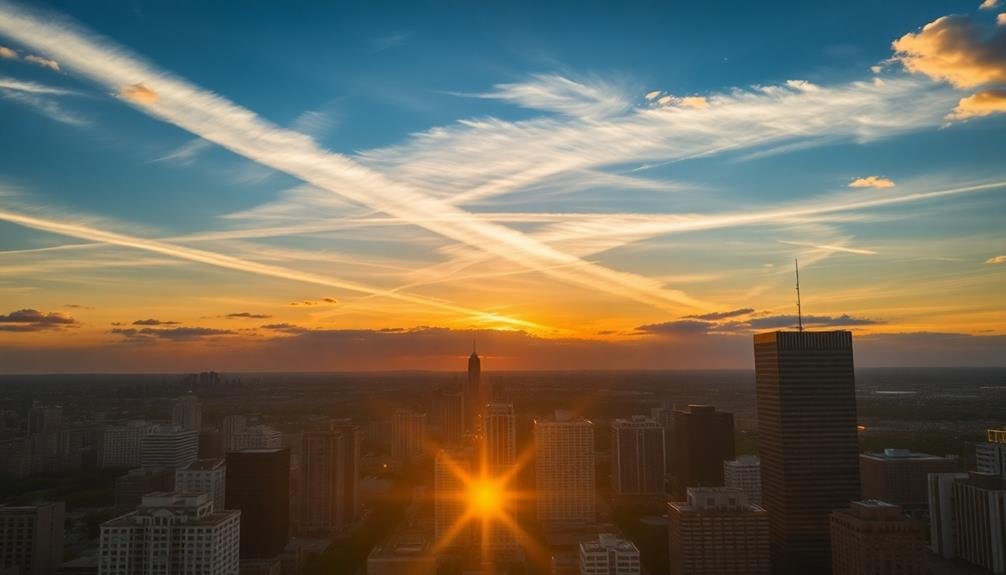
One of the most fundamental composition techniques in aerial photography is the Rule of Thirds. This principle involves dividing your frame into a 3×3 grid and placing key elements along these lines or at their intersections. When you're capturing sky-high images, this rule can help you create more balanced and visually appealing compositions.
To apply the Rule of Thirds, imagine two horizontal and two vertical lines equally spaced across your viewfinder. As you frame your shot, position important elements along these lines or at their intersections. For example, you might align a horizon with the upper or lower horizontal line, rather than cutting the image in half.
Or, you could place a prominent landmark at one of the four intersection points. This technique works particularly well for aerial landscapes, cityscapes, and seascapes. It helps create a sense of depth and draws the viewer's eye through the image.
Don't feel constrained by this rule, though. It's a guideline, not a strict law. Sometimes, breaking the Rule of Thirds can lead to striking compositions, especially in abstract aerial shots. Experiment with different placements to find what works best for each unique scene you're capturing from above.
Leading Lines
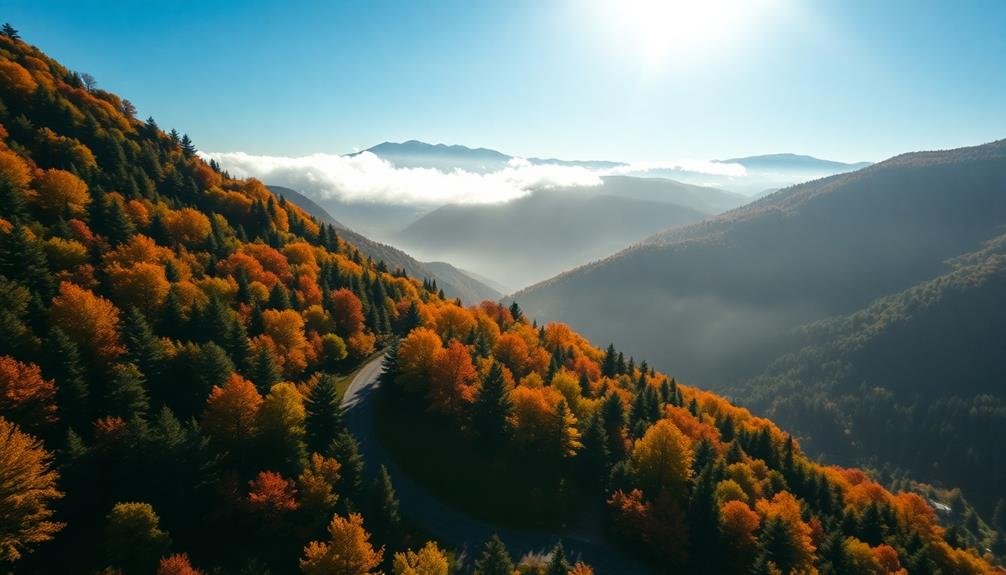
When capturing sky-high images, you'll find leading lines to be a powerful compositional tool.
You can use converging skyline elements, such as tall buildings or mountain ranges, to draw the viewer's eye into the frame.
Cloud formations and directional lighting patterns also serve as effective guides, leading the observer's gaze through your stunning aerial photograph.
Converging Skyline Elements
Countless skyscrapers and towering structures in urban landscapes offer photographers a wealth of leading lines to enhance their sky-high compositions.
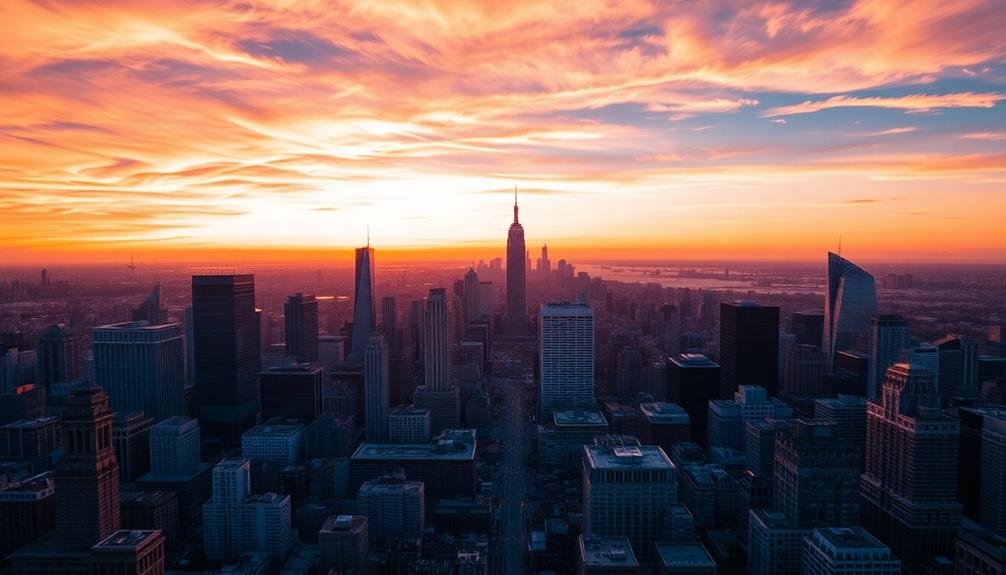
When capturing cityscapes, you'll want to look for converging skyline elements that draw the viewer's eye towards a focal point. These converging lines create a sense of depth and perspective, guiding the viewer through your image.
To utilize this technique effectively, position yourself at a vantage point where multiple buildings or architectural features appear to converge. This could be from street level looking up or from an elevated position looking across the cityscape.
Experiment with different angles to find the most compelling convergence points.
Pay attention to the edges of buildings, rows of windows, or even the negative space between structures. These elements can form powerful leading lines that direct attention to a specific area of your composition.
You can use converging skyline elements to highlight a particular landmark, emphasize the city's vanishing point, or create a dynamic sense of movement within your frame.
Remember to keep your horizon straight and use a tripod for sharp, well-aligned images when shooting in low light conditions.
Cloud Formations as Guides
While buildings provide man-made leading lines, nature offers its own guide through cloud formations. These celestial shapes can dramatically enhance your sky-high compositions, drawing the viewer's eye through the frame and creating a sense of depth and movement.
To effectively use cloud formations as guides, you'll want to:
- Look for linear cloud patterns that lead towards your main subject.
- Utilize wispy cirrus clouds to create subtle, delicate lines.
- Capture dramatic cumulonimbus formations for bold, vertical guides.
- Experiment with wide-angle lenses to emphasize cloud perspectives.
When you're composing your shot, position yourself to align the cloud formations with your intended focal point. This might mean adjusting your angle or waiting for the right moment as clouds shift and change.
Don't be afraid to use a longer exposure to capture the movement of clouds, creating streaks that act as dynamic leading lines.
Directional Lighting Patterns
Sunbeams and shadows create powerful directional lighting patterns that can serve as natural leading lines in sky-high photography. These patterns guide viewers' eyes through your image, creating depth and visual interest. To harness this effect, position yourself so that the sun's rays or shadows form diagonal or converging lines in your frame.
When shooting during golden hour, you'll often see sunbeams piercing through clouds or gaps in buildings. Use these to lead the eye towards your main subject or to create a sense of scale. Similarly, long shadows cast by tall structures can form striking lines across your composition, especially during early morning or late afternoon.
Don't forget about artificial lighting sources too. City lights at dusk can create mesmerizing patterns that draw the eye upward. When photographing cityscapes, look for street lamps or illuminated buildings that form linear patterns.
To emphasize directional lighting, try underexposing your shot slightly. This will make the light beams or shadows more pronounced against darker areas.
Experiment with different angles and perspectives to find the most compelling arrangement of these natural leading lines in your sky-high images.
Symmetry and Patterns

Symmetry and patterns can transform your aerial photographs from ordinary to extraordinary. When you're shooting from above, you'll often encounter natural and man-made symmetries that aren't visible from the ground. Look for geometric shapes, repeating elements, and balanced compositions to create visually striking images.
To effectively capture symmetry and patterns in your sky-high shots:
- Fly directly above your subject for perfect symmetry.
- Use the rule of thirds to emphasize asymmetrical patterns.
- Experiment with different altitudes to find the best perspective.
- Look for contrasting colors to highlight patterns.
Don't be afraid to rotate your drone or adjust your camera angle to align symmetrical elements perfectly. Urban environments often offer excellent opportunities for symmetrical compositions, with their grid-like street layouts and architectural designs.
In natural settings, seek out patterns in landscapes, such as rows of crops, sand dunes, or tree formations.
Remember that breaking symmetry can be just as powerful as perfect alignment. Introduce a single contrasting element to an otherwise symmetrical scene to create visual interest and draw the viewer's eye.
Framing the Subject

Framing your subject effectively in aerial photography can make the difference between a good shot and a great one. When you're capturing images from above, look for natural frames that can draw attention to your main subject. These might include cloud formations, gaps in foliage, or architectural elements.
Use the rule of thirds to position your subject off-center, creating a more dynamic composition. You can also experiment with negative space to isolate your subject and create a sense of scale.
Don't forget to take into account the direction of light and shadows, as they can add depth and dimension to your framed subject.
When framing, pay attention to the edges of your image. Verify there aren't any distracting elements cutting into the frame. You can use leading lines, such as roads or rivers, to guide the viewer's eye towards your subject.
If you're shooting urban landscapes, try framing buildings or landmarks between other structures for an interesting perspective.
Negative Space

In aerial photography, negative space can be your secret weapon for creating powerful compositions. It's the empty area surrounding your main subject, and when used effectively, it can dramatically enhance the impact of your sky-high images.
By incorporating negative space, you'll draw attention to your subject while creating a sense of scale, isolation, or tranquility.
To make the most of negative space in your aerial shots:
- Look for expansive, uncluttered areas like open water, fields, or cloudscapes.
- Position your subject off-center to create balance with the empty space.
- Use the sky as negative space, especially during golden hour or blue hour.
- Experiment with different altitudes to adjust the ratio of subject to negative space.
Golden Ratio
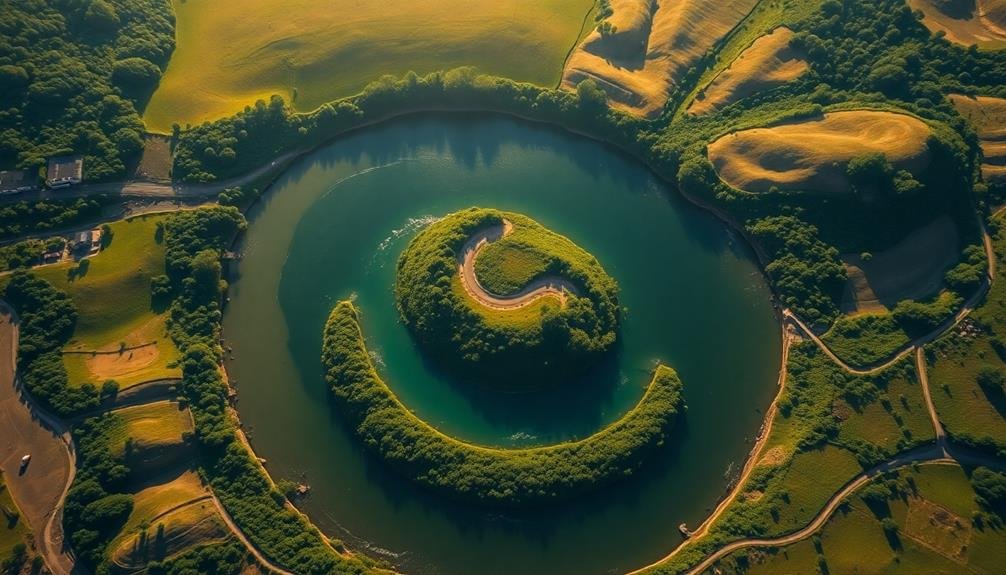
The golden spiral, a mathematical marvel found in nature, can elevate your aerial photography to new heights. This composition technique, based on the golden ratio (approximately 1.618:1), creates a visually pleasing and balanced image that naturally draws the viewer's eye through the frame.
To apply the golden ratio in your sky-high shots, imagine dividing your frame into a 3×3 grid, with each section further subdivided according to the ratio. Place key elements along these lines or at their intersections. You'll find that this creates a more dynamic and engaging composition than simply centering your subject.
When capturing landscapes from above, use the golden spiral to guide the viewer's gaze. Position your main subject at the center of the spiral, then let secondary elements flow outward along its curve. This technique works particularly well for winding rivers, coastlines, or city streets.
Don't be afraid to experiment with different orientations of the golden ratio. Rotate or flip the spiral to find the most compelling arrangement for your specific scene.
With practice, you'll develop an intuitive sense for applying this timeless principle to your aerial photography.
Contrasting Colors
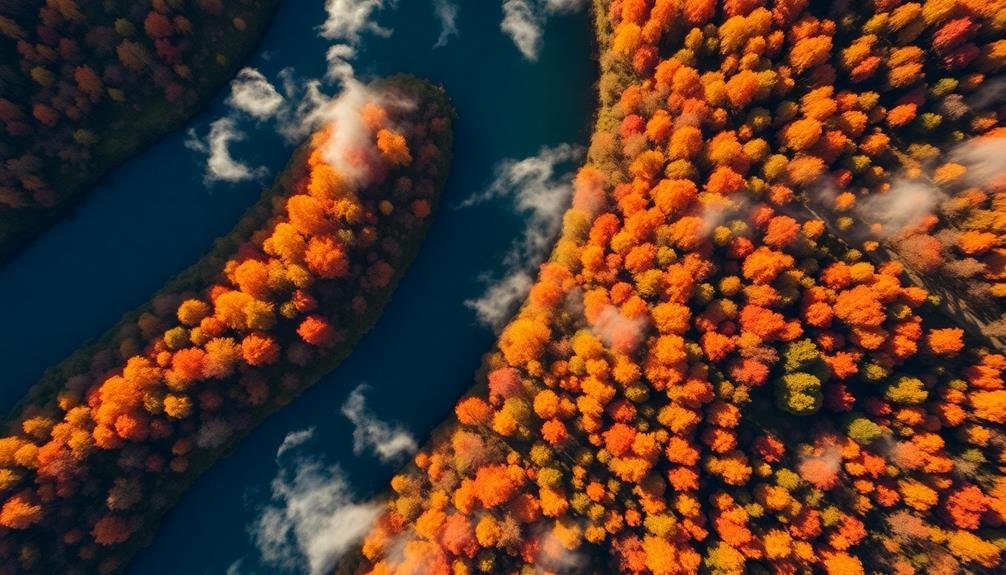
Vibrant contrasting colors can transform your aerial photographs from ordinary to extraordinary. When capturing sky-high images, you'll often encounter a wide range of hues that can create stunning visual impact when combined effectively.
Look for complementary colors on the color wheel, such as blue and orange, or purple and yellow, to create eye-catching compositions.
To make the most of contrasting colors in your aerial photography:
- Scout locations with naturally occurring color contrasts
- Time your shoots during golden hour for warm-cool color interplay
- Use polarizing filters to enhance color saturation
- Experiment with post-processing techniques to boost contrast
Don't be afraid to seek out unexpected color combinations in your aerial shots. Urban landscapes often offer a mix of artificial and natural hues that can create striking contrasts.
In rural settings, look for fields of crops or wildflowers that provide bold color blocks against the surrounding landscape.
Frequently Asked Questions
What Camera Settings Are Best for Capturing Sky-High Images?
For sky-high images, you'll want to use a low ISO, narrow aperture (f/8-f/11), and fast shutter speed. Don't forget to shoot in RAW format and use a polarizing filter to enhance sky colors and reduce glare.
How Do Weather Conditions Affect Aerial Photography Composition?
Weather greatly impacts your aerial shots. You'll need to adapt your composition for different conditions. Clouds can add drama, while clear skies allow for crisp details. Wind affects stability, so you'll want to adjust your framing accordingly.
Are There Legal Restrictions for Taking Sky-High Images in Certain Areas?
Yes, you'll face legal restrictions for aerial photography in many areas. You can't fly over restricted zones, private property, or crowded spaces without permission. Always check local laws and obtain necessary permits before taking sky-high images.
What Post-Processing Techniques Enhance Sky-High Photographs?
You'll enhance sky-high photos with these post-processing techniques: adjust contrast and saturation, use HDR blending, apply graduated filters, reduce noise, sharpen details, and correct lens distortion. Don't forget to balance colors for a natural look.
How Can I Stabilize My Camera for Sharp Sky-High Shots?
To stabilize your camera for sharp sky-high shots, you'll want to use a sturdy tripod. If that's not possible, try increasing your shutter speed, using image stabilization, and bracing yourself against a solid object while shooting.
In Summary
You've now got the tools to take your aerial photography to new heights. By applying these seven composition rules, you'll capture stunning sky-high images that truly stand out. Remember, rules are meant to be broken, so don't be afraid to experiment. As you practice, you'll develop an intuitive sense of what works best for each shot. Keep pushing your creative boundaries, and you'll soon be soaring above the competition with your breathtaking aerial compositions.

As educators and advocates for responsible drone use, we’re committed to sharing our knowledge and expertise with aspiring aerial photographers.


Leave a Reply