To capture stunning land development photos, start by mastering aerial composition techniques. You'll want to identify key features and use leading lines to guide the viewer's eye. Next, focus on ideal lighting conditions, aiming for golden hours or overcast days for the best results. Showcase unique property features, highlighting selling points like scenic views or infrastructure. Don't forget post-processing; adjust exposure, contrast, and color to enhance your images. Finally, verify compliance with drone regulations if you're using aerial photography. These tips will elevate your property shots, but there's much more to explore in the world of land development photography.
Key Takeaways
- Capture aerial shots to showcase property scale and unique features, adhering to drone regulations.
- Photograph during golden hours for optimal lighting that enhances the land's appeal.
- Highlight distinctive property attributes like water features or scenic views in your compositions.
- Use wide-angle lenses for expansive landscapes, but switch to macro for impactful detail shots.
- Apply post-processing techniques consistently to create a cohesive, professional image set.
Aerial Composition Techniques
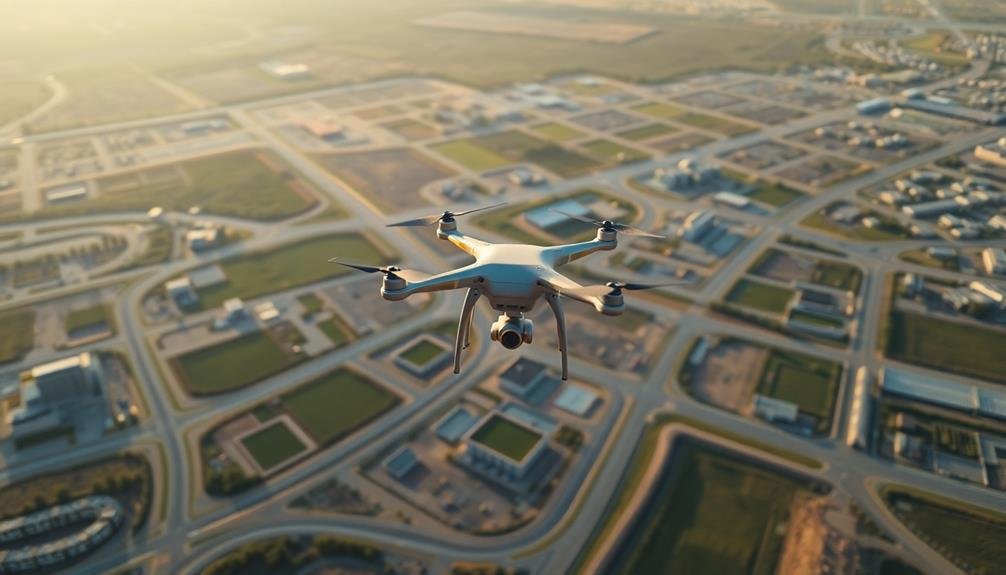
How can you capture the essence of a property from above? Aerial photography offers a unique perspective for land developers, showcasing the full scope and potential of a site. To master this technique, focus on composition and framing.
Start by identifying the property's key features and natural boundaries. Use these elements to create leading lines that guide the viewer's eye across the image. Incorporate the rule of thirds, placing points of interest at the intersections of imaginary grid lines. This creates a more balanced and visually appealing composition.
Consider the time of day and lighting conditions. Early morning or late afternoon light can cast long shadows, adding depth and dimension to your shots. Experiment with different altitudes to find the best height for showcasing the property's features.
Don't forget to include surrounding context. Capture nearby landmarks, roads, or natural features to give viewers a sense of the property's location and surroundings. Use a wide-angle lens to encompass more of the landscape, but be mindful of distortion at the edges.
Optimal Lighting Conditions
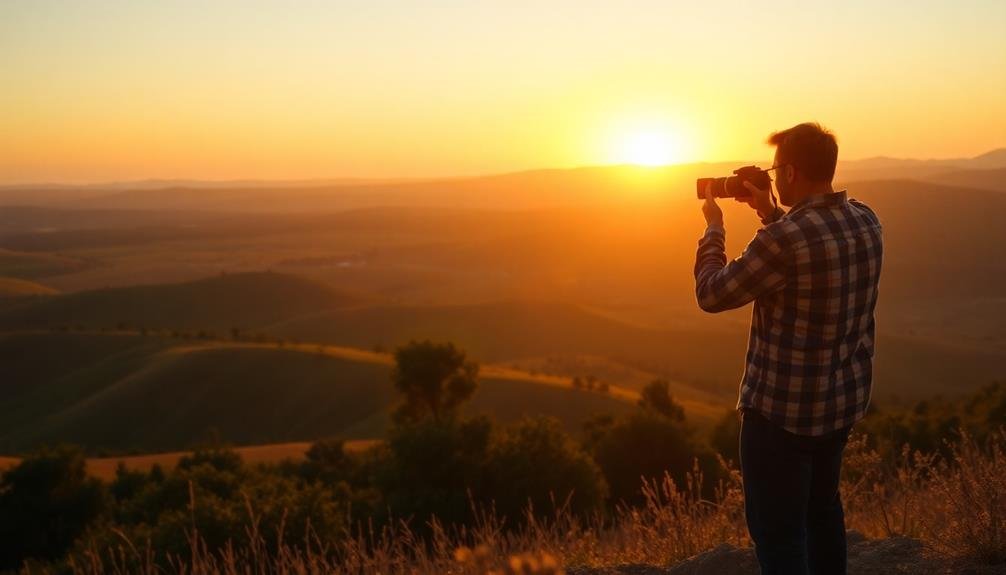
When it comes to ideal lighting conditions, timing is everything for land development photography. You'll want to capture your property during the golden hours – just after sunrise or before sunset – when the light is soft and warm. This enhances the natural beauty of the landscape and creates a more inviting atmosphere.
Avoid shooting during harsh midday sunlight, as it can create unflattering shadows and wash out colors. Instead, consider overcast days for even lighting that brings out textures and details. For interior shots, natural light from windows is often best, but you may need to supplement with artificial lighting to brighten dark corners.
Here's a quick guide to best lighting conditions for different property types:
| Property Type | Best Time | Lighting Tips |
|---|---|---|
| Residential | Dawn/Dusk | Use warm tones |
| Commercial | Midday | Highlight architecture |
| Industrial | Overcast | Emphasize scale |
| Rural Land | Golden Hour | Showcase natural beauty |
| Urban Lots | Blue Hour | Capture city ambiance |
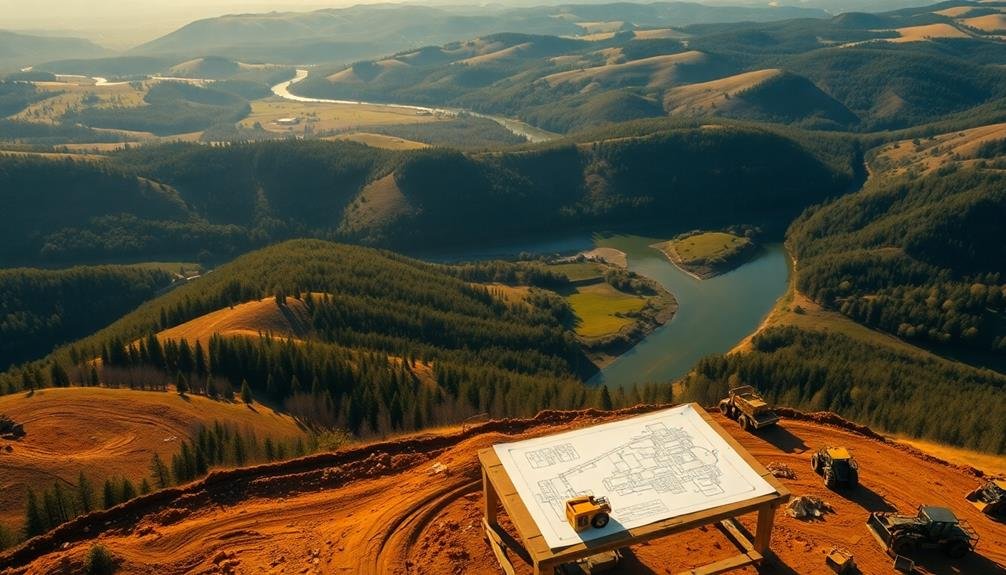
Showcasing Property Features
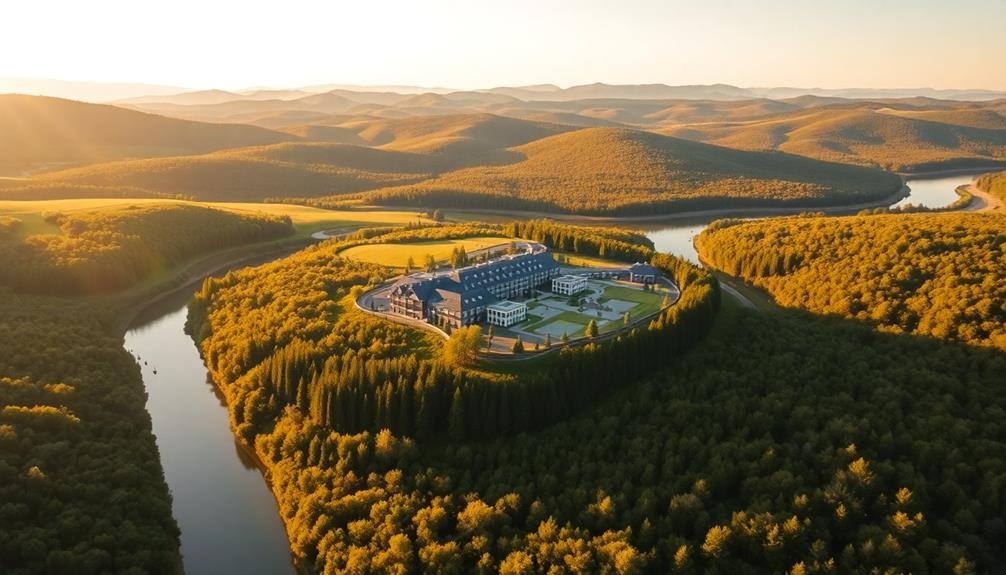
With the right lighting in place, it's time to focus on capturing the key features that make your property stand out. Start by identifying the unique selling points of your land, such as scenic views, water features, or distinctive terrain. Frame these elements thoughtfully to create compelling compositions that showcase their full potential.
Use a wide-angle lens to capture expansive landscapes and give potential buyers a sense of the property's scale. For smaller details like soil quality or unique flora, switch to a macro lens. Don't forget to highlight any existing infrastructure, such as roads, utilities, or buildings, as these can be significant selling points.
Incorporate aerial photography using drones to provide a thorough overview of the property's layout and surroundings. This perspective can reveal hidden features and help buyers visualize the land's full potential.
When showcasing nearby amenities or points of interest, use a telephoto lens to compress distance and make these features appear closer to the property.
Remember to capture images in different seasons if possible, demonstrating the land's year-round appeal. By strategically highlighting your property's best features, you'll create a powerful visual narrative that resonates with potential buyers.
Post-Processing for Impact

After capturing your land development photos, post-processing is vital for maximizing their impact. Start by adjusting the exposure and contrast to guarantee your images are well-balanced. Brighten shadows and tone down highlights to reveal more details in both dark and bright areas.
Color correction is essential for creating a natural, appealing look. Adjust the white balance to eliminate any color casts and enhance the vibrancy of green spaces and blue skies. Don't overdo saturation, as it can make your photos look unrealistic.
Crop your images to improve composition and remove distracting elements. Straighten horizons and vertical lines to create a sense of stability and professionalism. Use the healing tool to remove small imperfections or unwanted objects.
Consider creating HDR (High Dynamic Range) images by blending multiple exposures. This technique can help showcase both interior and exterior spaces effectively. Finally, apply subtle sharpening to enhance details without introducing noise.
Remember to maintain consistency across your photo set. Develop a signature style that reflects your brand and appeals to your target audience. Save your editing settings as presets to streamline your workflow and guarantee a cohesive look across all your land development photos.
Compliance With Drone Regulations
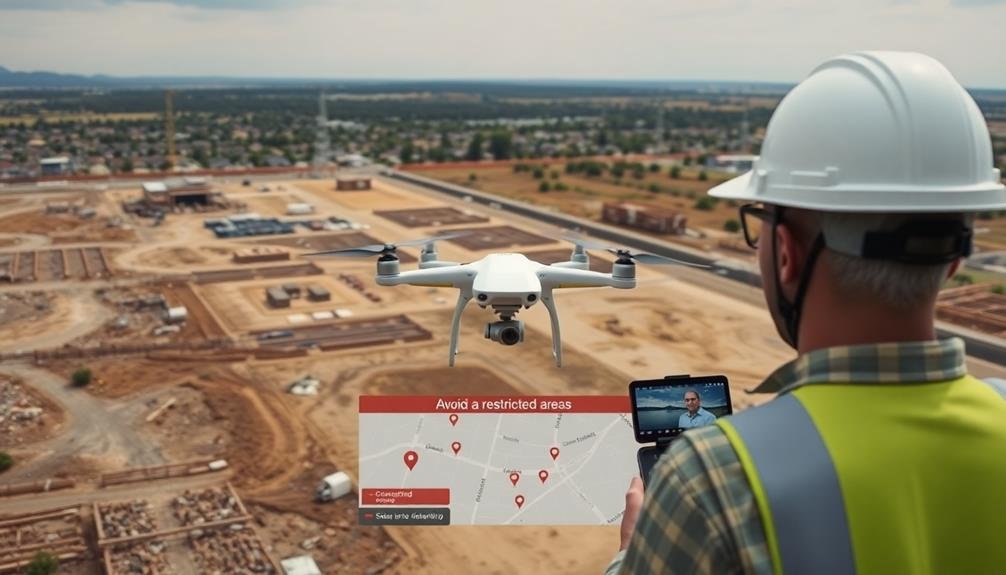
While post-processing enhances your photos, it's equally important to confirm you're capturing them legally. If you're using drones for aerial photography, you must comply with local and federal regulations.
Begin by registering your drone with the FAA if it weighs over 0.55 pounds. Familiarize yourself with airspace restrictions and no-fly zones in your area using apps like B4UFLY.
Obtain the necessary certifications, such as the Part 107 license for commercial drone operations. This confirms you understand airspace rules, weather conditions, and safety protocols.
Always maintain visual line of sight with your drone and fly below 400 feet unless you have a waiver.
Respect privacy laws by avoiding photographing private property without permission. Be aware of local ordinances that may restrict drone usage in certain areas.
When flying near airports or controlled airspace, obtain proper authorization through the LAANC system.
Keep your drone software updated and maintain a flight log to demonstrate compliance.
Finally, consider purchasing drone insurance to protect yourself from potential liability.
Frequently Asked Questions
What Camera Equipment Is Best for Land Development Photography?
You'll want a versatile DSLR or mirrorless camera with a wide-angle lens for expansive shots. Don't forget a sturdy tripod for stability. A drone can provide aerial perspectives. Invest in quality gear for professional results.
How Can I Effectively Capture Before-And-After Shots of Development Projects?
To capture effective before-and-after shots, you'll want to use consistent angles and lighting. Mark your shooting locations, maintain the same time of day, and use identical camera settings. Don't forget to document progress shots in between.
What Are the Best Ways to Convey Scale in Land Development Photos?
To convey scale in land development photos, you'll want to include recognizable objects for comparison. Use people, vehicles, or buildings as reference points. Shoot from various angles and heights to showcase the project's true dimensions.
How Often Should I Update Photographs of Ongoing Development Projects?
You should update your development project photos regularly, at least monthly. Capture significant milestones, changes in seasons, and progress stages. It's essential to keep your visual documentation current for investors, stakeholders, and marketing purposes.
What Safety Precautions Should Be Taken When Photographing Active Construction Sites?
When photographing active construction sites, you'll need to wear proper safety gear, including a hard hat and high-visibility vest. Always follow site safety protocols, obtain permission, and stay alert to potential hazards. Don't enter restricted areas without authorization.
In Summary
You've now got the tools to elevate your land development photography game. Remember, it's all about composition, lighting, highlighting features, and polishing in post. Don't forget to stay compliant with drone laws. With these tips, you'll capture stunning images that showcase properties in their best light. Keep practicing, and you'll soon be creating visuals that grab attention and drive sales. Your camera's your most powerful marketing tool – use it wisely!
As educators and advocates for responsible drone use, we’re committed to sharing our knowledge and expertise with aspiring aerial photographers.


Leave a Reply