To scout perfect photography locations like an expert, start by researching online mapping tools and utilizing social media for inspiration. Consider the time of day and assess lighting conditions to capture the best shots. Evaluate drone flight restrictions if you're planning aerial photography. Seek out unique vantage points and check weather forecasts to plan accordingly. Scout for interesting patterns and compositions in your surroundings. Don't forget to explore local landmarks and embrace spontaneity during your shoot. By following these tips, you'll be well-equipped to find and capture stunning locations for your photography. The world of perfect photography locations awaits your exploration.
Key Takeaways
- Utilize online mapping tools and social media platforms to research and shortlist potential locations.
- Consider lighting conditions and timing, focusing on golden hour and blue hour opportunities.
- Scout for unique vantage points and interesting patterns to create compelling compositions.
- Check weather forecasts and plan accordingly to capture the best atmospheric conditions.
- Research local regulations, especially for drone photography, to ensure compliance and obtain necessary permits.
Research Online Mapping Tools

Before heading out with your camera, immerse yourself in online mapping tools to scout potential photography locations. Google Maps and Google Earth are invaluable resources, offering satellite imagery, street views, and 3D perspectives. Use these tools to explore terrain, identify interesting landmarks, and assess accessibility.
Zoom in on areas of interest to spot unique features like hidden waterfalls, architectural gems, or scenic viewpoints. The street view function allows you to virtually walk through locations, helping you plan compositions and anticipate lighting conditions. Pay attention to the direction of shadows in satellite images to gauge the sun's position at different times of day.
Don't overlook specialized mapping tools like PhotoPills or The Photographer's Ephemeris. These apps provide detailed information on sun and moon positions, golden hour times, and even augmented reality features to visualize potential shots. Topographic maps can reveal elevation changes and hiking trails, essential for landscape photography.
While researching, create a shortlist of promising locations with GPS coordinates. This preparation will save time in the field and increase your chances of capturing stunning images.
Utilize Social Media for Inspiration

With the rise of visual platforms, social media has become a goldmine for photography inspiration. You'll find countless location ideas by exploring hashtags, geotags, and photography-focused accounts. Start by searching for location-specific hashtags like #NYCphotography or #CaliforniaLandscapes. These will reveal popular spots and hidden gems in your target area.
Instagram's geotag feature is particularly useful. When you click on a location tag, you'll see a collection of photos taken there, giving you a preview of potential compositions. Follow local photographers and tourism boards for regular updates on scenic locations.
Pinterest is another valuable resource, offering curated boards of photogenic spots worldwide. Don't limit yourself to just looking at photos. Read captions and comments for insider tips on best times to visit, parking information, and accessibility.
Join photography groups on Facebook to connect with fellow enthusiasts who can share their experiences and recommendations. Remember to use social media responsibly and respect any location restrictions or guidelines you come across.
Consider Time of Day

Light is a photographer's best friend, and the time of day you shoot can dramatically impact your images. The quality, direction, and color of light change throughout the day, offering unique opportunities for capturing stunning photographs. To make the most of these changes, you'll need to plan your shoots carefully.
Early morning and late afternoon are often referred to as the "golden hours" due to their warm, soft light. These times are ideal for landscape and portrait photography, creating a magical glow that enhances your subjects.
Midday light can be harsh and unflattering, but it's perfect for capturing high-contrast scenes or creating dramatic shadows in architectural shots.
When scouting locations, consider how the light will interact with your subject at different times:
- Sunrise: Soft, warm light with long shadows
- Midday: Intense, overhead light with minimal shadows
- Sunset: Golden light with long shadows in the opposite direction of sunrise
- Blue hour: Soft, cool light just before sunrise or after sunset
Assess Lighting Conditions
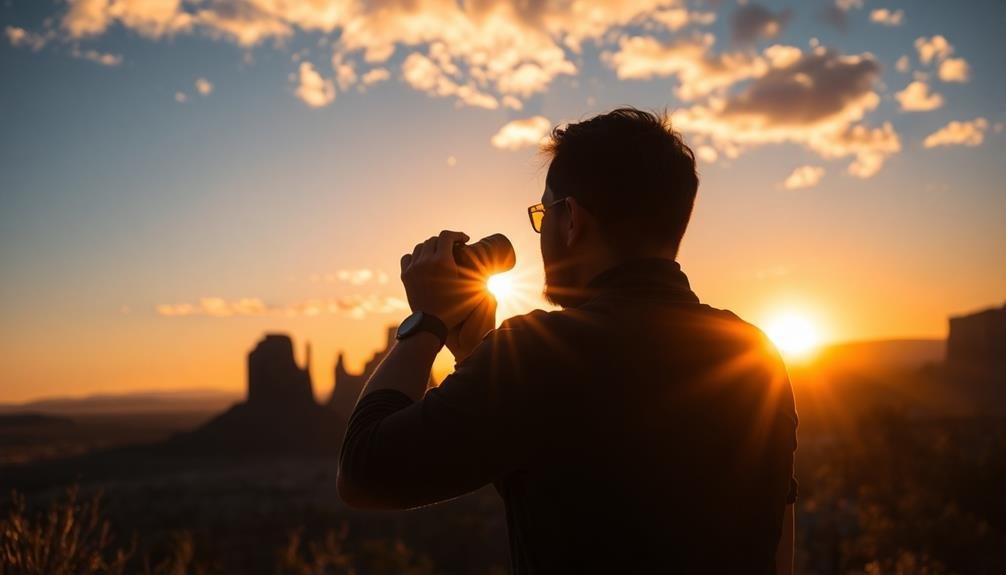
Evaluating lighting conditions is essential for capturing stunning photographs. You'll need to contemplate both natural and artificial light sources when evaluating a location. Pay attention to the direction, intensity, and quality of light throughout the day. Harsh midday sun can create unflattering shadows, while golden hour light offers warm, soft illumination.
Look for interesting interplays between light and shadow, which can add depth and drama to your images. Observe how light interacts with different surfaces and textures in the environment. Reflective surfaces like water or glass can create unique lighting effects.
Don't forget to contemplate backlighting opportunities, which can create silhouettes or add an ethereal glow to your subjects.
If you're shooting indoors, evaluate available window light and any artificial lighting fixtures. You might need to bring additional lighting equipment to supplement or modify existing light sources.
Be prepared to adjust your camera settings to accommodate varying light conditions. Use a light meter or your camera's built-in metering system to help gauge exposure levels.
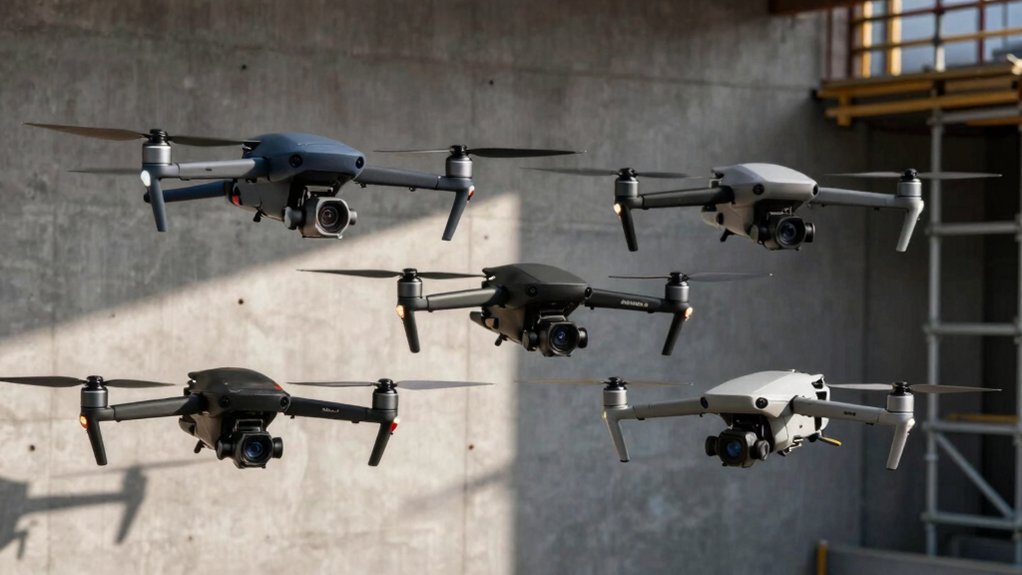
Evaluate Drone Flight Restrictions
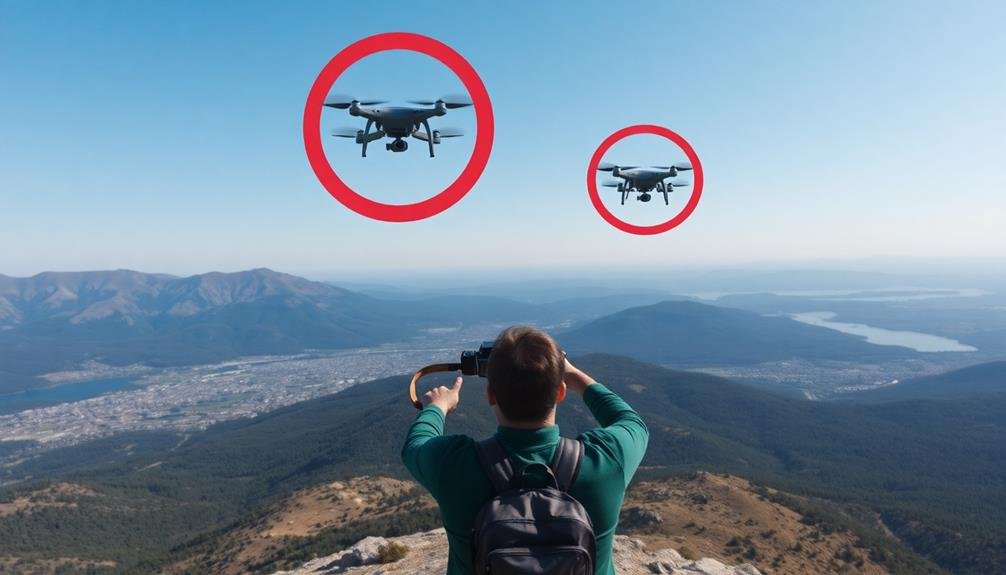
Before launching your drone for aerial photography, you'll need to check local airspace regulations to guarantee compliance.
Identify any no-fly zones in your chosen location, such as airports, military bases, or sensitive government facilities.
If required, secure the necessary permits or authorizations to operate your drone legally and safely in the area.
Check Local Airspace Regulations
Drone operators must navigate a complex web of airspace regulations before taking flight.
You'll need to familiarize yourself with local, state, and federal laws governing drone use in your chosen photography location. Start by checking the Federal Aviation Administration (FAA) website for up-to-date information on airspace classifications and restrictions. Many areas have specific no-fly zones, such as airports, military bases, and national parks.
To guarantee compliance with local airspace regulations:
- Download a drone flight app like B4UFLY or AirMap to visualize restricted areas.
- Contact local authorities or park rangers for specific drone policies.
- Obtain necessary permits or authorizations for commercial drone photography.
- Register your drone with the FAA if it weighs over 0.55 pounds.
Be aware that some locations may require additional clearance or have temporary flight restrictions due to events or emergencies.
Always prioritize safety and respect for privacy when operating your drone. By thoroughly researching and adhering to local airspace regulations, you'll not only avoid legal issues but also contribute to the responsible use of drones in photography, helping to maintain access for future drone enthusiasts.
Identify No-Fly Zones
Within the domain of drone photography, identifying no-fly zones is essential for legal and safe operations. You'll need to research and understand the specific restrictions in your area before launching your drone. Start by checking official government websites and aviation authorities for up-to-date information on no-fly zones. These often include airports, military bases, national parks, and sensitive government facilities.
Download and use reliable drone apps that provide real-time information on flight restrictions. Apps like B4UFLY, AirMap, or DJI's GEO system can help you visualize no-fly zones and temporary flight restrictions.
Pay attention to airspace classifications, as different rules apply to controlled and uncontrolled airspace. Be aware of event-based restrictions, such as temporary flight limitations during major sporting events or political gatherings.
Always respect private property and obtain permission when flying over residential areas. Consider local ordinances that may impose additional restrictions on drone flights.
Remember that no-fly zones can change, so always verify the current status before each flight. By diligently identifying and respecting no-fly zones, you'll guarantee your drone photography remains compliant with regulations and respectful of others' safety and privacy.
Secure Necessary Permits
Frequently, securing necessary permits is a crucial step in drone photography that's often overlooked. Before you take flight, research local regulations and obtain the required permissions. This process can vary depending on your location and the nature of your shoot.
In some cases, you'll need to apply for permits from multiple authorities, such as local government, parks departments, or private property owners.
To guarantee you're fully compliant, follow these steps:
- Research local drone laws and regulations
- Identify the relevant permitting authorities
- Submit applications well in advance of your shoot
- Keep all permits and documentation with you during the flight
Don't assume that public spaces are always open for drone photography. Many parks, beaches, and historical sites have specific restrictions or require special permission.
For commercial shoots, you may need additional permits or insurance coverage. Be prepared to provide details about your equipment, flight plans, and safety measures.
Explore Local Landmarks
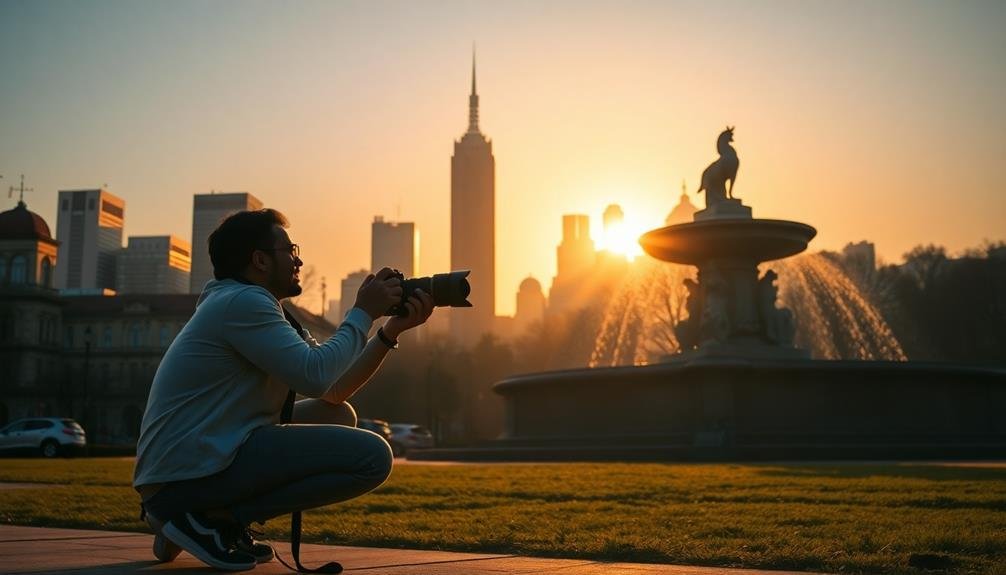
Local landmarks offer a wealth of photographic opportunities that you shouldn't overlook. These iconic sites can provide unique backdrops for portraits, stunning architectural shots, or enthralling landscape images.
Start by researching your area's most popular landmarks, but don't stop there. Dig deeper to uncover hidden gems that aren't on every tourist's radar.
Visit local museums, historical societies, and tourism offices to gather information about lesser-known landmarks. They can often provide valuable insights into the history and significance of these locations, which can inspire your creative vision.
Don't forget to explore different times of day and seasons, as landmarks can take on entirely new personalities depending on lighting and weather conditions.
Consider incorporating local landmarks into your storytelling. Capture the interaction between people and these iconic sites to add depth and context to your images.
Remember to respect any rules or restrictions at these locations, and be mindful of other visitors.
Seek Unique Vantage Points

To capture truly distinctive shots, you'll want to search for unique vantage points that offer fresh perspectives.
Look for elevated viewpoints, like rooftops or hilltops, that provide sweeping views of your subject.
Don't forget to explore unexpected angles and hidden urban spots that can reveal intriguing details often overlooked by casual observers.
Elevated Viewpoints
Elevated viewpoints can transform ordinary scenes into extraordinary photographs. By gaining altitude, you'll capture unique perspectives that most people don't experience in their daily lives. Look for opportunities to climb stairs, access rooftops, or use drones to achieve these higher vantage points.
Remember to always prioritize safety and obtain necessary permissions before accessing elevated areas.
When shooting from above, pay attention to patterns, shapes, and symmetry that may not be visible from ground level. Cityscapes, landscapes, and even portraits can benefit from this fresh perspective. Experiment with different angles and compositions to find the most compelling view.
To make the most of elevated viewpoints:
- Use a wide-angle lens to capture expansive scenes
- Incorporate leading lines to draw the viewer's eye
- Include people or objects for scale and context
- Consider the time of day for ideal lighting conditions
Don't limit yourself to extreme heights; even a slight elevation can dramatically change your composition.
Whether you're photographing bustling city streets or serene natural landscapes, elevated viewpoints offer endless creative possibilities. Challenge yourself to find new ways to showcase familiar subjects from above.
Unexpected Angles
Countless photographers fall into the trap of capturing scenes from eye level, missing out on the creative potential of unexpected angles. To break free from this habit, challenge yourself to explore unconventional perspectives.
Get low to the ground for a worm's eye view, emphasizing foreground elements and creating a sense of scale. Alternatively, seek out high vantage points to capture sweeping landscapes or bustling cityscapes from above.
Don't limit yourself to vertical adjustments. Tilt your camera for dynamic compositions or shoot through objects to frame your subject in unique ways. Try capturing reflections in puddles, windows, or polished surfaces for a fresh take on familiar scenes.
Experiment with unusual focal lengths, like using a wide-angle lens for close-up shots or a telephoto for landscapes. Look for natural frames within your environment, such as archways, tree branches, or architectural features. These can add depth and context to your images.
Don't be afraid to get creative with your positioning – climb trees, lie on the ground, or hang over railings (safely) to find that perfect angle. Remember, the goal is to present your subject in a way that surprises and engages viewers, offering a perspective they haven't seen before.
Hidden Urban Spots
Where are the hidden gems in urban photography? They're often tucked away in plain sight, waiting for your keen eye to discover them.
Look beyond the obvious landmarks and tourist hotspots to find unique urban vantage points that'll make your photos stand out.
Explore alleyways, rooftops, and lesser-known neighborhoods. You'll be surprised at the photographic potential hidden within these overlooked areas.
Don't be afraid to venture off the beaten path, but always prioritize your safety.
To uncover hidden urban spots, try these strategies:
- Research local history and architecture to identify lesser-known locations
- Use social media and photography forums to discover spots shared by other photographers
- Explore different times of day to capture familiar places in new light
- Talk to locals who can provide insider knowledge about secret urban gems
Check Weather Forecasts
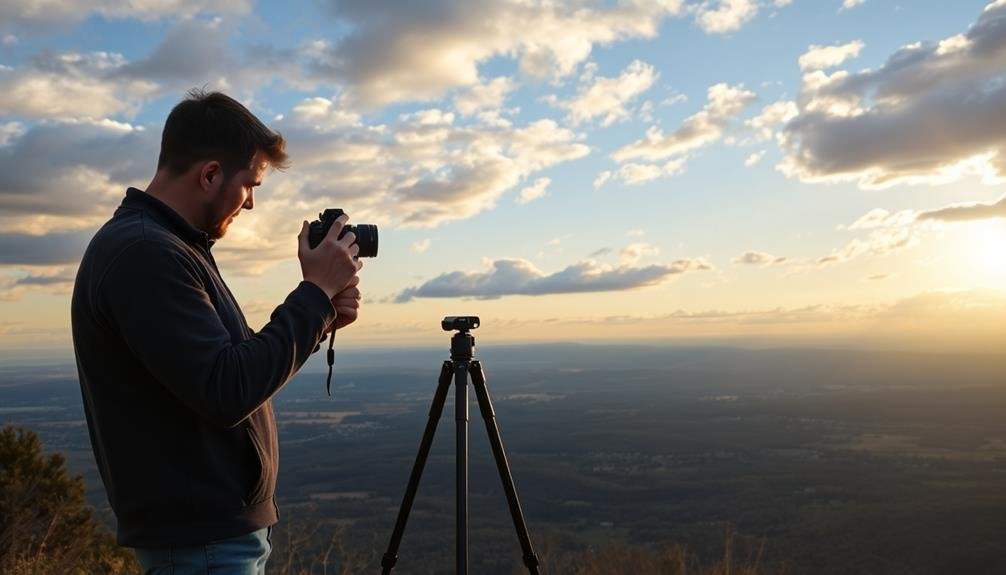
Three essential steps in planning a successful photography outing include checking the weather forecast.
You'll want to take into account temperature, precipitation, wind, and cloud cover when making your plans. These factors can greatly impact your shoot, affecting lighting conditions and your comfort level while on location.
Check multiple weather sources for the most accurate predictions. Don't rely solely on your smartphone's default app; consult specialized weather websites or apps designed for photographers.
Pay attention to hourly forecasts, as conditions can change rapidly throughout the day.
Reflect on how different weather conditions might enhance or detract from your chosen location. Overcast skies can provide soft, diffused light ideal for portraits or nature shots. Clear skies might offer opportunities for dramatic sunrises or sunsets. Rain can create interesting reflections and moody atmospheres in urban settings.
Don't forget to plan for your equipment's safety. Bring protective gear like rain covers or lens hoods if there's a chance of precipitation.
In extreme temperatures, you'll need to account for battery life and potential condensation issues. By thoroughly checking weather forecasts, you'll be better prepared to capture stunning images in any conditions.
Scout for Interesting Patterns
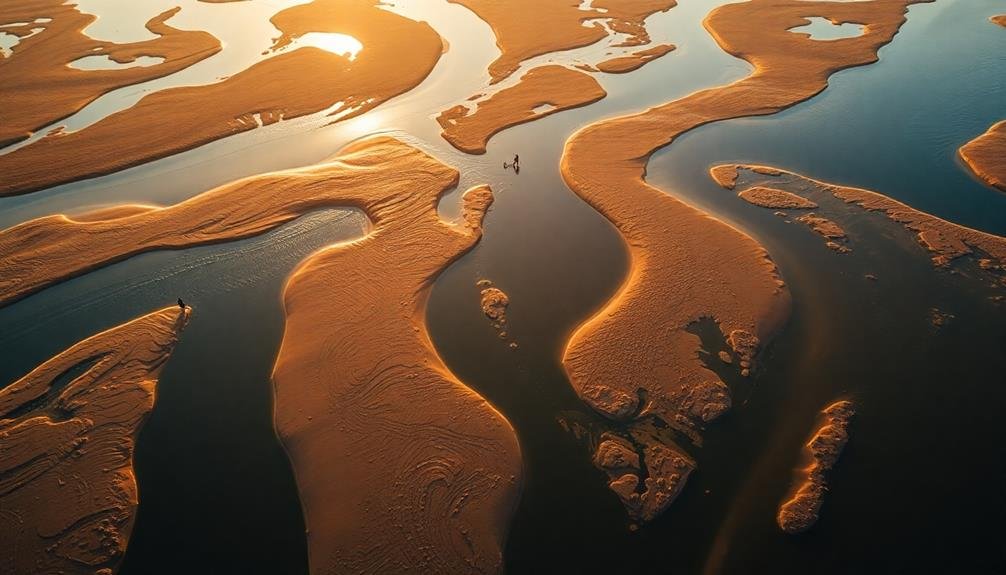
While scouting locations, keep an eye out for interesting patterns that can elevate your photography. Patterns can create striking visual interest, add depth to your compositions, and guide the viewer's eye through the image.
Look for repetitive elements in both natural and man-made environments, such as rows of trees, architectural features, or geometric shapes in landscapes.
Don't limit yourself to obvious patterns; seek out subtle repetitions in textures, colors, or shapes. These can often result in more intriguing and unique photographs.
Consider how different lighting conditions might enhance or reveal hidden patterns throughout the day.
When you've identified a promising pattern, experiment with various angles and perspectives to maximize its impact.
Try these techniques:
- Use a wide-angle lens to capture expansive patterns
- Zoom in to isolate and emphasize specific elements
- Shoot from above or below to create unexpected views
- Incorporate leading lines to draw attention to the pattern
Plan for Multiple Compositions
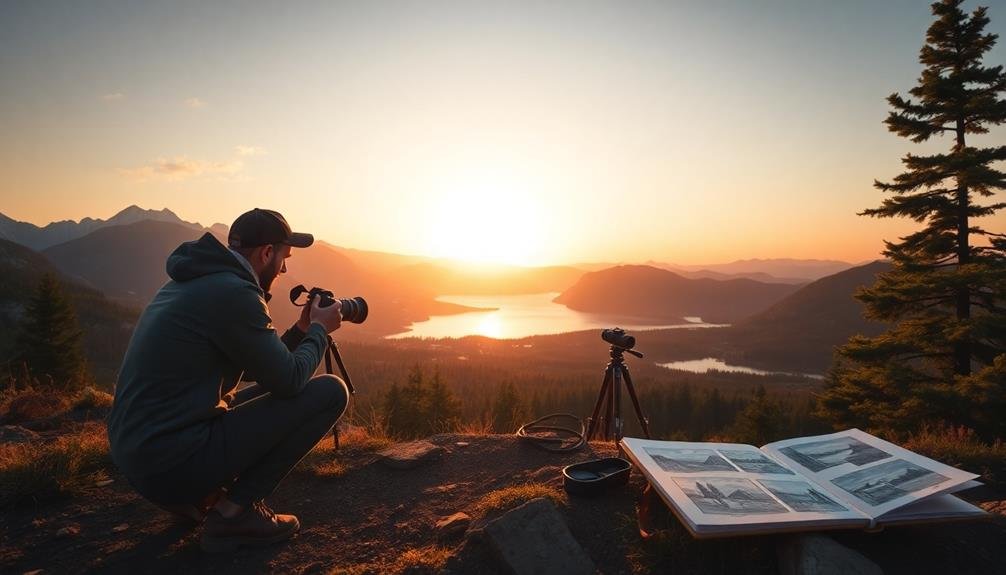
Once you've identified a promising location and its unique patterns, it's time to think beyond a single shot. Plan for multiple compositions to maximize your time and creative potential at each site.
Start by envisioning different angles and perspectives. Consider how the scene might change with varying focal lengths, from wide-angle landscapes to intimate close-ups.
Think about how you can incorporate foreground elements to add depth and interest. Look for natural frames, leading lines, or reflections that can enhance your compositions.
Don't forget to explore both horizontal and vertical orientations for each shot.
As you plan, consider how the light might change throughout the day. Golden hour and blue hour can dramatically transform a scene, so factor these times into your shooting schedule. Be prepared to revisit the location at different times if necessary.
Remember to leave room for spontaneity. While planning is vital, be open to unexpected opportunities that may arise.
Sometimes, the most compelling shots come from unplanned moments or discoveries. By preparing for multiple compositions, you'll guarantee a diverse and engaging portfolio from each location you visit.
Frequently Asked Questions
How Do I Obtain Permission to Photograph on Private Property?
To obtain permission for photographing on private property, you'll need to contact the owner directly. Explain your intentions, be respectful, and offer to share the photos. Consider providing a written agreement to formalize the arrangement if necessary.
What Essential Gear Should I Pack for Location Scouting Trips?
You'll need a reliable camera, wide-angle lens, tripod, and GPS device. Don't forget comfortable shoes, water, and snacks. Bring a notebook or smartphone app to record location details. Pack weather-appropriate clothing and sun protection.
How Can I Find Less Crowded Alternatives to Popular Photography Spots?
You can find less crowded alternatives by exploring off-peak times, venturing off the beaten path, asking locals for hidden gems, using satellite imagery to scout nearby areas, and joining photography groups for insider tips on lesser-known locations.
Are There Apps Specifically Designed for Location Scouting for Photographers?
Yes, there are apps for location scouting. You'll find options like Photopills, The Photographer's Ephemeris, and SunSurveyor. They'll help you plan shoots, track sun/moon positions, and discover new spots. Some even offer user-submitted location databases.
How Far in Advance Should I Scout Locations for Seasonal Shots?
You'll want to scout seasonal locations at least 3-6 months in advance. This gives you time to plan, check lighting conditions, and revisit if needed. It's especially vital for fall foliage or spring blooms.
In Summary
You've now got a solid toolkit for finding and evaluating great photography locations. Don't forget to respect local regulations and private property. Always have a backup plan in case your chosen spot doesn't work out. Remember, the best locations often require effort to find, so don't be afraid to explore off the beaten path. With practice, you'll develop an eye for spotting potential in unexpected places. Happy shooting!

As educators and advocates for responsible drone use, we’re committed to sharing our knowledge and expertise with aspiring aerial photographers.
Leave a Reply