To capture breathtaking photos in manual mode, focus on mastering three key elements: shutter speed, aperture, and ISO. Control shutter speed to freeze action or create motion blur, depending on your subject. Adjust aperture to manipulate depth of field, using wider apertures for portraits and narrower ones for landscapes. Fine-tune ISO to balance light sensitivity with image quality, starting low and increasing cautiously in dim conditions. Remember, these settings work together, so changing one often requires adjusting the others to maintain proper exposure. By understanding and practicing these techniques, you'll reveal the full potential of your camera and elevate your photography to new heights.
Key Takeaways
- Master shutter speed control to freeze action or create motion blur, depending on your subject and creative vision.
- Experiment with aperture settings to control depth of field, enhancing portraits or capturing sharp landscapes.
- Understand ISO and its impact on image quality, adjusting it carefully to balance exposure in various lighting conditions.
- Use the exposure triangle (shutter speed, aperture, ISO) to achieve optimal exposure while maintaining creative control.
- Practice panning techniques to capture dynamic subjects while blurring backgrounds for a sense of motion and energy.
Mastering Shutter Speed Control

Shutter speed is a cornerstone of manual photography, allowing you to control motion and light in your images. It's measured in fractions of a second, with faster speeds freezing action and slower speeds creating motion blur.
To master shutter speed, start by understanding its relationship with aperture and ISO in the exposure triangle.
For sharp, crisp images of moving subjects, use faster shutter speeds like 1/500s or higher. This is ideal for sports, wildlife, or street photography.
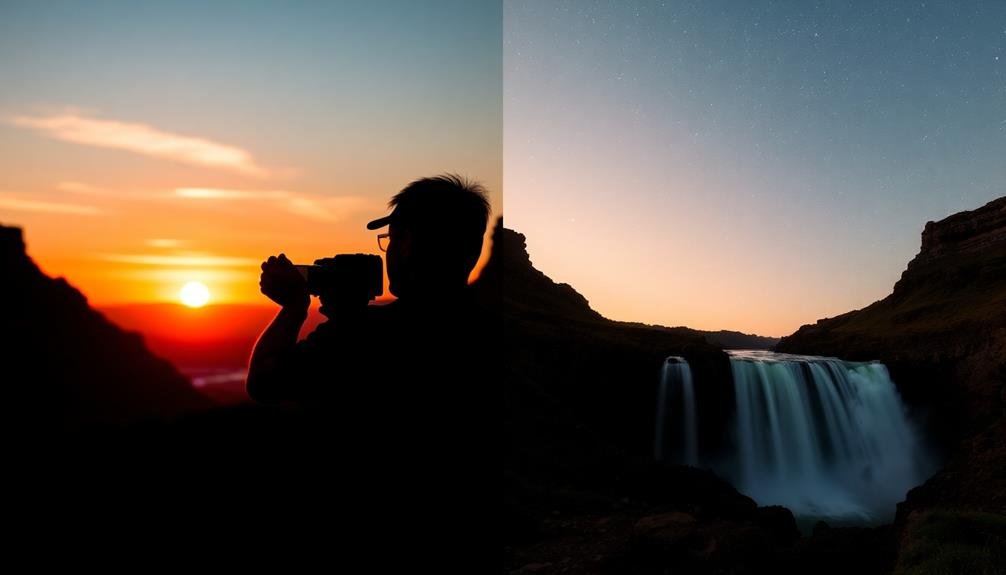
To capture motion blur or light trails, opt for slower speeds like 1/30s or longer. This technique works well for waterfalls, star trails, or creative urban scenes.
Remember that camera shake becomes an issue at slower speeds, especially below 1/60s. Use a tripod or increase your ISO to compensate.
In low light, you'll need to balance slower shutter speeds with higher ISOs and wider apertures.
Experiment with different shutter speeds to achieve various effects. Try panning with a slower speed to keep your subject sharp while blurring the background. This creates a sense of movement and dynamism in your photos.
Perfecting Aperture Settings

Aperture is another key element in the exposure triangle, working hand-in-hand with shutter speed to control light and depth of field.
It's represented by f-numbers, with lower values indicating a wider aperture and higher values a narrower one. To perfect your aperture settings, you'll need to understand how they affect your images.
Wide apertures (low f-numbers like f/1.8 or f/2.8) let in more light and create a shallow depth of field. This is ideal for portraits or isolating subjects from the background.
Narrow apertures (high f-numbers like f/11 or f/16) allow less light but increase the depth of field, making them suitable for landscape photography where you want everything in focus.
When choosing your aperture, consider your subject and desired effect. For sharp landscapes, use f/8 to f/11. For portraits with a blurred background, opt for f/1.8 to f/4.
In low light, a wider aperture can help maintain a faster shutter speed. Remember, changing your aperture will affect your exposure, so you'll need to adjust your shutter speed or ISO accordingly.
Practice with different settings to find the perfect balance for your shot.
Optimizing ISO for Drones

ISO plays an essential role in drone photography, particularly when flying in challenging light conditions. When operating your drone in manual mode, you'll need to balance ISO with shutter speed and aperture to achieve the best exposure.
Start with the lowest possible ISO setting to minimize noise in your images. For most drones, this is typically ISO 100 or 200.
As light levels decrease, you may need to increase your ISO. However, be cautious when pushing it too high, as drone sensors are generally smaller and more prone to noise than DSLR cameras. Try to keep your ISO below 800 if possible.
If you're shooting in low light, consider using a slower shutter speed or wider aperture before raising the ISO.
Remember that higher altitudes often mean brighter conditions due to less atmospheric interference. Adjust your ISO accordingly as you change altitude.
When shooting fast-moving subjects or in windy conditions, you may need to increase your ISO to maintain a faster shutter speed and prevent motion blur.
Always review your images on a larger screen to assess noise levels and make necessary adjustments for future flights.
Frequently Asked Questions
How Do I Choose the Right Lens for Manual Mode Photography?
Consider your subject and desired effect. Wide-angle lenses capture more, while telephotos zoom in. Prime lenses offer sharper images but less flexibility. Match focal length to your style, and don't forget to factor in your camera's sensor size.
What's the Best Way to Practice Manual Settings in Different Lighting Conditions?
You'll master manual settings by practicing in various lighting conditions. Start with daylight, then move to low light and night scenes. Experiment with different ISO, aperture, and shutter speed combinations. Don't be afraid to make mistakes and learn.
Can Manual Mode Be Effectively Used for Action or Sports Photography?
Yes, you can effectively use manual mode for action and sports photography. You'll need quick reflexes to adjust settings on the fly. Practice anticipating movements and pre-setting your exposure for the expected lighting conditions.
How Do I Achieve a Balanced Exposure Triangle in Challenging Environments?
To balance your exposure triangle in challenging environments, you'll need to prioritize. Adjust your ISO for available light, set your aperture for depth, and fine-tune shutter speed. Practice and experiment to find the right combination for each situation.
Are There Specific Manual Mode Techniques for Night Sky or Astrophotography?
For astrophotography, you'll want to use a wide aperture, long exposure, and high ISO. Set your focus to infinity, use a tripod, and try the 500 rule. Don't forget to shoot in RAW for better post-processing options.
In Summary
You've now activated the power of manual mode with these three key techniques. By mastering shutter speed, you'll capture motion like never before. Perfecting aperture settings will give you unparalleled control over depth of field. And don't forget to optimize ISO for your drone shots, ensuring crisp aerial images. With practice, you'll soon be creating breathtaking photographs that stand out from the crowd. Keep experimenting and pushing your limits – the world's your canvas!

As educators and advocates for responsible drone use, we’re committed to sharing our knowledge and expertise with aspiring aerial photographers.


Leave a Reply